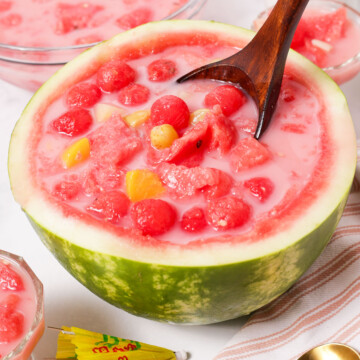
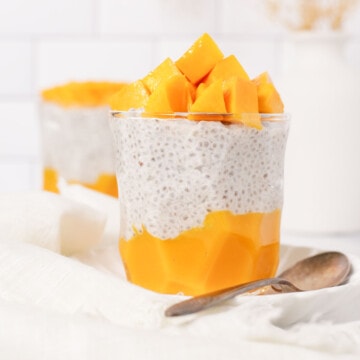
Bingsu, or Korean shaved ice, is likely one of the most popular summer desserts that's often enjoyed in the colder weathers as well. It's lightly, fluffy, lightly sweetened, and sometimes looks super extravagant, but it's actually super easy to make at home! This bingsu recipe is a base recipe for the shaved ice and you can make it yours by adding your preferred toppings. We've also provided 3 methods to make the bingsu, so that you choose and experiement with your most preferred method. Also try hwachae (Korean watermelon punch), mango chia pudding, and mango pomelo sago for more easy, refreshing, fruit recipes!

If you’ve made this recipe or any recipes from our blog, please tag us on Instagram using #twoplaidaprons! You can also tag us in your Instagram stories using @two_plaid_aprons. We would love to see your creations! It absolutely makes our day! 🥰
Jump to:
What is bingsu?
Bingsu (빙수), also known as bingsoo, is a Korean milk-based shaved ice dessert topped with a variety of sweet toppings, such as fruits, rice cake, sweet red beans, condensed milk, ice cream, whipped cream and more.
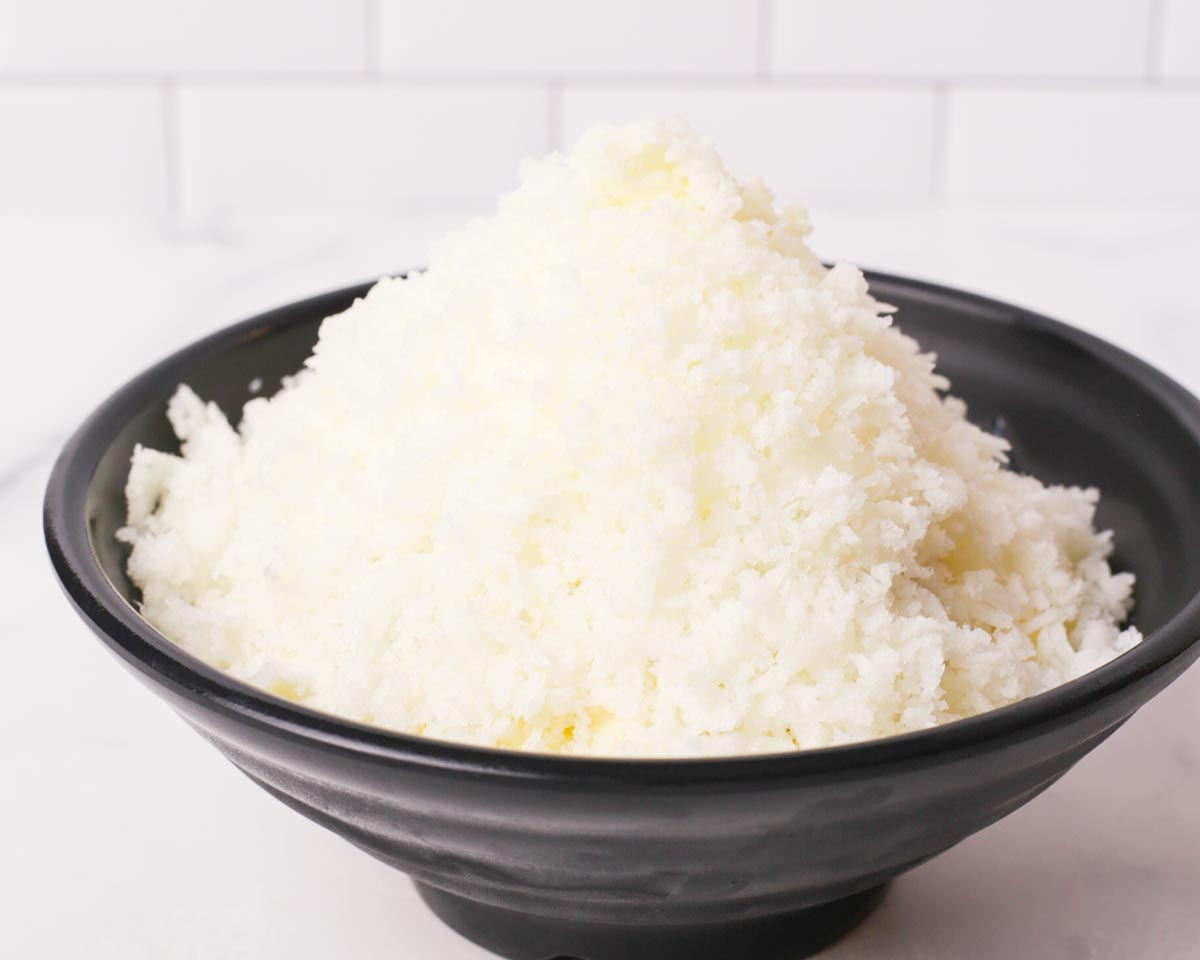
The shaved milk ice base is lightly sweetened and finely shaved to give a fluffy, light texture. It's very mild in flavor so that a variety of toppings can be added and customized to each person's preference.

Bingsu flavors
There are several bingsu flavors out there and even more creative flavor combos are still being made. Below are some classic and popular flavors combos we've seen and love:
- Strawberry - Macerated and/or fresh strawberries with sweetened whipped cream, ice cream, and/or condensed milk
- Matcha strawberry - Fresh strawberries with dustings of matcha powder and sometimes sweetened red beans and/or condensed milk
- Matcha and red beans - Dustings of matcha powder with sweetened red bean and sometimes injeolmi
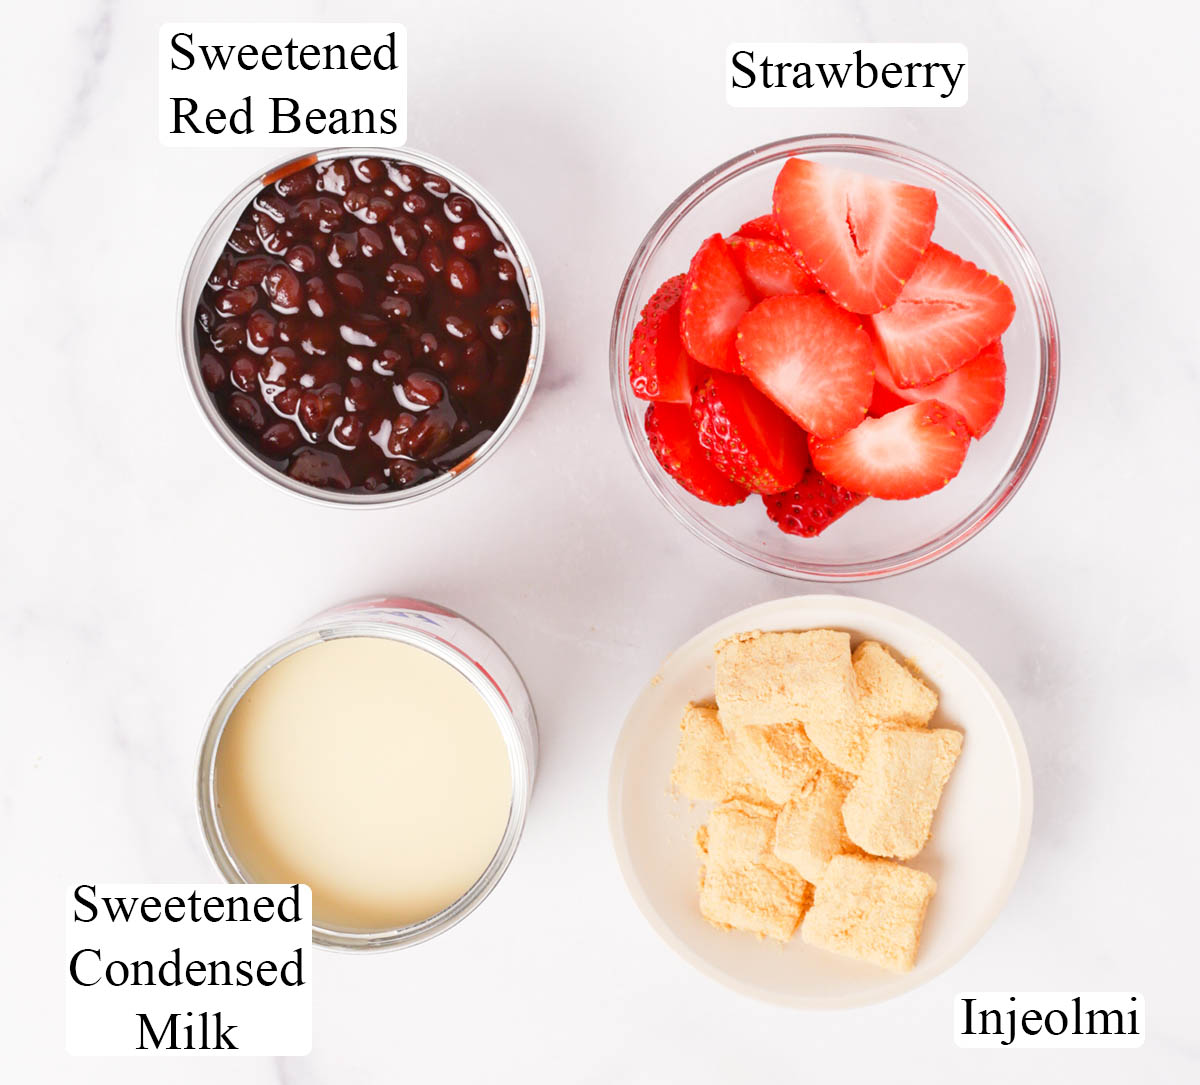
- Injeolmi and red beans - Injeolmi is a chewy Korean rice cake snacks usually dusted with roasted soybean powder (like in the image below). This is a classic combo with sweeten red beans and more soybean powder.

- Mango - Loaded with fresh, ripe mangoes and sometimes condensed milk
- Chocolate - Everything chocolate goes here! Chocolate candies, chocolate Pocky sticks, truffle, cakes, and chocolate syrup are some choices.
- Melon - Tons of melon (melon balls are especially popular) topped with whipped cream, ice cream, and or condensed milk
- Oreo - Oreo cookies, oreo crumbs, cookies and cream ice cream, whipped cream, and chocolate syrup can all be great toppings!
Ingredient notes
Please scroll down to the recipe card for the ingredient quantities!
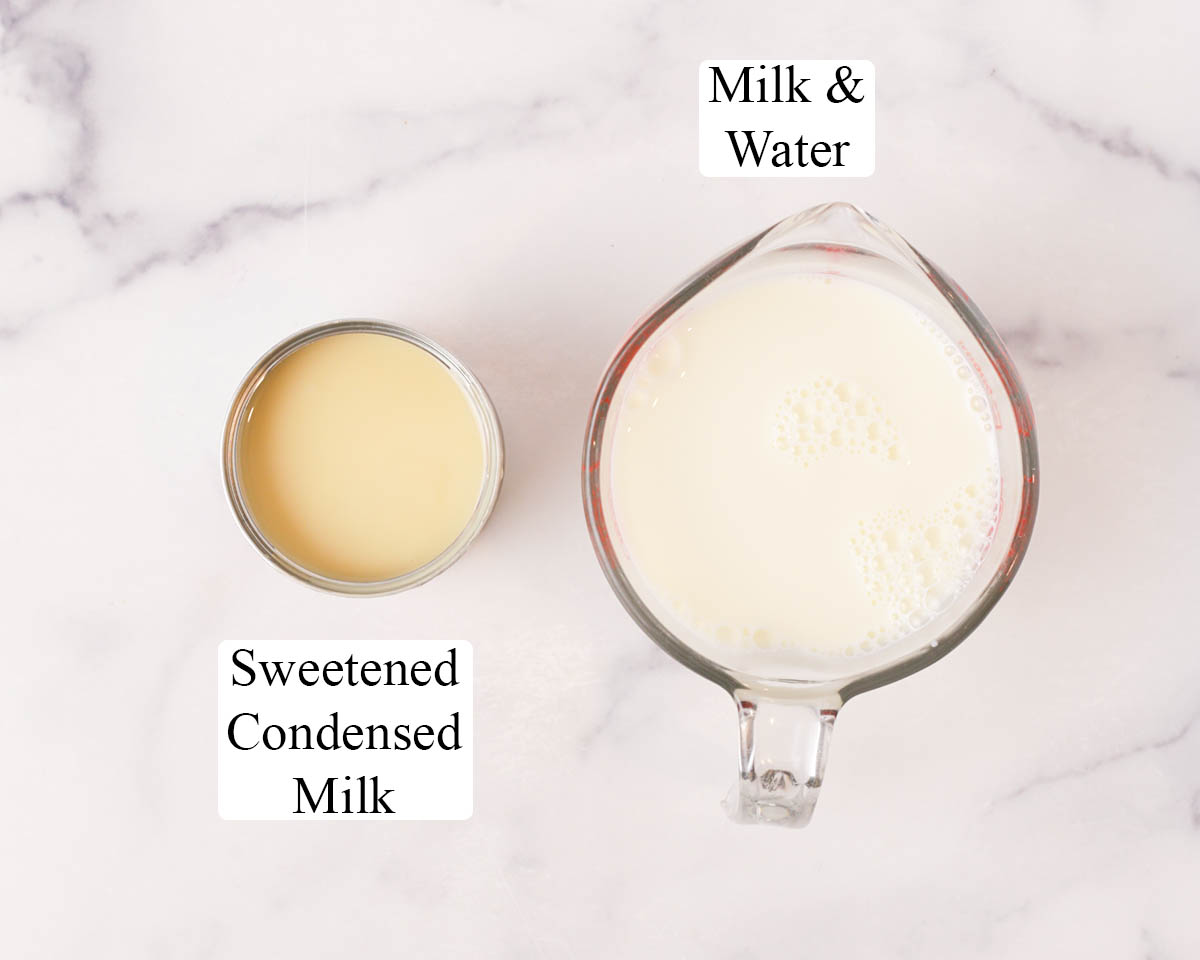
- Milk and water - A mix of milk and water is needed to make the base for bingsu. If only milk is used, the milk flavor will be too strong, making this dessert too heavy.
- Sweetened condensed milk - This is lightly sweetening the shaved ice base and add a bit of a creamy flavor. If you prefer, you could use regular sugar instead.
- Toppings - Feel free to add toppings that you want! This is the charm of bingsu. Some popular toppings are fruits like berries, strawberries, mangoes, and melons., ice cream and whipped cream, condensed milk, injeolmi (aka rice cakes), sweetened red beans, nut like almond slivers, and powders like matcha, black sesame, and roasted soybean powder.
How to make bingsu
Please scroll down to the recipe card for the full recipe and instructions!
1. Make the bingsu base. Mix together the milk, water, and condensed milk until the condensed milk has dissolved.

2. Freeze the base. Transfer the prepared milk base to either the freezing container/mold, ice cube mold, or freezer bag, depending on the method you use to make the shaved ice. Freeze until completely frozen.
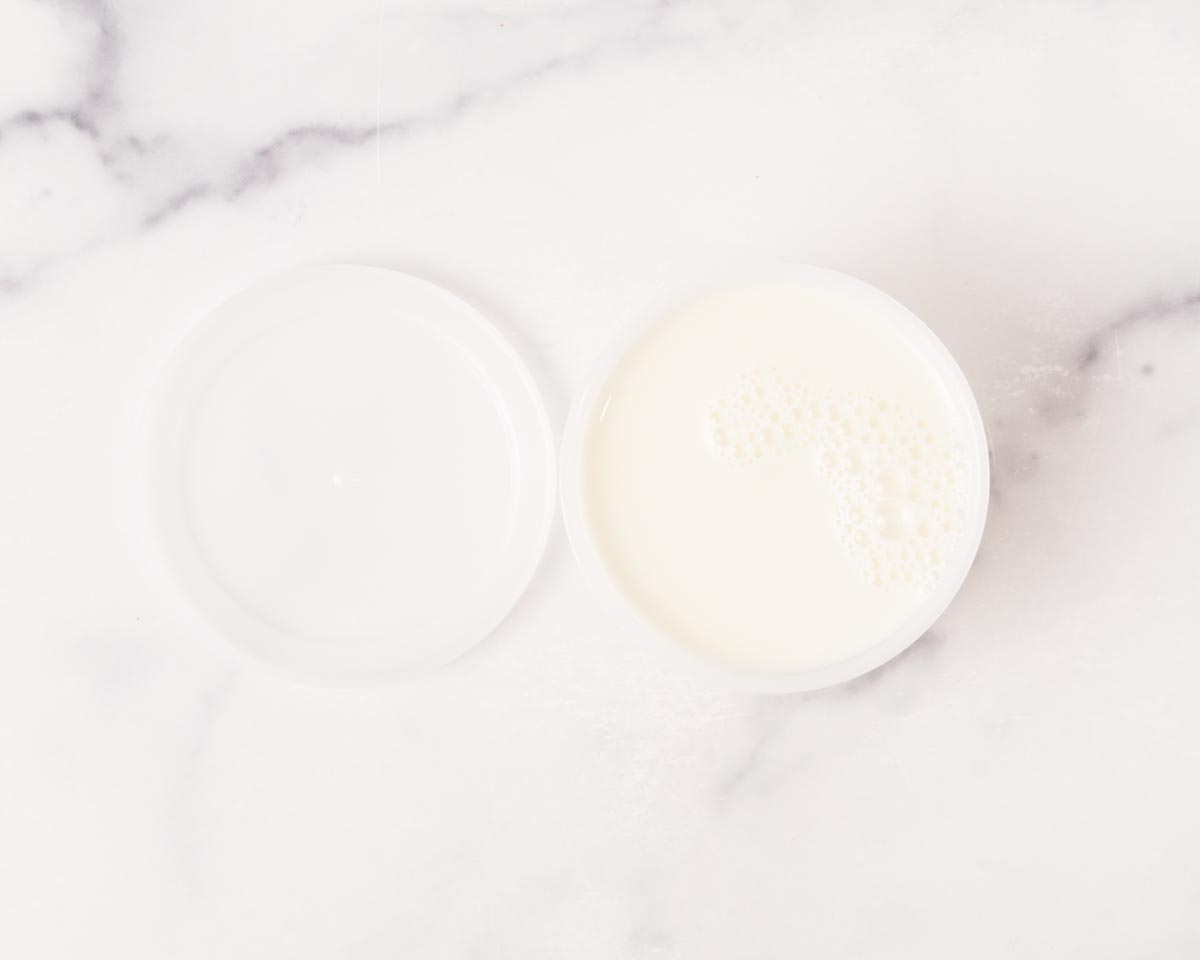
3. Prepare the shaved ice. Either shave, blend, or break up the frozen milk mixture according to the method you're using (see below).
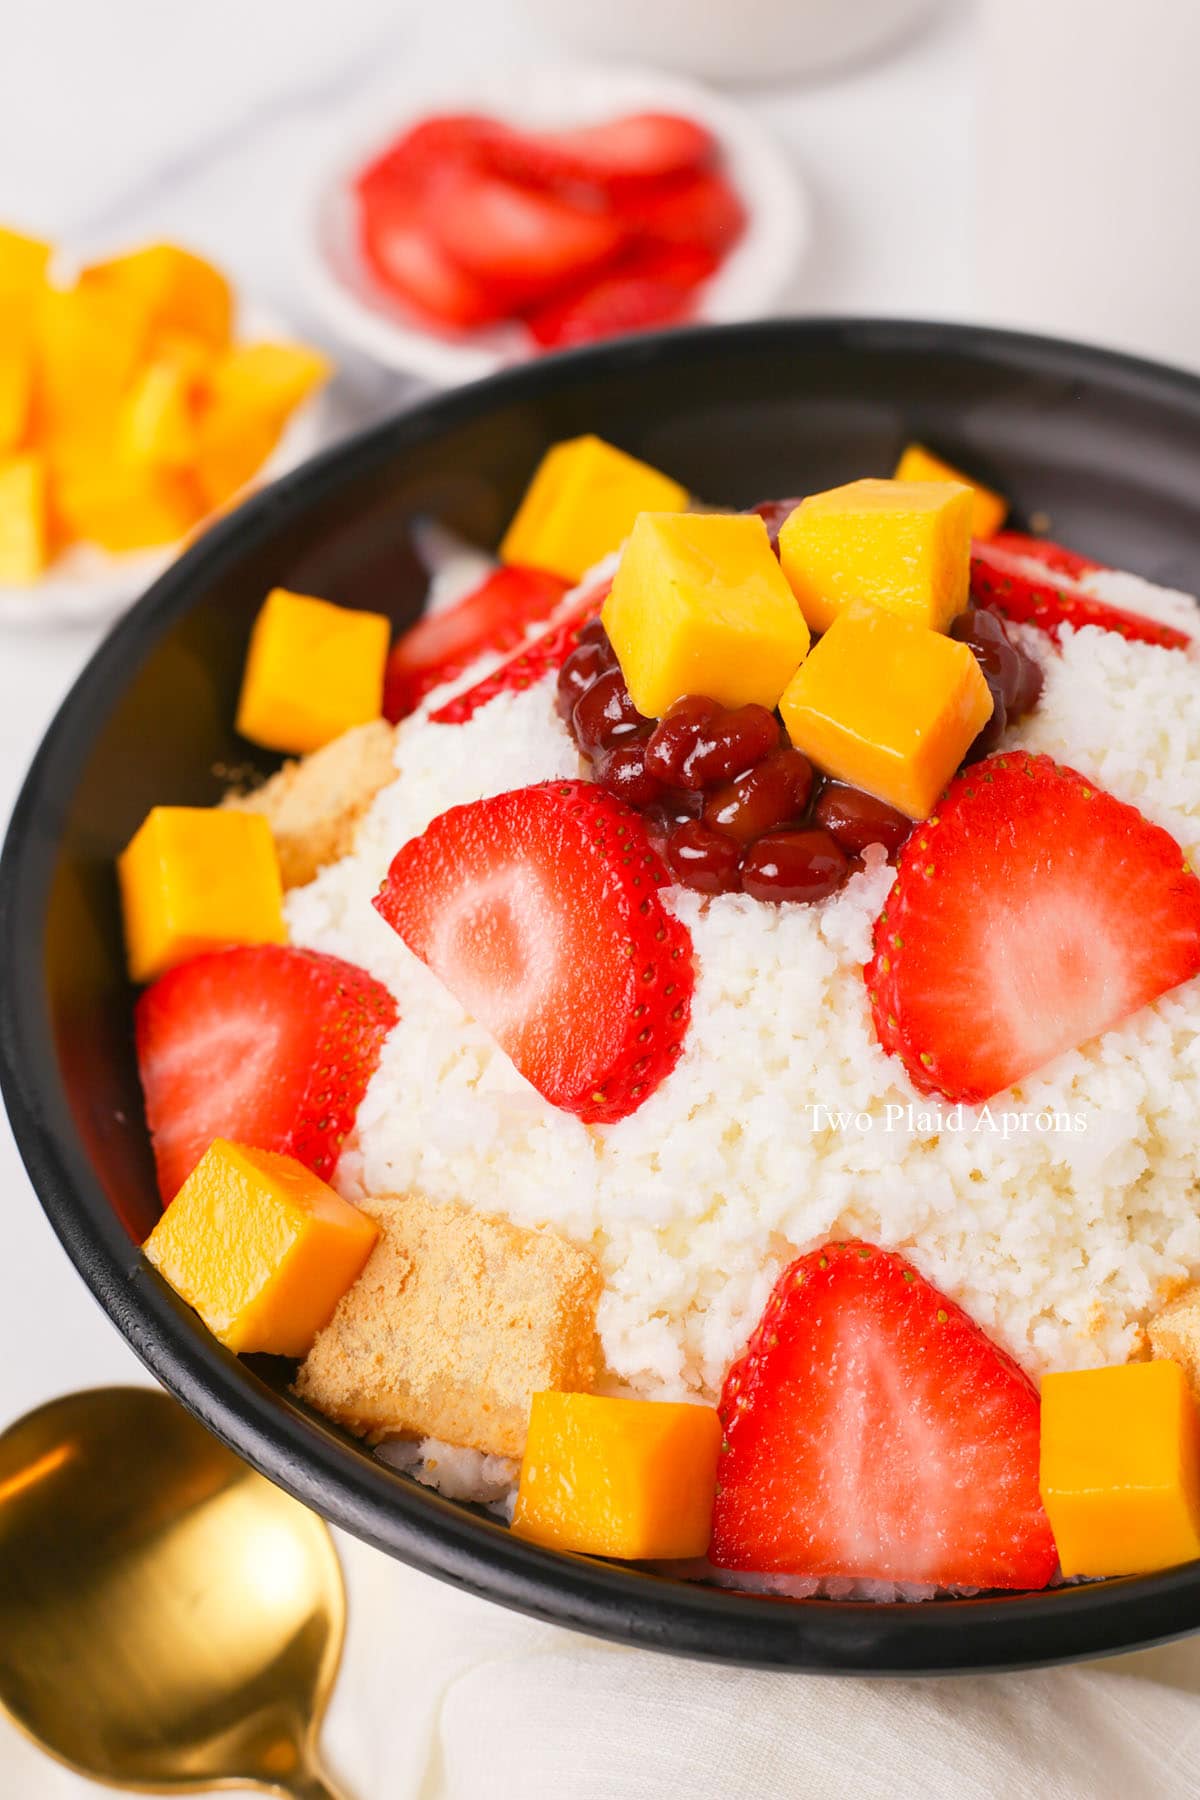
4. Assemble. Place the shaved ice into a serving bowl and garnish with your desired toppings. Enjoy immediately!
3 ways to shave bingsu at home
Shaved ice machine method:
📝 Note: This is our favorite method because it's so simple and yields the best result. The shaved ice is fluffy, flakey, and light.
Portion the bingsu mixture into the puck for your shaved ice machine and freeze until the puck is completely frozen solid, about 4 to 6 hours. Depending on what comes with your machine, you may need to remove the frozen puck and repeat the process until all the milk mixture is frozen and ready to use.

🌟 Pro tip: Line the puck/mold with plastic wrap if yours only comes with ones container is it's plastic, not silicon. This makes remove the frozen puck a little easier and cleaner.
Once the frozen milk pucks are ready, shave the milk puck according to your machine.


Blender method:
📝 Note: This method is our second choice since it's fairly quick and the shaved ice is decently fluffy if blended fine enough. However, a powerful blender is recommended.
Divide the bingsu milk mixture into ice cube trays and place it into the freezer. Allow the cubes to freeze until completely solid, about 3 to 4 hours. Remove the cubes and repeat the process if necessary.
When ready to assemble, place the frozen cubes into a blender or food process. Pulse the cubes until they are fine flakes.
Freezer bag method:
📝 Note: This takes a bit of work and the "shaved" ice is more like clumps than flakes. However, it's the best choice in terms of accessibility. If you don't mind the compromise in texture, it's not a bad choice at all.
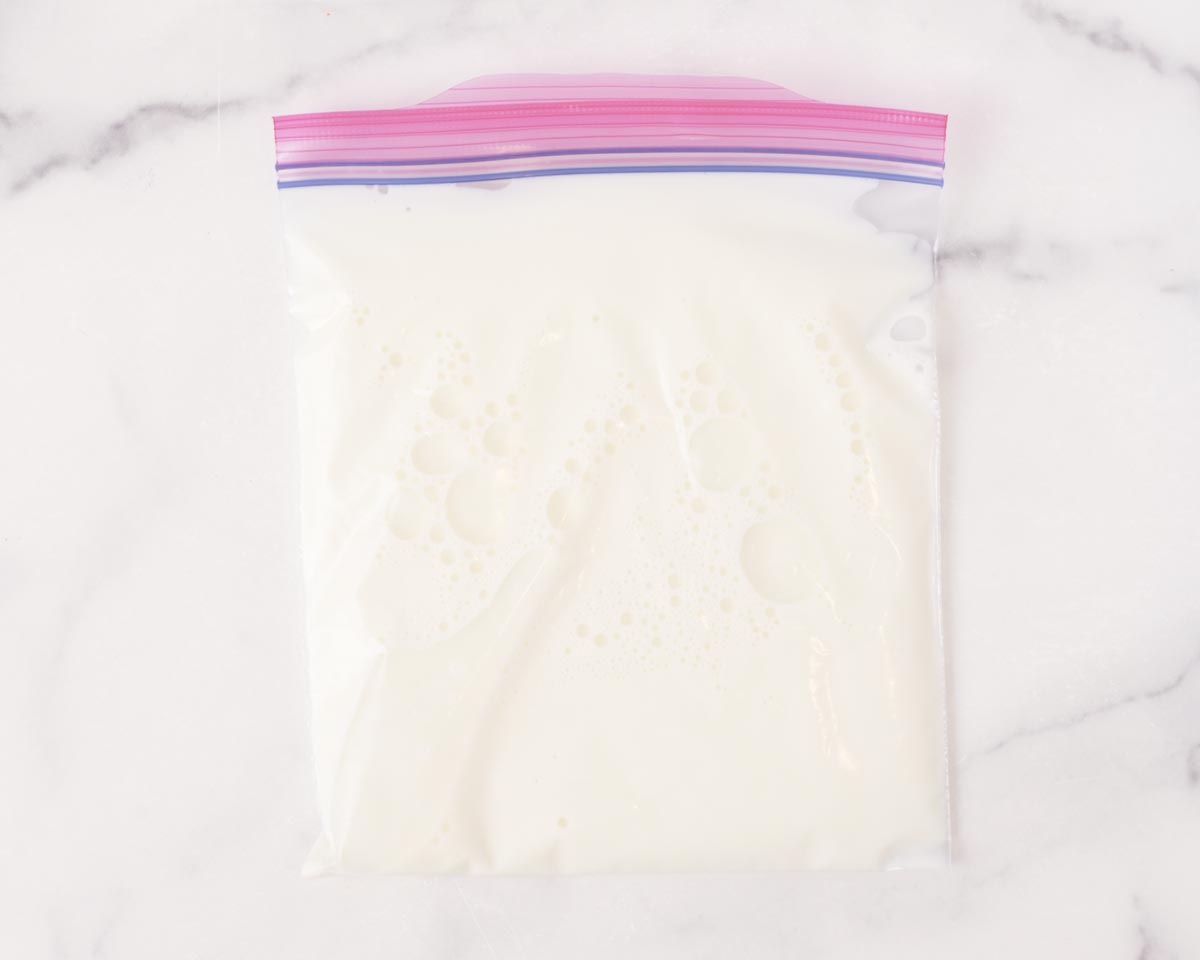
Pour the bingsu milk mixture into a gallon size resealable freezer bag or a few smaller freezer bags. Place the freezer bags of the milk mixture and place it in the freezer. Try your best to keep the bags laying flat so that when the mixture is frozen, it'll also be flat.
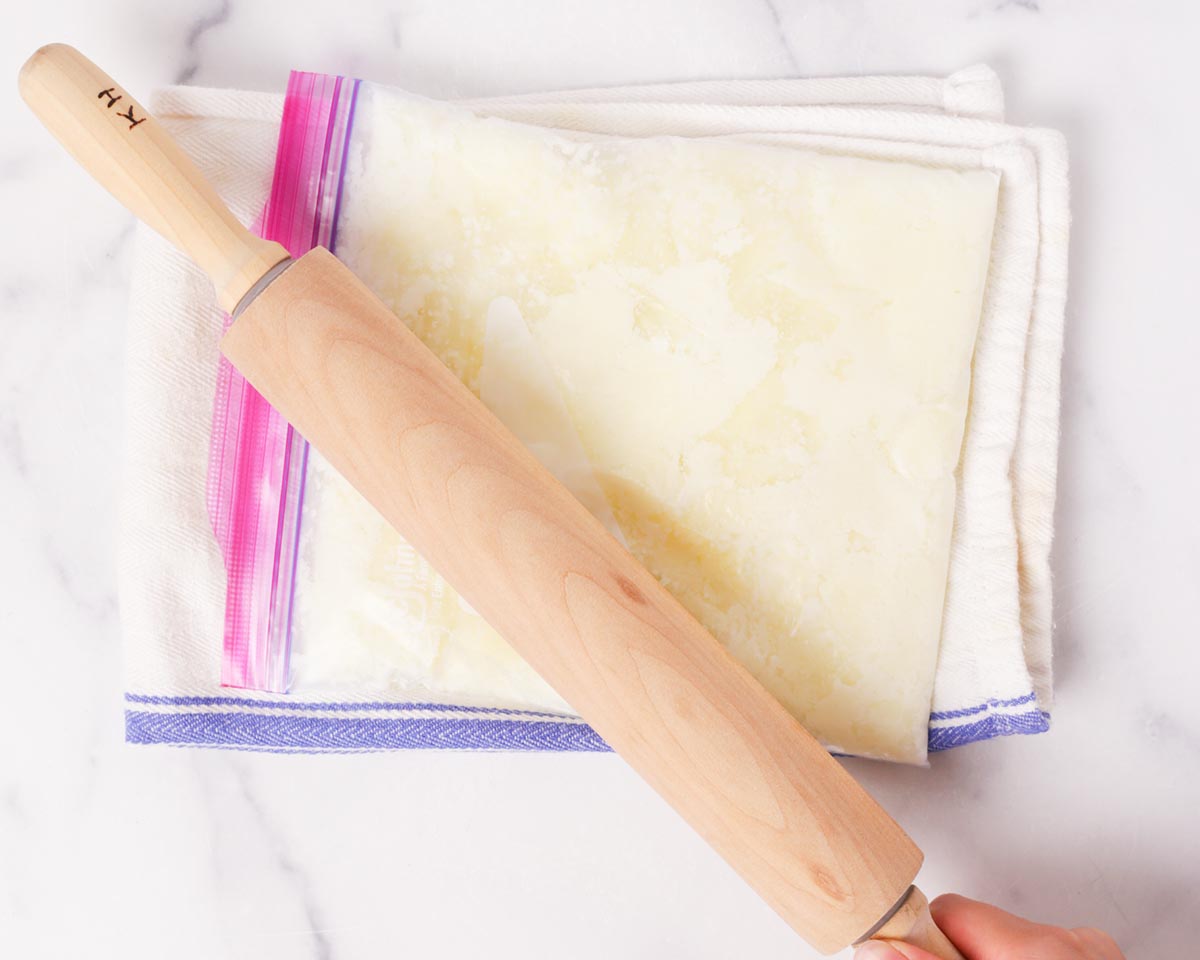
Once frozen, break up the mixture into smaller pieces by bending the bag. Then use a rolling pin to break the mixture into finer pieces by rolling and beating the bag.
Bingsu machine that you can use at home
Professional bingsu machine can be quite pricey for an occasional bingsu craving at home. Instead, we recommend a good quality shaved ice machine. Both of these recommendations are great and both have their pros and cons.
Cut penguin shaved ice machine (manual):
We really like our cute penguin shaved ice machine that we got from Mitsuwa. It's also avaiable on Amazon.
The pros to this gadget are that it's quite affordable (around $24), really cute, and easy to use.
As for the cons, there are two. The first is that it only comes with one freezing container. That means, the bingsu pucks have to be frozen one at a time. The other con is that the opening where the shaved ice dispense from is small. So a small bowl most be used. Of course there are similar gadgets like this shaved ice machine that's less whimsical if you prefer.

KitchenAid shaved ice attachment (semi-auto):
Another option is this KitchenAid shaved ice attachment.
The first pro to this gadget is that it's semi-automatic. Just attach it to a KitchenAid mixer and turn on the mixer to shave ice. The second pro is that you can use any size bowl to catch the shaved ice. There's no size limit. The last pro is that you can purchase the attachment with extra freezer molds so you can freeze multiple pucks at a time.
As for the cons, there are two main ones. First, you need to have a KitchenAid mixer for this attachment to work. The second con is that the attachment is kind of pricey compared to a regular shaved ice gadget ($95 with 4 molds and $115 with 8 molds).
Recipe tips
- Prepare and have all the toppings ready before shaving the bingsu ice. This is very important because bingsu ice is very fine and will melt quickly, especially when the weather is warmer.
- Chill the bowl before use. This goes for both the serving bowl and any bowls that come in contact with the bingsu ice. This helps to keep the bingsu from melting as fast.
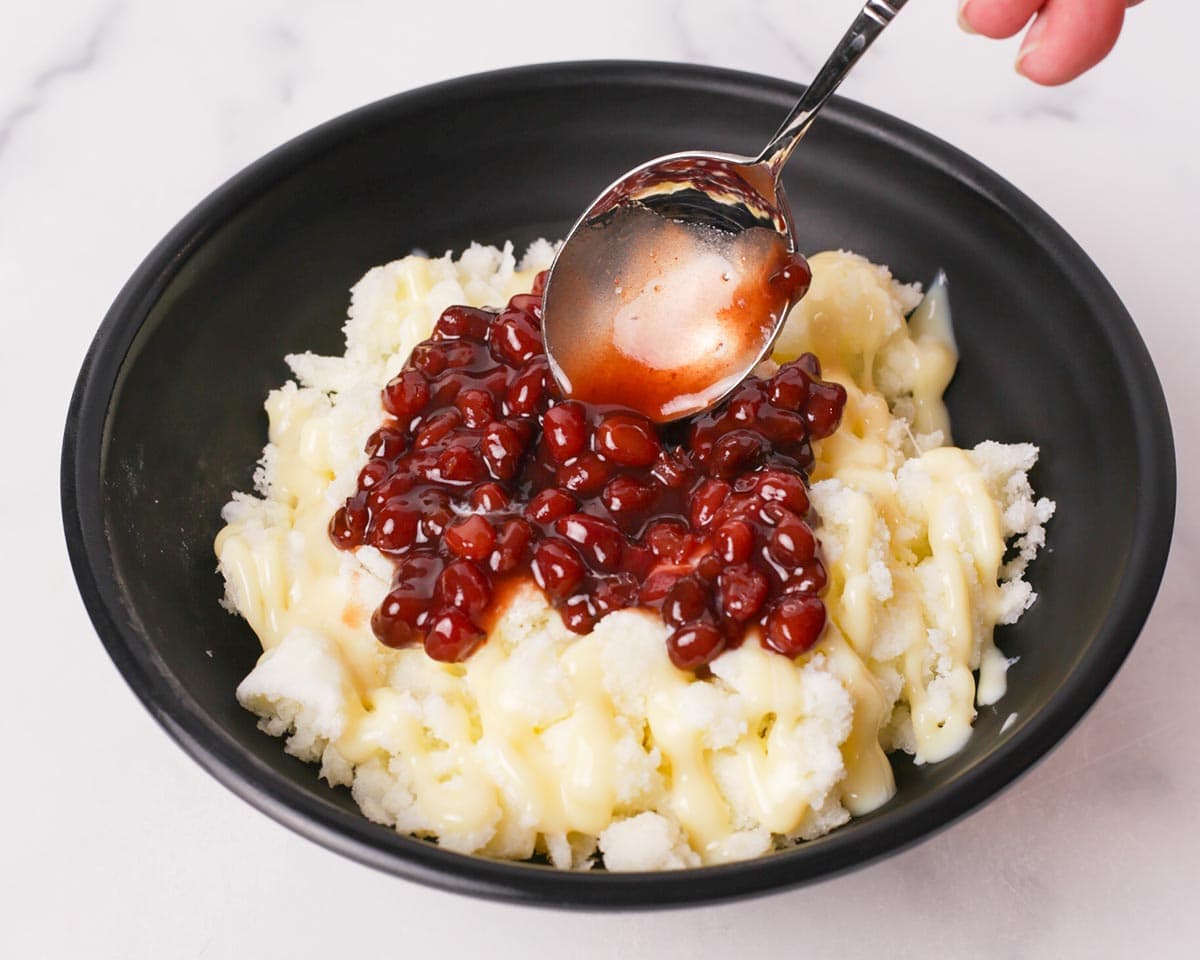
- Add toppings to the middle of the shaved ice. This is so that there's some toppings for every bite of shaved ice.
- Line the freezer container with plastic wrap (if using the same shaved ice machine as us and only have 1 freezer container/mold). This is not absolutely necessary because you can totally just allow the frozen puck to thaw slightly and tap it out. But we prefer to line the containers with plastic wrap for easier removal (you'll still have to tug at it), less cleaning, and the pucks will already have something to cover and wrap them.

Storage
It is best to enjoy bingsu freshly made to experience the fluffy texture. So we recommend keeping the pucks frozen until ready to shave and serve.
If you have leftover bingsu already assembled, cover and freeze immediately. The shaved ice will loose its fluffiness and most likely become a bit hard.

FAQ
Bingsu can be topped with a variety of toppings and that is all up to your personal preference. But the shaved ice base is made with milk, water, and condensed milk.
Bingsu base has a mild milky flavor, which makes it perfect for loading on a variety of toppings like fruits, rice cakes, condensed milk, whipped cream, ice cream, and more!
Both of bingsu and shaved snow are shaved ice desserts with a milk base. The first main differences between the two are that bingsu is Korean and shaved snow is Taiwanese. Second, bingsu is usually an plain milk base shaved ice while shaved snow is usually flavored milk ice. Lastly, Korean bingsu is fluffy, flakey shaved ice while Taiwanese shaved snow is usualy shaved into sheets or ribbons.
📖 Recipe
Bingsu (Korean Shaved Ice)
Ingredients
For the shaved ice:
- 2 cups milk preferably low fat
- 2 cups cold water
- 2 tablespoons sweetened condensed milk
Optional toppings:
- sweetened condensed milk
- Fruits chopped or sliced, like strawberries, mango, and melons
- Injeolmi Korean rice cakes
- Sweetened red bean
- Ice cream choose your favorite flavor!
- Sweetened whipped cream
- Universal grade matcha
- Nuts
Instructions
- Make the bingsu base:Mix together the milk, water, and condensed milk until well combined.
- Shaved ice machine method:Pour the bingsu base mixture into the ice puck container for your shaved ice machine and freeze until the milk mixture is frozen solid, about 4 to 6 hours. Depending on what comes with your machine, you may need to remove the frozen puck and repeat the process until all the milk mixture is frozen and ready to use.
- Once the frozen milk pucks are ready, shave the milk puck according to your machine.
- Blender method:Divide the bingsu milk mixture into ice cube trays and place it into the freezer. Allow the cubes to freeze until completely solid, about 3 to 4 hours. Remove the cubes and repeat the process if necessary.
- When ready to assemble, place the frozen cubes into a blender or food process. Pulse the cubes until they are fine flakes.
- Freezer bag method:Pour the bingsu milk mixture into a gallon size resealable freezer bag or a few smaller freezer bags. Place the freezer bags of the milk mixture and place it in the freezer. Try your best to keep the bags laying flat so that when the mixture is frozen, it'll also be flat.
- Once frozen, break up the mixture into smaller pieces by bending the bag. Then use a rolling pin to break the mixture into finer pieces by rolling and beating the bag.
- Assembly:It is very imporatnt that the toppings you wish to use are prepared and ready to use by the time you shave, blend, or break the bingsu ice mixture.
- Either transfer the shaved ice mixture to the serving bowl or shave the mixture straight into the serving bowl. Garnish and top the shaved ice with your desired toppings. If you wish, you can also add toppings in the middle of the shaved ice, add more shaved ice, then top with more toppings.
Notes
- The nutritional information provided is for 1 serving, not including the toppings.
- It is VERY important to have all your toppings prepared and ready to use when you start shaving/preparing your bingsu. The mixture melts quite fast.
- The toppings listed above are popular choices, but feel free to make your own combo! Also, check out post above for suggestions, tips, and notes!









Dan Lee says
Another method for shaved ice is the vintage snoopy snow cone maker!! LOL!!
Thanks!
Mei says
Oh my goodness, the Snoopy snow cone maker is so cute! We'll have to keep our eyes peeled for them. Thanks for the recommendation, Dan!
Mei ❤️