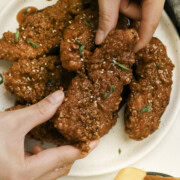


We've finally started moving towards our third goal on our resolution list! Make. 👏More.👏Bread. 👏
I'm sooooo excited to share with you guys our first bread recipe - homemade pita bread! I can't even contain my excitement, ahhhhhh! I've been holding back from hitting the publish button for like 2 weeks..(imagine it) it was killing me! So let me repeat it again. I'm sooooo excited!!! 🥳
This pita bread recipe is super easy to make (only needs 6 ingredients) and tastes really good, especially with our easy classic hummus! And oh my gosh, you're gonna be as thrilled as me when you see your baby (the pita bread) puff up like a ballon! Yes, I not ashamed to say that I am a proud mama every time I make these pitas. 🤘
The other reason, I've been so excited about this recipe is because this recipe is adapted from the pita bread recipe used at Café Boloud, a Michelin starred restaurant Kyong worked at. Kyong holds great respect for the restaurant and their recipes; so yes, we are confident that you'll love this pita recipe!
Now, let's make you a proud parent of these amazing pitas!

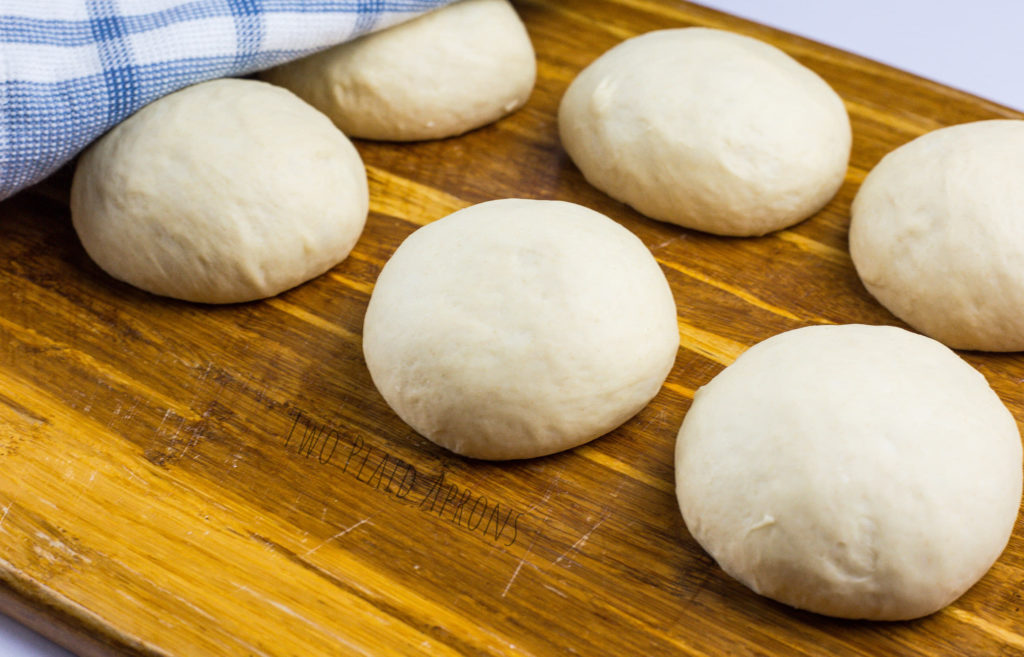
Soft, supple dough balls. So satisfying.🥰
Ingredients needed to make the best homemade pita bread:
- Water and milk: We recommend using milk with water to give your pita bread extra richness. However, if you are in a pinch for milk, you can use all water.
- Honey: Beside the milk, this will be the extra sugar used to sweeten the pita and to feed the yeast.
- Active dry yeast: Because we are making a yeast leavened bread! Yay!
- A/P flour: Since pita bread doesn't require the greatest gluten structure ever, all-purpose flour is fine.
- Salt: For seasoning, we don't want bland bread.
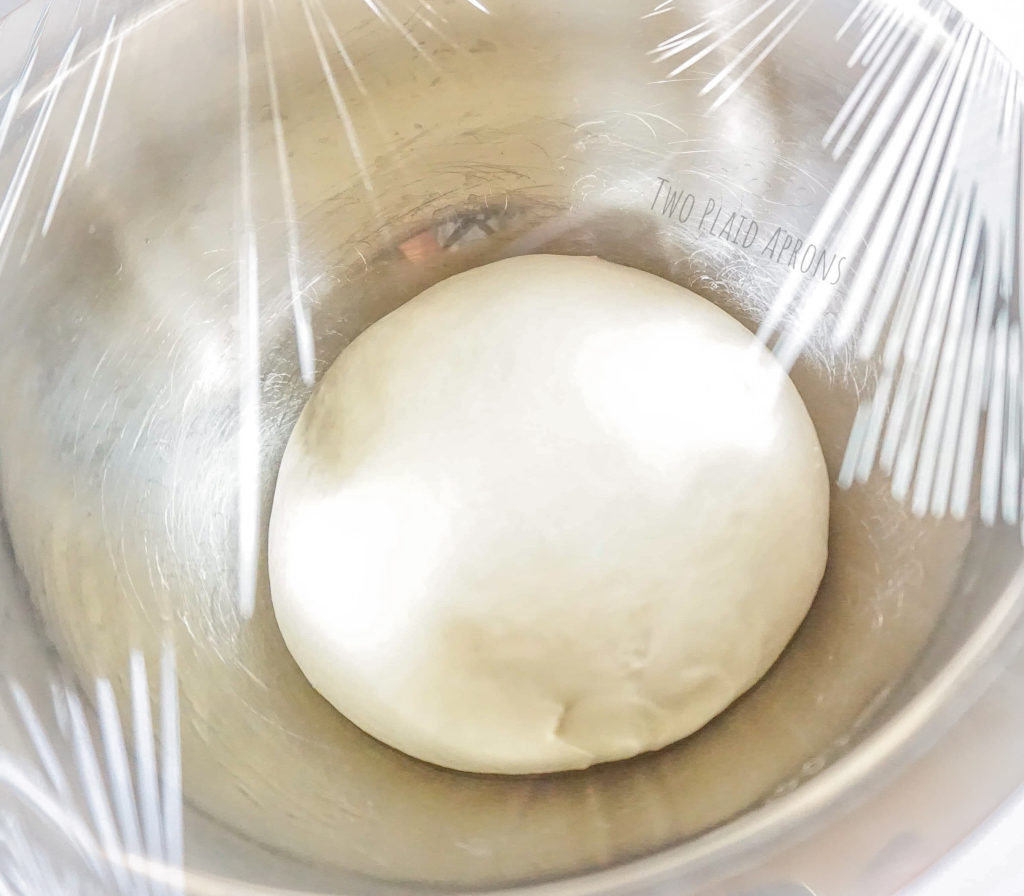
(Above photo) This is the dough after kneading, before proofing.
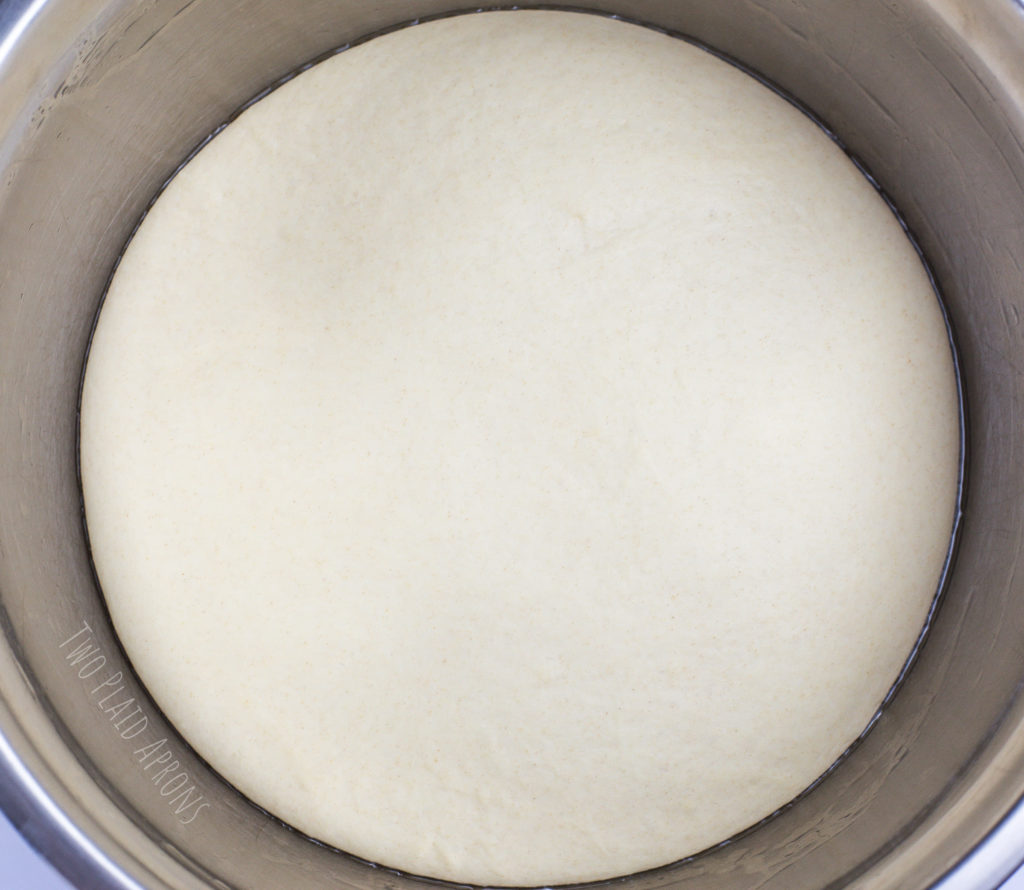
Our dough doubled after an hour! Look at that soft pillow 😍
Tips to make your pita flawless:
- Use the paddle attachment to do the initial dough mixing if you are using a stand mixer to knead your dough. The stand mixer is very convenient and all, but sometimes it's a little lacking when it comes to making dough, especially when mixing a small amount. So use the paddle attachment to knead your dough together and then switch to the dough hook to finish kneading.
- Kneading time may vary. The kneading time should be around 10 minutes if you are kneading with a stand mixer. Even though recipes give a recommended time, it's good to use the said time as a guideline and then determine if the dough is ready by feel. When the dough feels supple (press a finger into the dough and it should bounces back slowly) and no longer stick to the wall of the bowl, the dough is done.
- If you wish to knead by hand, use the same guideline. Time varies depending on how fast and hard knead the dough. To knead by hand, pull the dough from the edge to the center and push it out with the palm of your hand (almost like washing clothes). Repeat until desired consistency.
- Roll the pita evenly into ¼ -⅜ inch thick. It is very crucial to roll your dough balls evenly into ¼-3/8 inch (so the center and the edge!). Otherwise your pita will not get that signature ballon puff.
- Rolling the dough from center out is most effective.
- Don't over-flour. This dough should be dry enough where you only need minimal flour for dusting. If you dust the dough with too much flour, the excess will stay on the pita even after it's baked. Use a pastry brush to brush off excess flour if you need.
- Preheat your baking stone or baking tray to help your pita puff up and cook evenly.
- You can cook the pita on the stove top, in a non-stick skillet over medium low heat. However, it is not guaranteed that every pita will puff up completely since the heat is not even.
Now tell me how proud of your pita!
Bake with love! ❤️
Mei
📖 Recipe

Homemade Pita Bread
Ingredients
- ¾ cup water
- ½ cup milk
- 1 Tablespoon honey
- 1 teaspoon active dry yeast (about ½ packet)
- 3¼ cups all-purpose flour (about 14.5 ounces, plus more for dusting)
- 1½ teaspoon salt
Instructions
- Activate yeast.Combine milk and water and heat it till lukewarm (about 115°F). Add honey and stir to dissolve.Sprinkle the yeast into the lukewarm liquid and give it a quick stir. ***DO NOT add yeast to hot liquid. High temperature will kill the yeast.***Set aside for about 10 minutes.
- Make dough.If using stand mixer:Combine flour and salt into the stand mixer bowl. Stir to distribute salt.Add the activated yeast and liquid. With the paddle attachment, mix the dough on low to incorporate (about 3 minutes). Once dough forms, switch out the paddle attachment for the dough hook. Knead on medium speed for about 10 minutes or until the dough looks smooth, feels supple, and no longer stick to the wall of the bowl.If kneading by hand:Combine flour and salt into a large mixing bowl. Stir to distribute salt.Add the activated yeast and liquid. Mix the ingredients together until no more flour is visible. Turn the dough onto a floured surface and knead with your hands (like washing clothes*) until the dough is smooth, no longer sticky, and feels supple (about 10-15 minutes depending on how fast you knead).**Clothe washing motion: bring the edge of the dough to the middle, press down with your palm, push forward. Turn the dough as you repeat this process until desired consistency is reached. Sprinkle more flour underneath the dough as needed.**
- Proof dough.Holding the dough in your hand, pull the edge of the dough to the bottom center to create a smooth ball.Put the dough into a lightly greased bowl and cover with plastic wrap. Let the dough proof in a warm area until the dough doubles in size (about 1 hour).
- Preheat oven with baking stone or sheet pan to 450°F once the dough is done proofing.
- Shape dough.After the dough doubled in size, punch the dough down. Transfer the dough onto a lightly floured surface. Portion the dough into 8 equal pieces (roughly 80 grams/ piece). Roll each piece of dough into a tight ball. Cover with damp towel or plastic wrap and let rest for 10 minutes.
- Roll and bake pita.On a lightly floured surface, working with a few pieces at a time, roll each dough ball into ¼ inch thick, free-form circles. Make sure to evenly roll out both the center and the edges to achieve that iconic ballon puff.*Sprinkle more flour as needed, however, try to brush off excess flour or it will remain on the pita even after baking.*Once flattened, slap the rolled dough onto the heated stone/ sheet pan, about 1 inch apart. Let it bake for about 5 minutes, until the dough balloons up and has golden brown speckles. Remove from oven and repeat with remaining dough.
- Enjoy the pita bread by itself, with our easy classic hummus, or as a wrap!
Joanne says
I made these tonight. One of my 8 pitas looked like it was supposed to, ha ha. But they all tasted great. Thank you
Mei says
Hi Joanne! Thanks for trying our pita recipe! Getting pita to puff up can take a couple rounds of practice, so you did really good actually! A couple tips from our experience to ensure your pita puffs up: 1) roll the dough to about no thicker than 1/4 inch 2) heat is very important — the pan needs to be hot when the pita is placed on it. So sometimes you may need to let the oven heat up for a few minutes before putting in the next pita and depending on your oven, you may need to even increase your oven temp. to 475°F (like ours 😅). Highly recommend an oven thermometer =)
But so glad your enjoyed the pita overall!
Mei ❤️
Joanne says
Happy to report my second attempt was more successful! I was so proud of my pitas!
Mei says
So happy to hear that your pitas turned out well, Joanne! You deserve to feel proud! Also, thank you for giving our recipe another try =)
Mei ❤️