


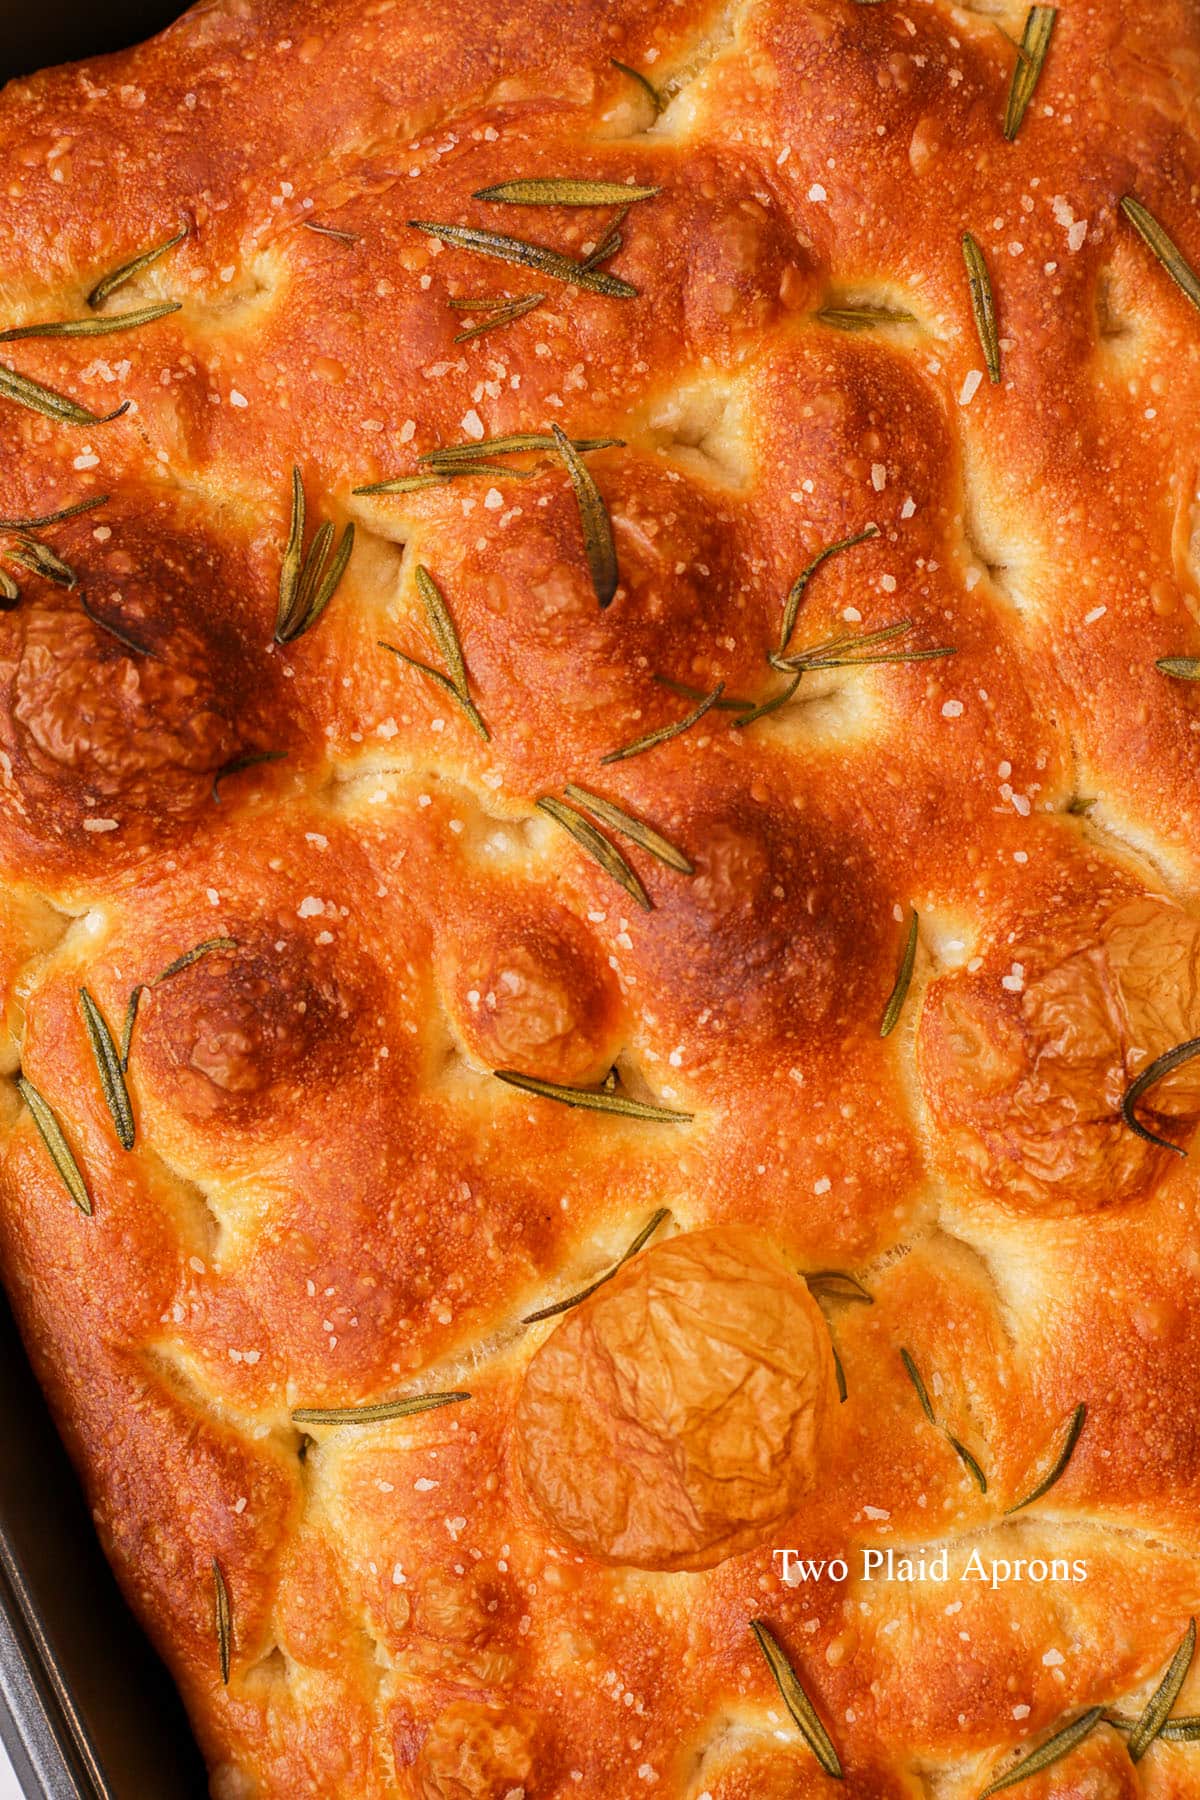
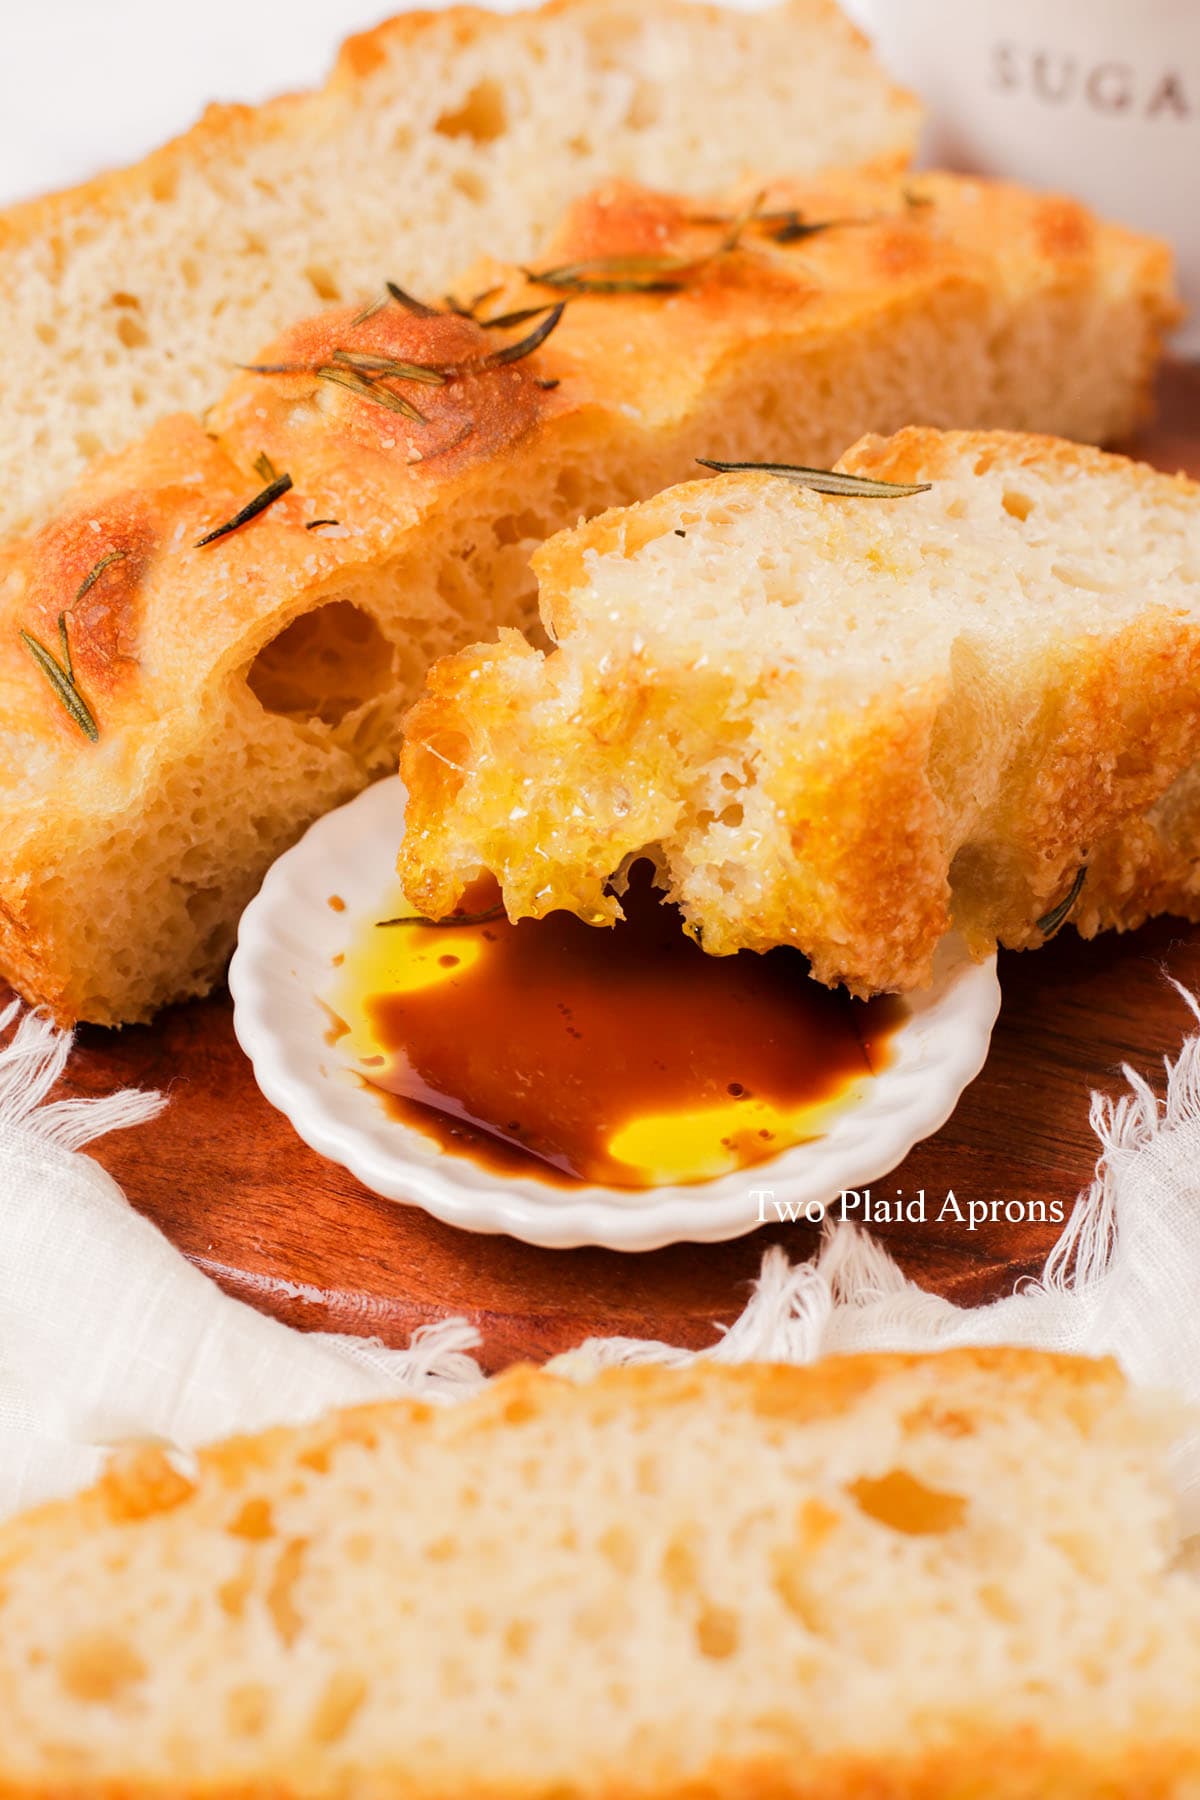
This focaccia recipe is easy to follow, requires no kneading, and takes a much short time to make compared to overnight focaccia recipes. The focaccia is light, airy and moist on the inside and crispy on the outside. It's the perfect bread that requires minimal work but maximum impressiveness! You can enjoy it by itself as a snack, eat it with hummus, top it with pesto and and make a toast, or use it to mop up a bowl of turkey chili.
If you’ve made this recipe or any recipes from our blog, please tag us on Instagram using #twoplaidaprons! You can also tag us in your Instagram stories using @two_plaid_aprons. We would love to see your creations! It absolutely makes our day! 🥰
Jump to:
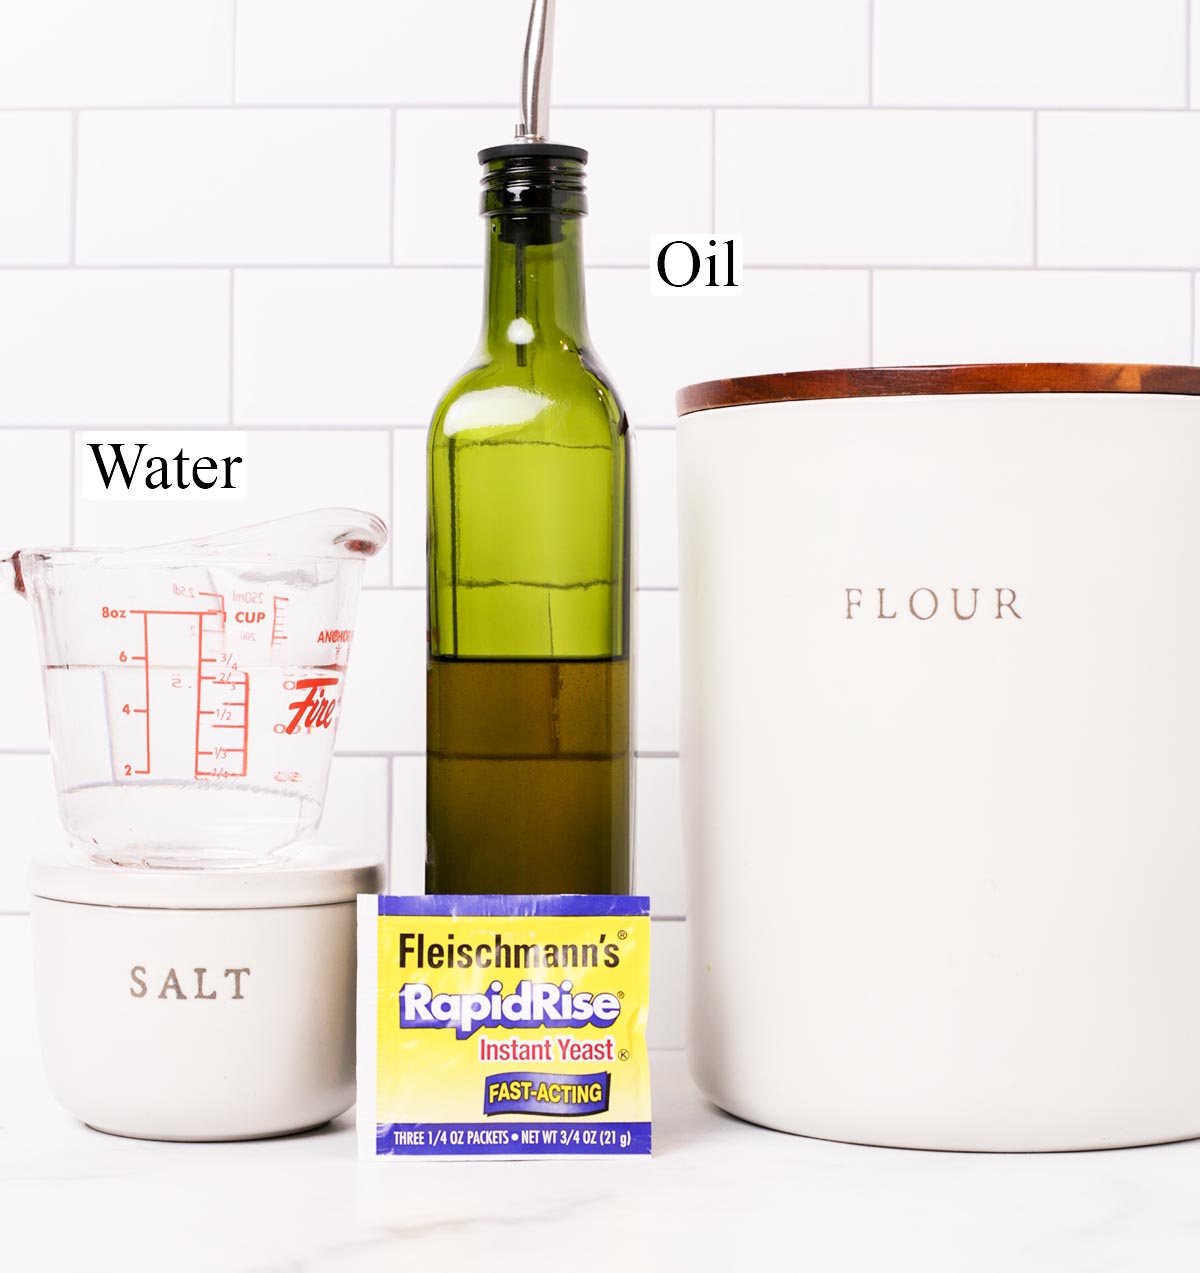
Ingredients for focaccia bread
Please scroll down to the recipe card for the ingredient quantities!
- All-purpose flour - This is perfect for most bread baking and you can find it almost any grocery stores. If you prefer, you can use bread flour instead. It'll product an even airier focaccia, but it will be slightly chewier. If using bread flour, we recommend adding 1 to 2 tablespoons extra water.
- Salt - To season the dough and also to give the dough more elasticity.
- Yeast - For this recipe, we like using instant yeast because it can be added straight into the flour without dissolving first and also because it's faster acting. However, active dry yeast is perfectly fine as well. Just make sure to dissolve it in the warm water first.
- Water - We recommend using warm water to help the dough work faster.
- Olive oil - No focaccia is complete without olive oil! Not only does it give focaccia its iconic flavor, it also adds richness and help to crispy up the edges and top of the focaccia.
- Toppings of choice - This is all personal preference what you want to put on top of the focaccia or you can do without any toppings at all, just olive oil and maybe some salt. Some common topping combos are rosemary and salt, feta cheese and tomato, red onions and tomato, and caprese.
How to make focaccia (no-kneading!)
Please scroll down to the recipe card for the full recipe and instructions!
For the dough:
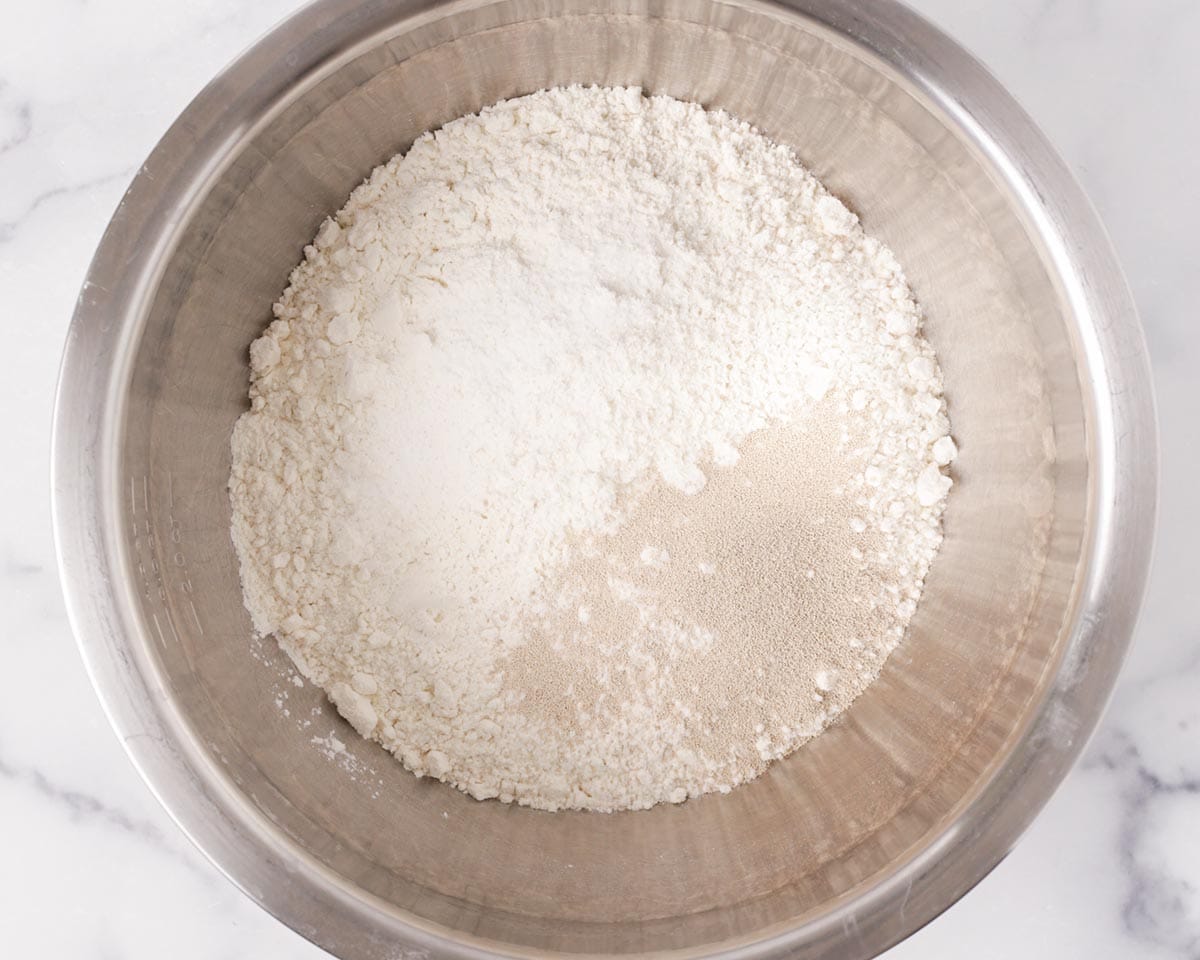
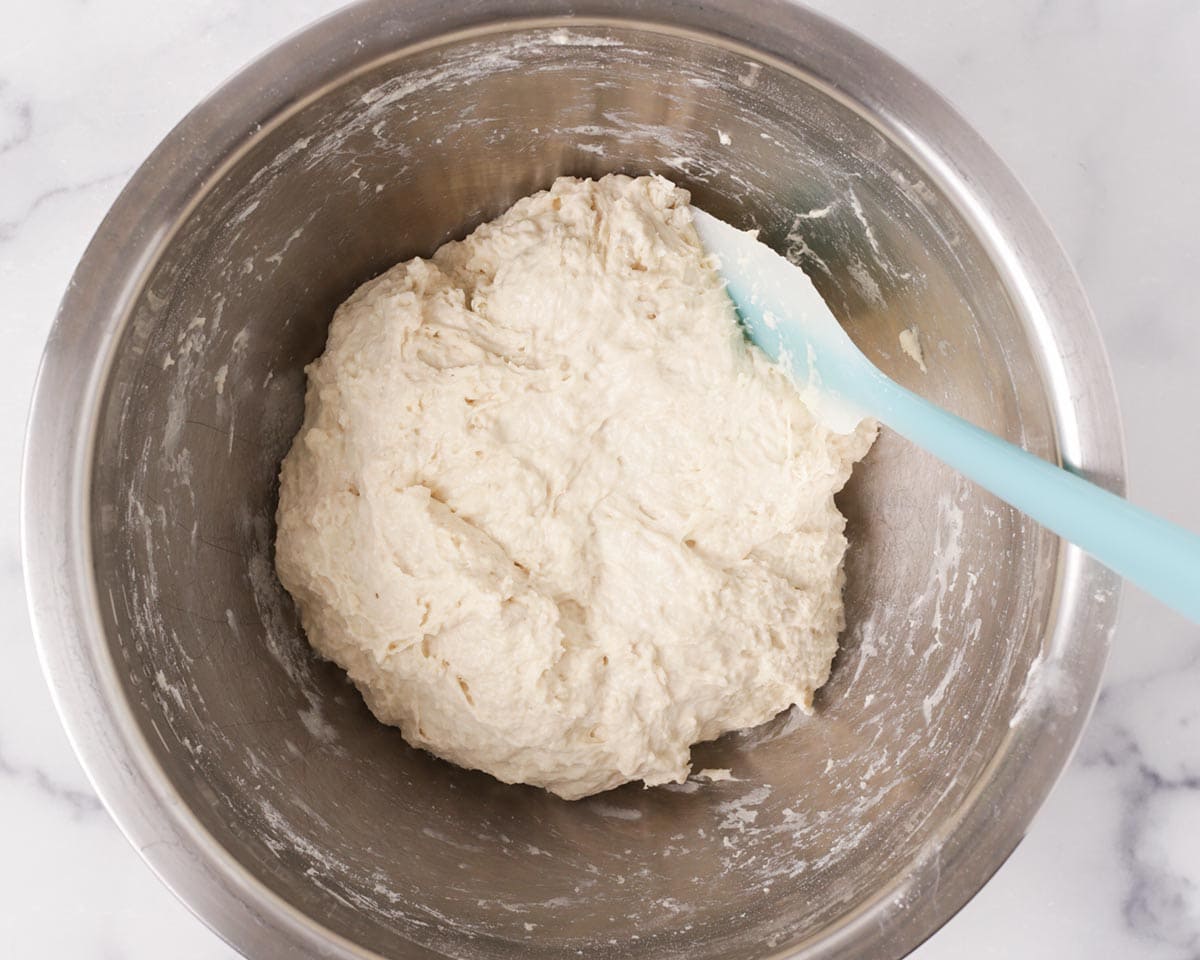
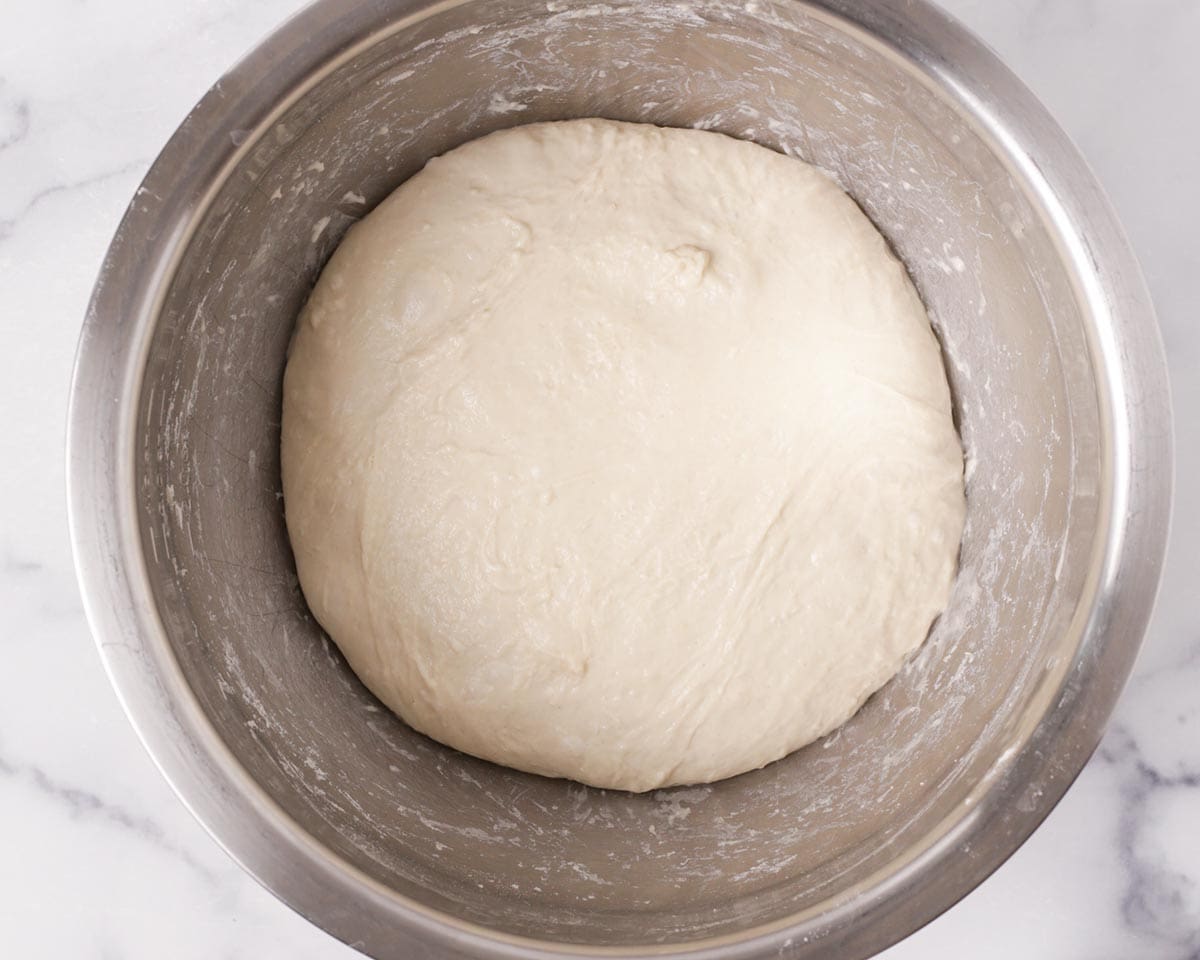
1. Make dough. Mix together all-purpose flour, salt, and instant yeast until well combined.
Then add water and mix until a dough forms and no more dry flour is visible. Cover and let it rest in a warm area for 15 minutes.
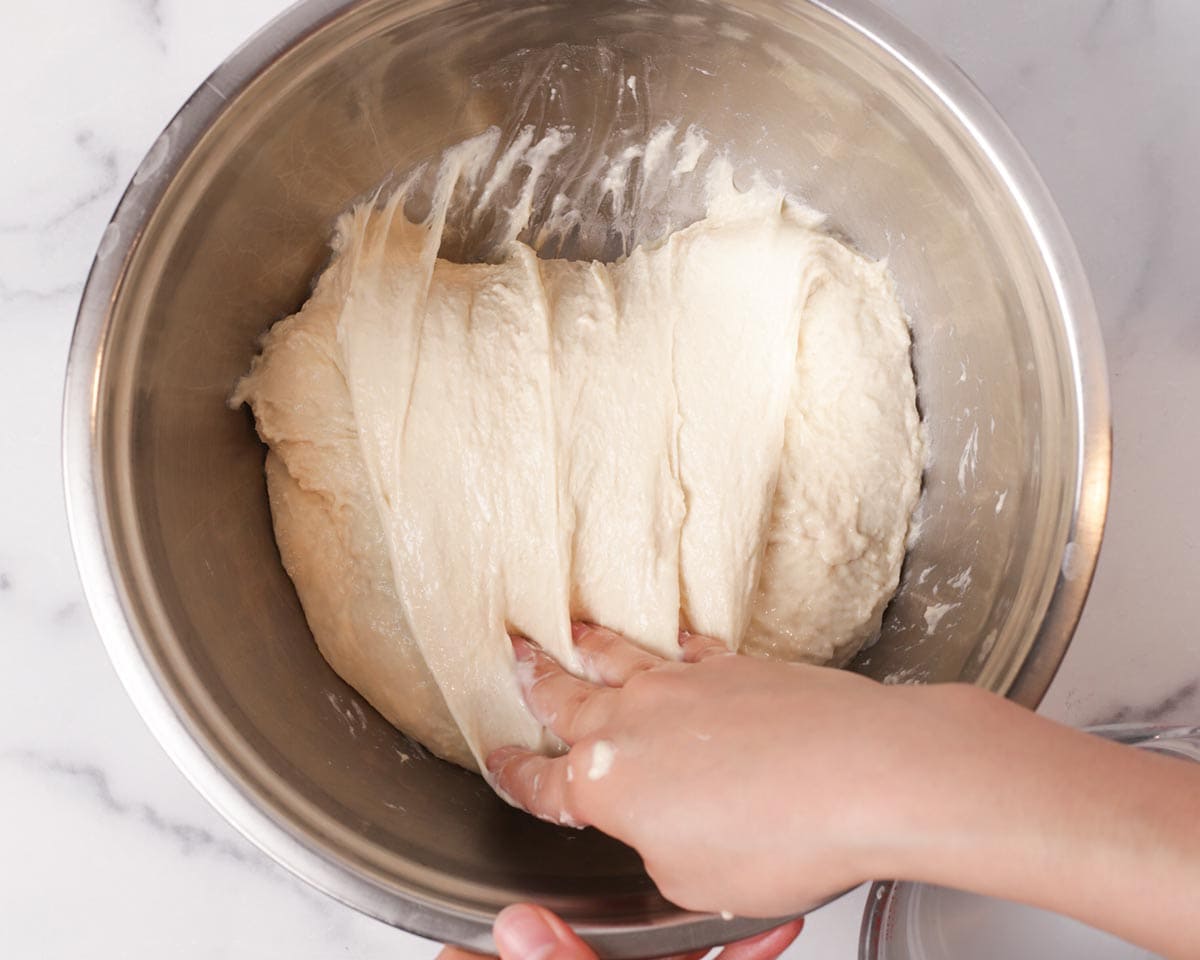
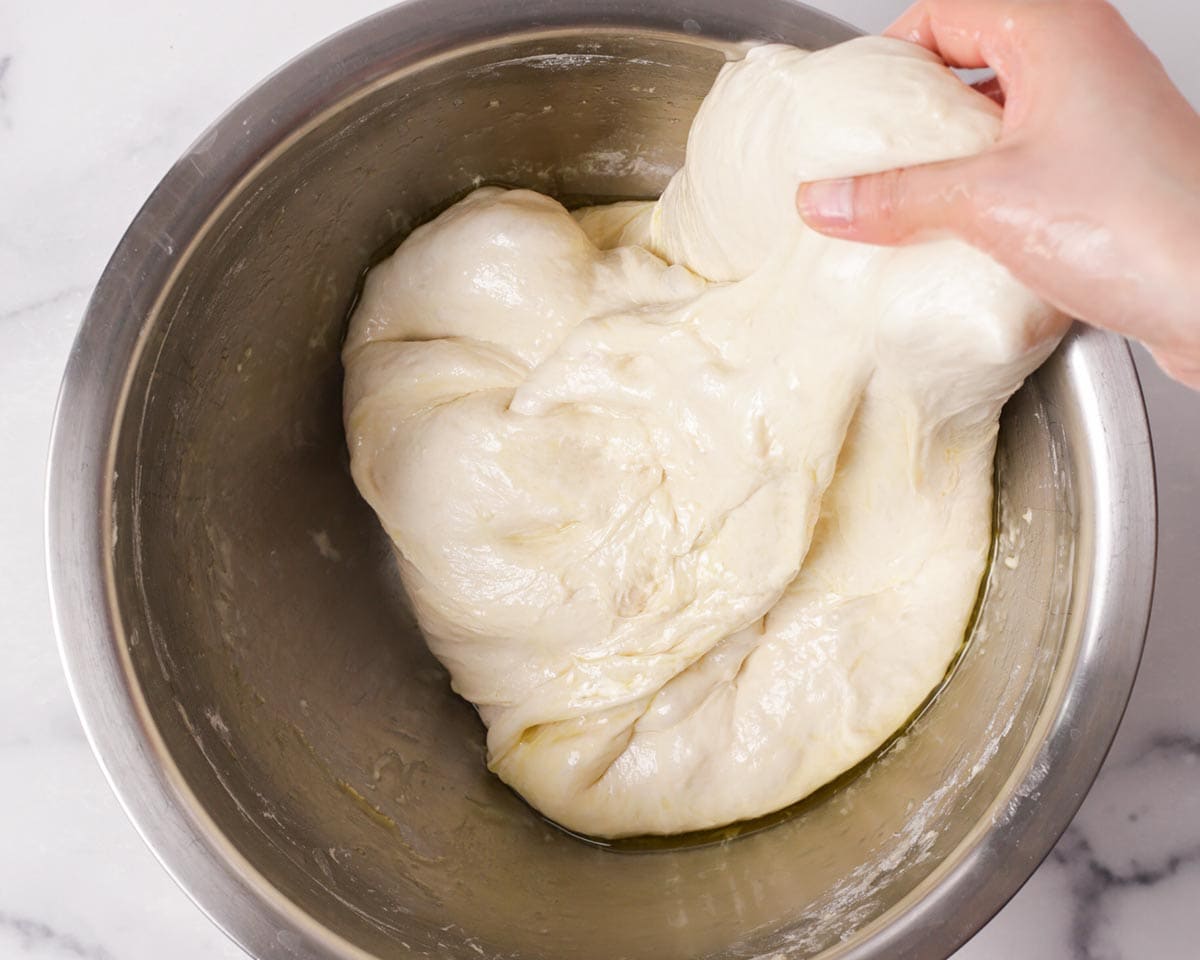
2. 1st fold. Wet one hand with water and gently pull on the right edge of the dough as far as possible and fold it over to the opposite side (the left side). Repeat this step with the remaining top, left, and bottom edges of the dough. Cover and rest in a warm area for 15 minutes.
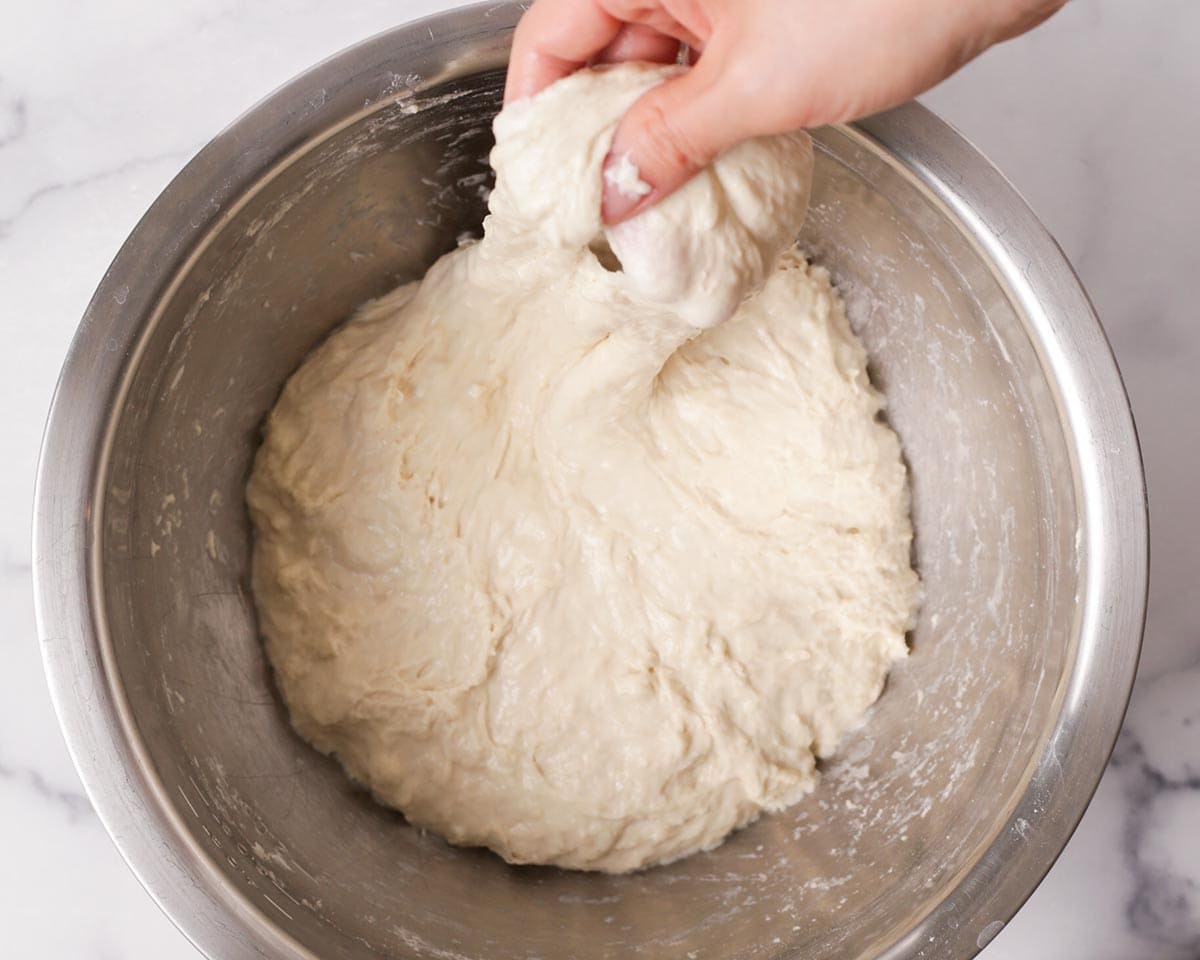
🌟 Pro tip: This dough is quite wet, so re-wet your hand as needed when handling the dough.
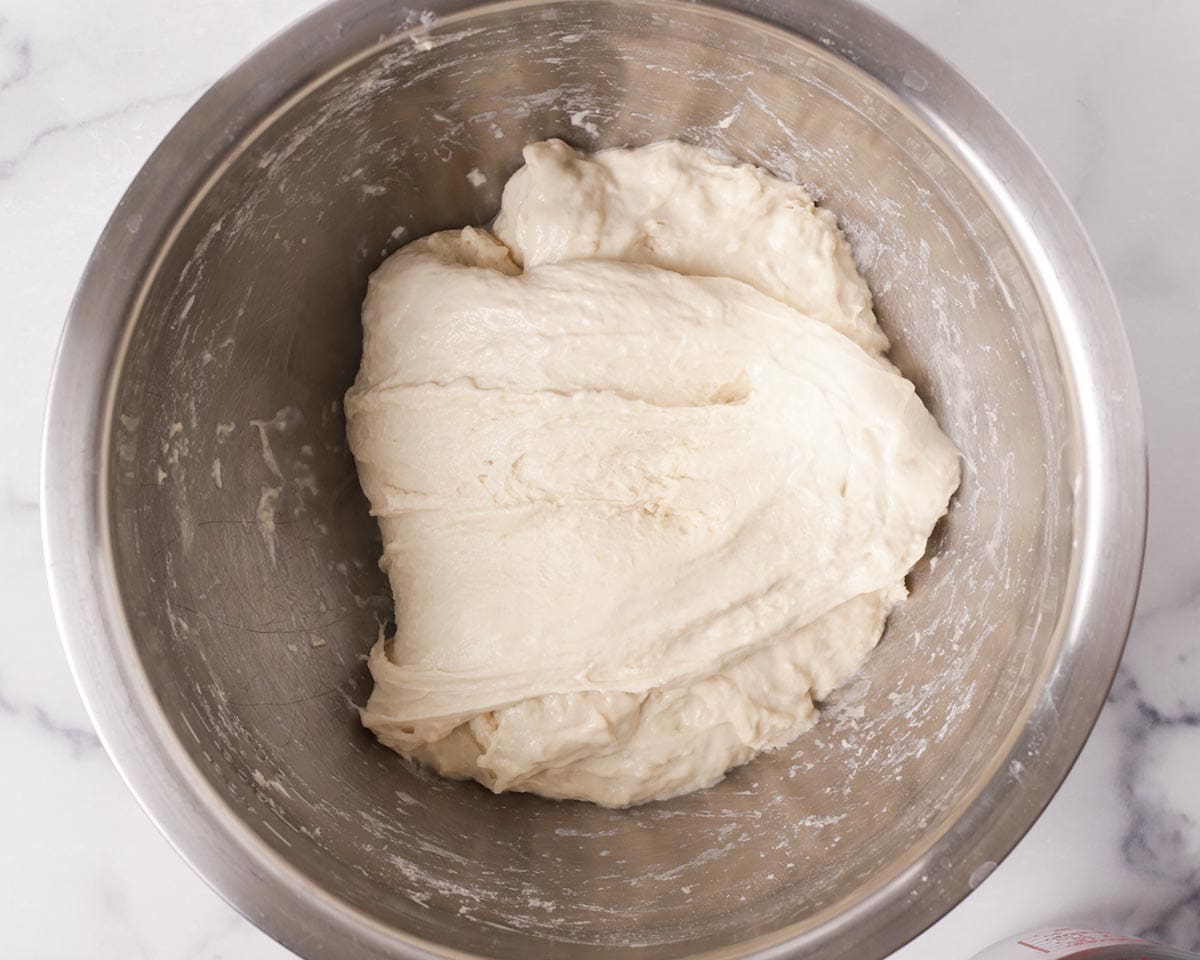
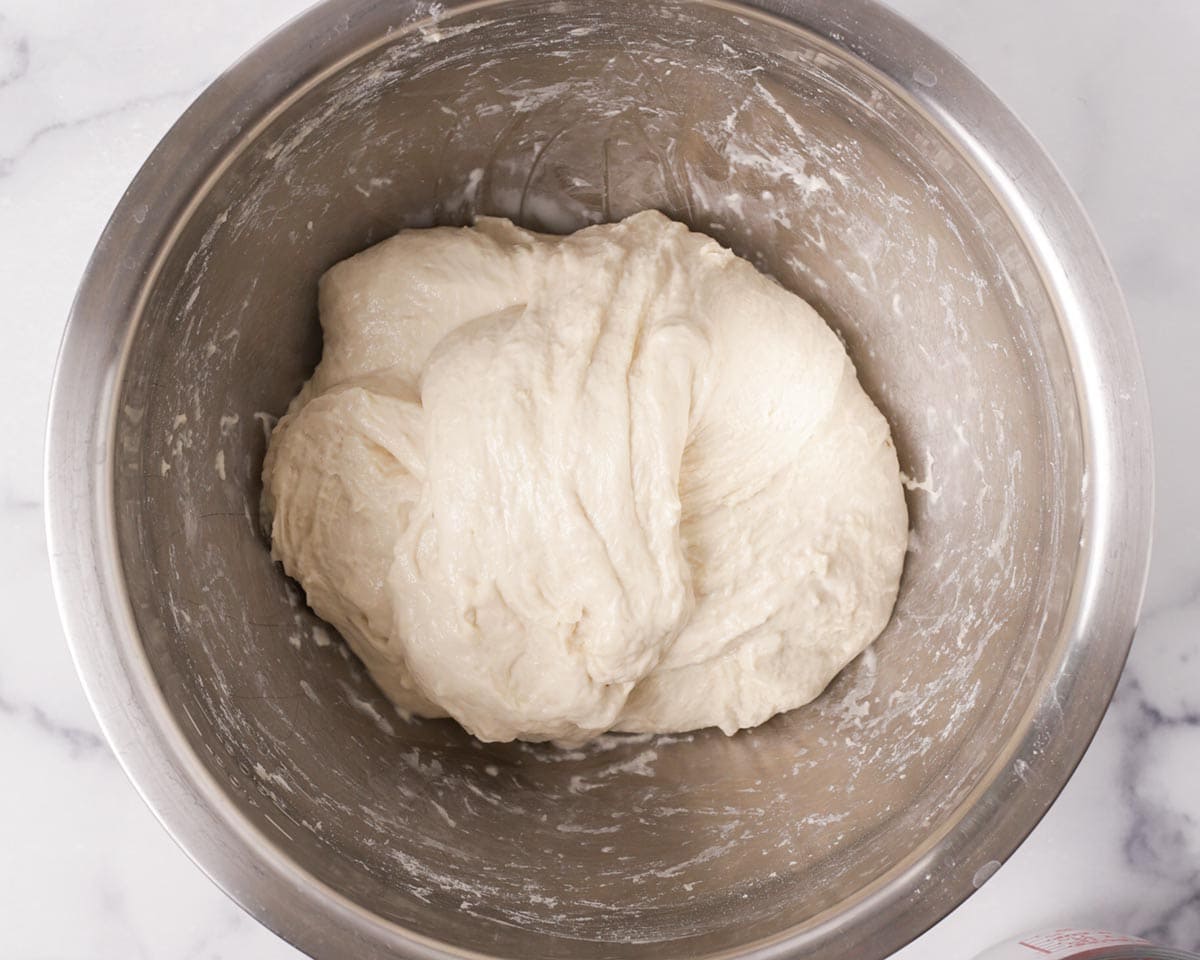
3. 2nd fold. Repeat the same folds as the previous step and round out the dough. Pour the olive oil over it, making sure the entire dough is covered. You can move the dough around to coat.

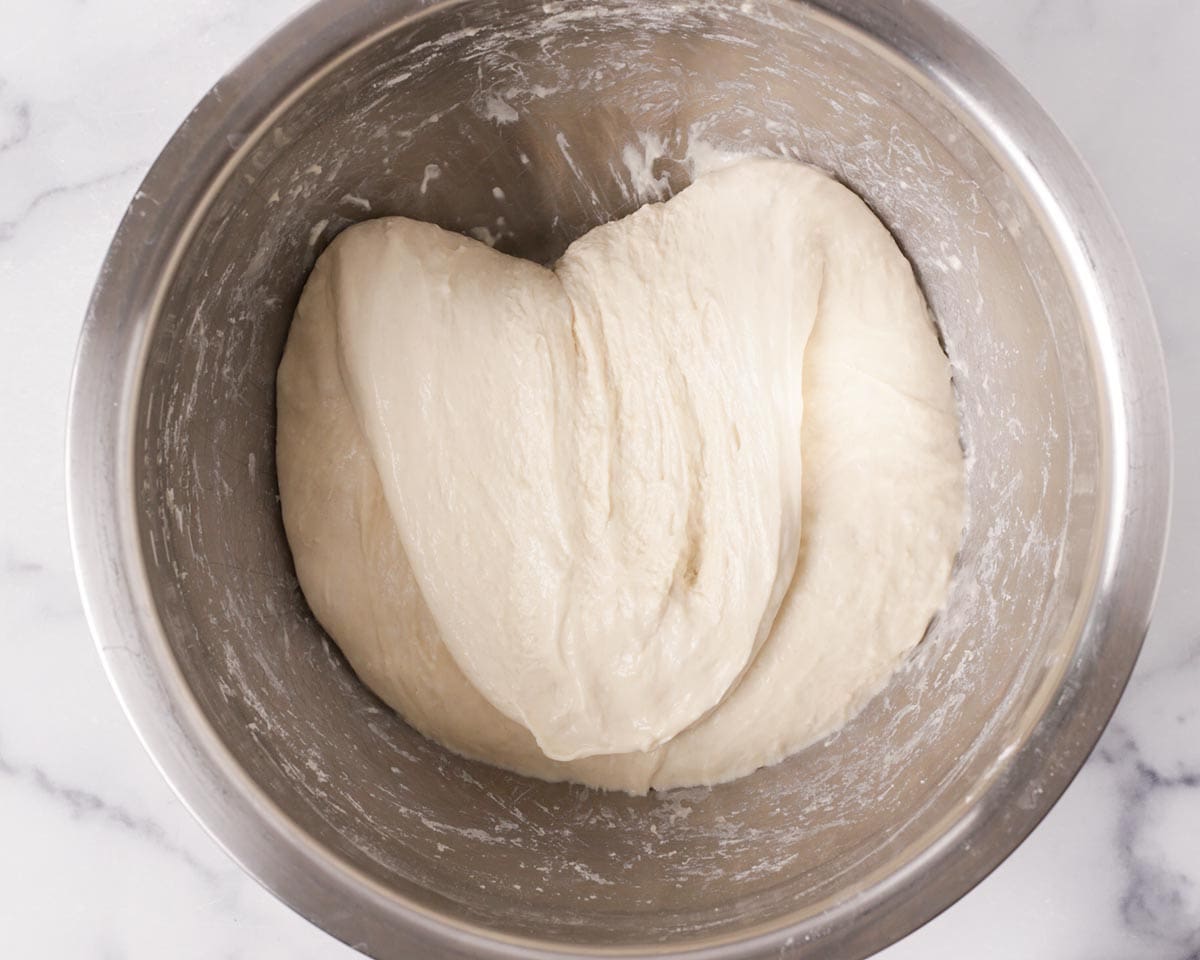
📝 Note: After the 2nd fold, the dough should have gain some strength and can hold its shape pretty well and looks much smoother. If not, let the dough rest for another 15 minutes and perform another fold before adding olive oil.
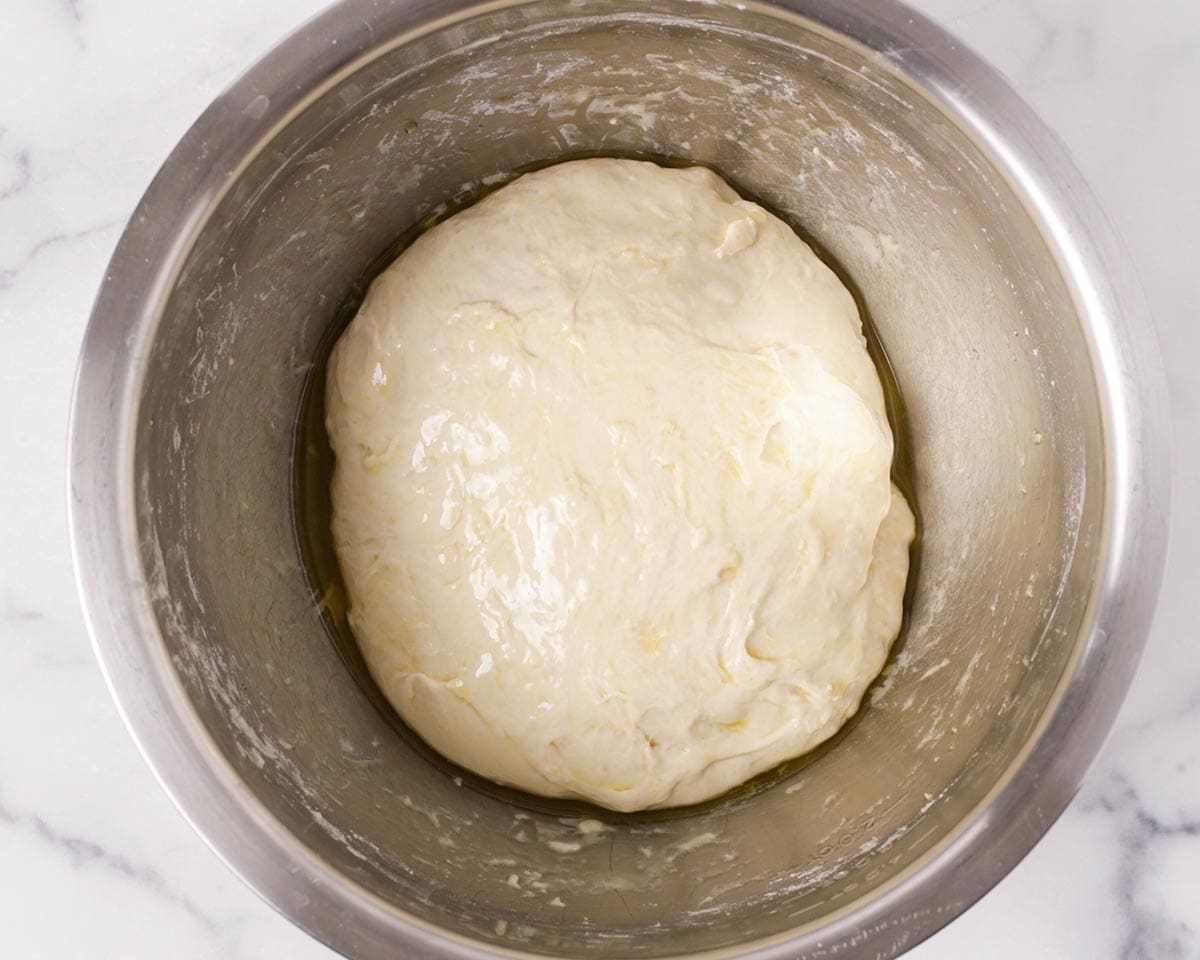
4. 1st proof. Cover the bowl and let the dough proof in a warm area until doubled, about 1 hour.
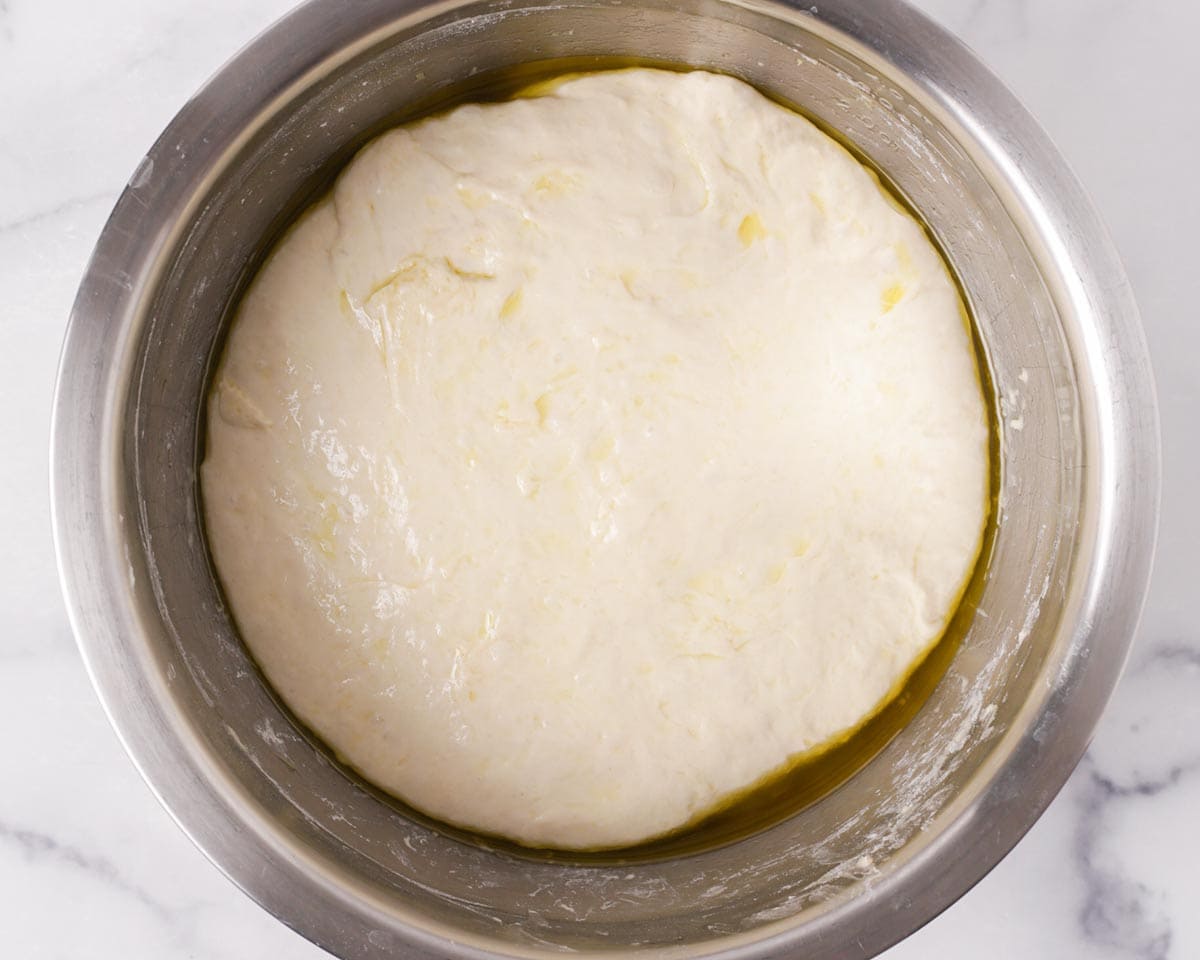
Once the dough has doubled, punch it down to deflate it and fold the edges of the dough to the center. Repeat this motion until the dough is back to to it's original size and most of the olive oil is absorbed.

Round out the dough and make the top smooth by pulling the top and tucking it to the bottom.

Shape and bake:
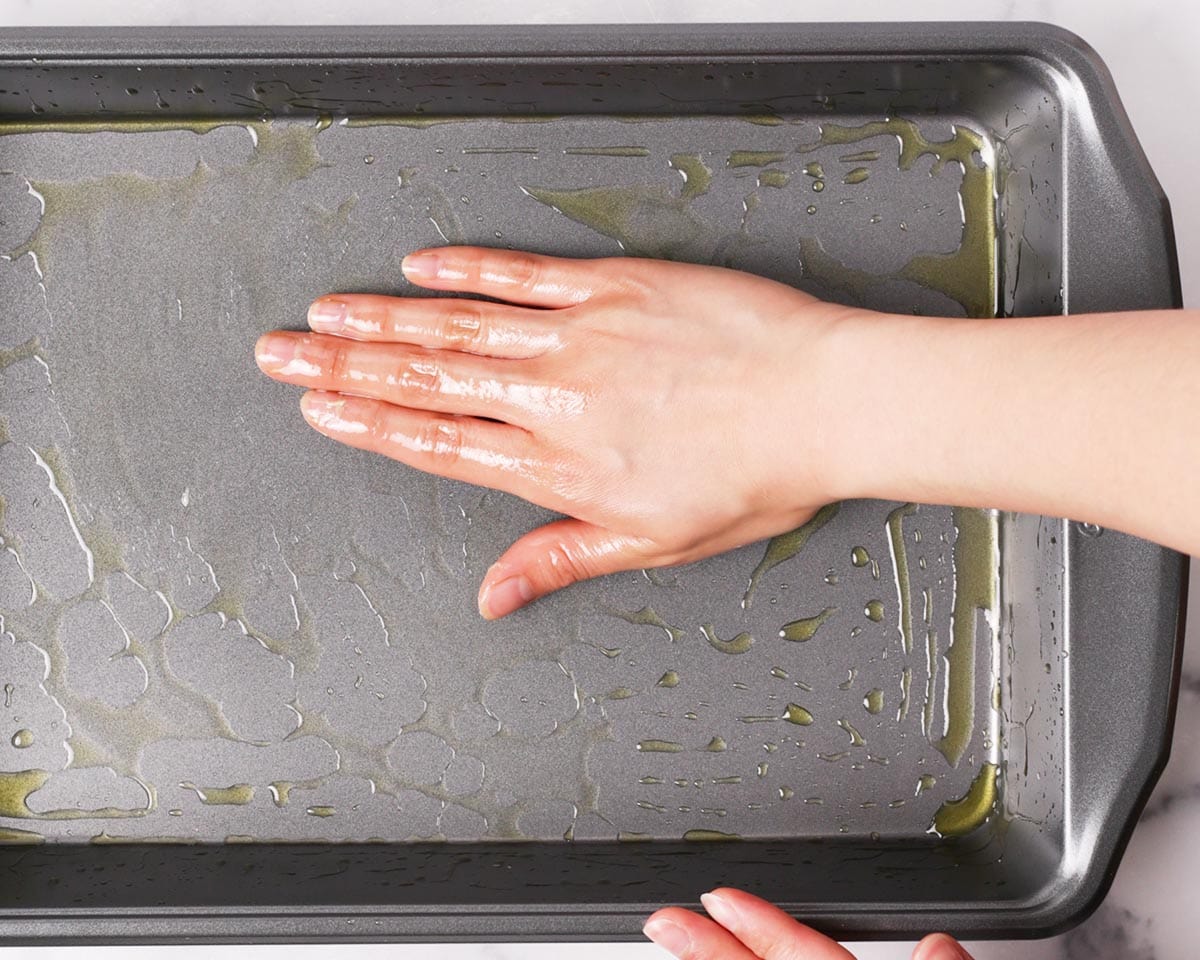
5. 2nd proof. Generously grease a 9x13 inch rectangular pan with olive oil, about 2 tablespoons. Rub olive oil on the sides of the pan as well.
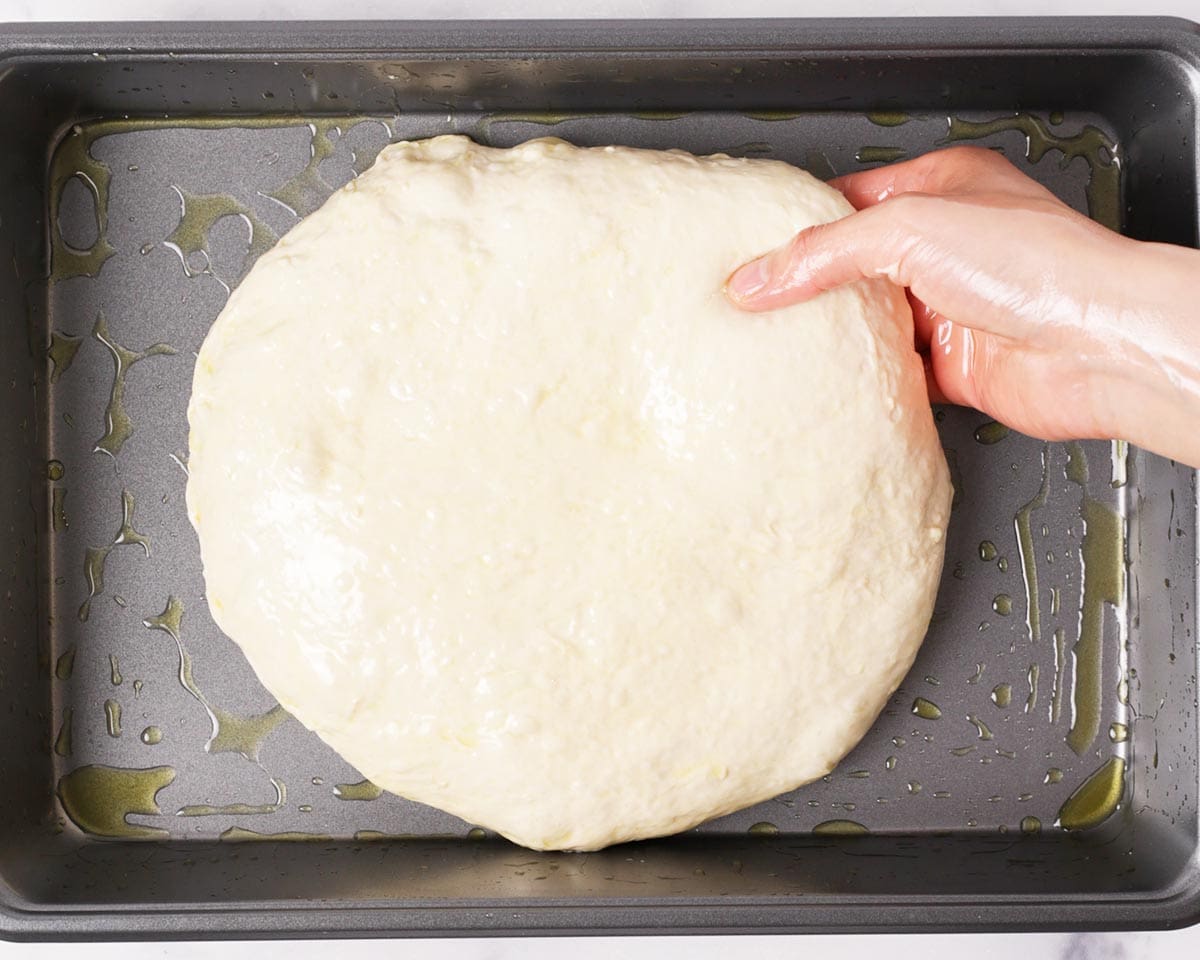
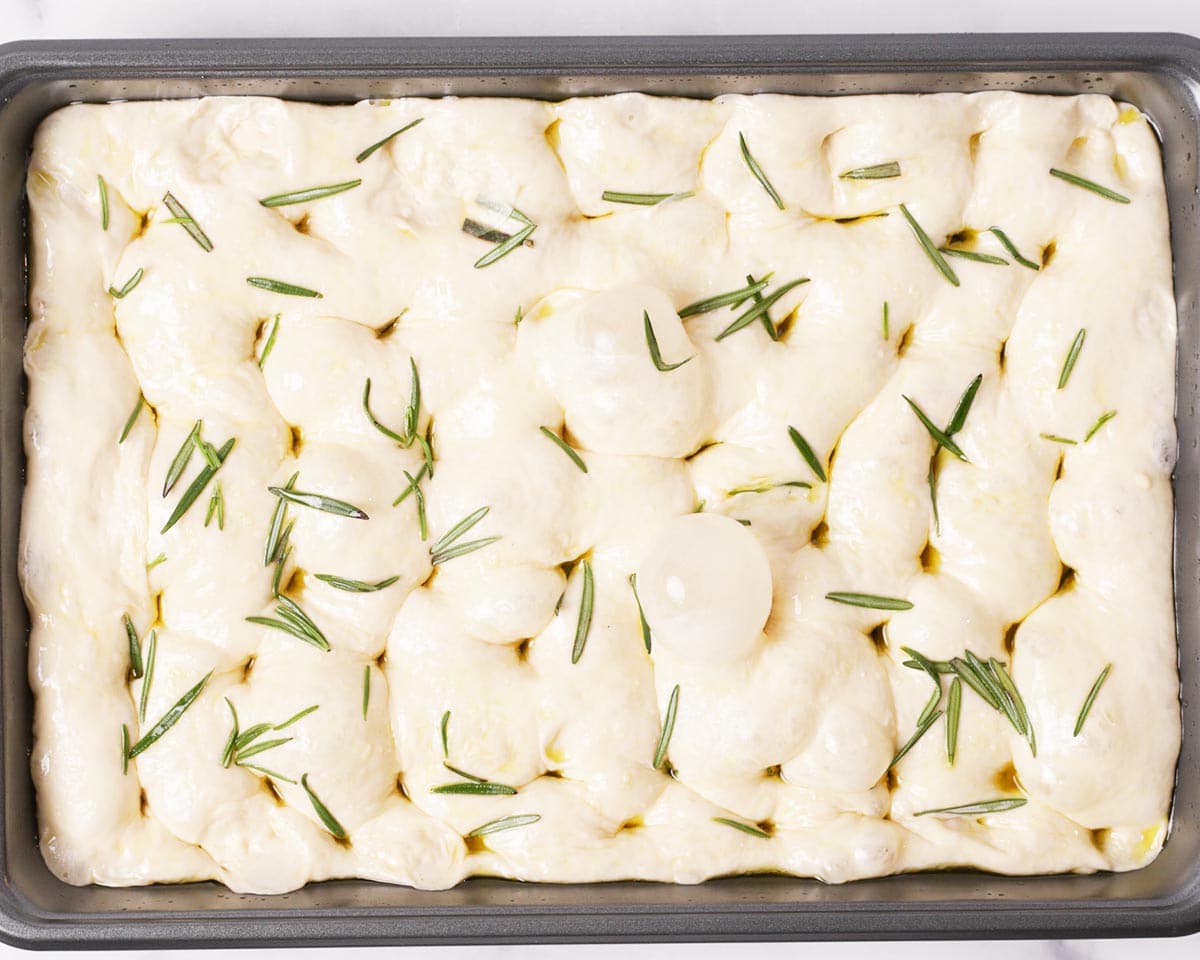
Place the rounded out dough into the prepared pan, smooth side up. Gently pull at the edges of the dough to lightly stretch it out into a rectangle. It doesn't have to fit the whole pan at this point. Cover the pan and allow it to proof in a warm area until it's doubled, fills the pan, and is jiggly, about 1 hour.

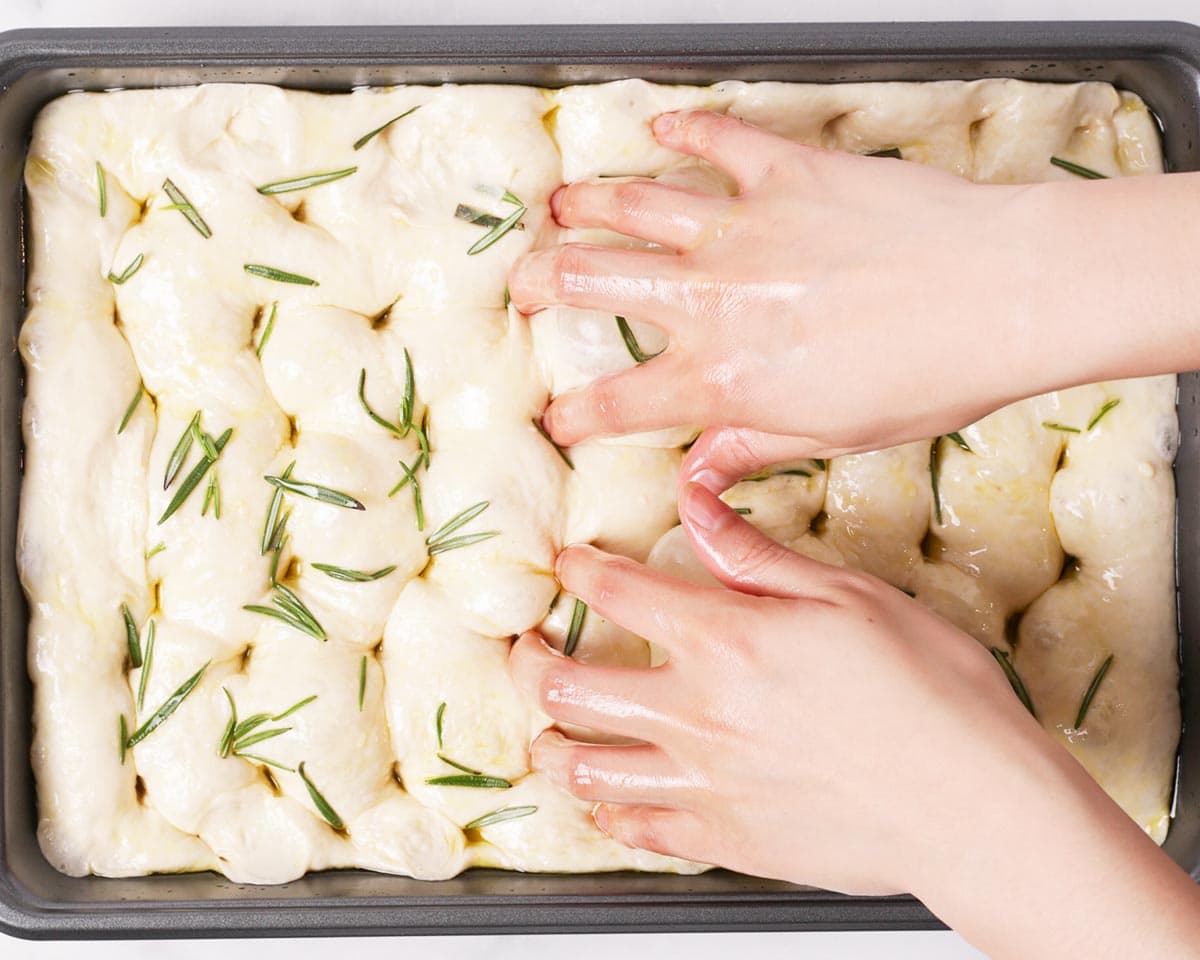
6. Preheat oven to 450°F (230°C) and shape. Generously drizzle olive oil on top of the proofed dough. Also lightly grease both of your hands with olive oil. Using your fingers, gently press into the dough to create dimples. Repeat on the entire dough, leaving about 1 inch of space in between each set.
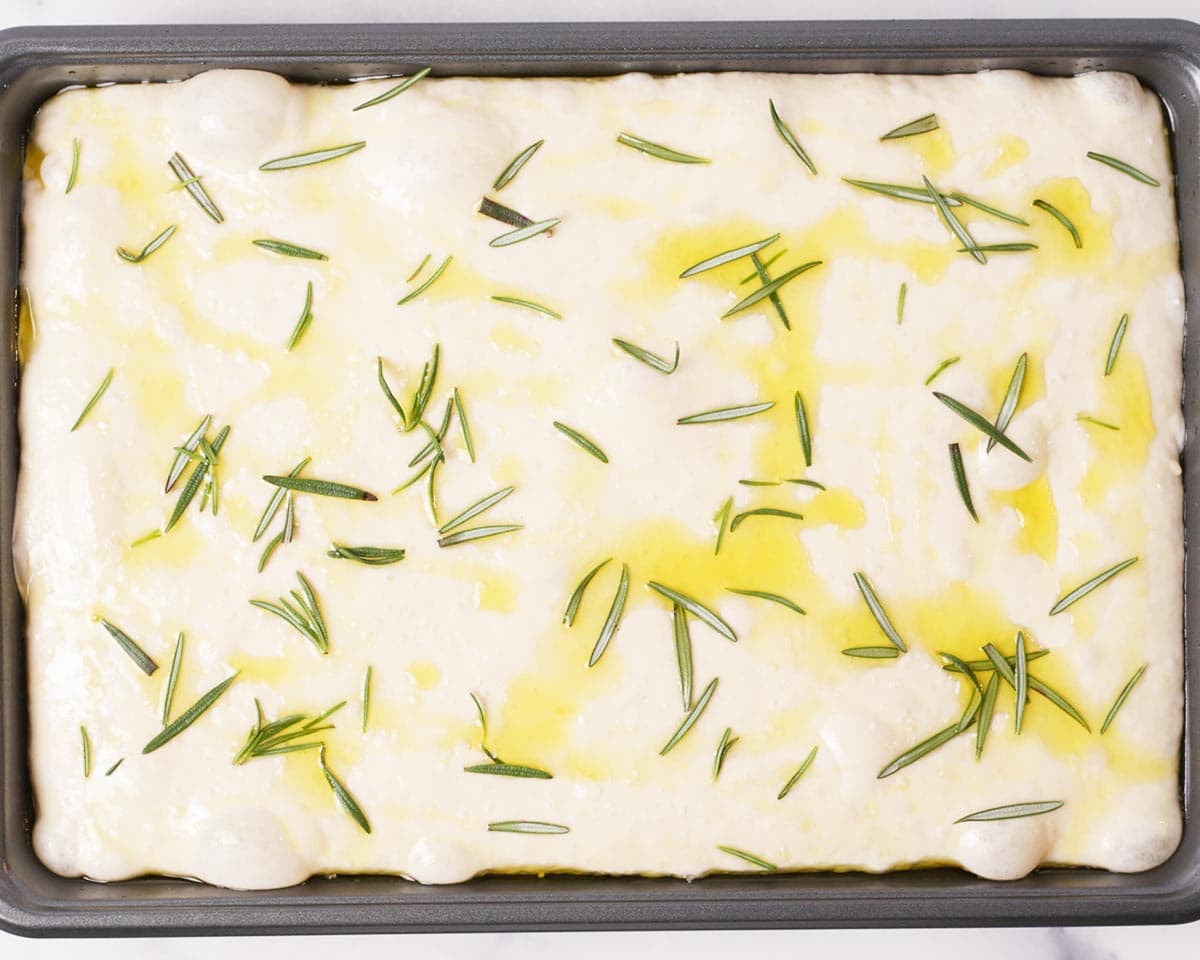
📝 Note: If adding rosemary and salt as the toppings, you can sprinkle them onto the dough after drizzling on oil (before oiling your hands). This way, some of the rosemary can be pressed into the dough and can adhere better.
7. Add toppings. Add your desired toppings, if any. For large toppings, gently press them into the dimples to help them adhere better.
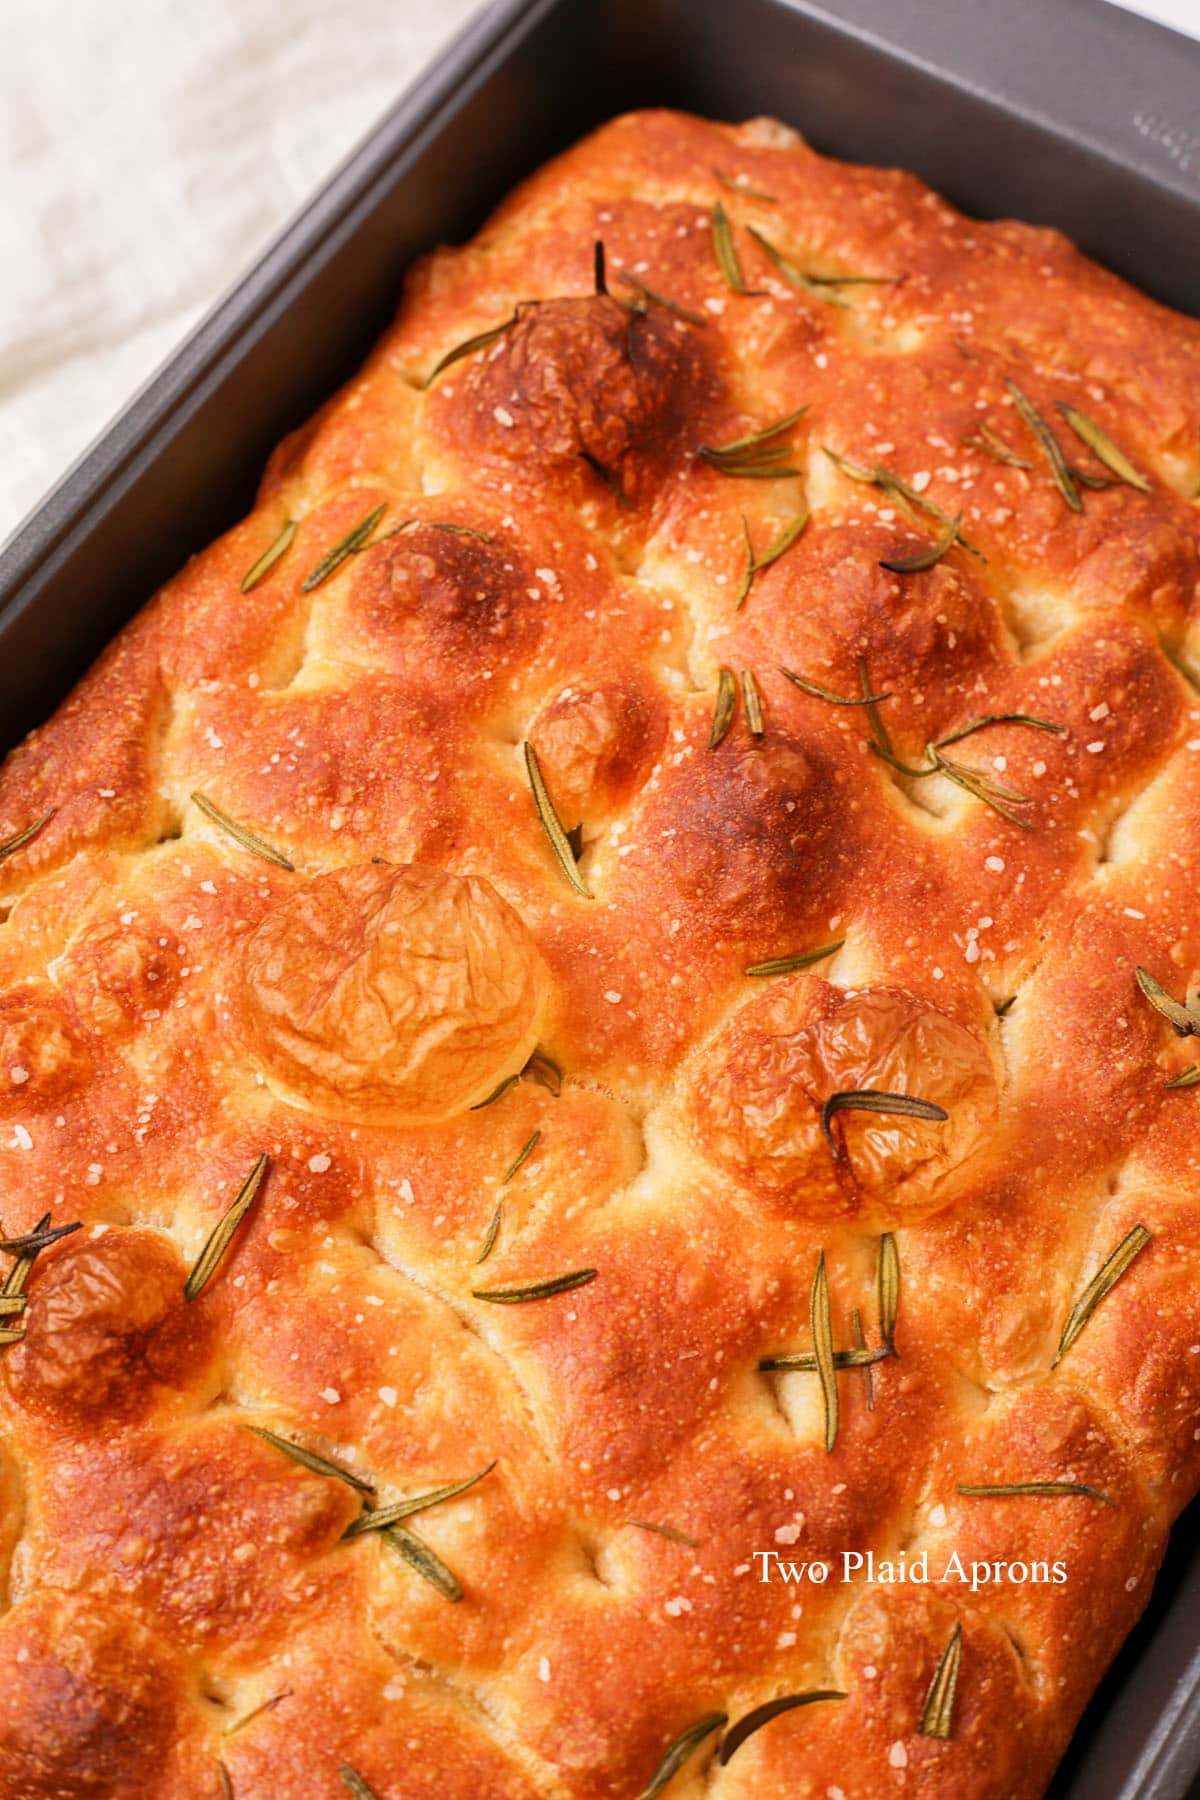
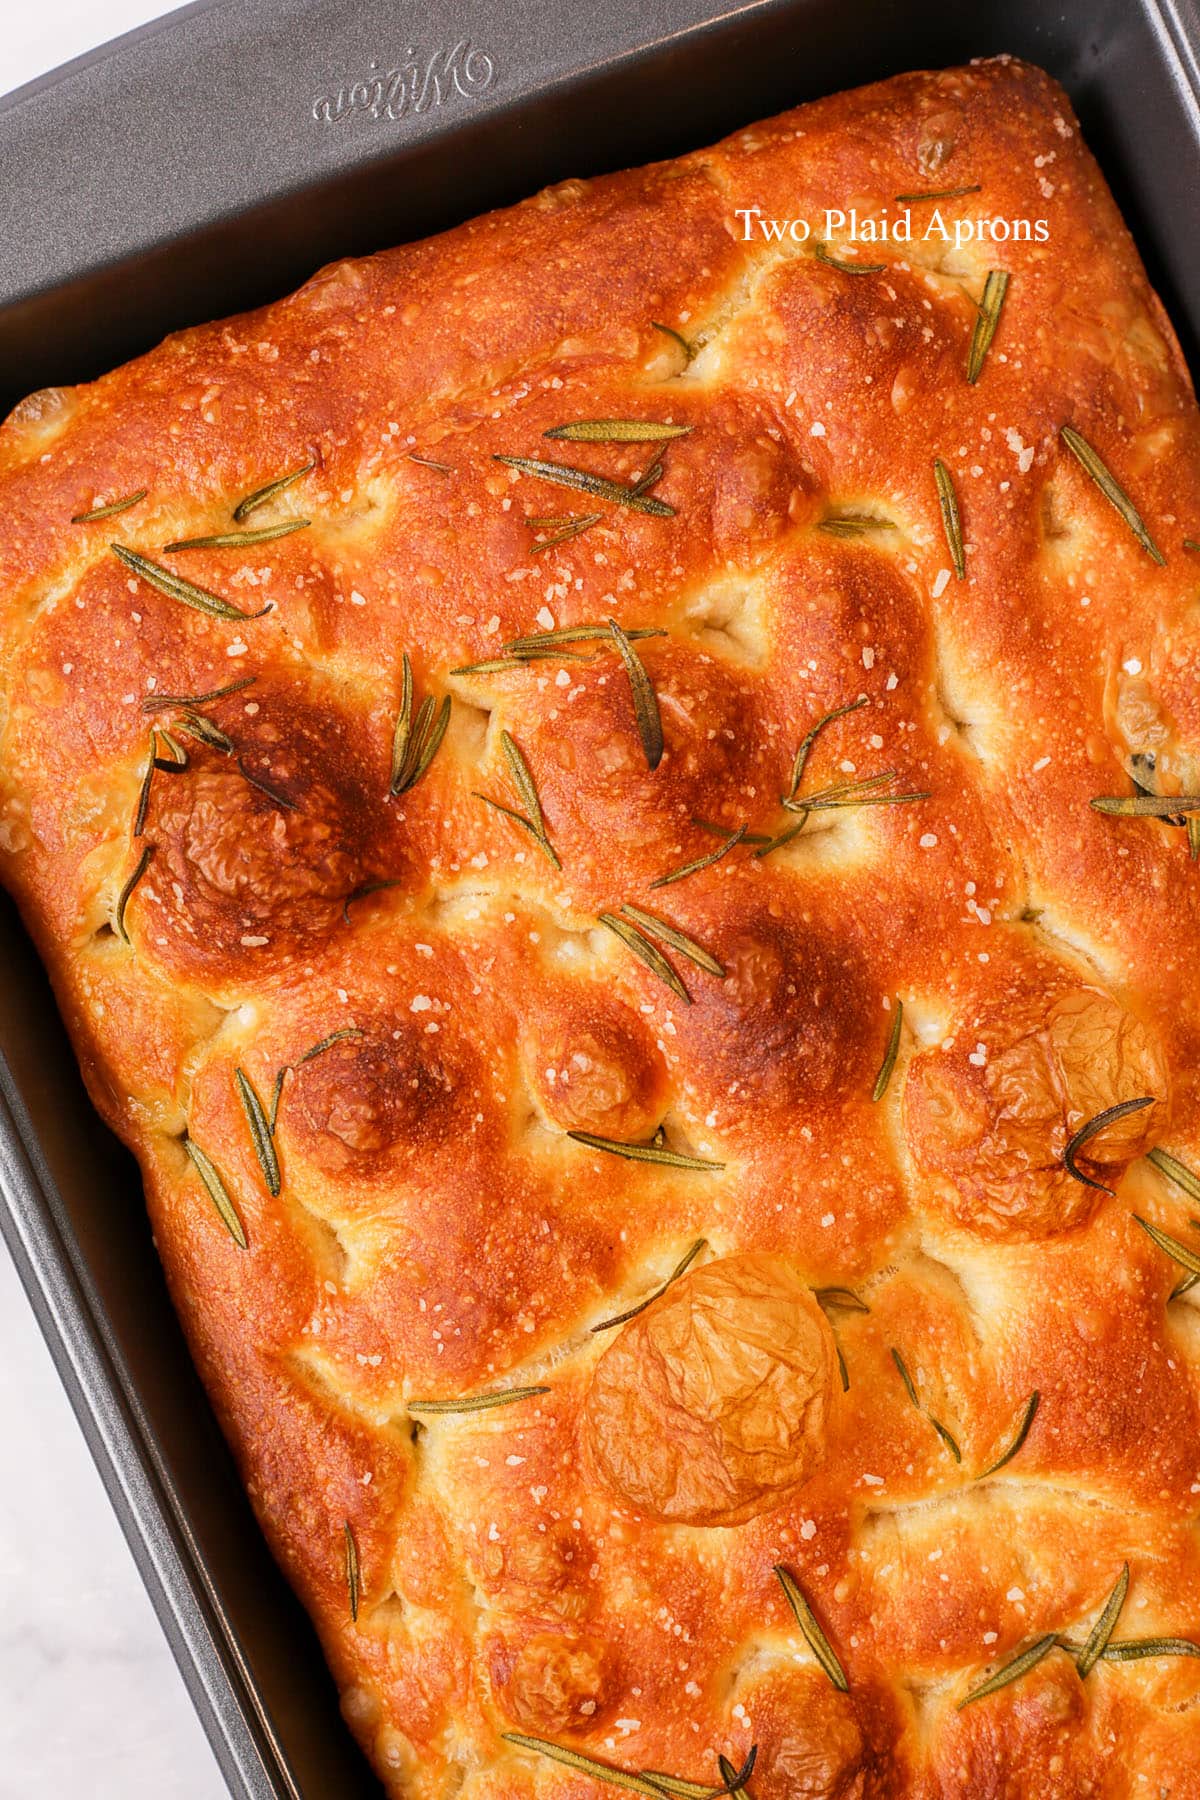
8. Bake. Once the oven is ready, bake the focaccia for 20 to 25 minutes or until the the top of the focaccia bread is golden brown and the internal temperature registers at least 200°F (93°C).
9. Cool. Remove the focaccia from the oven and allow to cool for a moment before removing from the baking pan. Allow the focaccia to cool on a baking rack.
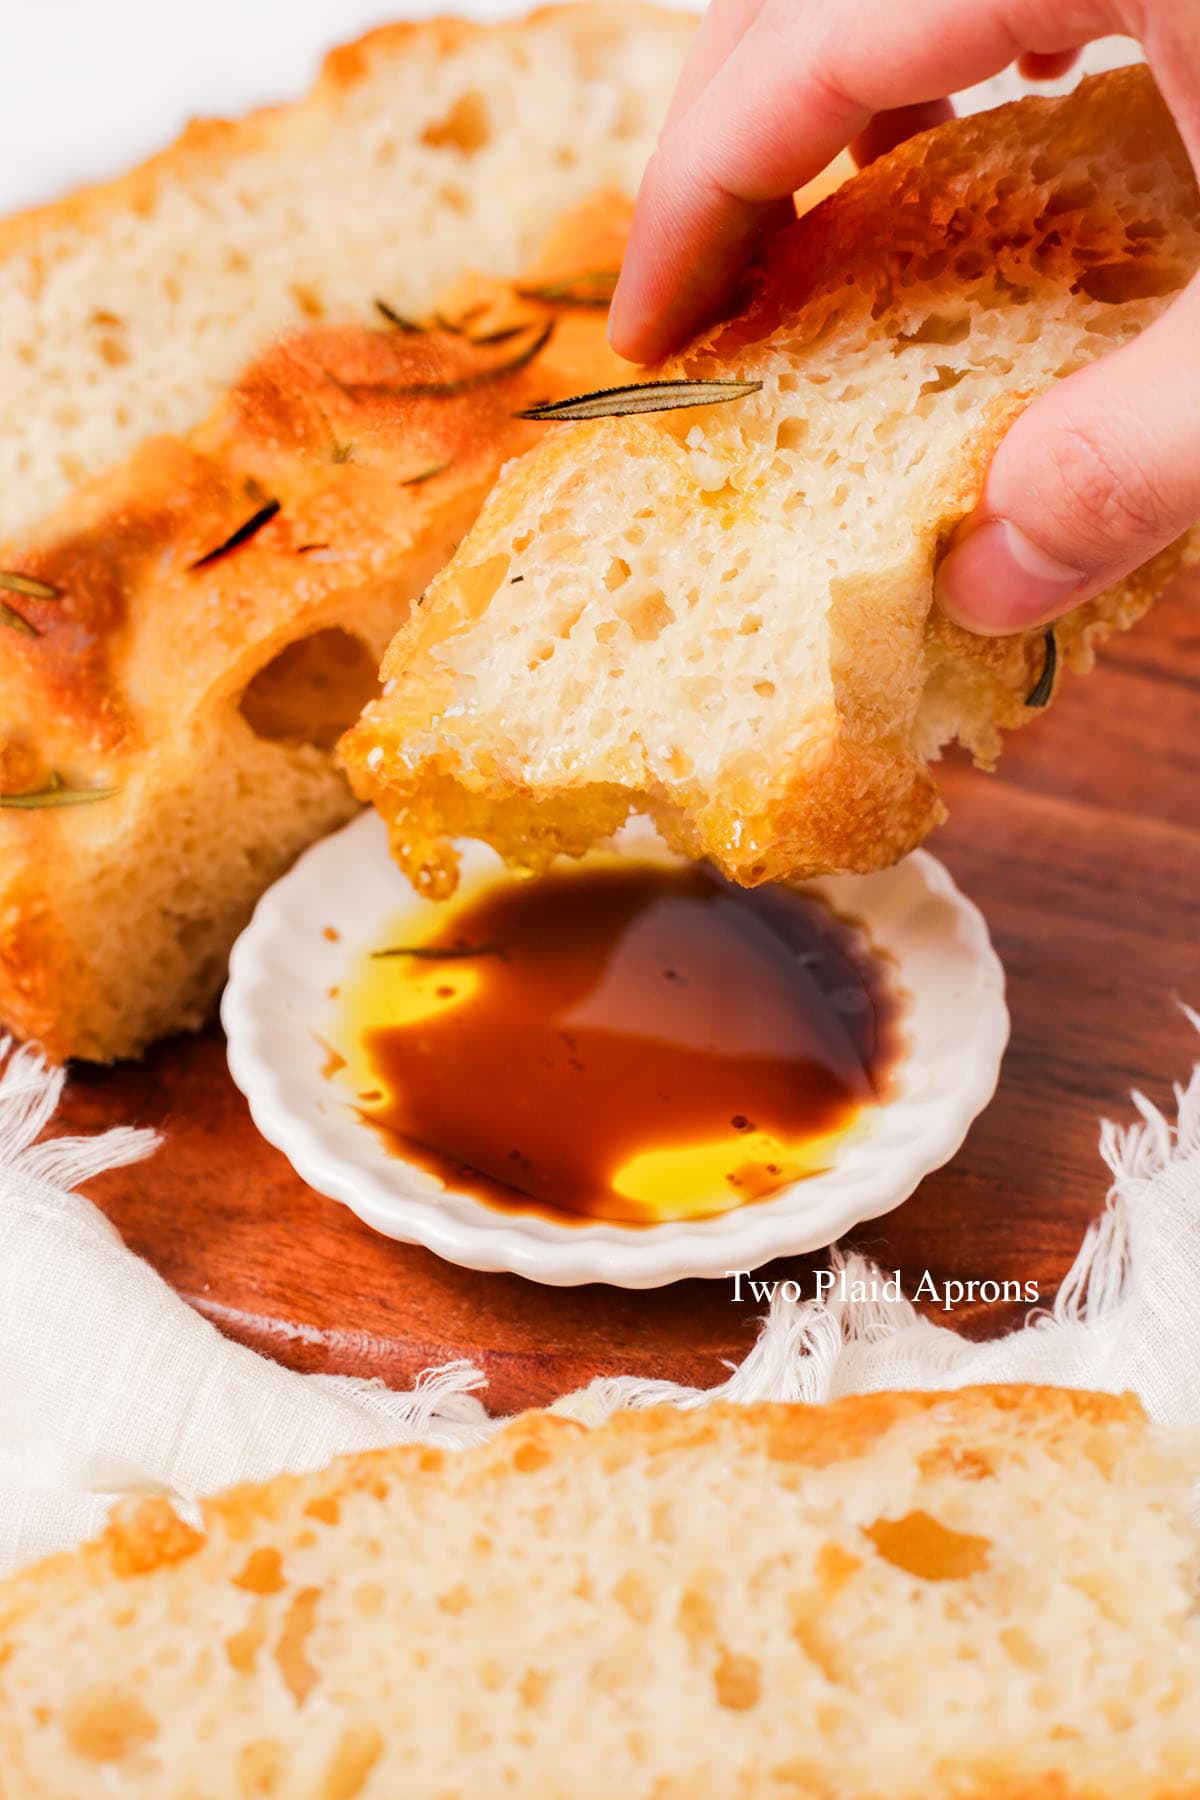
10. Enjoy. Cut the focaccia into your desired sizes and enjoy while it's warm, by itself, with olive oil and balsamic, or use it as a sandwich bread.

Recipe tips
- Don't add more flour even if the dough feels sticky. Focaccia dough is supposed to have high hydration level in order to produce a light and airy focaccia. Simply wet your hands as needed when handling the dough.
- Rest and proof the dough in a warm area. This is important to help the dough develop and proof. If the dough is left in a cool area, nothing bad will happen. the dough will just need more time to rest and proof. We like to proof our doughs in the oven with the oven light on. On really cold days, we very briefly heat up the oven just to warm it up.
- For REALLY good, airy focaccia, rely on your observation skills. How airy the focaccia really depends on the second proof. On average the proofing time is about 1 hour. However, if your area is cooler, it'll take a longer time. It's important to wait until the dough is completely doubled and jiggly before making dimples. The middle of our focaccia dough rose a little past the top of our pan. A sufficiently proofed dough will make bubbles as you press into the dough to make dimples.
Storage
Leftover focaccia is best stored at room temperature and for up to 2 days. Just make sure to wrap it well with cling wrap. Otherwise tightly wrap and store in an airtight container to freeze for up to 2 months.
Avoid refrigerating the focaccia bread to prevent drying out and hardening.
Reheating
Focaccia can be reheated in the oven or in the air fryer.
For cut focaccia, make sure to wrap the cut area with foil and leave the top exposed to get a crispy top while preventing the inside from drying out. Also, either lightly spray or pat the top of the focaccia with water.
Oven method: Place the focaccia on a sheet pan and bake at 400°F (205°C) for about 5 to 10 minutes, until the top is golden brown and crispy and the interior is heated through.
Air fryer method: Place the focaccia in the basket and air fry at 375°F (190°C) for about 5 to 7 minutes, until the top is golden brown and crispy and the interior is heated through.
For frozen focaccia, it is best to allow it to thaw before reheating.
FAQ
Yes, you can use bread flour instead of all-purpose flour. The focaccia will actually become a bit airier. We do recommend adding 1 to 2 tablespoons more water.
This focaccia dough is supposed to be quite sticky because it's a high hydration dough. This will yield an airy and light focaccia. To help with the stickiness, wet your hands as needed whenever handling the dough (except when the olive oil has been added).
📖 Recipe
Focaccia (Easy and No-Knead)
Ingredients
For the focaccia bread:
- 4½ cup all-purpose flour fluffed, spooned, and leveled
- 2 teaspoons salt
- 2¼ teaspoons instant yeast (1 envelope = 2¼ tsp) *see notes for active dry yeast
- 1¾ cups water warm (between 95-105°F/35-40°C)
- 2 tablespoons olive oil plus more for greasing and topping
Some optional toppings:
- Rosemary removed from the stems
- Kosher salt or any coarse salt
- Cheese (feta, mozzarella, etc)
- Tomato cut in half (cherry or grape tomatoes)
Instructions
- Make the dough:In a large mixing bowl, combine together all-purpose flour, salt, and instant yeast. Mix until well combined.
- To the flour mixture, add the water and mix until a dough forms and no more dry flour is visible. The dough will be very wet and shaggy at this point. Cover and set aside to rest in a warm area for 15 minutes.
- After 15 minutes, perform the first fold. Wet one hand with water and starting with the right side of the dough, gently pull the edge up as far as possible and fold the dough over to the left. Repeat this step with the remaining top, left, and bottom edges of the dough. Rewet your hand as needed when the dough starts to stick to your hand. Cover and set aside to rest in a warm area for 15 minutes.*Please refer to the post above for step by step photo reference!*
- After another 15 minutes, perform the second fold. Repeat the same folds as the previous step. At this point, the dough should look much smooth and can hold its shape decently well. Pour the olive oil over the dough and using the oil, move the dough around until it's well coated everywhere.
- 1st Proof:Cover the bowl and let the dough proof in a warm area until doubled, about 1 hour.
- Once the dough has doubled, punch it down to deflate it and fold the edges of the dough to the center. Repeat this motion until the dough is back to to it's original size and most of the olive oil is absorbed. Round out the dough and make the top smooth by pulling the top and tucking it to the bottom.
- 2nd Proof:Generously grease a 9x13 inch rectangular pan with olive oil, about 2 tablespoons. Rub olive oil on the sides of the pan as well.
- Place the rounded out dough into the prepared pan, smooth side up. Gently pull at the edges of the dough to lightly stretch it out into a rectangle. It doesn't have to fit the whole pan at this point.
- Cover the pan and allow it to proof in a warm area until doubled and jiggly, about 1 hour.
- Bake:Once the dough has doubled, preheat the oven to 450°F (230°C).
- Generously drizzle olive oil on top of the proofed dough. Also lightly grease both of your hands with olive oil. Using your fingers, gently press into the dough to create dimples. Repeat on the entire dough, leaving about 1 inch of space in between each set.*If you're topping with rosemary and salt, you can sprinkle them on the dough after your drizzle oil and before oiling your hands.*
- Add your desired toppings, if any. For large toppings, gently press them into the dimples to help them adhere better.
- Once the oven is ready, bake the focaccia for 20 to 25 minutes or until the the top of the focaccia bread is golden brown and the internal tempearture registers at least 200°F (93°C).
- Remove the focaccia from the oven and allow to cool for a moment before removing from the baking pan. Allow the focaccia to cool on a baking rack.
- Enjoy the focaccia while it's warm, by itself, with olive oil and balsamic, or use it as a sandwich bread.
Notes
- Serving size - The nutritional info provided is only an automatically calculated estimate. The serving size is 1 portion of the whole focaccia cut into 12 equal pieces.
- Active dry yeast - If you'd like to use active dry yeast instead of instant yeast, simply add the yeast to the warm water to dissolve and activate instead of adding it straight into the flour. Once the yeast has dissolved, you can add the entire water+yeast into the flour mixture, then follow the recipe as is.
- The only thing to note is that active dry yeast may work a little slower than instant yeast.


Vinnie says
Hi if I want to use a 9x9 pan how much should I Alter the recipe
Mei says
Hi Vinnie! If you want to adapt the recipe for a 9x9 pan, please reduce the recipe to 2/3 of the original =)
Mei ❤️
P says
Hi the crust is very hard but inside is fine. Is there anything I can change to rectify or is that the texture it’s supposed to yield? I tried to follow the instructions to the best I could
Mei says
Hi there! Sorry to hear that your focaccia didn't turn out as it should've. A couple of things could have affected the texture:
1. Proofing - if the dough wasn't proofed properly, it could lead to a dense bread. Make sure to not touch the dough/deflate it after the final proofing. The trapped gas is what makes the bread fluffy. Did the dough double and become very puffy and bubbly when you indented it with your fingers?
2. Temperature - Both too low or too high oven temperature could lead to the bottom of the dough being improperly cooked. We always recommend using an oven thermometer to help accurately read the temperature if you are not using one already.
Hope this helps!
Mei ❤️
LadyJ says
Hi, I’m so excited to let you know I have tried your focaccia recipe. Thank you, I actually made 3 of them today for the first time and they came out very beautiful, my daughter helped me and she also was very happy for the finger dimple. Everyone loved the bread, we had with deli style.
Mei says
Hi LadyJ! We are so happy to hear that everyone enjoyed it! It's always fun to get the family involved with cooking. So glad your daughter had fun too!
Mei ❤️