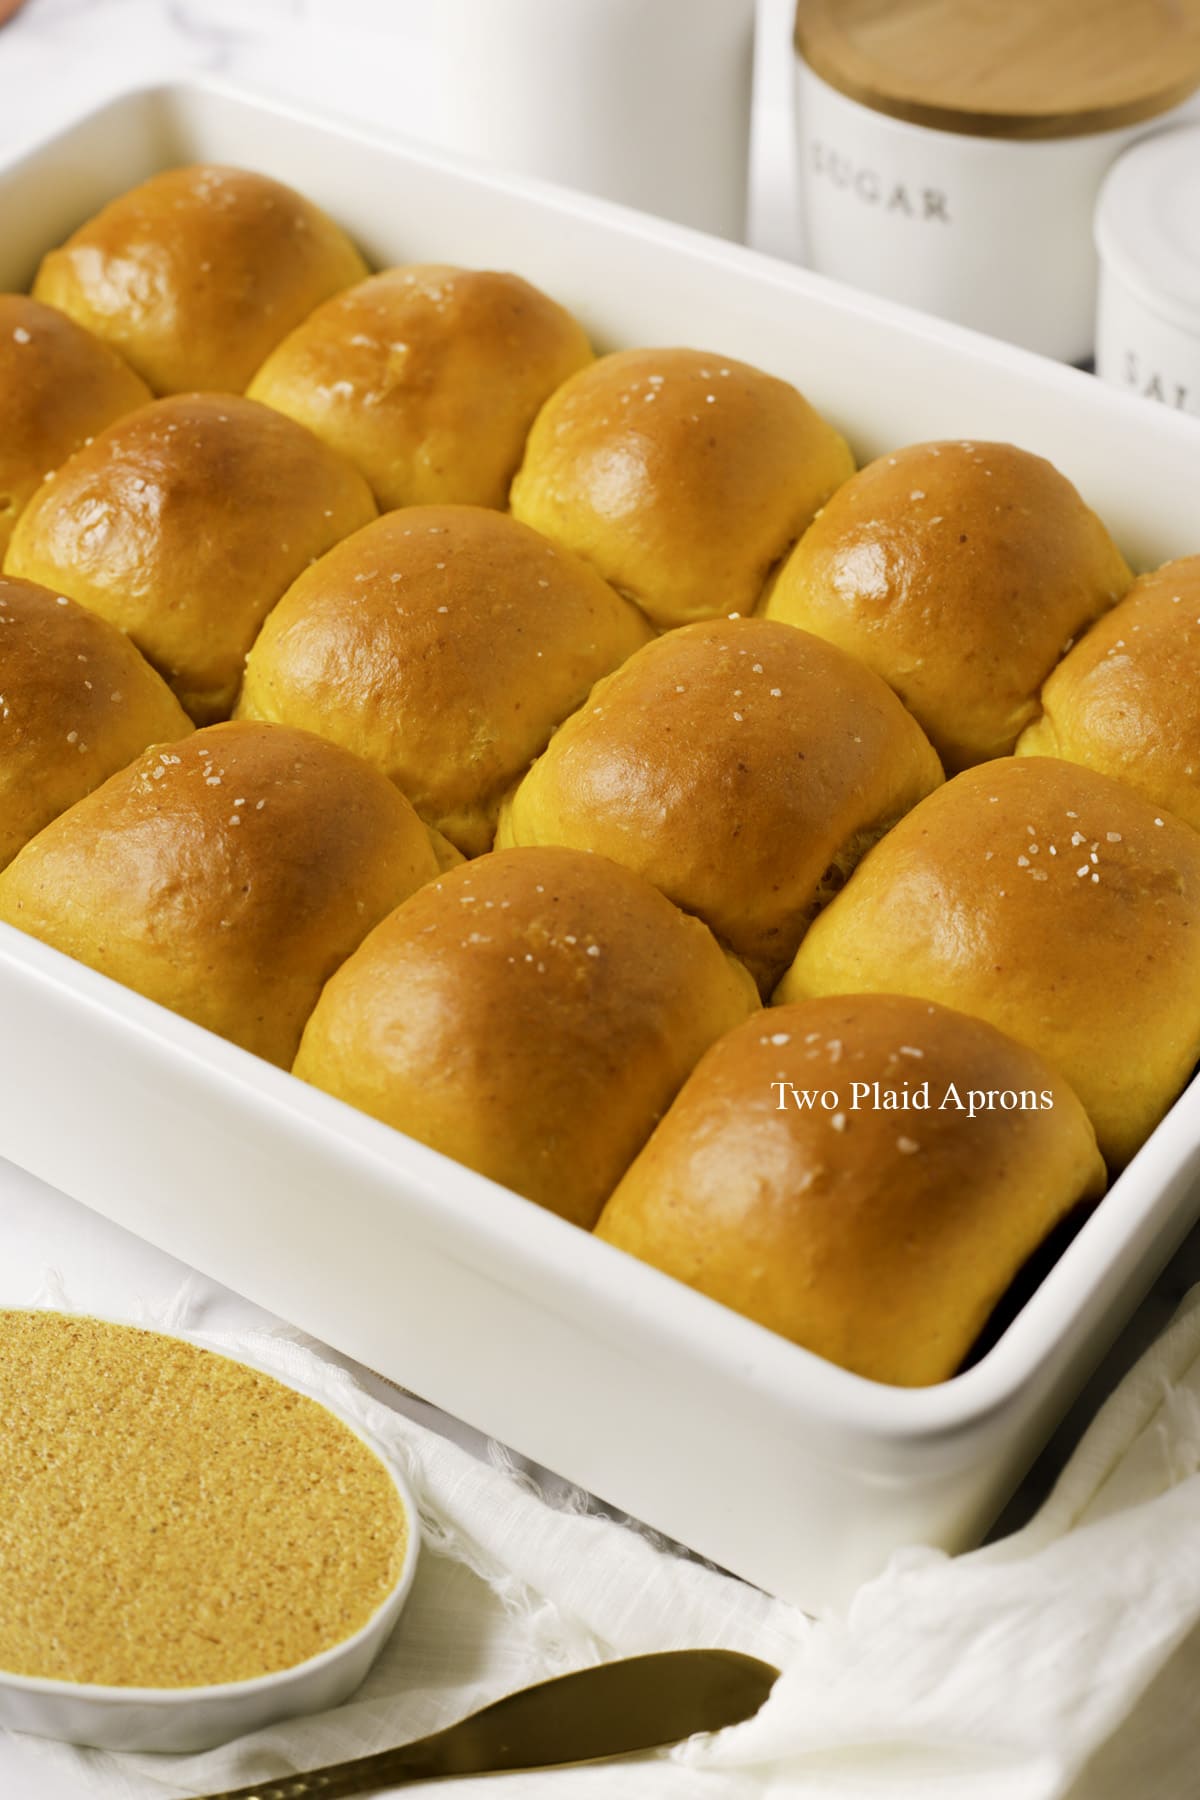
These pumpkin dinner rolls are super soft and fluffy with a beautiful yellow color that's perfect for fall and the holidays. Pair these dinner rolls with some spiced pumpkin butter (made with actual butter!) for the ultimate combo of sweet, warm spices. This is an easy dinner roll recipe with step by step photo to help guide you through the whole process.
If you’ve made this recipe or any recipes from our blog, please tag us on Instagram using #twoplaidaprons! You can also tag us in your Instagram stories using @two_plaid_aprons. We would love to see your creations! It absolutely makes our day! 🥰
Jump to:

What to eat with pumpkin dinner rolls
It's no brainers that these pumpkin dinner rolls with some spiced pumpkin butter make a great side for get-togethers, especial during the fall and for holidays. But these soft and fluffy rolls are also great slider and sandwich buns. These are some of our favorite recipes to enjoy with pumpkin dinner rolls:
- Holiday recipes - Pair these rolls with kimchi mac and cheese, turkey chili, and ratatouille.
- Sauce moppers - This miso salmon and gochujang foil baked salmon can both use something to soak up all the sauces!
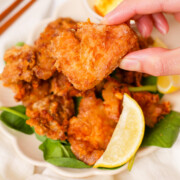
- Sandwiches - Make tamago sando or sandwich some chicken katsu or tonkatsu (pork cutlets) to use up leftover rolls.

Ingredient notes
Please scroll down to the recipe card for the ingredient quantities!
- Active dry yeast - This is the pumpkin dinner rolls' leavening agent and our pantry staple yeast because it's versatile and can be used in most recipes. If you only have instant yeast, it can be substituted in equal amount. See our FAQ section below for more details.
- All-purpose flour - Breads are often make with bread flour, but we like to make as many of our baking recipes as possible using all-purpose flour because it's the most accessible and most affordable flour option. If you want to make these dinner rolls with bread flour, see our FAQ section below for more details.
- Pumpkin puree - Not only will this puree give these dinner rolls a light pumpkin flavor, it'll also give the rolls a beautiful golden yellow color! You can use either can pumpkin puree or homemade pumpkin puree. For can pumpkin puree, make sure it's 100% pumpkin puree, NOT pumpkin pie mix. If you're making homemade pumpkin puree, make sure to blend it until smooth and note that you may or may not need to use more or less flour due to the moisture content.
- Milk, egg, and unsalted butter - These help enrich the dough, making tastier dinner rolls. Make sure to use unsalted butter though! This will help to ensure you have full control of the flavor.
- Sugar and salt - To season the dough. For the sugar, make sure to use granulated sugar or caster sugar! Larger crystals of sugar may not dissolve properly in the dough.
- Milk and butter (for brushing) - Both of these ingredients are optional for brushing. The milk is brushed on the dough before baking to get it a nicer golden brown top, and the butter is for brushing the rolls after it comes out of the oven for a buttery, glossy top.
- Salt for sprinkling - To add a complementing pinch of saltiness to the dinner rolls. We recommend using a flakey finishing salt or Kosher salt.

How to make soft and fluffy pumpkin dinner rolls
Please scroll down to the recipe card for the full recipe and instructions!
Make the dough:
1. Activate the yeast. Sprinkle the yeast over the warm milk and give it a stir. Set it aside and allow the yeast to dissolve and activate, about 3 to 5 minutes.
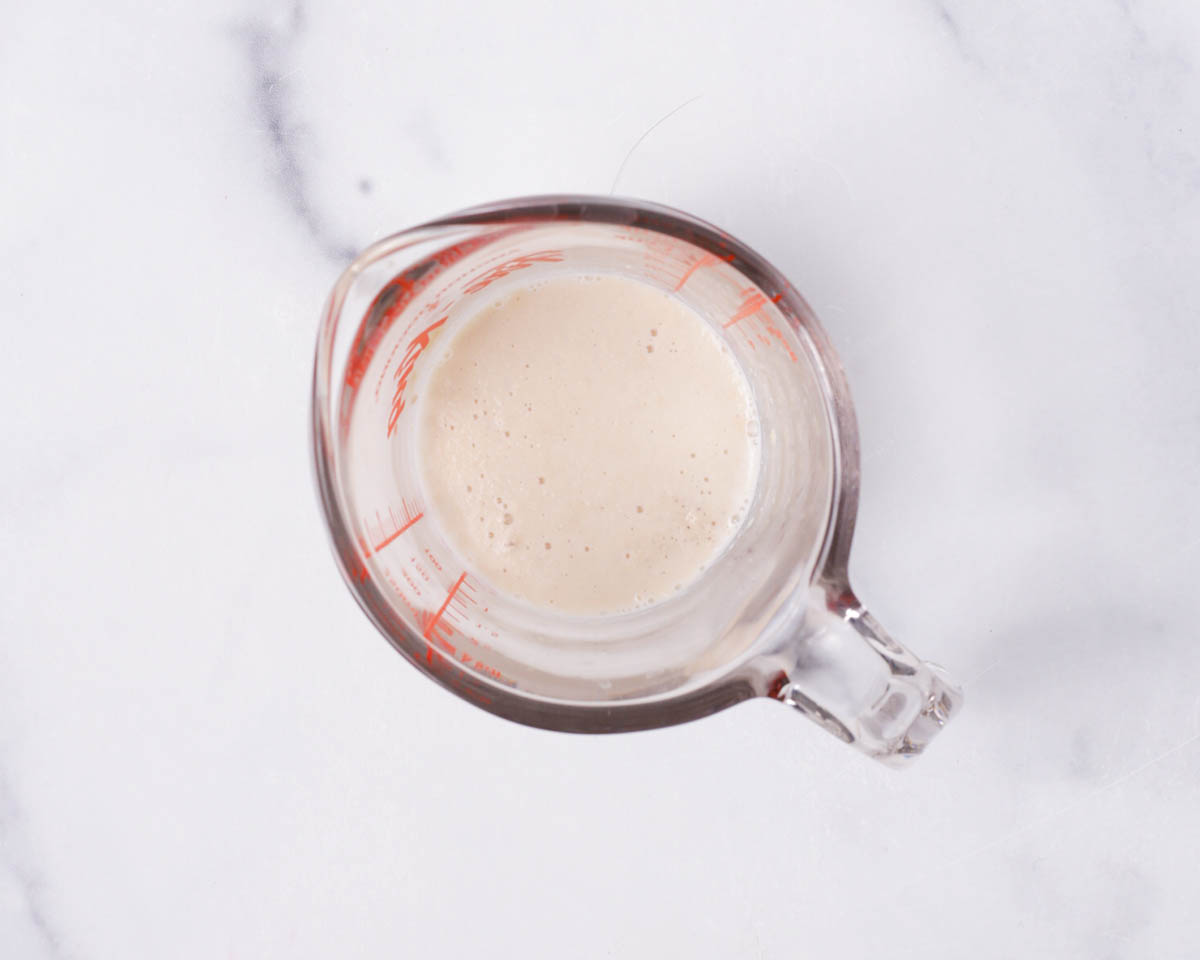
2. Make the dough. In the stand mixer bowl, add the flour, sugar, and salt. Mix to combine. Once the yeast has dissolved and activated, add it to the flour mixture along with the pumpkin puree and egg. Using the hook attachment, mix on medium low speed until the dough roughly comes together. Then increase the speed to medium high and knead the dough until it's smooth, supple, and passes the window pane test. This dough is a little on the sticky side and depending on your environment, it may need an extra tablespoon of flour. BUT don't add too much or the rolls will become dense!

The Window Pane Test
The window pane test is a technique that shows whether a dough has developed enough gluten, which is essential in producing soft and fluffy bread. Gluten development ensures that the gas released by the yeast gets trapped, which ultimately is what leavens the dough.
To check if a dough passed the window pane test, pinch off a piece of dough and gently stretch it between your fingers until the dough is thin enough to see silhouettes through it. If the dough does not tear, the dough is passed the window pane test, and if the dough tears, the dough needs to be kneaded a bit more until it passes the test.
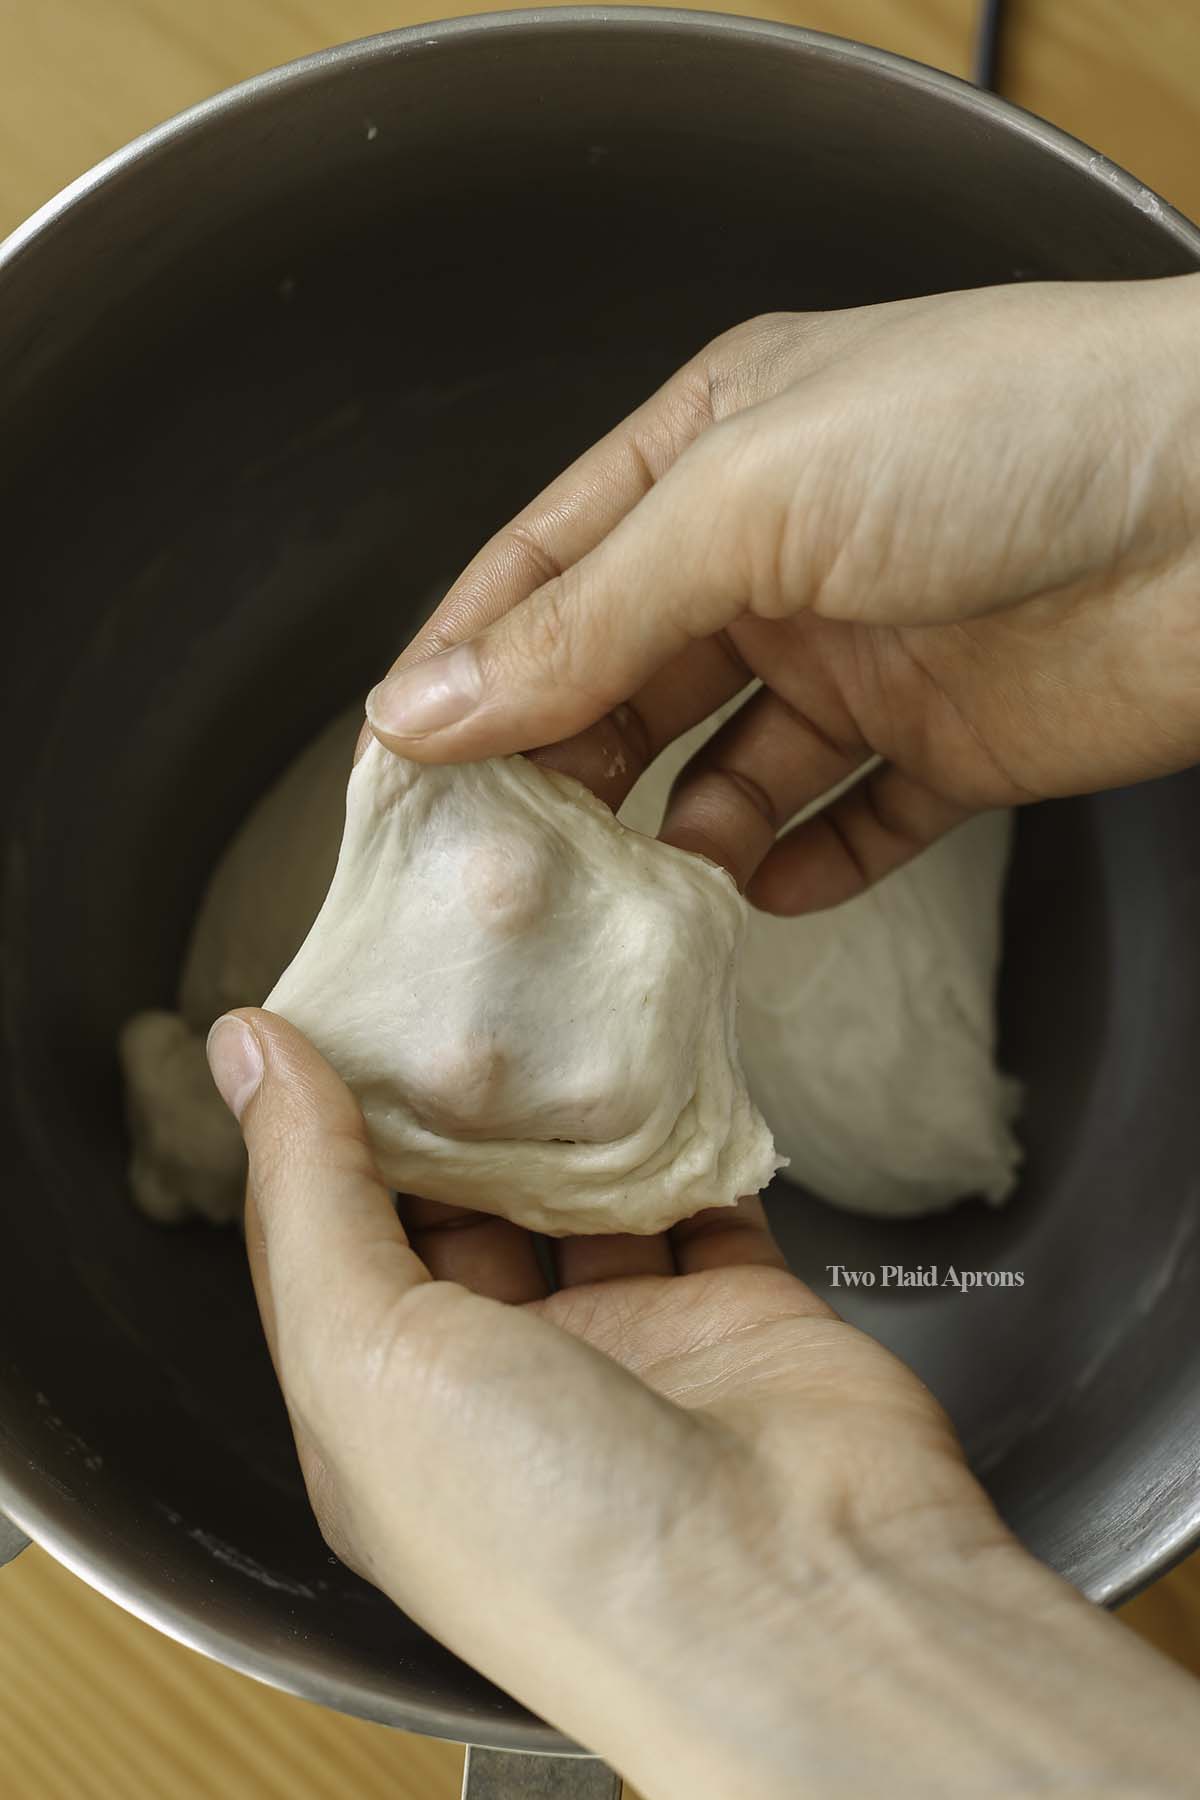

3. Incorporate butter. Once the dough passed the window pane test, add the 3 tablespoons of softened butter and knead the dough on medium speed until all the butter is absorbed. This step is easier and quicker kneaded by hand because the butter is slippery.

🌟 Stand mixer alternative: If you prefer making these dinner rolls without a stand mixer, you can also make it by hand! Simply knead together the dough until no more dry flour is visible, and allow the dough to rest for 30 minutes. Then, knead the dough until smooth and add the softened butter. Knead until the butter is completely absorbed. Then follow the recipe starting the first proof.
Proofing and shaping:
4. First proof. After the butter has been incorporated, round out the dough and place it into a clean bowl. Cover and allow it to proof in a warm area until doubled, about 45 minutes to 1 hour.

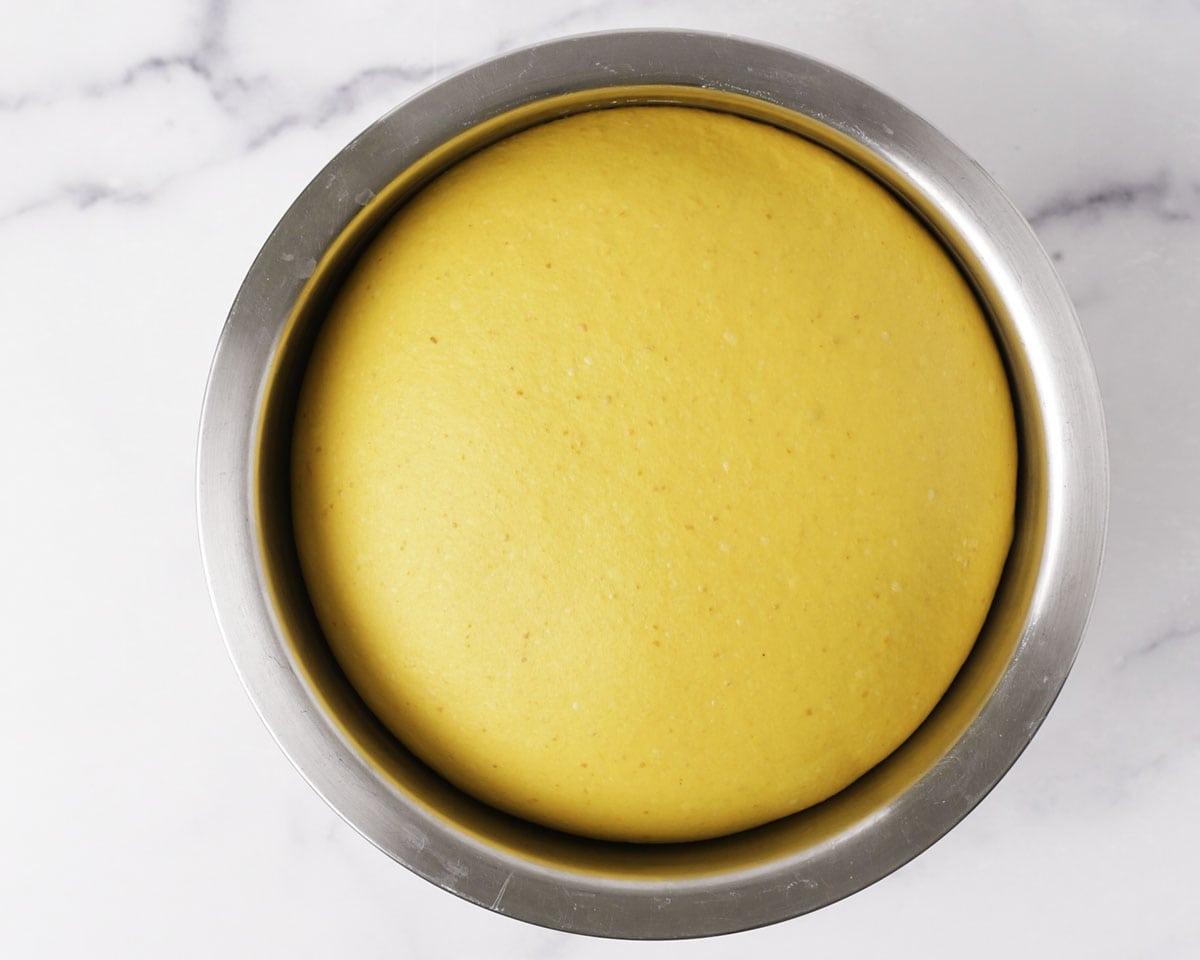
5. Prepare baking pan. When the dough is almost doubled, lightly grease a 9 by 13 inch (23x33 cm) baking pan or baking dish with softened butter. Set aside until needed.
6. Portion dough. Once the dough has doubled, punch it down to deflate it and turn it out onto a clean work surface or a silicon pastry mat lightly dusted with flour. Knead it back to its original size and evenly portion the dough into 15 pieces. Lightly dust with flour as needed.

7. Shape. Fold the edge the dough to the center and tuck and roll until it's a tight, smooth ball. Repeat with each piece of dough. Place the dough balls in the prepared baking dish, seam-side down. Try to keep each dough ball evenly spaced apart.


8. Second proof. Place the baking pan/dish in a warm area and allow the pumpkin dinner rolls to proof until doubled, about 45 minutes to 1 hour. If proofing in an open area, make sure to cover the baking pan with a lid or cling wrap.


Bake:
8. Preheat oven to 350°F. When the dinner rolls are almost doubled, starting preheating the oven.
9. Bake. Once the oven is preheated to 350°F and the dinner rolls have doubled, lightly brush the tops of each roll with milk.

Bake the dinner rolls for 22 to 25 minutes, until the tops of the dinner rolls are golden brown and the internal temperature of the rolls is at least 190°F.

10. Brush with butter. Remove the dinner rolls from the oven and immediately brush the tops of the rolls with melted butter. Also give each roll a light sprinkle of kosher salt or you preferred flakey salt.

11. Cool and enjoy. Allow the dinner rolls to cool for at least 10 minutes or until they are cool enough to handle before removing them from the baking dish. Enjoy while warm or at room temperature.

Recipe tips
- Knead the dough until it passes the window pane test. This is essential for making soft and fluffy dinner rolls. See the "The Window Pane Test" topic above.
- Don't add too flour to the dough. This dough should be slightly tacky but not so wet and sticky that it can't be worked with. If more flour is needed, which may be possible depending on your environment and the brand of products you use, do not add too much. Too much additional flour will yield dense dinner rolls.
- Properly measure the flour and wet ingredients. This is SUPER important for all baking recipes and will greatly affect whether the end result. Either use a scale to measure (the most preferred method) or use the fluff, spoon, and level method.
- Brush on the melted butter while the dinner rolls are hot. This is because the dinner rolls are the most absorbent when they're hot. So if you wait until the dinner rolls are cooled before brushing on the butter, the butter will just sit on top of the rolls.

Storage
Leftover pumpkin dinner rolls can be stored in the fridge for up to 5 to 7 days or in the freezer for up to 2 to 3 months. Before storing, allow the dinner rolls to cool completely as a whole (if possible).
If freezing, make sure to store the dinner rolls in an airtight, freezer safe container and also separate the rolls into individual pieces for easier removal.

Reheating
These pumpkin dinner rolls can be easily reheated in the microwave or oven.
Microwave method: If the rolls are refrigerated, microwave for about 10 to 15 seconds until warmed through and soft again. Make sure to either reheat in a covered microwave safe container or loosely wrapped in a damp paper towel. For frozen rolls, microwave 10 to 15 seconds longer or allow the rolls to defrost before reheating.
Oven/air fryer method: Wrap the dinner rolls in foil and reheat in the oven at 350°F for 5 to 10 minutes until warmed through. For frozen rolls, reheat for about 10 to 15 minutes. If reheating in the air fryer, reheat at 325°F.

FAQs
We opt for all-purpose flour for as much baking recipes as we can because it's the most accessible and affordable flour option. If you want to make these pumpkin dinner rolls using bread flour instead, it's definitely doable as well. Simply hold back, a couple tablespoons and up to ¼ cup of bread flour when making the dough and add it back as needed. Do note that the dough should be a little on the sticky side so don't add too much flour! Follow the rest of the recipe as is.
Yes! Active dry yeast is always a pantry staple for us because it's versatile and can be used for most recipes. If you're using instant yeast instead, there's no change to the recipe. Simply skip dissolving the instant yeast in the milk. You can add the yeast straight to the dry flour mix.
This pumpkin dinner roll dough is supposed to be a slightly sticky dough in order to achieve that super soft and fluffy texture. However, the dough should not be so wet that it's not workable. Depending on your environment and even the brand of flour and pumpkin puree you're using, a tablespoon of or two more flour may be needed. Just don't add too much additional flour or the rolls may become dense!
Unsalted butter is always the best butter choice to have at home because you get to have full control of the seasoning and flavors without having to worry about the additional salt. If you wish to use unsalted butter in this recipe, omit the salt in the dough and the salt for sprinkling.
📖 Recipe
Pumpkin Dinner Rolls
Ingredients
- ⅔ cup milk warm (between 95 to 105°F)
- 1½ teaspoons active dry yeast
- 3¾ cups all-purpose flour plus more for dusting (fluffed, spooned, and leveled) *see notes
- 3 tablespoons granulated sugar
- 1 teaspoon Kosher salt plus more for sprinkling
- ¾ cup pumpkin puree NOT pumpkin pie mix
- 1 large egg
- 3 tablespoons unsalted butter softened (plus more for greasing baking dish)
- 1-2 tablespoons milk optional for brushing
- 1 tablespoon unsalted butter melted
Instructions
- Make the dough:Sprinkle the yeast over the warm milk and give it a stir. Set it aside and allow the yeast to dissolve and activate, about 3 to 5 minutes.
- In the stand mixer bowl, add the flour, sugar, and salt. Mix to combine.
- Once the yeast has dissolved and activated, add it to the flour mixture along with the pumpkin puree and egg. Using the hook attachment, mix on medium low speed until the dough roughly comes together. Then increase the speed to medium high and knead the dough until it's smooth, supple, and passes the window pane test. This dough is a little on the sticky side and depending on your environment, it may need an extra tablespoon of flour. BUT don't add too much or the rolls will become dense!*See notes down below for more details on the window pane test.*
- At this point, add the 3 tablespoons of softened butter and knead the dough on medium speed until all the butter is absorbed. If you want to quicken this process, we recommend kneading and incorporating the by hand.
- Proofing and shaping:After the butter has been incorporated, round out the dough and transfer to a clean bowl. Allow it to proof in a warm area until doubled, about 45 minutes to 1 hour.
- When the dough is almost doubled, prepare a 9x13 inch rectangular baking pan/casserole dish. Lightly grease it with softened butter or a baking spray. Set aside until needed.
- Once the dough has doubled, punch down the dough to deflate it and roughly knead it back to its original size. Turn the dough onto a clean work surface or a pastry mat lightly dusted with flour.
- Evenly divide the dough into 15 pieces and round each piece into a tight ball. Place the dough balls in the greased baking pan, keeping each dough ball evenly spaced apart.
- Allow the rolls to proof in a warm area until almost doubled, about 45 minutes to 1 hour. If proofing in an open environment, make sure to keep the rolls covered with cling wrap or a lid.
- Bake:When the dough is almost doubled, preheat the oven to 350°F. Also, lightly brush the top of each roll with some milk.
- Once the dough has doubled and the oven is at 350°F, bake the pumpkin dinner rolls for about 22 to 25 minutes, or until the tops are golden brown and the internal temperature is at least 190°F.
- Remove the pan form the oven and immediately brush with the melted butter and top with a light sprinkle of kosher salt or a flakey salt of your choice.
- Allow the dinner rolls to cool for at least 10 minutes, or until they are comfortable to handle before removing from the pan. Enjoy while warm or at room temperature!
Notes
- Fluff, spoon, and level - Using a scale is the most preferred measuring method, especially for baking recipes. This flour measuring technique is the next best alternative. To use this method:
- Fluff up the flour in the bag or the flour canister.
- Spoon the fluffed flour into the measuring cup, without shaking or tapping, until the flour overflows.
- Use a straight-edge, like a the back of a butter knife, to scrape off the excess flour.
- Window pane test - To see if a dough passes the window pane test, pinch off a small amount of dough and gently stretch it between your fingers until it's thin enough to see silhouettes through it. If the dough does not tear, it passed the test. If it tears, keep kneading a bit longer. See the post above for more details and photo reference.



Comments
No Comments