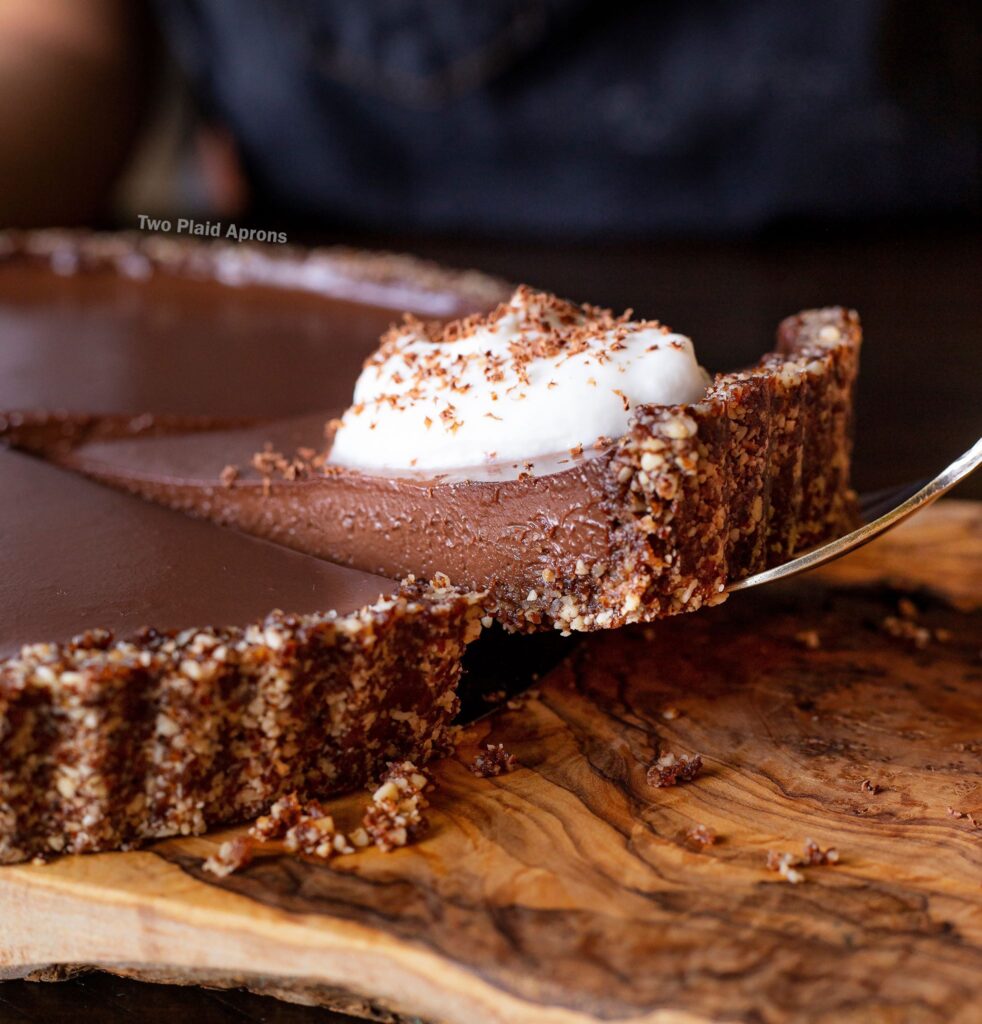
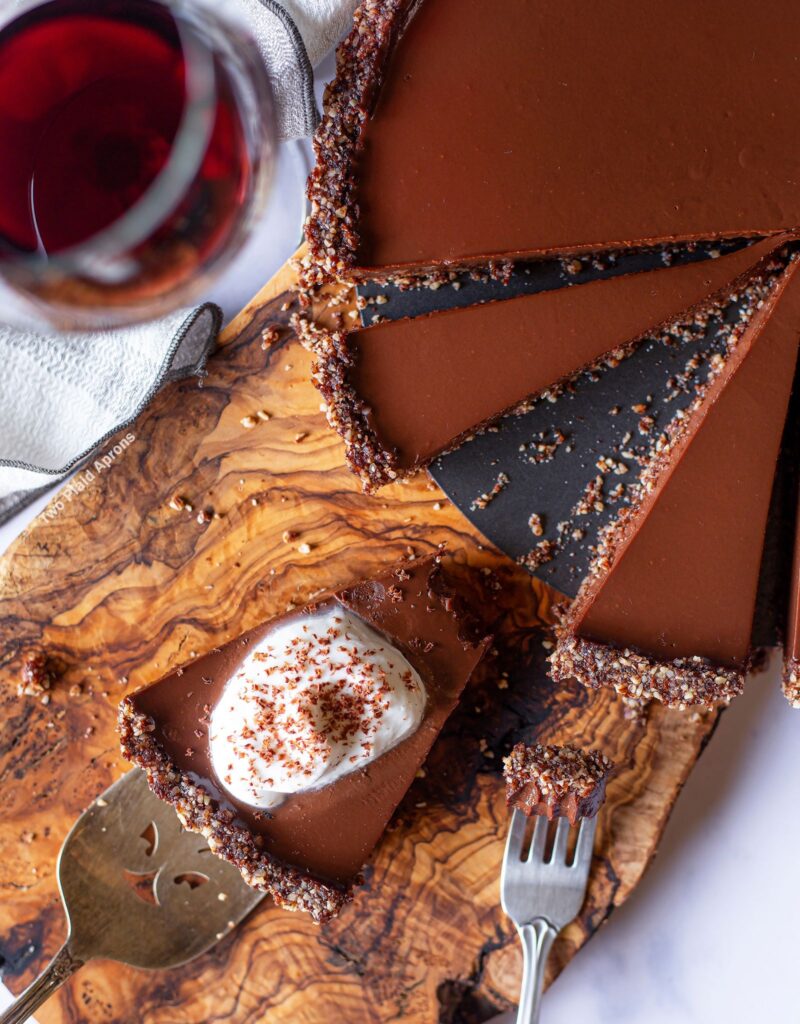
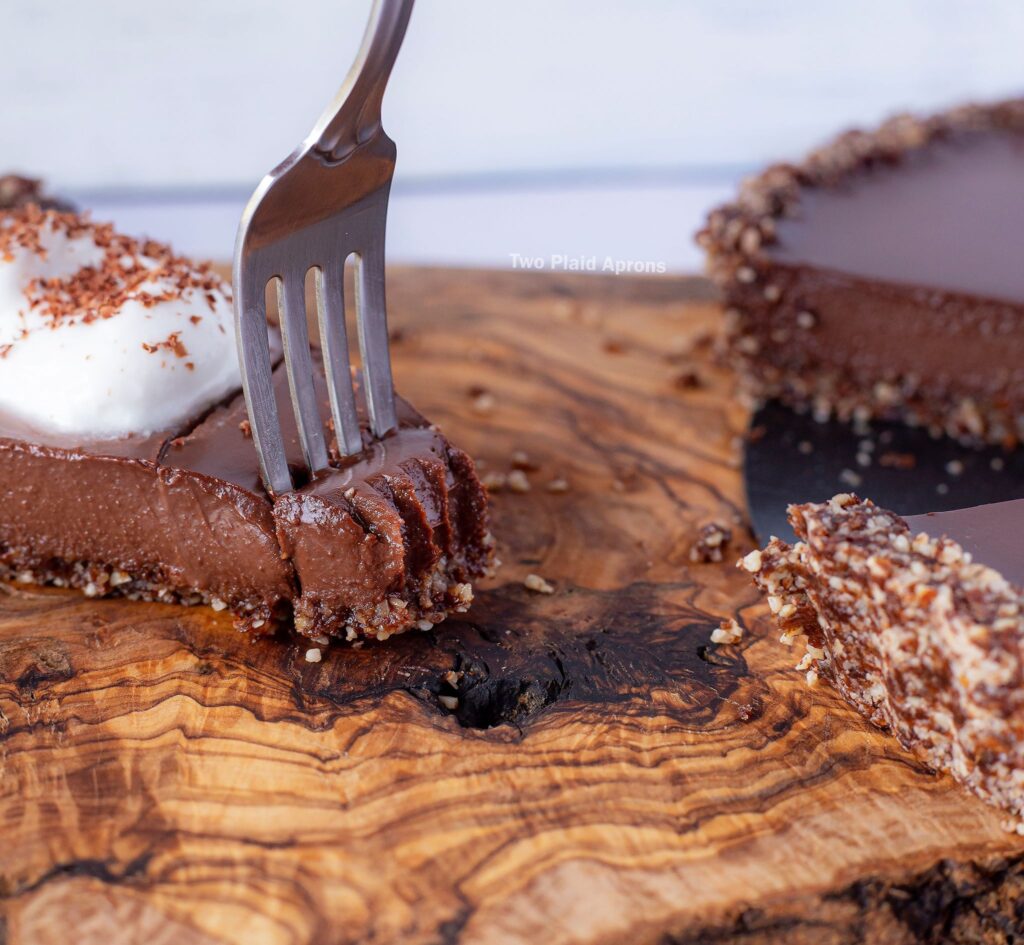
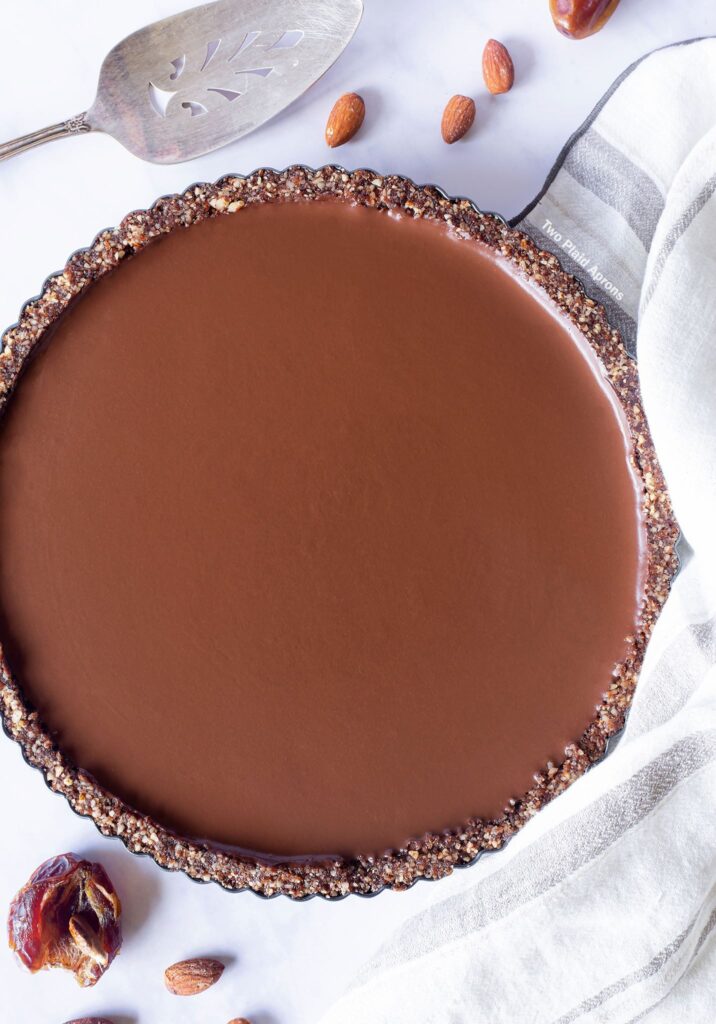
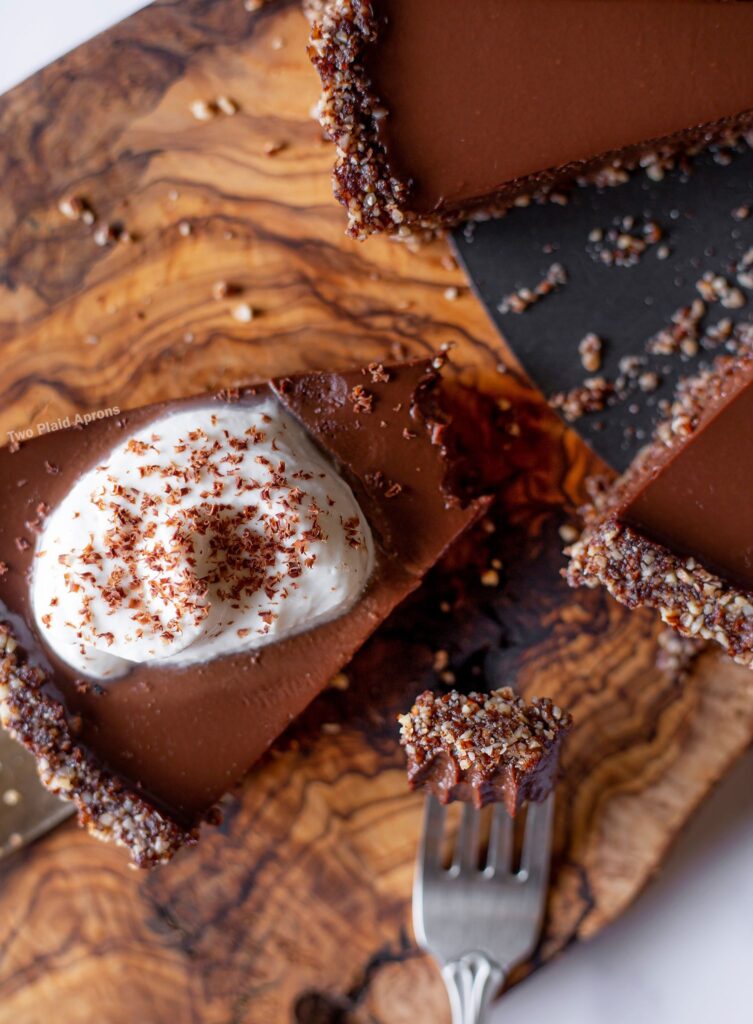
This No Bake Vegan Chocolate Tart has the richest, creamiest, and most decadent chocolate filling, while the crust provides an appropriate pairing of saltiness and the perfect nutty crunch. Not only will it satisfy your chocolate cravings, it's also super easy to make and almost guilt free to eat!
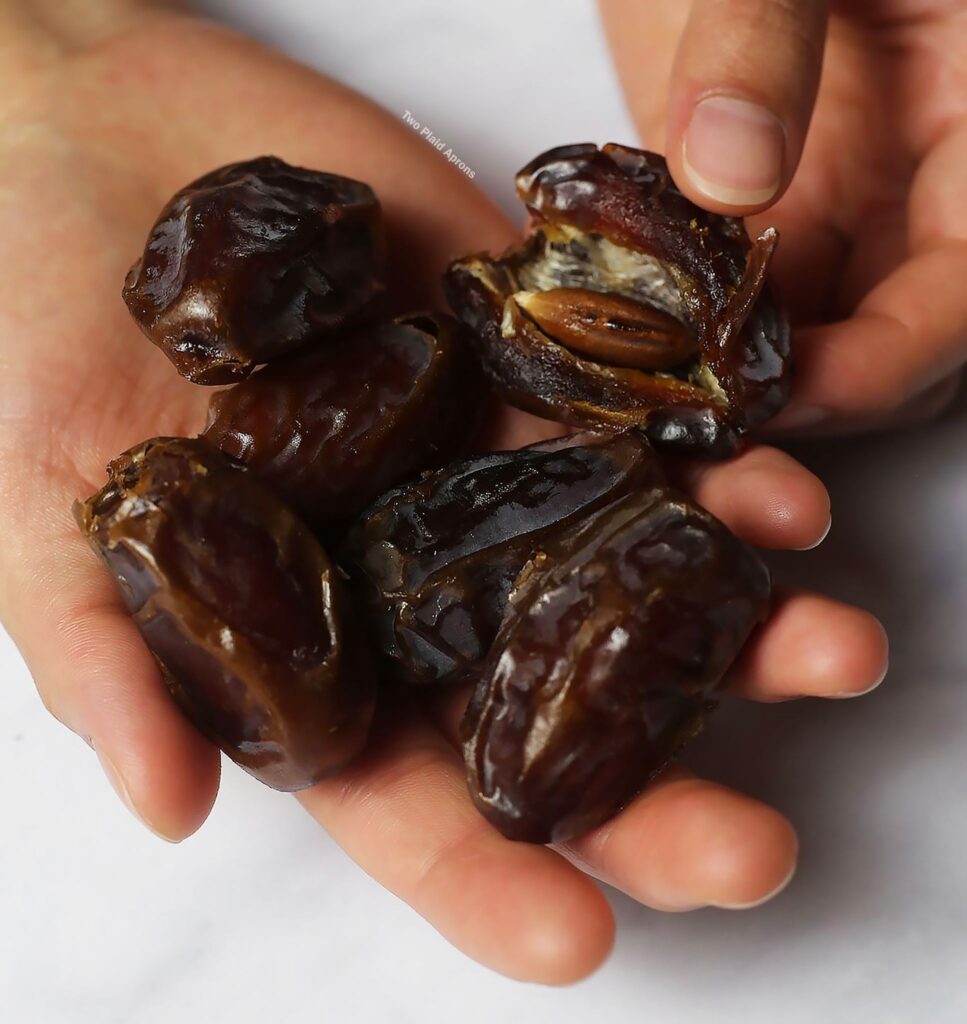
Recently, I discovered my new favorite snack and my go-to, lazy tart crust ingredient, and that is...Medjool dates! It's chewy, sticky like caramel, and the perfect sweet snack. My favorite thing about Medjool dates?
I DON'T GET THE SUGAR CRASH!
Although these dates are sweet, the sugar doesn't get dumped into your bloodstream and put you on a rollercoaster ride. Instead, the sugar is metabolized at a rate that provides sustained energy because the dates contains a lot of fiber, which releases the carbohydrate slowly. Plus, these dates are low in fat and packed with potassium, magnesium, iron, and other goodies. So, extra bonus!
And not sure about you guys, but I get my occasional...sometimes too frequent...chocolate cravings. So of course, I tried to incorporate some chocolate with these Medjool dates. And viola! This no bake vegan chocolate became our new creation!...cuz sometimes we want less time making and more time savoring.
I hope you guys enjoy this chocolate tart as much as we do, because it is soooo very good!
What is the difference between a traditional chocolate tart and this no bake, vegan chocolate tart?
Traditional chocolate tarts, also known as chocolate cream pie, is made of chocolate custard. To be considered a custard, the filling must be made with cream/ milk and eggs. This tart is vegan, so no eggs nor cream/ milk was used, which means, no baking is needed! Instead, we used coconut milk and agar to replicate the texture of a chocolate custard.
What is in this gluten free tart base?
Because this tart is gluten free and no bake...and we're lazy peeps, we wanted to make this tart base super easy-peasy. The tart base is a nut crust made of pitted Medjool dates, almonds, some cocoa powder, and a small amount of coconut oil for binding, if needed.
Do I have to use Medjool dates?
There are other substitutes like maple syrup and honey that can be used both as a sweetener and a binder for the tart base. However, for this particular base recipe, I recommend using Medjool dates. Medjool dates are naturally sticky and have a caramel texture that binds the crust super well.
How do I make the tart base?
After blending all the ingredients into coarsely chopped pieces, transfer the nut crust into a 10 inch tart pan with a removable bottom. Gently and evenly spread the nut crust from the center to the edge.
Once the crust has been more or less evenly distributed, start compressing the crust mixture with something with a flat bottom. I use my handy-dandy dry measuring cup. Try to compress with an even, firm pressure and keep the crust about ¼ inch thick.
For the sides, compress the crust by pushing down with a measuring cup, in my case, firmly to the side of the tart pan while pressing down with my thumb. Repeat this process and work your way around the whole tart pan.
I like to go over the whole tart base, but especially the sides and corner, a couple of times to make sure that the crust will maintain its structure.
What is agar?
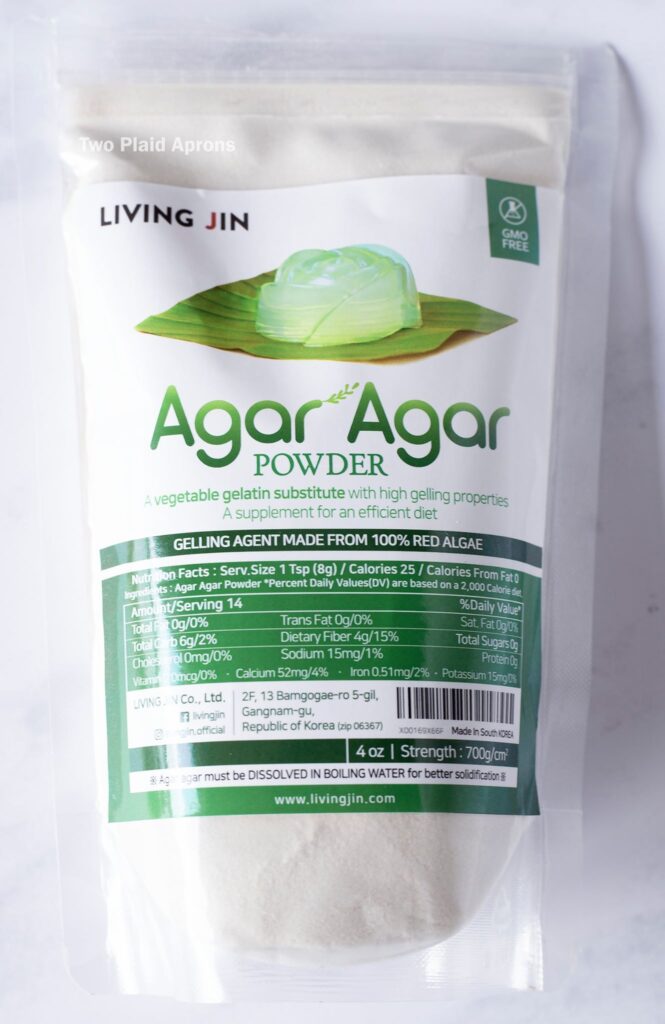
Agar, sometimes known as agar-agar, is a thickening/ gelling agent that works similarly to gelatin. However, agar is a vegetable gelatin, while the normal gelatin we're familiar with is usually made with animal collagen. Being so, agar has become the one of the most popular gelatin substitutes and a great vegan and vegetarian pantry item to have.
How do I use agar? Do I have to bloom and heat up agar?
Although neither of us are vegans or vegetarians, I gotta say that we do prefer using agar over gelatin. Not only do you NOT have to bloom agar, like you do for gelatin, you also don't have to use ton of agar!
I'm sure if you've used gelatin, you probably remember how much gelatin is needed per cup of water. With agar, you only need 1 teaspoon per cup. There's no need for blooming and you can throw it into either warm or cold liquid. However, you do still have to heat your liquid up to at least 185F to dissolve and activate agar. After adding agar, simply let it simmer/ heat up for a couple of minutes.
Use a hand blender if needed
Sometimes chocolate doesn't melt completely smooth, especially 100% cocoa chocolate. I'm not quite sure the reason why, but I sure have found a way to re-emulsify the chocolate with the milk. Simply use a hand blender!
So, if you ever see your chocolate not melting smoothly and give you a nice glossy, smooth ganache, use a hand blender for a few seconds and you should see those pesky chocolate specks, no more.
Is it necessary to strain the filling?
I've always made it a habit to strain any fillings that should have a silky, smooth mouthfeel. Especially with this decadent chocolate tart, it would be a shame if the entire chocolate filling isn't completely smooth. So yes! I highly recommend straining the filling, just in case.
Also, the agar tends to clump up slightly when added to hot liquid, so the straining can prevent biting into an unpleasant nugget of agar. Although, you can avoid the agar issue if you add the agar straight into cold liquid.
Can I make this tart with regular dairy products?
Absolutely! Although this no bake chocolate tart is vegan and dairy free, you are welcomed to swap out the non-dairy stuff for some dairy products.
For the coconut milk, you can switch it out for the dairy milk or nut milk of your choice. But, I would stick with whole milk, if using dairy. More flavor, more better is the motto! Coconut cream can be substitute for heavy cream if you want some cream for your chocolate tart/ cream pie.
Do I have to use 100% cocoa, unsweetened chocolate?
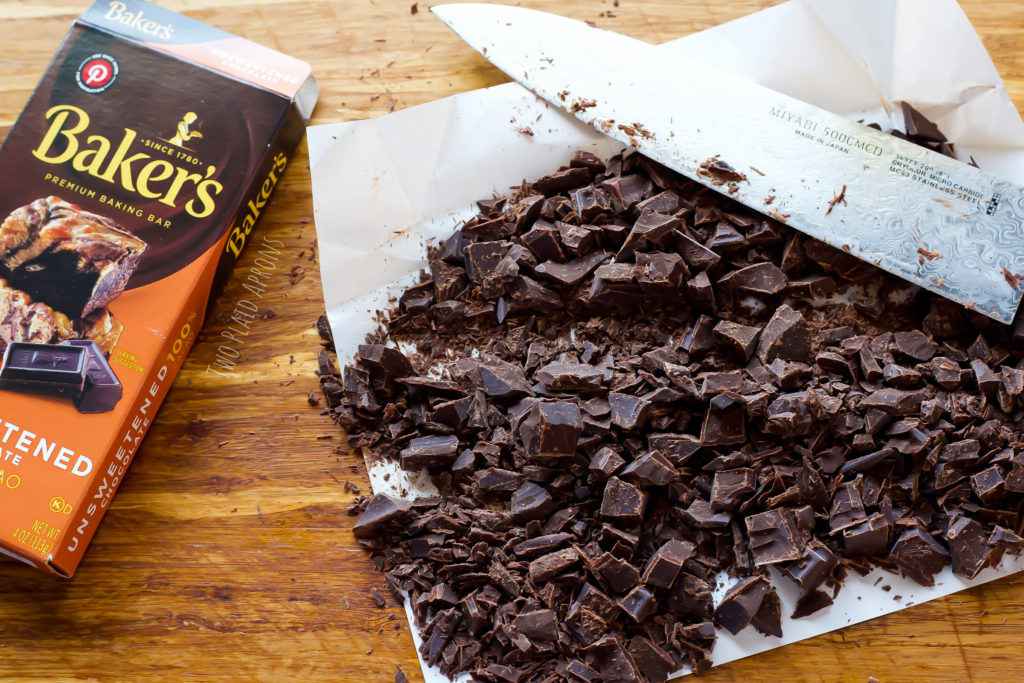
Whether you should use 100% cocoa, unsweetened chocolate is up your diet preference. If you are vegan, only 100% cocoa, unsweetened chocolates don't contain milk fat. Unless, they are chocolates specifically made so. Also, if you prefer to use unrefined sugar or adjust the amount of sugar used, unsweetened chocolate should be the go-to.
But, if you don't want to use unsweetened chocolate, I don't blame ya. It's quite bitter and more on the acidic side. So, if you decide to use bittersweet, semi-sweet, or even milk chocolate instead of the unsweetened chocolate, make sure to adjust the additional sugar accordingly.
How long do I have to chill the tart for?
I highly recommend chilling the tart for at least 1 hour to allow the filling to set properly. But if ya got time, do let it chill for 2-3 hours or overnight.
If you're chilling the tart overnight, do let the tart chill the in fridge completely before wrapping it or covering it. The condensation from the tart can blemish your perfect tart, so watch out!
If you're looking for more chocolate goodness, you may like these:
- Super Moist Vegan Chocolate Cake
- Flourless Chocolate Soufflé
- Easy Soft & Chewy Chocolate Chip Cookies
- Chocolate Chip Scones
Cook with love!
Mei ❤️
If you’ve made this recipe or any recipe from our blog, please tag us on Instagram @two_plaid_aprons! We would love to see your creations! It absolutely makes our day! 🥰
📖 Recipe
No Bake Vegan Chocolate Tart (gluten & dairy free)
Ingredients
For the tart base:
- 2 cup almonds , or nut of your choice
- 10 Medjool dates , pitted
- 2 Tablespoon cocoa powder
- ¼ teaspoon kosher salt
- 2 Tablespoon coconut oil (if needed for binding)
For the filling:
- 12 ounce Unsweetened chocolate , roughly chopped (100% cocoa
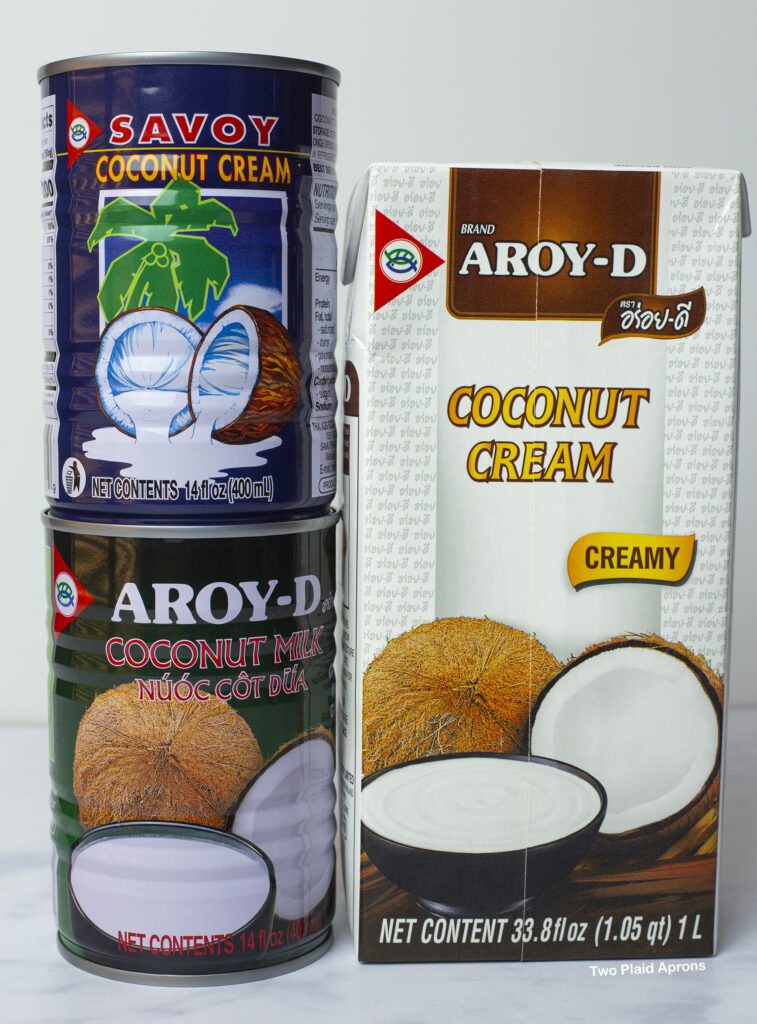
- 21 fluid ounce coconut milk (about 2¾ cups)
- ⅓ cup granulated sugar , or to taste if you prefer it sweeter
- 2½ teaspoon agar powder
- 1 teaspoon vanilla extract (optional)
Optional garnish:
- 1 cup coconut cream (or heavy cream)
- 1½ Tablespoon granulated sugar
- Unsweetened chocolate , shaved
Instructions
For the tart base:
- In a food processor, combine all of the tart base ingredients. Pulse the food processor a few times until all the almond* and the dates are coarsely chopped. Transfer the tart base mixture to a 10 inch tart pan with removable bottom**.*Feel free to substitute the almond for your preferred nuts or a mixture of nuts. Some nuts will have more oil and will not need the additional coconut oil for binding. If using almonds, I recommend adding the 2 tablespoon of coconut oil.***I highly recommend using a tart pan with a removable bottom for easy of removal.**
- Using something with a flat base or your fingers, flatten the tart base firmly to make an even bottom crust. Do the same for the sides of the tart base by compacting the mixture against the tart pan. Make sure the entire nut crust is compacted so that it can hold the tart's structure.Refrigerate the tart while waiting for the filling to be made.
For the filling:
- In a medium saucepan over medium low heat, add the chopped chocolate, coconut milk, and sugar. Constantly stir the mixture until the chocolate is melted and the filling looks smooth. If filling looks speckled and not smooth, you can blend it for a few seconds with a hand blender.
- Once the filling is melted and looks smooth, whisk in the agar powder and vanilla. Cook on medium low heat for 1-2 minutes more, while constantly stirring, until the filling looks a touch thicker.
- Strain the chocolate filling onto the cooled tart base. Then, gently tap the tart on the table a few times to pop unwanted bubbles. Chill the tart in the fridge for at least 1 hour or overnight to allow the filling to set.*If chilling overnight, cover the tart with plastic wrap without touching the chocolate filling, once the tart has completely cooled.*
For the garnish (optional):
- For the coconut whipped cream:In a medium mixing bowl, combine the coconut cream and sugar. Whisk the cream until it becomes slightly fluffy. Refrigerate until needed.












Comments
No Comments