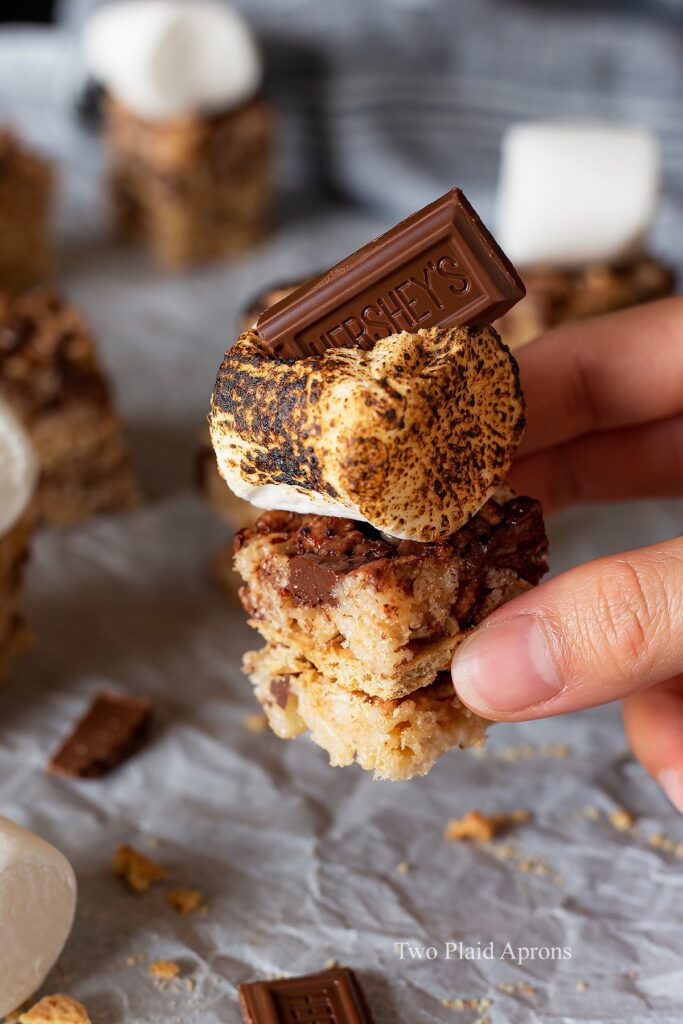
These s'mores rice krispies are the perfect snack to make (indoors!) when your're itching for s'mores but don't want the hassle of making a camp fire. They're soft and chewy and tastes just like s'more, but in rice krispie form!
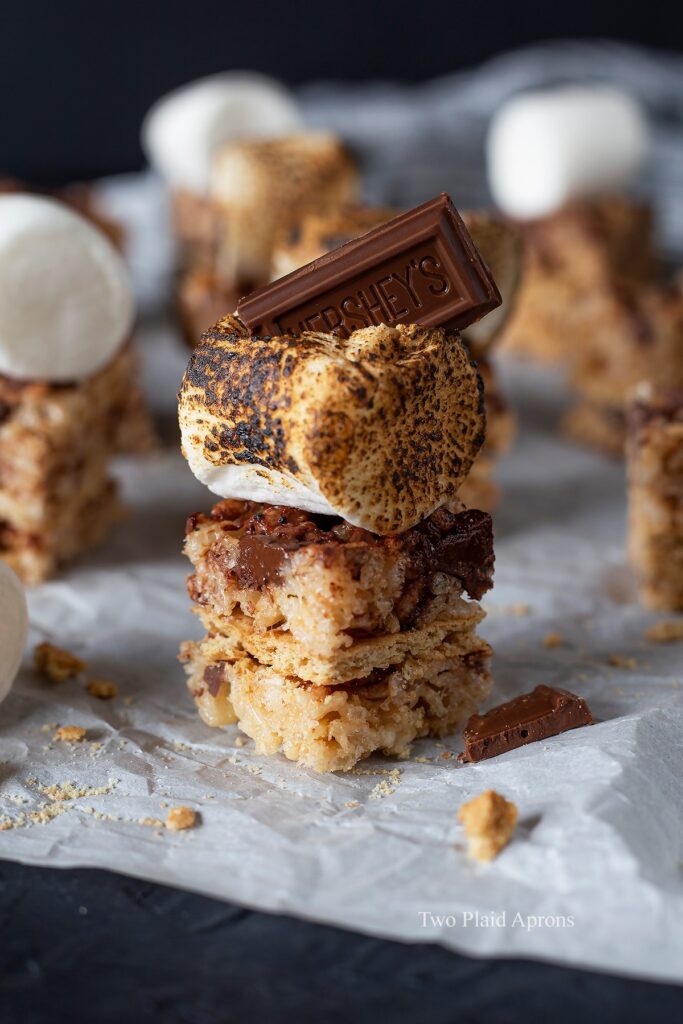
Back to school time and the football season equals s'mores season for me! And oddly enough, I'm not the biggest fan of campfires nor bonfires. Perhaps it's because those occasions usually ends up me being the perfect mosquito buffet. Yeah...so no campfire or bonfires for me.
But that doesn't mean I can't enjoy some nice toasted marshmallows! Especially these s'mores rice krispies! Two amazing things in one. You just can't deny them if you enjoy s'mores, because these are no doubt, a s'mores lover's favorite snack.
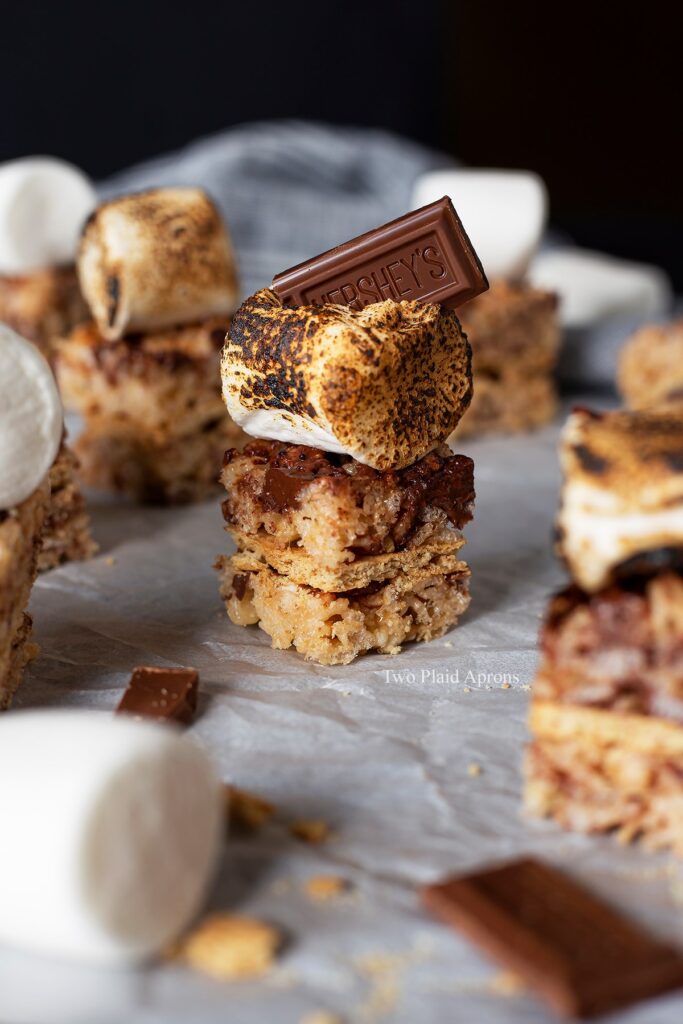
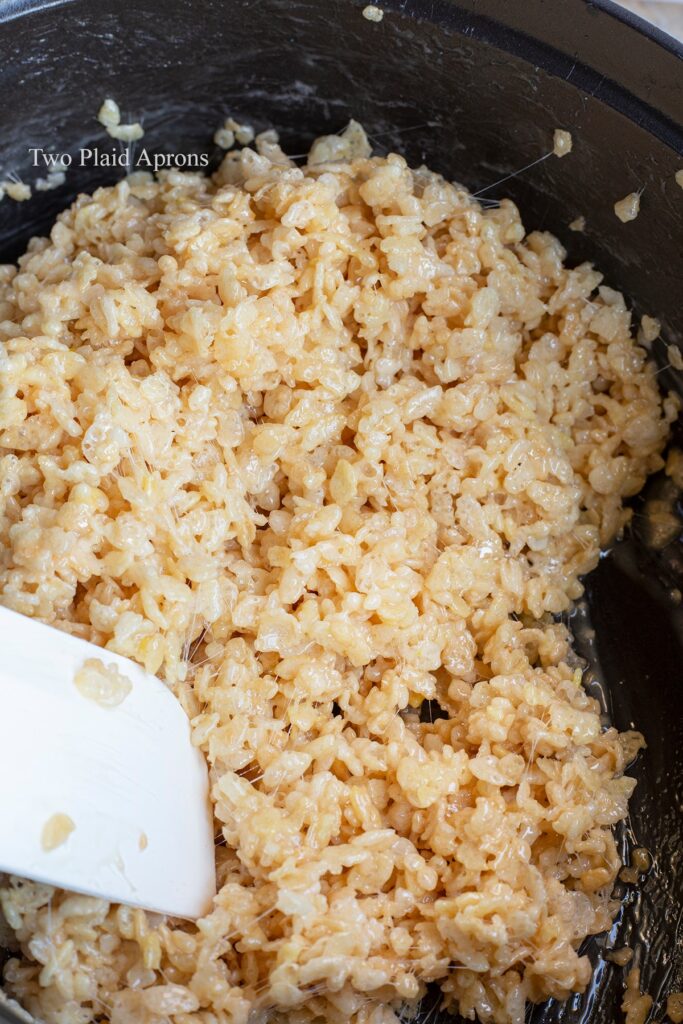
Soft & chewy rice krispies: what's the trick?
The thing that stands out the most between homemade rice krispies versus store bought ones is that homemade ones should be soft with the right amount of crunch but still chewy. Package rice krispies are good and all, but once you have homemade ones, there's no comparison between the two.
To achieve the perfect soft and chewy rice krispies, there are two tricks. First, use enough butter and marshmallow to rice krispie cereal. My go to measurement usually hovers around 5-6 Tablespoons of butter to about 10 ounces of marshmallows and 5 leveled cups of cereal. Too much cereal can make the rice krispies too dry and not marshmallowy enough.
Second, never pack the rice krispies too tightly. When spreading the rice krispies in the pan, don't press down on it. Just spread it out and gently pat it down enough for the cereal to stick to each other but not compacted. Tightly compacted rice krispies tend to be very hard and crunchy instead of soft and chewy.
Marshmallow size
Normally, I would recommend using mini marshmallows for recipes that require melting the marshmallows, simply because the mini ones melt faster. But if you're in a pinch or if you're like me and somehow have a stock pile of regular size marshmallows hanging around, feel free to use those. It really doesn't matter, except for convenience.
As for the marshmallows on top for garnish, I personally prefer topping the rice krispies with the regular size ones. But do feel free to use the mini ones or jumbo ones if you wish.
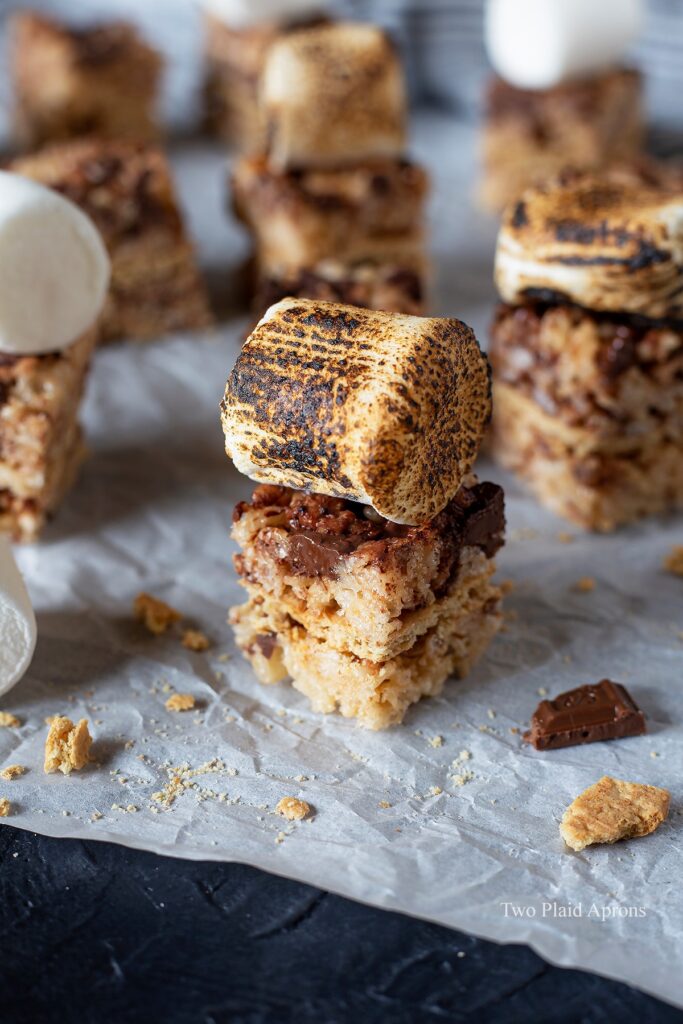
2 ways to torch s'mores marshmallows
Only fire will replicate the same char flavor of fire-pit marshmallows. So, we highly recommend using a kitchen torch to toast marshmallows for these rice krispies. When using the kitchen torch to brown marshmallows, it is best practice to half the flame be 1-2 inches from the marshmallows so that the insides of the marshmallows can get heated and become gooey before the exterior starts to brown and char.
An alternative way of browning the marshmallows without a kitchen torch is to use the oven's broil function. To broil the marshmallows, preheat the oven to 500F (broil). Arrange the rice krispies on a sheet pan lined with parchment paper and top each rice krispie with a regular size marshmallow. Place the sheet pan on the second rack (from the top) and broil the marshmallows for about 20-25 seconds until the marshmallows are golden brown with some charred specks. Each oven is different, so keep an eye on your marshmallows and check them often!
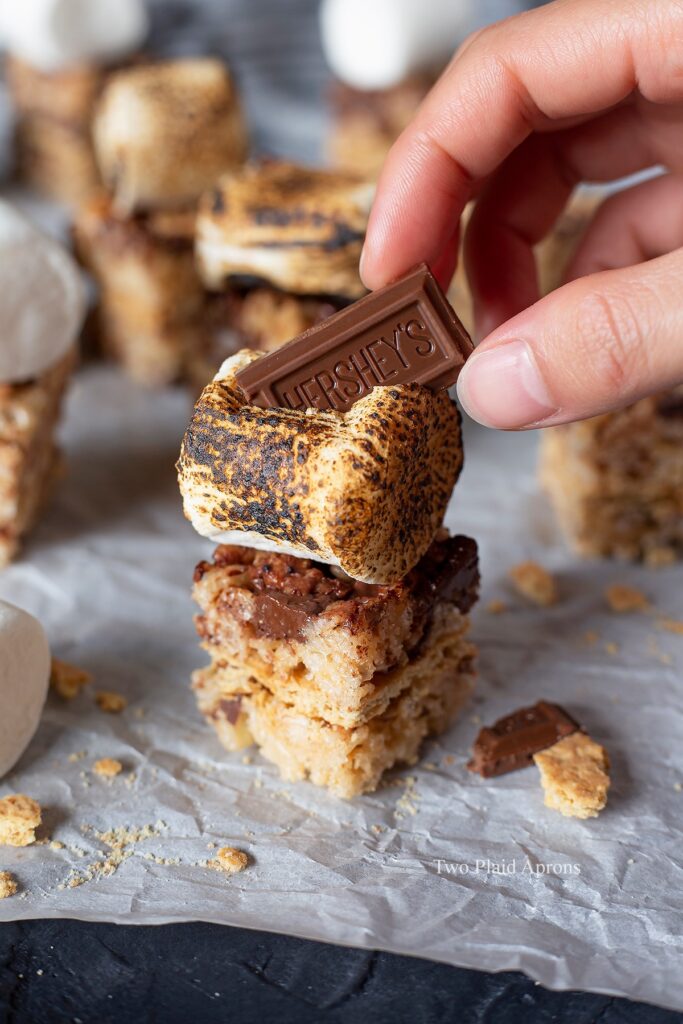
Rice krispie storage
These s'mores rice krispie treats are best eaten the day of. If you need to store them for a little longer, keep them at room temperature, tightly wrapped and kept in an airtight container, for up to 4 days. These are most definitely a s'mores lover's favorite so we don't expect them to last very long at all.
If you're looking for other sweets and treats, check these out:
- Easy Soft & Chewy Chocolate Chip Cookies
- Thai Tea Créme Brûlée
- Flourless Chocolate Soufflé
- No Bake Vegan Chocolate Tart
Bake with love!
Mei ❤️
If you’ve made this recipe or any recipes from our blog, please tag us on Instagram using #twoplaidaprons! You can also tag us in your Instagram stories using @two_plaid_aprons. We would love to see your creations! It absolutely makes our day! 🥰
📖 Recipe
S'mores Rice Krispies Treats
Ingredients
- 5 Tablespoon unsalted butter
- 10 ounce marshmallows , regular size
- ½ teaspoon vanilla
- 5 cup Rice Krispie cereal (leveled cups)
- ½ cup bittersweet chocolate chips , mini
- 5½ sheet graham cracker
- 36 marshmallow , regular size for garnish (about 1 bag)
- 3 bar Hershey's chocolate , for garnish (36 smaller pieces)
Instructions
- Prepare a 9x9 pan lined with parchment paper and lightly greased with oil or butter.
- In a dutch oven or large pot over medium heat, melt the butter with marshmallows while stirring occasionally. Once everything is nicely melted and homogenous, remove the pot from heat.
- Pour in the Rice Krispie cereal and quickly stir to coat the cereal evenly in the melted marshmallow.
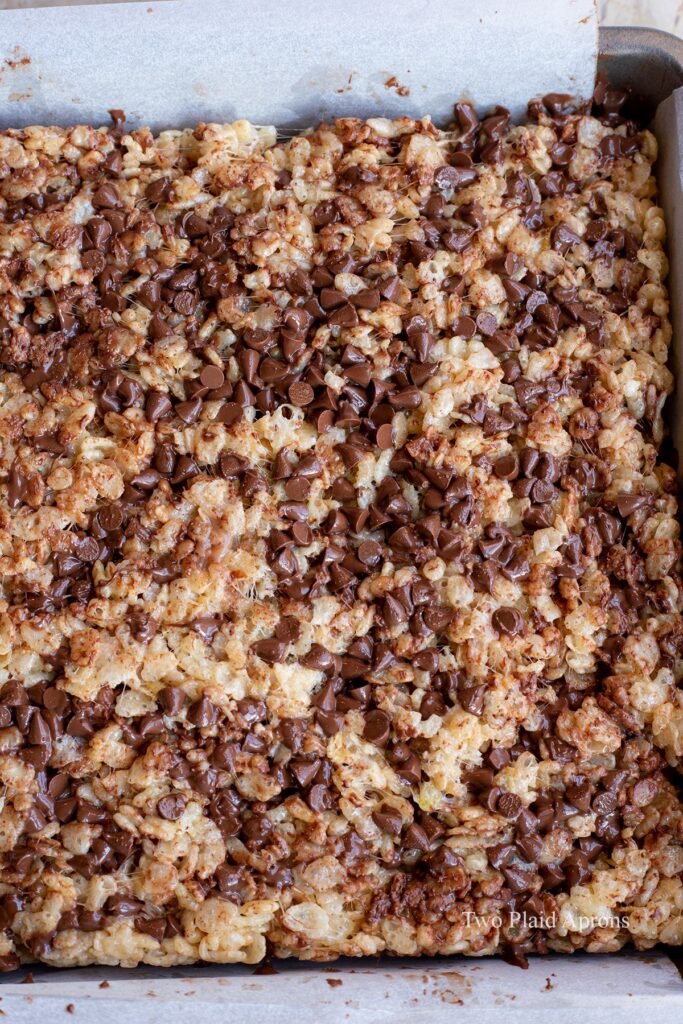
- Transfer half of the rice krispies to the prepared 9x9 pan and spread it out to cover the entire surface. Sprinkle half of the mini chocolate chips across the top and layer it with sheets of graham crackers. Give it a gentle but firm press to adhere the crackers to the rice krispies.*Make sure to not compact the rice krispies too much or it'll become hard instead of soft and chewy.*
- Spread the remaining rice krispie treats on top of the layer of graham crackers and sprinkle the remaining mini chocolate chips on top. Gently pat down the chocolate chips to adhere them to the rice krispies.Let the rice krispies cool at room temperature for at least 20 minutes or 1 hour before cutting.
- Once the rice krispies are set, remove it from the pan and cut it evenly into 36 even pieces (6x6). Top each piece with a regular size marshmallow. Torch the marshmallow until golden brown. Stick a piece of Hershey chocolate in the marshmallows and enjoy!
Notes
- An alternative method to torching the marshmallows is to line the rice krispies with the marshmallow on top on a sheet pan. Then, broil the marshmallows at 500F, on the 2nd rack from the top, for 20-25 seconds or until golden brown. Each oven is different, so keep an eye on the marshmallows!
- If you prefer your chocolate melty and gooey like a real S'more, stick them the oven at 350F for 5-10 seconds or at 500F for 5 seconds. We lightly torched our Hershey bars briefly and they were gooey but maintain the Hershey bar appearance.








Comments
No Comments