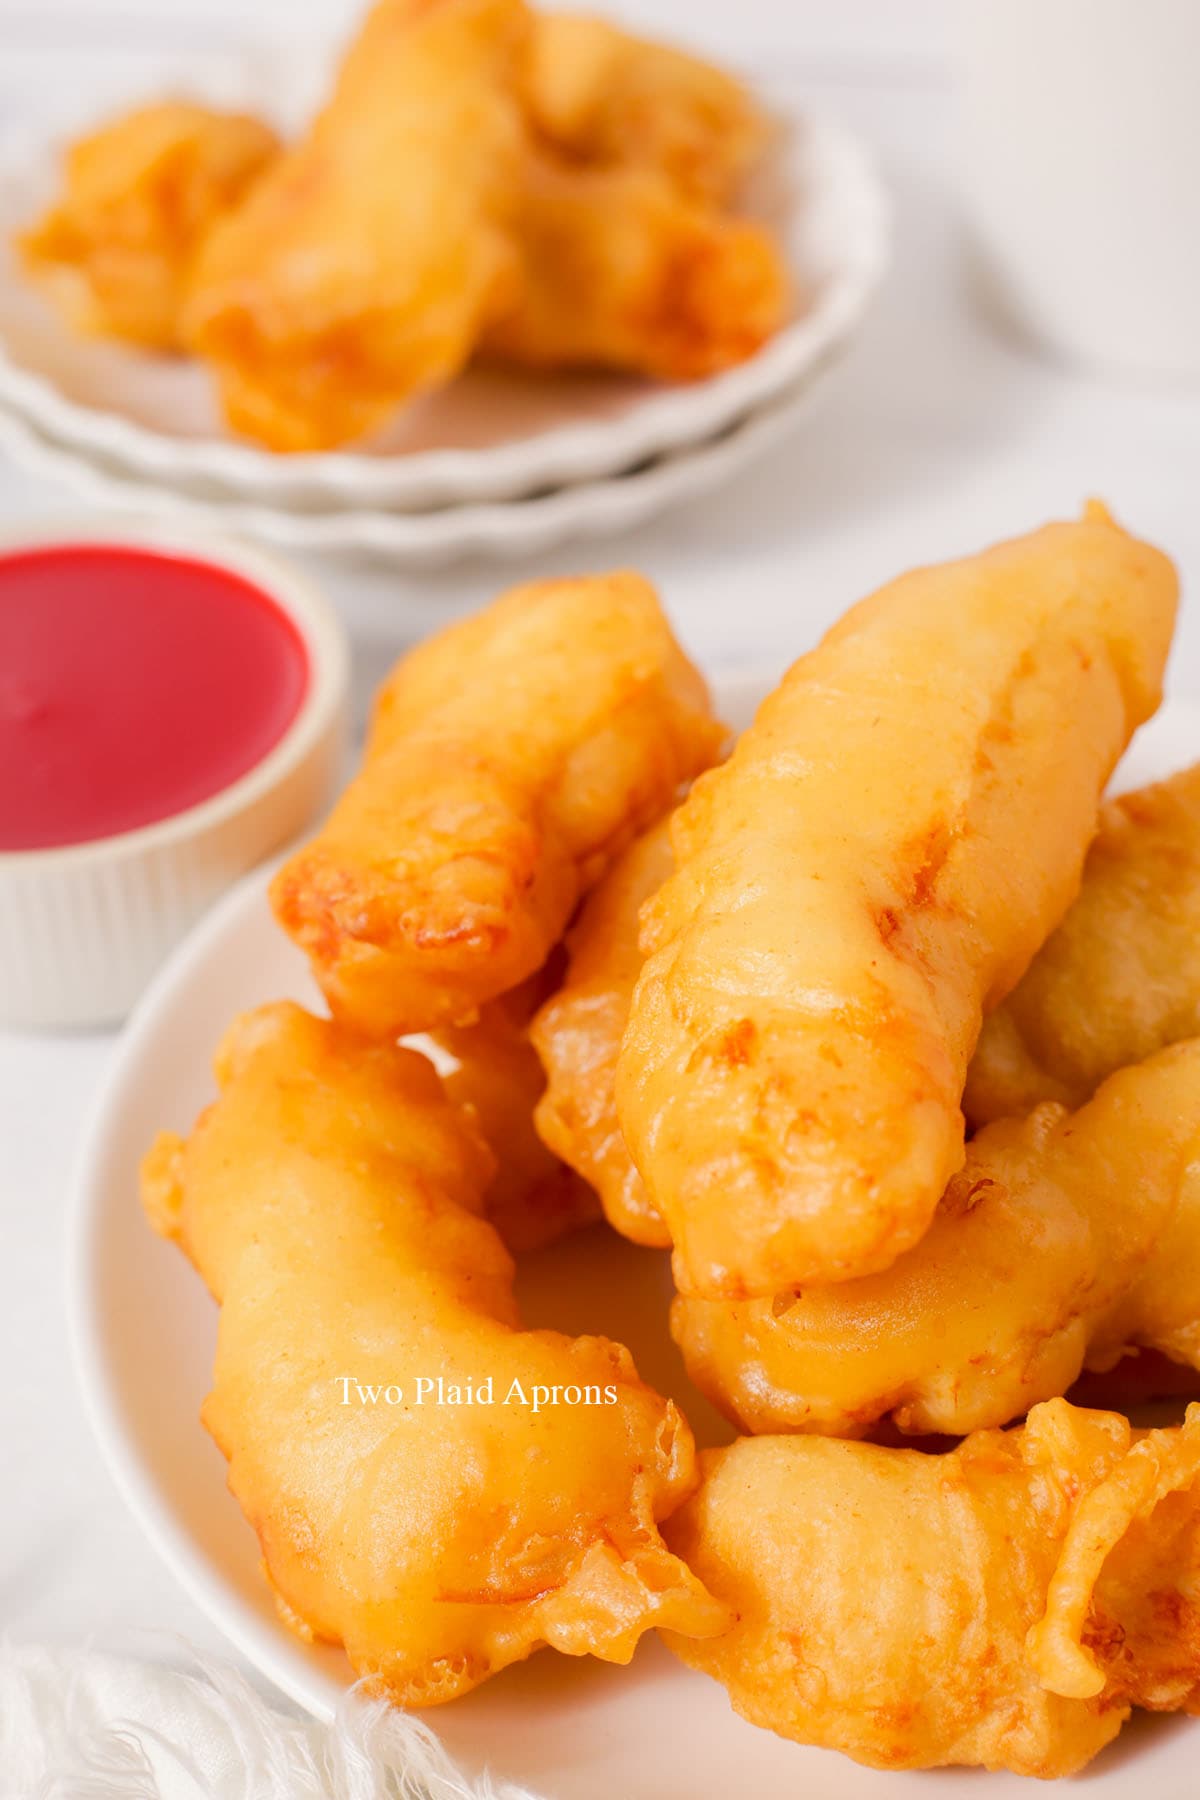
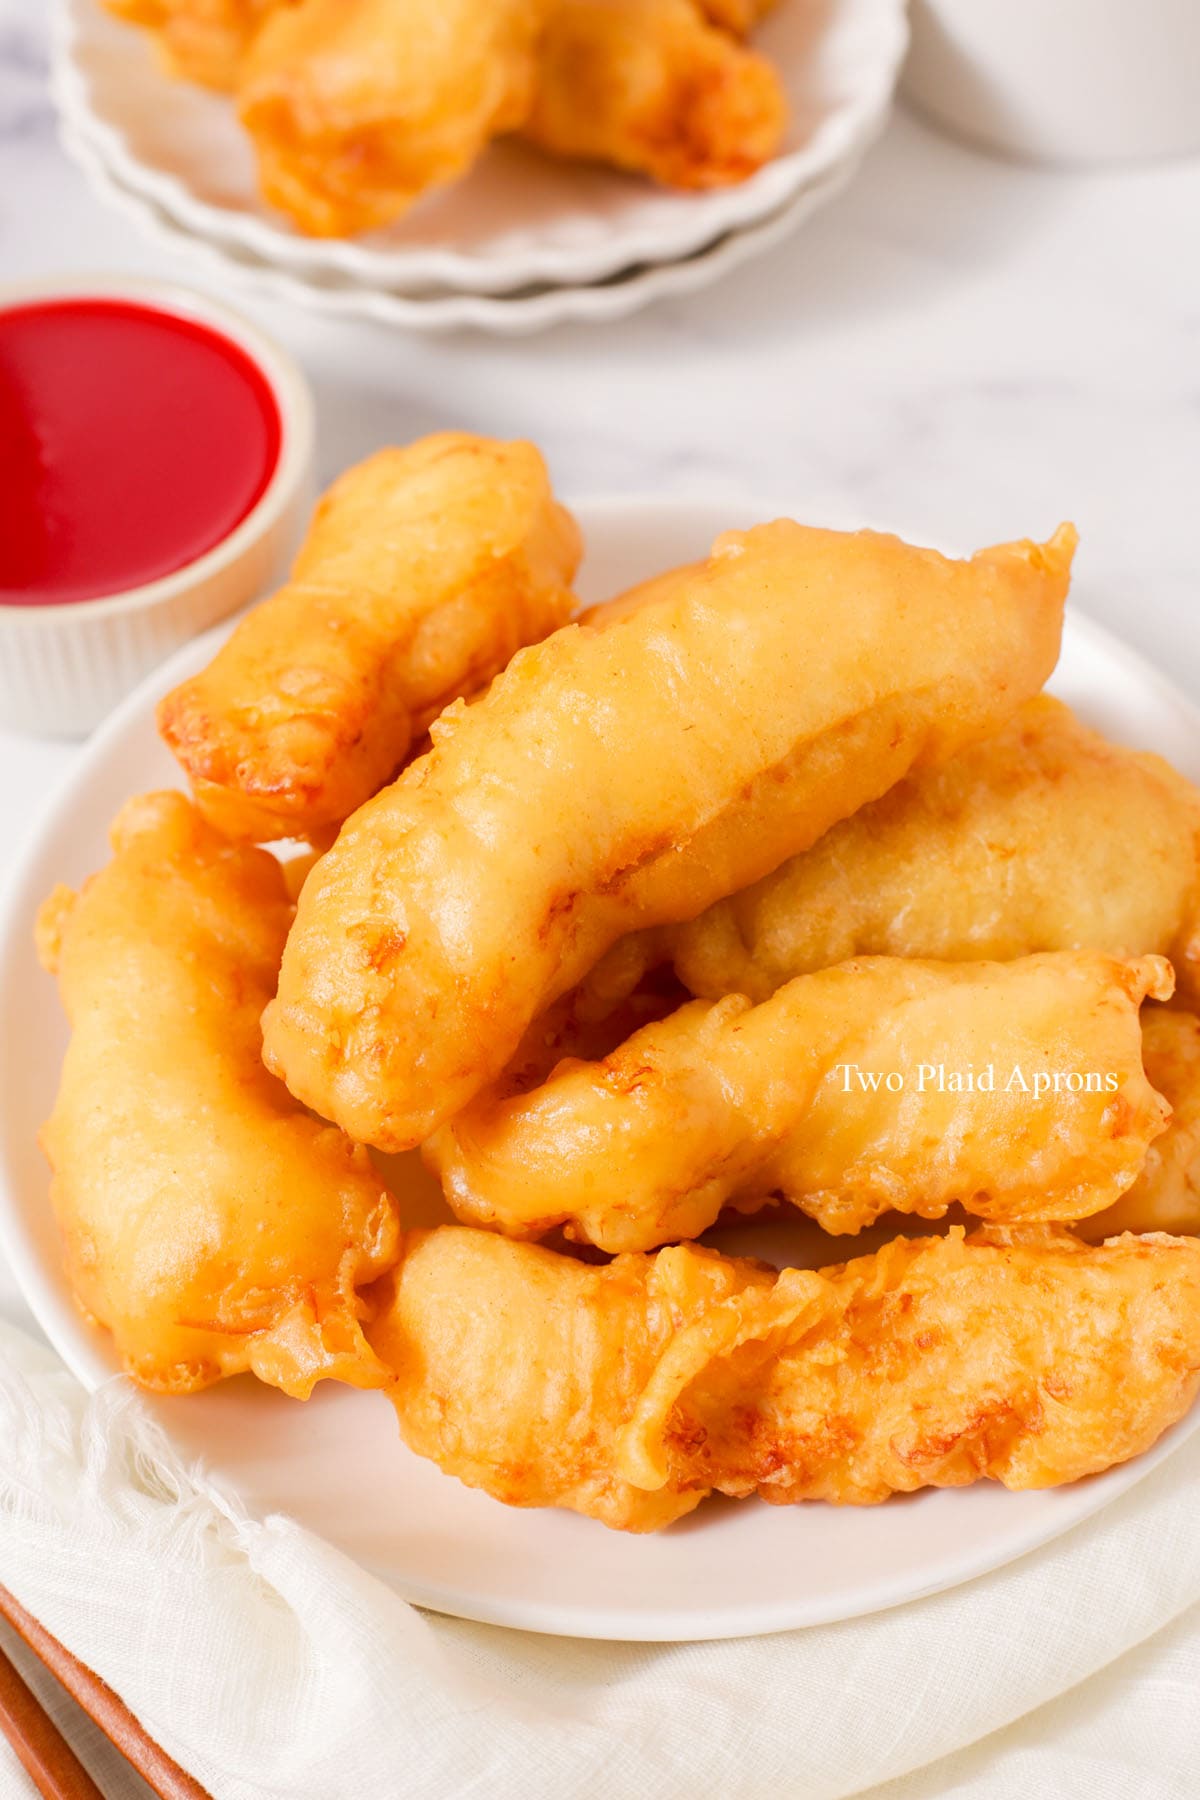
Sweet and sour chicken, one of the most popular Chinese takeout dishes, is made of puffy, golden brown pieces of fried chicken nuggets with pineapple chunks, onion, bell pepper, carrot, and a side of iconic red, sweet and sour sauce. Serve it with egg rolls or some egg drop soup and egg fried rice to complete the meal!

If you’ve made this recipe or any recipes from our blog, please tag us on Instagram using #twoplaidaprons! You can also tag us in your Instagram stories using @two_plaid_aprons. We would love to see your creations! It absolutely makes our day! 🥰
Jump to:
What to eat with sweet and sour chicken
Sweet and sour chicken is a complete dish on its own but is even better with sides! These are some of our favorites:
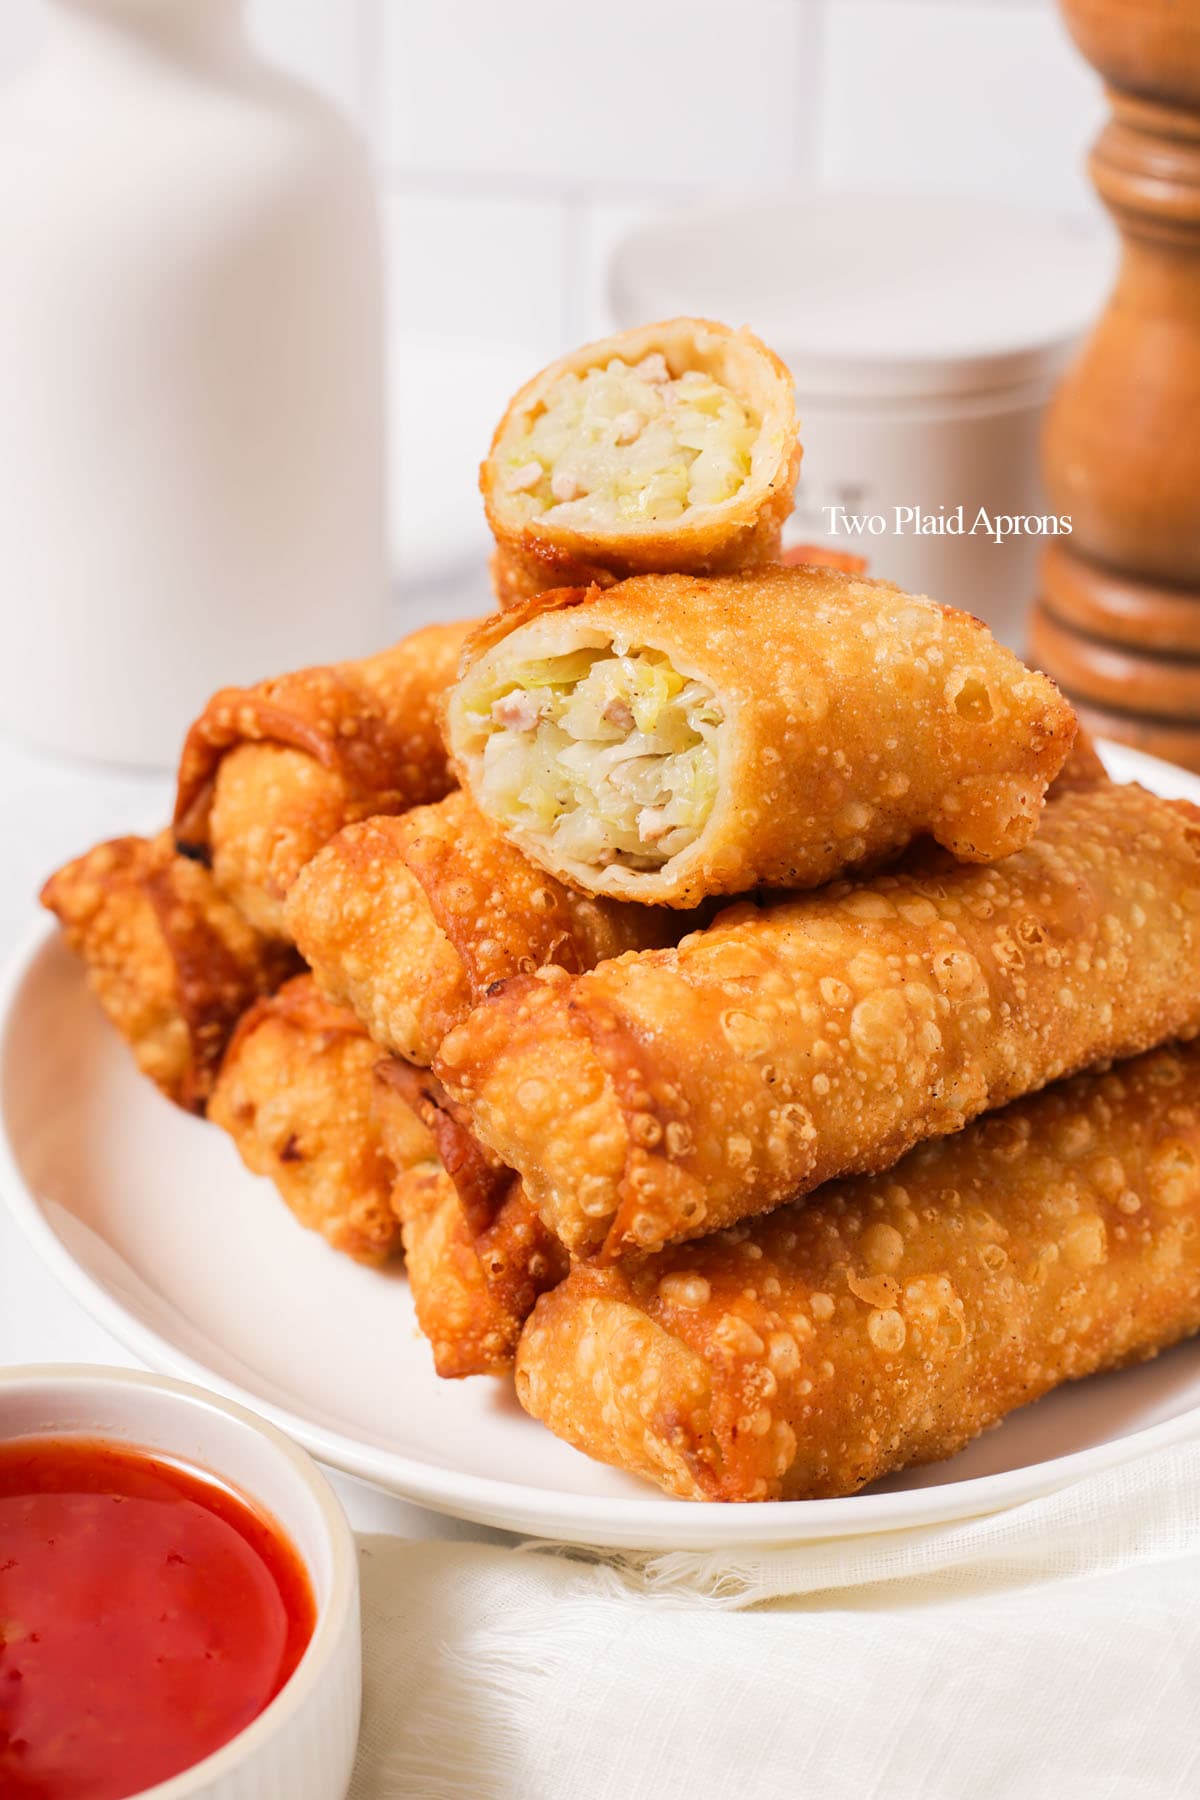
- Appetizers - Chinese egg rolls and crab rangoon
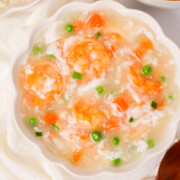
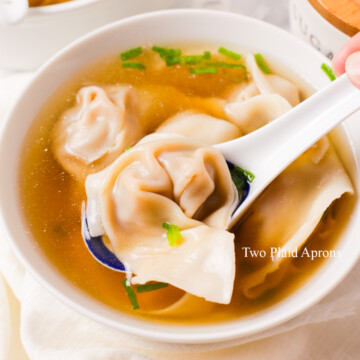
- Soups - egg drop soup and hot and sour soup
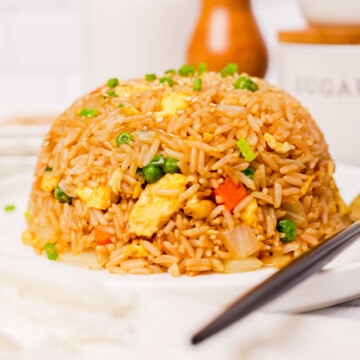
- Fried rice - We have quite a few choices to choose from and all of them are great choices!
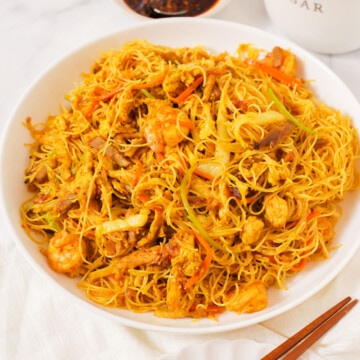
- Noodles - Two of our favorite noodle choices are chicken lo mein and Cantonese chow mein!
- Veggie dishes - garlic green beans, bok choy with oyster sauce, chinese broccoli stir fry
Ingredient notes
Please scroll down to the recipe card for the ingredient quantities!
For the sweet and sour chicken:
- Marinated chicken breast - Chicken breast is the classic and most preferred cut for making sweet and sour chicken because it's got a clean flavor. The chicken breast is cut then marinated with Shaoxing rice wine, salt, and some egg.
- Vegetables - Some Chinese restaurants, usually ones that offer dine-in options, serve sweet and sour chicken with vegetables and pineapple. If you wish to do the same, you can add onion, bell pepper, and carrots.
- Pineapple - Just like the vegetables, pineapple is an optional ingredient in this dish. You can use either fresh or can pineapple chunks.
- Oil (for frying)
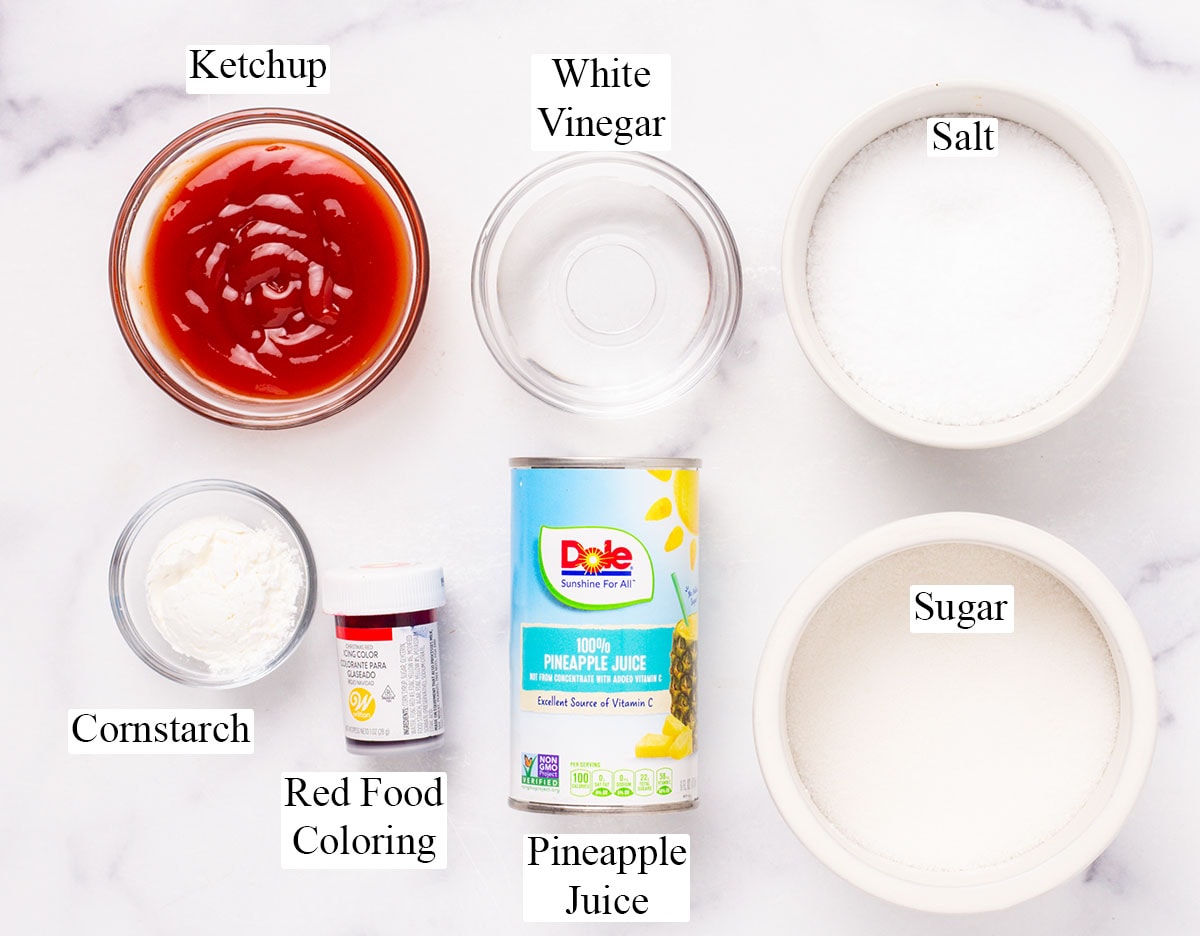
- Sweet and sour sauce - This iconic red sauce is made of pineapple juice, ketchup, sugar, vinegar, salt, water, and cornstarch slurry. If you want the iconic red color, some red food color will also be needed.
For the batter:
- Self-rising flour - This is basically all-purpose flour mixed with salt and baking powder. So if you don't already have self-rising flour at home, you can simply combine every 1 cup of all-purpose flour with ¼ teaspoon fine salt and 1 ½ teaspoons baking powder.
- Cornstarch - Using cornstarch makes the batter crispier.
- Baking powder - This is optional. A small addition of baking powder will give the batter a little extra lift, making the end result airier and crisper. Without it, the sweet and sour chicken will still taste just as good, but the batter on the outside won't be as smooth.
- Salt - We recommend using fine salt to ensure that the salt gets well dissolved.
- Water, egg, and oil - These three ingredients are the main liquids used to make the sweet and sour chicken batter. The egg makes the batter more aromatic and tastier and the oil makes the batter less "sticky," making the chicken easier to separate.
- Vinegar - A small amount of vinegar in the batter helps to create a lighter, crisper fry from the reaction baking powder has with an acid.

How to make sweet and sour chicken
Please scroll down to the recipe card for the full recipe and instructions!
Prepare the ingredients:
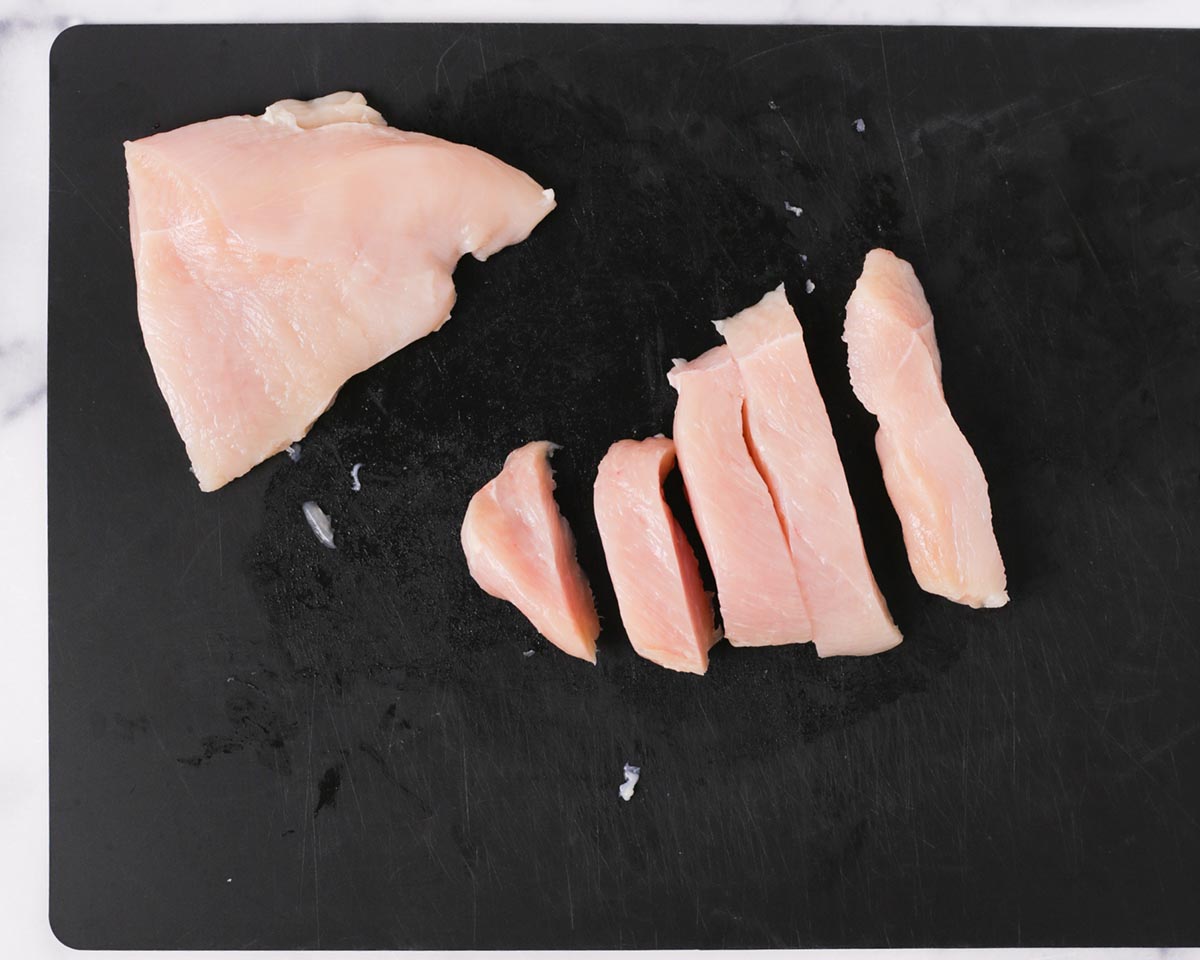
1. Cut the chicken. Lay the chicken breast flat on the cutting board and slice it in half (aka butterfly cut) so that the chicken is half its original thickness, about ½ inch thick. Then cut the chicken against the grain into finger-size strips.
2. Marinate the chicken. Place the chicken into a mixing bowl along with Shaoxing rice wine, salt, and egg.
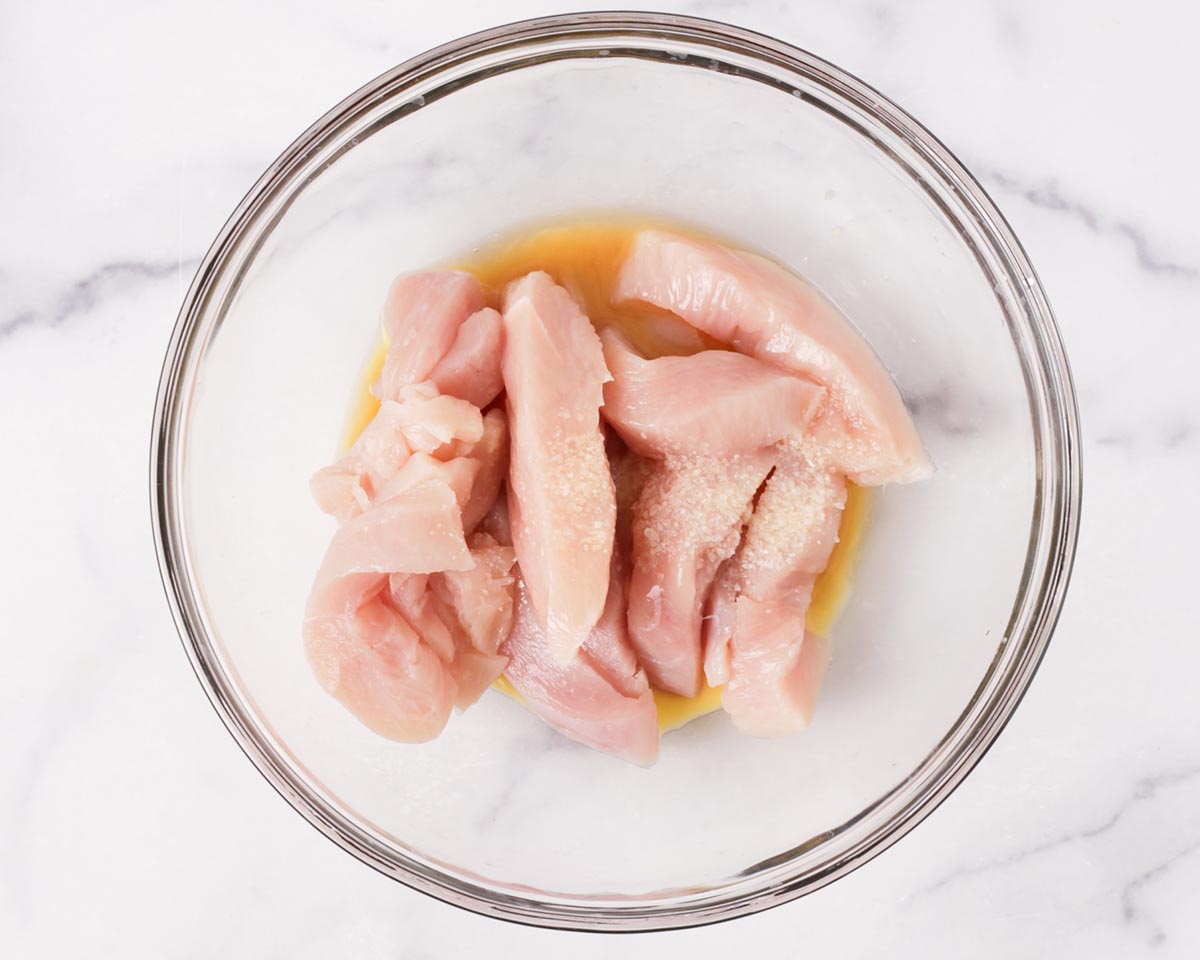
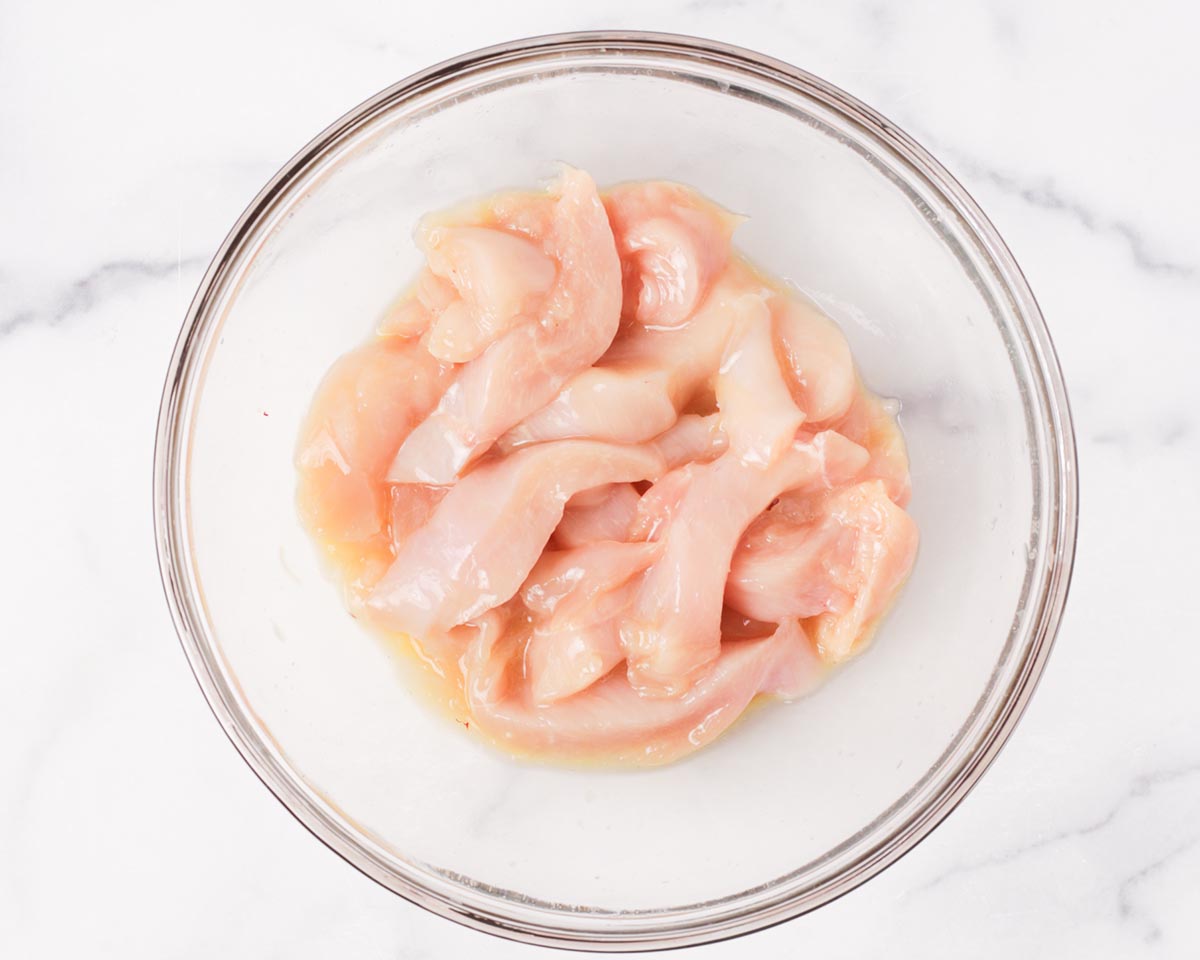
Mix until well combined and the chicken absorbed most of the liquid. Set aside to marinate while the rest of the ingredients are prepared or allow to marinate overnight in the fridge.
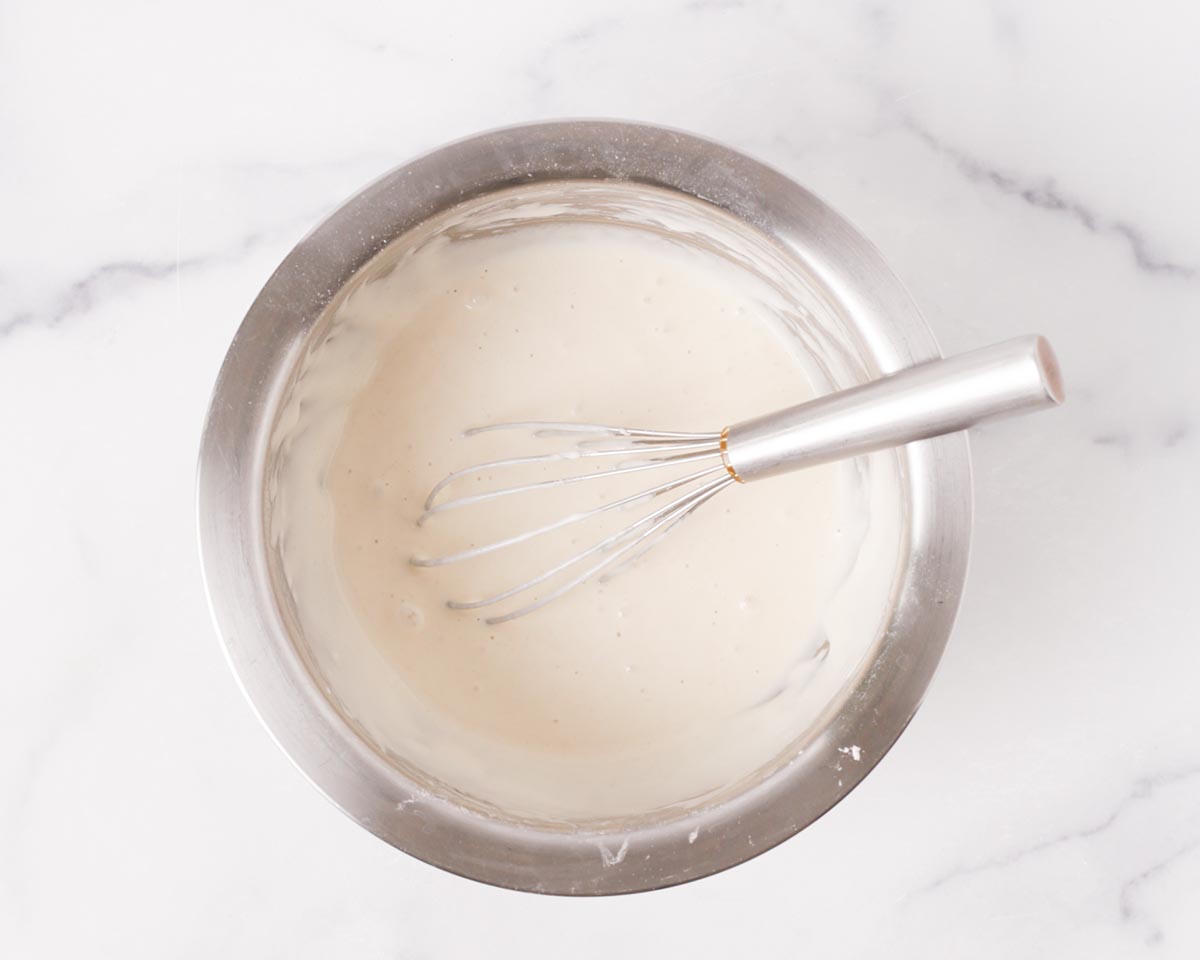
3. Make the batter. In a bowl, whisk together the self-rising flour, cornstarch, baking powder, and salt. Then add the water and egg and mix until well combined and no more dry clumps of flour is visible.
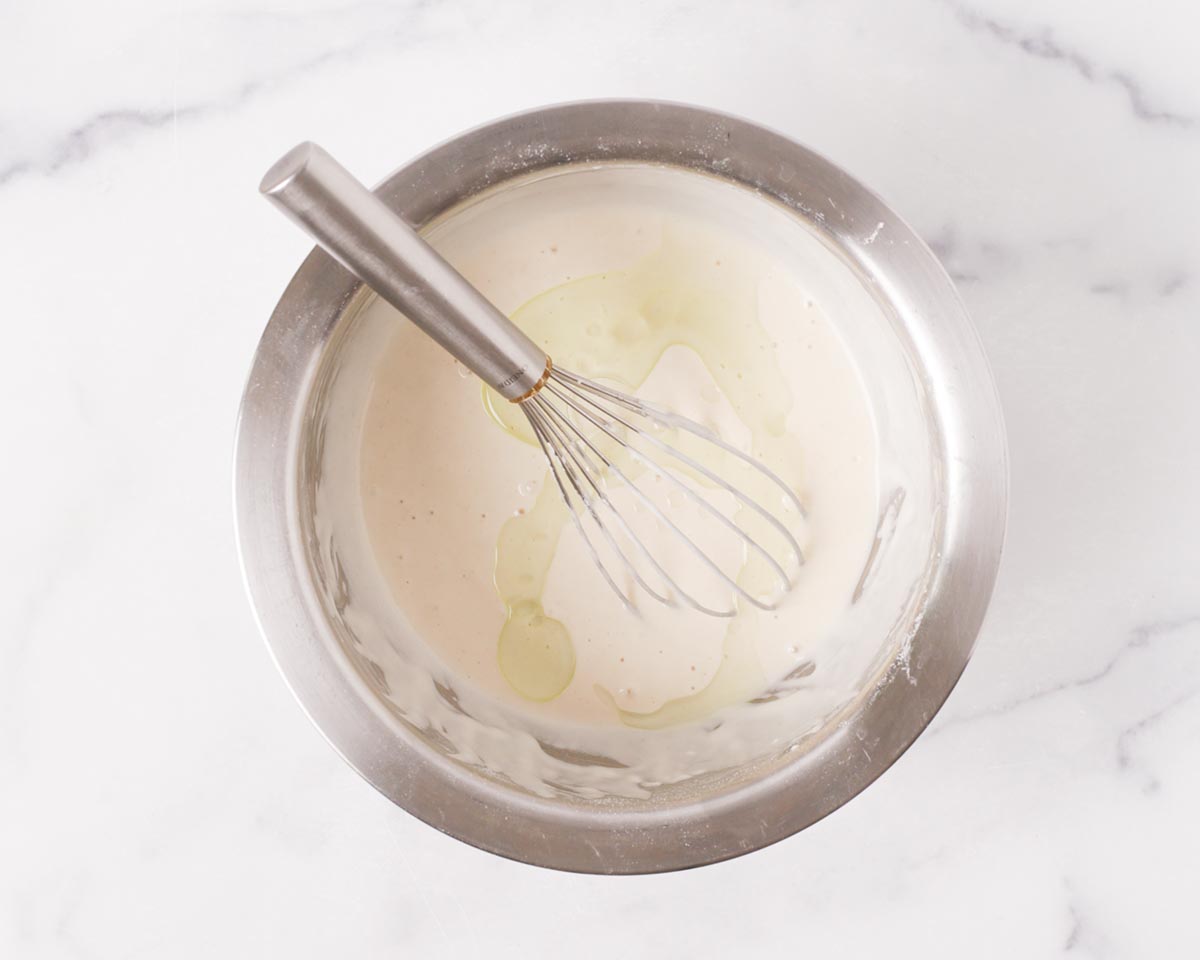
Add the oil and vinegar and mix until well combined. Set aside until needed.
4. Mix the chicken and batter. Give the marinated chicken another mix and add the batter to the chicken. Mix until well combined and the chicken pieces are all well coated.

Fry the sweet and sour chicken:
5. First fry. Preheat some oil to 350°F. Pick up one piece of chicken at a time, making sure it's well coated with batter, and place it gently into the oil. Fry the chicken for about 4 to 5 minutes, until they float to the surface and turns pale golden on all sides. Make sure to not overcrowd the oil and fry in batches if necessary.

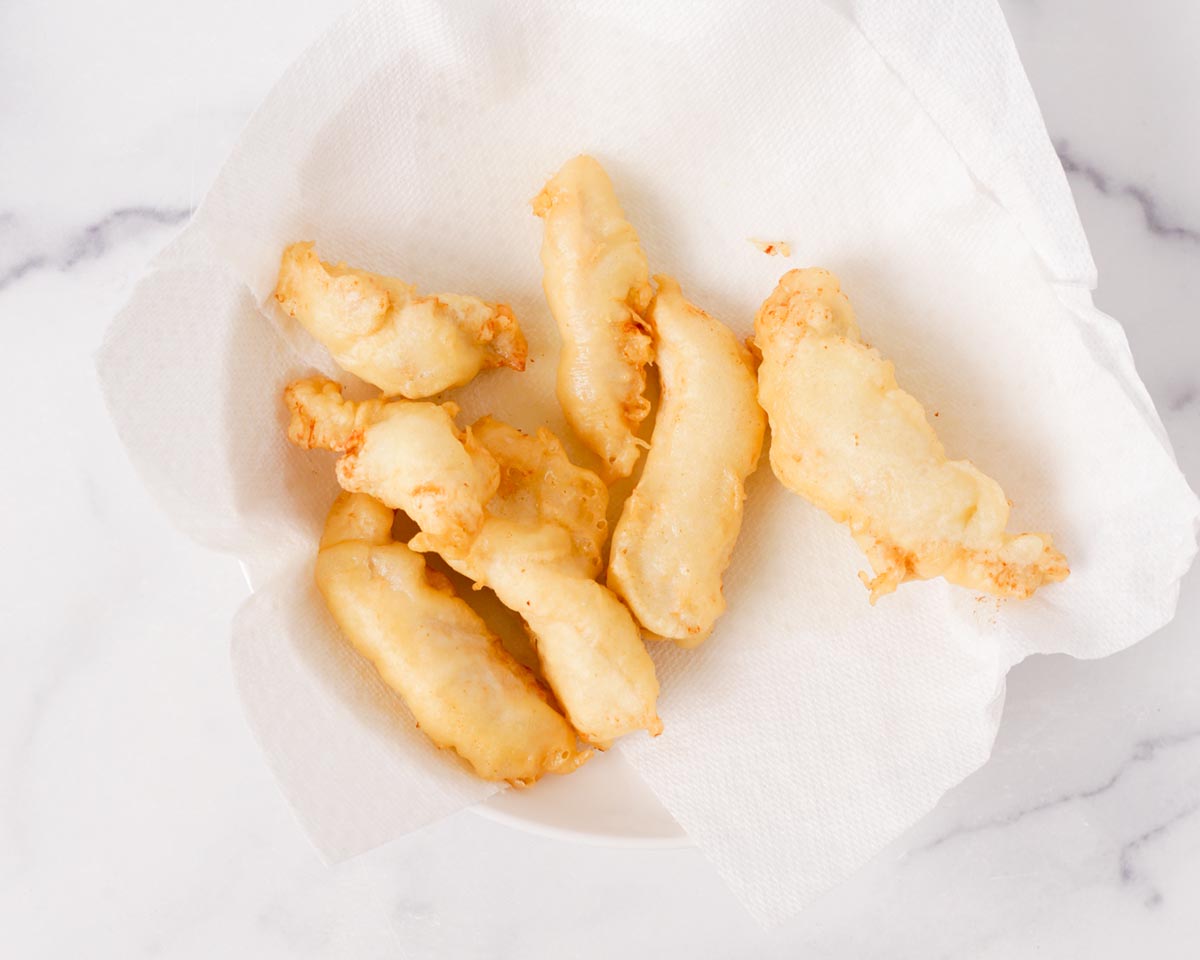
🌟Pro move: Instead of using your fingers or tongs, use a sharp toothpick or a skewer to pick up the chicken pieces. This helps the chicken to be completely covered with batter and not have spots of missing batter around the area that you picked up.

7. Rest the chicken. Remove the chicken and let it drain and cool on the some paper towels for about 5 minutes.
8. Second fry. Add the chicken back into the oil at 350°F and fry for another 3 to 4 minutes until the chicken is golden brown and crispy on the outside.
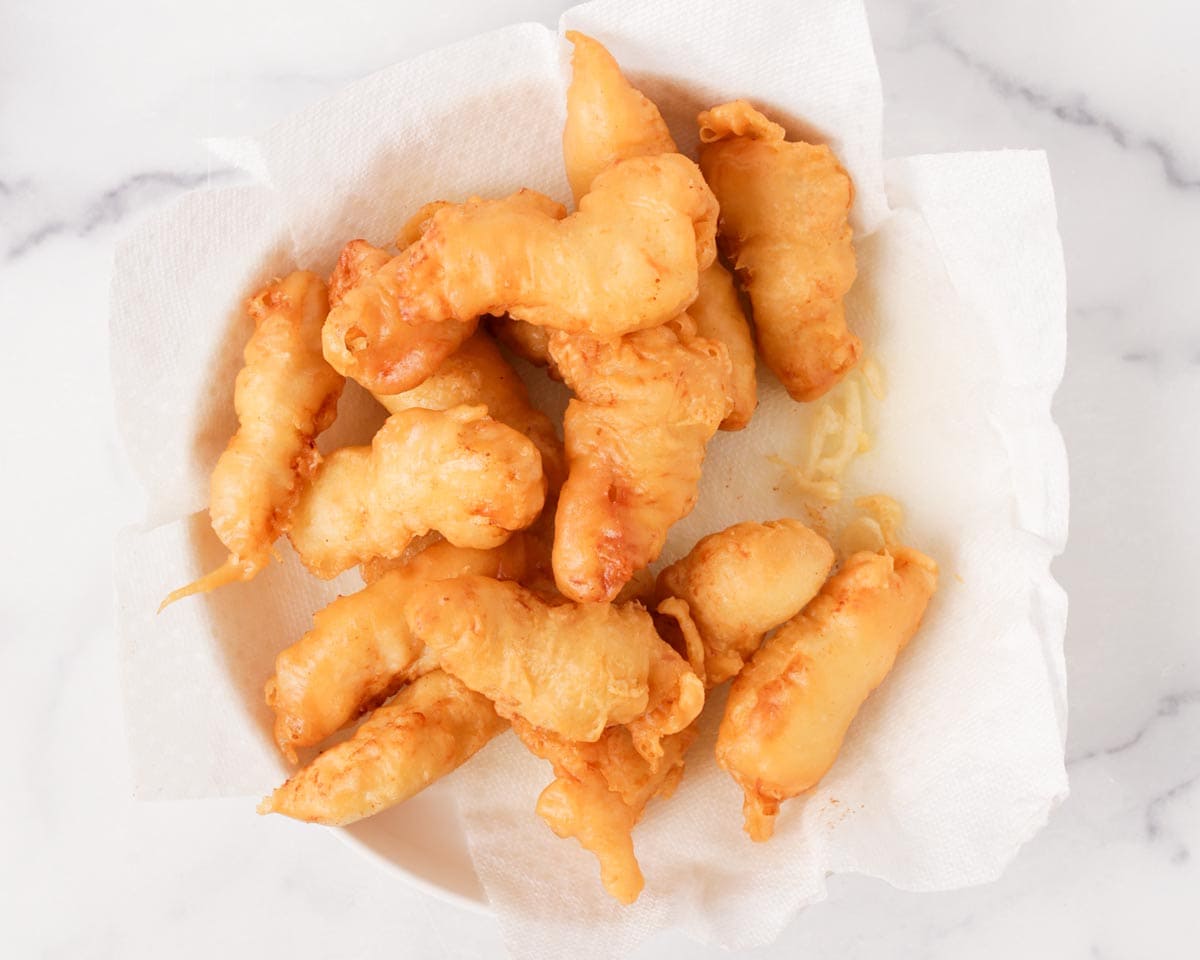
9. Cook the veggies. With the oil at 350°F, add the bell peppers and carrots and cook for about 10 seconds. Then add the onions and fry for an additional 5 to 10 seconds. Remove the veggies and allow them to drain on paper towels to remove excess oil. Be careful! Vegetables have high moisture content. They will pop a lot when added to oil.
📝Note: This flash fry method is easy and convenient, but it will leave the veggies a bit on the oily side. If you prefer, you can simply boil the vegetables in a pot of water for a cleaner, healthier alternative.
10. Assemble. Toss together the fried chicken pieces, veggies, and pineapple chunks and transfer it to a serving plate. Serve immediately with sweet and sour sauce on the side or poured over it.

How to make sweet and sour sauce
Please scroll down to the recipe card for the full recipe and instructions!
1. Mix the ingredients. Mix together water, pineapple juice, vinegar, ketchup, sugar, salt, and the red food coloring.

Transfer the mixture to a saucepan and bring it to a boil while mixing occasionally until the sugar and salt has dissolved. Reduce the heat to low.
2. Add slurry. Give the prepared cornstarch slurry a mix to combine. While stirring the sweet and sour sauce, slowly drizzle in the cornstarch slurry.
3. Cook to thicken. Increase the heat so that the sauce is at a simmer and allow the sauce to cook until it's thickened and glossy. Make sure to stir frequently.
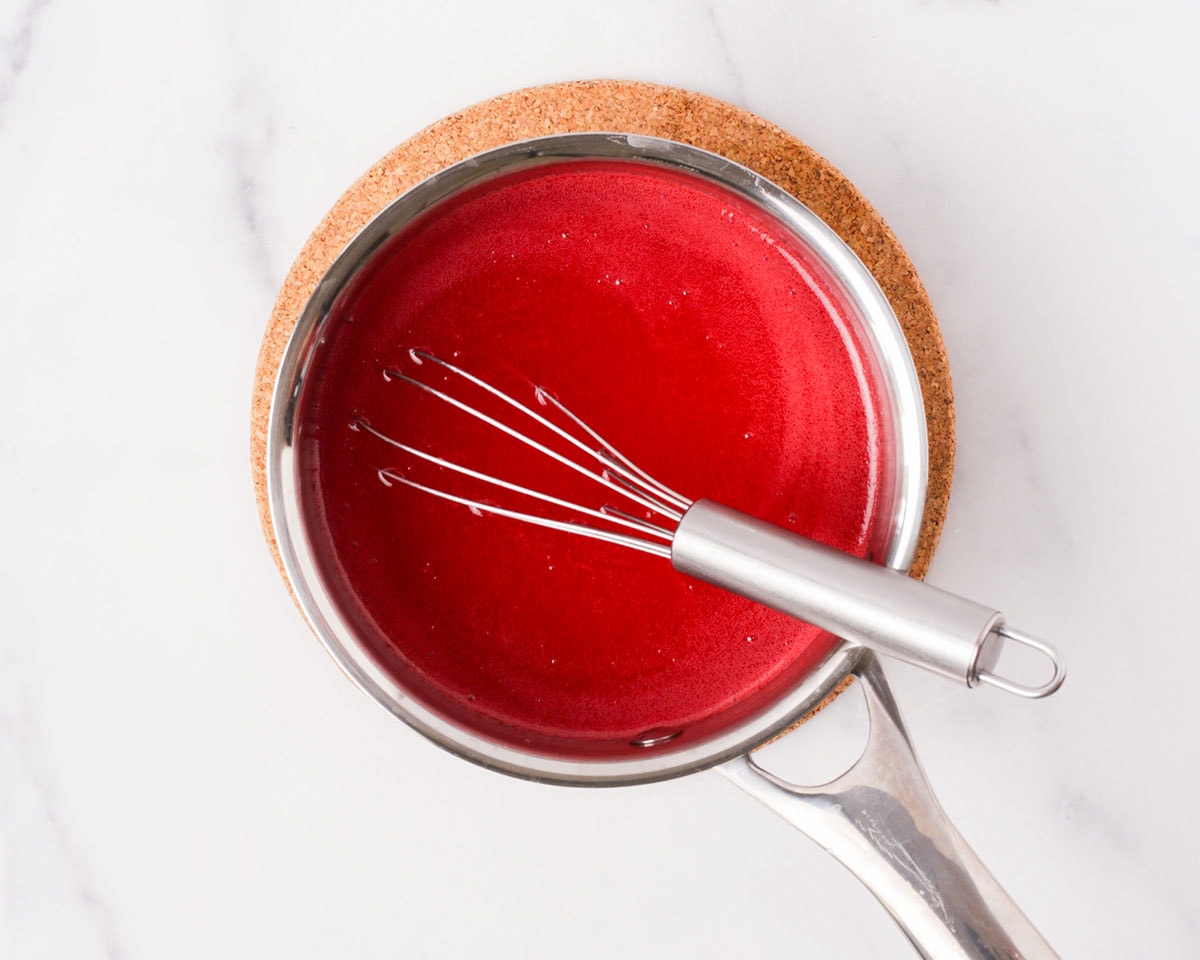
📝Note: As the sauce cools, a film may form on the sauce. This is totally normal and is due to the cornstarch. You can simply stir it back into the sauce.
Recipe tips
- Make the sweet and sour chicken batter when you're ready to fry. This is because baking powder is used in the batter, which looses its effectiveness as it sits.
- Don't skip the additional baking powder if you want a smoother, airy batter.
- Upgrade to using a skewer to fry the chicken for the best batter coverage. This is how Chinese restaurants fry their sweet and sour chicken, although their tool is more like a long wood plank studded with several stainless steel skewers to make the frying process faster.

What to do with leftover oil
Leftover oil can be reused for cooking or more frying. Transfer the leftover oil into a heatproof bowl, jar, or container. Let the oil cool completely, then cover with plastic wrap or a lid. If you're uncomfortable with handling hot oil, set the oil aside to cool first!
If you plan on reusing the oil again, make sure to strain it through a fine mesh strainer or a couple layers or cheesecloth to remove any debris. Keep the oil in a cool, dark place and use within a couple of weeks.
If you're disposing oil, pour it into a jar or a container that can be sealed. Dispose of it in your trashcan. DO NOT pour it down your drain! It may damage your pipes and also cause damage to the environment!

Storage
Sweet and sour chicken stores really well and can even be frozen for later, as long it's not already dressed with sauce.
Leftover sweet and sour chicken with the sauce already on it can be refrigerated for up to 3 to 4 days. Just make sure to allow the chicken to cool completely before covering and refrigerating.
For sweet and sour without the sauce on it, you can also refrigerate for up to 3 to 4 days or freeze it for up to 2 months. Make sure to store it in an airtight container or freezer bag.
The sweet and sour sauce can be refrigerated for up to 1 week and frozen for up to 3 months.
Reheating
Sweet and sour already dressed with the sauce can be reheated in the microwave until warmed through. If the sweet and sour chicken is kept plain, you can reheat using the following methods:
Fry method: Re-fry the sweet and sour chicken in 350°F oil for about 4 to 5 minutes, or until the chicken is hot and the outside is golden brown and crispy.
Air fry method: Arrange the chicken pieces in a single layer and air fry at 375°F for about 8 to 10 minutes, or until heated through and crispy on the outside. Flip mid-way through cooking.
Oven method: Preheat the oven to 400°F and arrange the chicken pieces on a roasting rack with a sheet pan underneath. Bake the sweet and sour chicken for about 10 to 15 minutes until the chicken is heated through and the outside is crispy. Flip mid-way through cooking.
For frozen sweet and sour chicken, make sure to defrost it in the fridge overnight if frying. If reheating via air fryer or the oven, simply add 10 to 15 minutes to the time.

FAQ
General Tso's chicken and sweet and sour chicken are completely different dishes. Starting with the sauce, General Tso's chicken is a sweet, spicy, and slightly tangy while sweet and sour sauce is often served on the side and is just sweet and tangy. The chicken itself is made with chicken thighs and fried with a starch based batter. On the other hand, sweet and sour chicken looks golden and puffy and is made with chicken breast.
Similar to General Tso's chicken, orange chicken is quite different from sweet and sour chicken. If anything, orange chicken and General Tso's chicken are more similar. Besides that sweet and sour sauce is pineapple juice base and orange chicken sauce is orange juice based, orange chicken also has a little kick from the chili peppers. The chicken itself is also different, as orange chicken is made with dark meat chicken ( chicken thighs) and sweet and sour chicken is made with chicken breasts and fried in a batter that yields a puffy and airy crust.
Sweet and sour chicken batter is made with self-rising flour, cornstarch, baking powder, salt, water, egg, oil, and vinegar.
Depending on the restaurant, sweet and sour chicken can be served with pineapples and even veggies like onion, bell pepper, and carrot.
📖 Recipe
Sweet and Sour Chicken
Ingredients
For the marinated chicken:
- 2 pounds skinless boneless chicken breast
- 1 tablespoon Shaoxing rice wine
- 1 teaspoon salt
- 1 large egg beaten (reserve 2 tablespoons per recipe for the batter)
For the batter:
- 2 cups self-rising flour fluffed, spooned, and leveled *see notes
- ⅔ cup cornstarch
- ¼ teaspoon baking powder (optional) *see notes
- ½ teaspoon salt
- 1¾ cups water
- 2 tablespoons egg beaten (reserved from the chicken marinade)
- 2 tablespoons oil any neutral oil will do
- 1 teaspoon white vinegar
For the sweet and sour sauce (makes about 5 cups):
- 1¼ cup water
- ¾ cup pineapple juice (or a 6 fl.oz can)
- ¾ cup white vinegar
- ¾ cup ketchup
- 1¼ cup granulated sugar
- ⅛ teaspoon salt
- 3-5 drops red food coloring (optional for coloring)
- 3 tablespoons cornstarch (mix every 1 tablespoon of cornstarch with 1 tablespoon of water to make slurry)
Optional ingredients for the dish:
- ½ bell pepper cut into 1 inch pieces (red or green)
- ½ large carrot peeled and thinly sliced
- ¼ small yellow onion cut into 1 inch pieces
- 1 cup pineapple cut into chunks (fresh or can)
Instructions
Prepare the ingredients:
- Prepare the chickenTrim the chicken breast to get rid of any excess fat and cartilage. Butterfly the chicken breasts so that they are about ½ inch thick. Then, cut the chicken against the grain into finger-size strips.
- Place the prepared chicken into a large mixing bowl and add the rice wine, salt, and egg. Make sure to reserve some egg for the batter! Mix everything together until well combined. Set aside and allow the chicken to marinate for about 10 to 15 minutes as you prepare the rest of the ingredients, or overnight in the fridge.
- Make the batter:In a bowl, whisk together the self-rising flour, cornstarch, baking powder, and salt. Then add the water and egg and mix until no more dry clumps of flour is visible. Add the oil and vinegar and mix until well combined. Set aside until needed. *If marinating the chicken overnight, make the batter when ready to use.*
For the sweet and sour sauce:
- Into a saucepan, mix together water, pineapple juice, vinegar, ketchup, sugar, salt, and the red food coloring. Bring the sauce to a boil while mixing occasionally until the sugar and salt has dissolved. Reduce the heat to low.
- Give the prepared cornstarch slurry a mix to combine. While stirring the sweet and sour sauce, slowly drizzle in the cornstarch slurry. Once added, increase the heat so that the sauce comes back to a simmer and allow the sauce to cook until it's thickened and glossy. Make sure to stir frequently.
- Set the finished sauce aside and keep it covered until needed or transfer it to a heatproof container.*As the sauce cools, a film may form on the sauce. This is totally normal and is due to the cornstarch. Simply stir it back into the sauce.*
Make the sweet and sour chicken:
- In a wok or pot, heat up 2 to 3 inches of oil to 350°F and prepare a plate or tray lined with paper towels.
- While the oil is heating up, give the marinated chicken a good mix. Then add the prepared batter to the chicken and mix until the chicken pieces are all well coated.
- For the 1st fry:When the oil is hot, gently add the chicken pieces one at a time. Make sure each piece of chicken is well coated and to NOT overcrowd the oil. Fry in batches if necessary.Pro move: Instead of using your fingers, use a sharp toothpick or a skewer to pick up the chicken pieces. This helps to keep the chicken completely covered with batter and not have spots of missing batter from having to pick them up with your fingers or tongs.
- Allow the chicken to fry for about 4 to 5 minutes, or until they float to the surface and start to turn pale golden on all sides. Remove from the oil and allow the chicken to drain and cool on the prepared plate lined with paper towels for about 5 minutes.
- For the 2nd fry:After resting, add the chicken back into the oil at 350°F and fry for another 3 to 4 minutes, or until the chicken is golden brown and crispy on the outside. Remove and allow the oil to drain. Again, fry in batches if necessary.
- Cook the veggies:In a pot of boiling water, add the bell peppers and carrots. Allow them to cook for about 15 seconds then add the onions. Let the veggies cook for an additional 5 to 10 seconds or until they are to your desired tenderness and drain well.
- Assembly:Toss together the fried chicken pieces, the blanched veggies, and pineapple chunks. Then transfer it to a serving plate.
- Serve the sweet and sour chicken immediately and either pour the sauce over everything or serve the sauce on the side to dip. Enjoy!
Notes
- Nutrition info - The nutritional label provided does not include the calories and nutrition of the optional ingredients and sauce, as it can vary depending on how much is consumed.
- Measuring flour - It is very important that flour is measurement properly for any recipe to yield the best result. The most accurate measurement is always by using the scale. However, if you are measuring with measuring cups, please us the fluff, spoon, and level method. Please refer to the post above for more detail!
- Baking powder - This is optional. The purpose of adding some baking soda to the batter is to encourage a smoother, airier, and crispier fry.







S.T. says
This was amazing! The chicken was so crispy and delicious. We served it with rice and it was a huge hit with the family. We'll definitely be making this again soon!
Mei says
Hi S.T! Thank you for trying our recipe and so glad you all enjoyed it!
Mei ❤️