
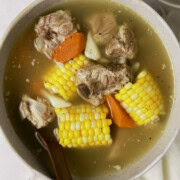


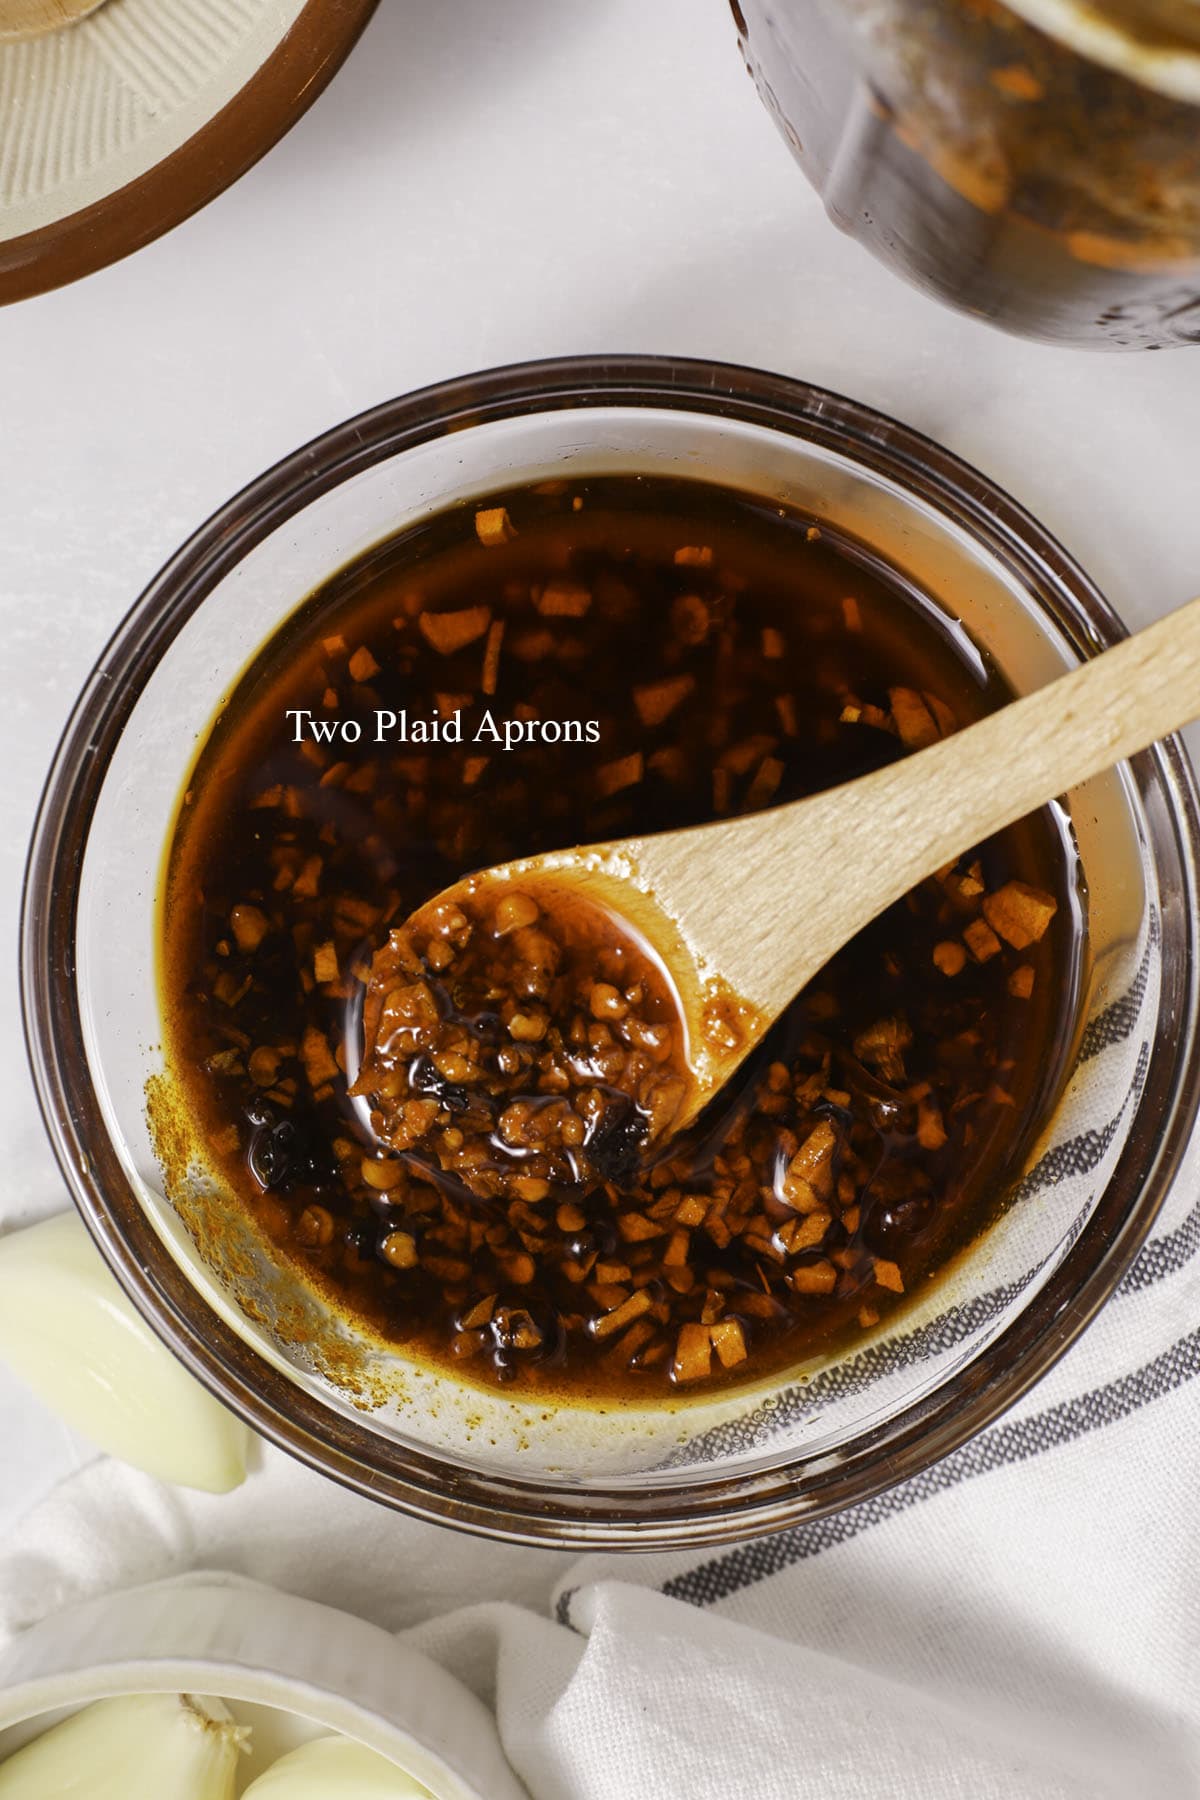
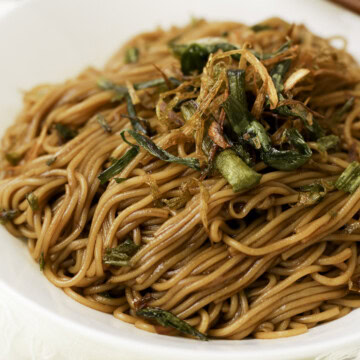
This homemade garlic chili oil is a great condiment for these pork and chive dumplings and to add to a bowl of cold sesame noodles! The chili oil is spicy, flavorful, and full of crispy garlic bits.
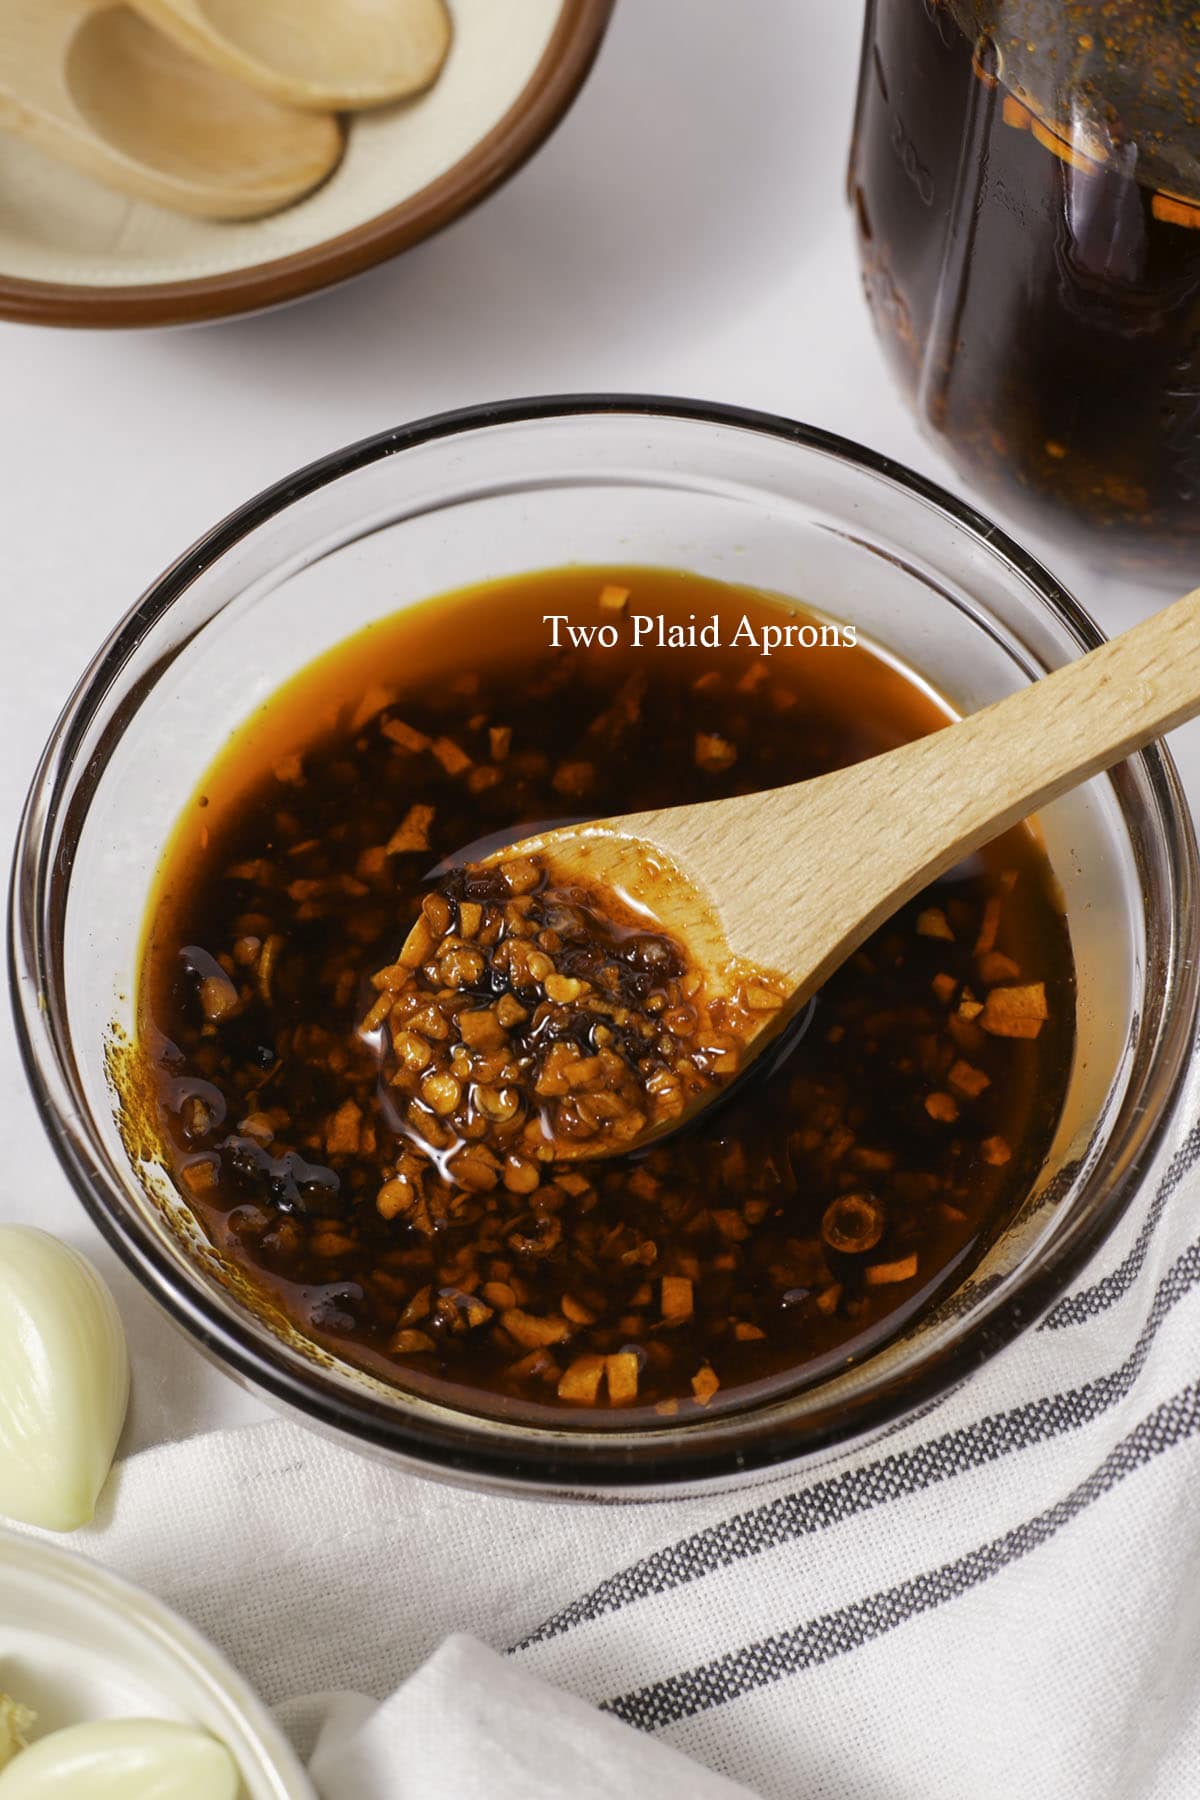
Chili oil is such a versatile condiment that tastes good on pretty much anything! Our garlic chili oil not only add flavor and some kick, it also adds texture. The garlic in the chili oil is slowly simmered to make the oil aromatic, and it also fried the garlic, making them crispy and extra garlicky. This is definitely the chili oil for all garlic lovers!
If you prefer something more aromatic but not so garlicky, try our classic Chinese chili oil instead. It may take a bit longer to make, but it is a flavor bomb.
Jump to:

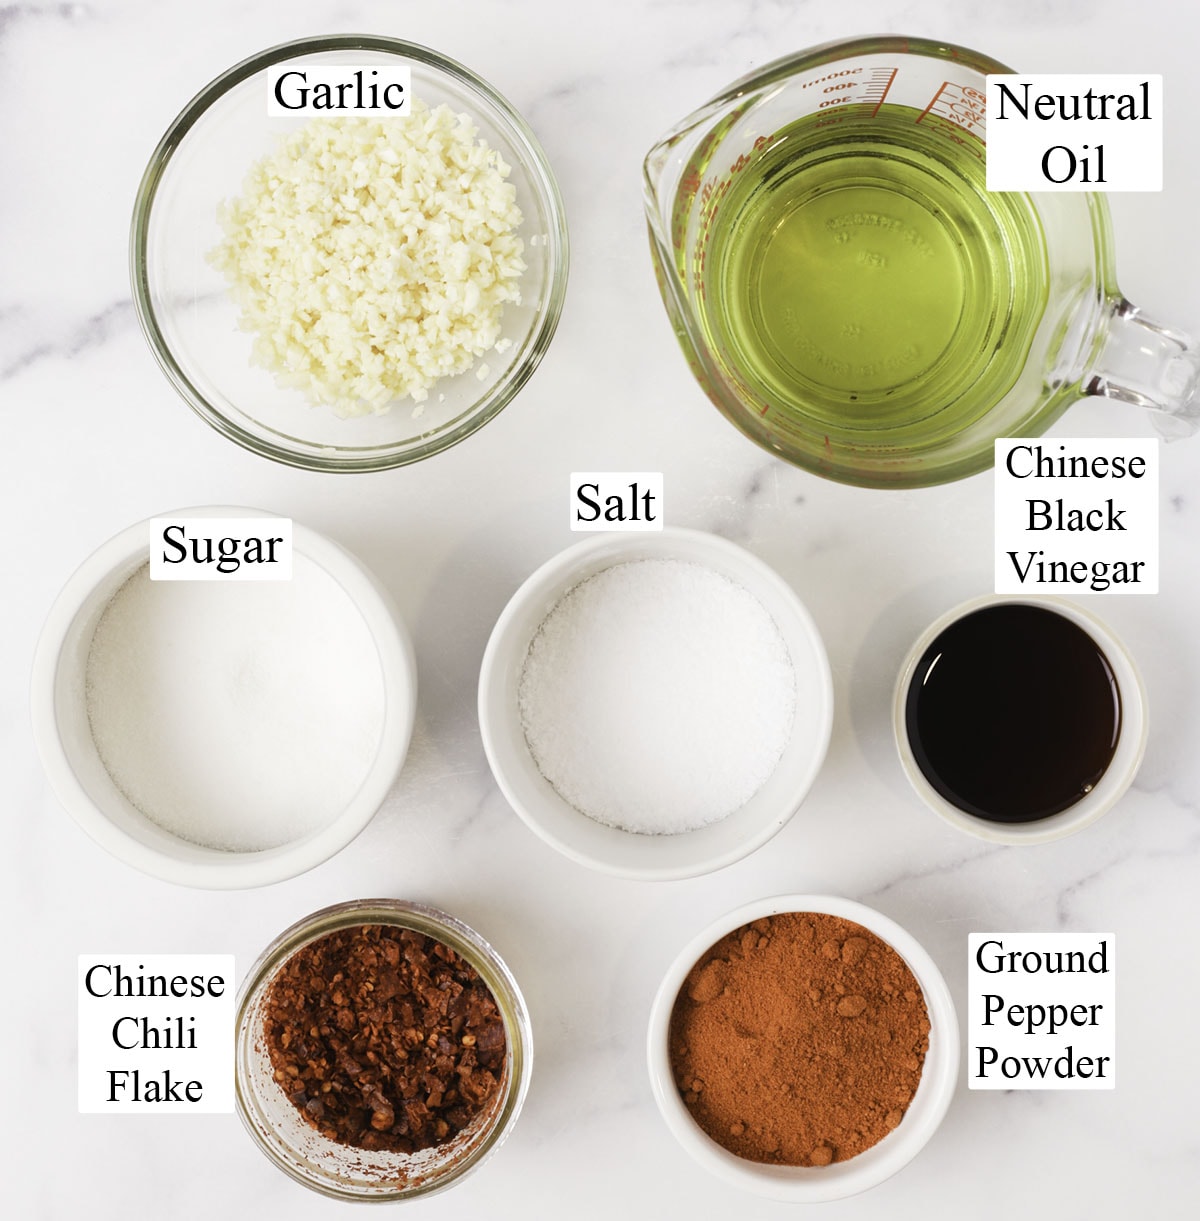
Ingredient notes
Please scroll down to the recipe card for the ingredient quantities!
- Oil - Any neutral oil is fine for making chili oil. Some options are grapeseed oil, canola oil, avocado oil, soybean oil, and peanut oil.
- Garlic - Can't make garlic chili oil without garlic! Of course, it's got to be fresh garlic. We opted for minced garlic, but sliced garlic is okay too. You may need to cool the garlic a bit longer if you wish it to be crispy.
- Chinese chili pepper flakes - We highly recommend getting Chinese ground pepper flakes from your local asian market. These pepper flakes in larger packs for a cheaper price and unlike regular crushed red pepper, Chinese ones have less seeds and more of the red pepper. This will give your chili oil better flavor and color. Do note that, the variety of chili pepper you use will determine how spicy your chili oil will be.
- Chili pepper powder - Essentially, Chinese chili pepper powder is added to give the chili oil extra red color. If you prefer, you can use Korean fine chili powder (gochugaru) as substitute. Make sure it's the fine version!
- Chinese black vinegar - It gives the chili oil a little savory flavor and helps deepen the color of the oil.
- Salt and sugar - Some additional seasonings to make the garlic chili oil even more flavorful. We recommend using fine granules of both salt and sugar.
How to make garlic chili oil
Please scroll down to the recipe card for the full recipe and instructions!
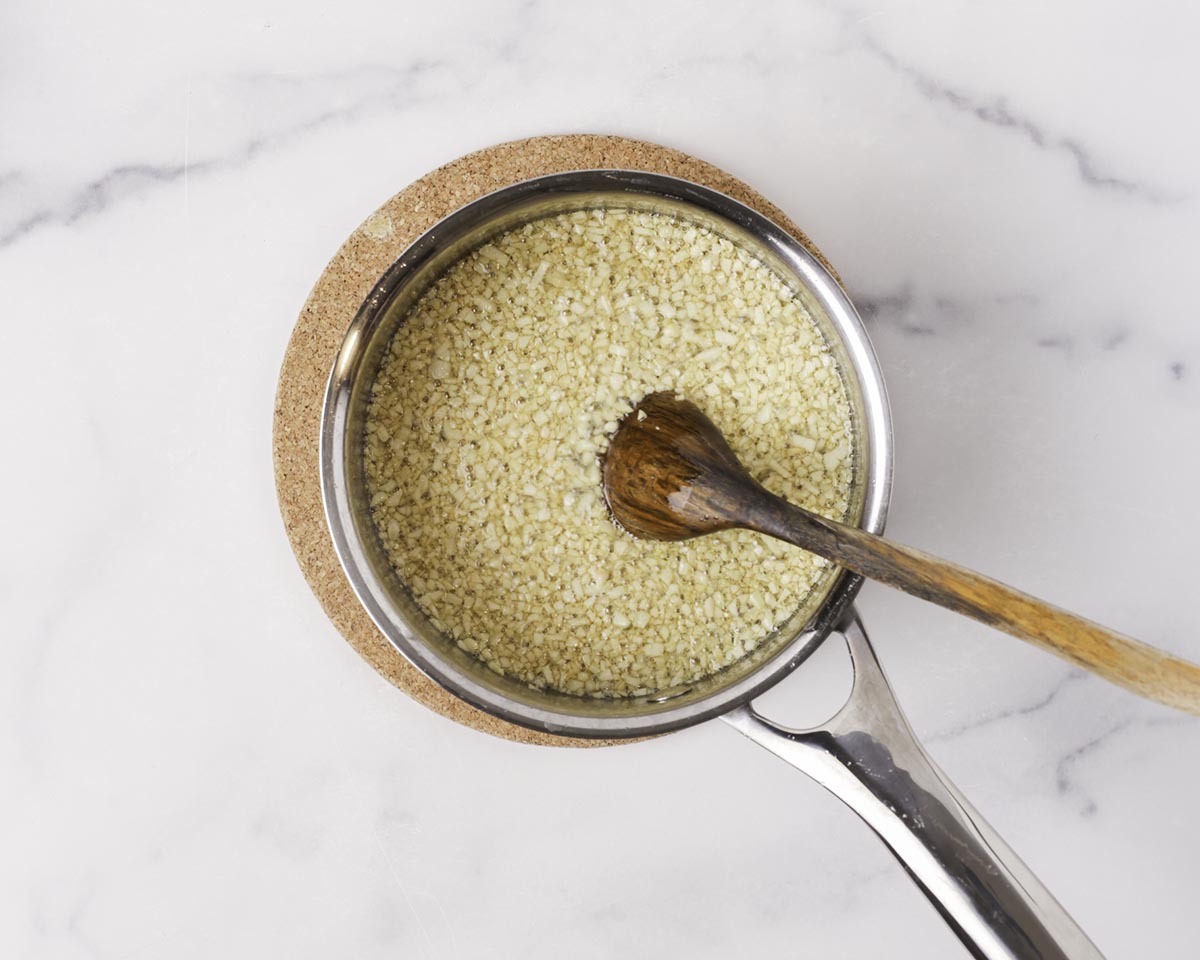
1. Cook the garlic. Heat the oil to 250°F and add the minced garlic. Cook for 5 to 10 minutes or until the garlic becomes slightly browned and the oil fragrant. Make sure to stir frequently and maintain the heat between 240°F and 260°F!
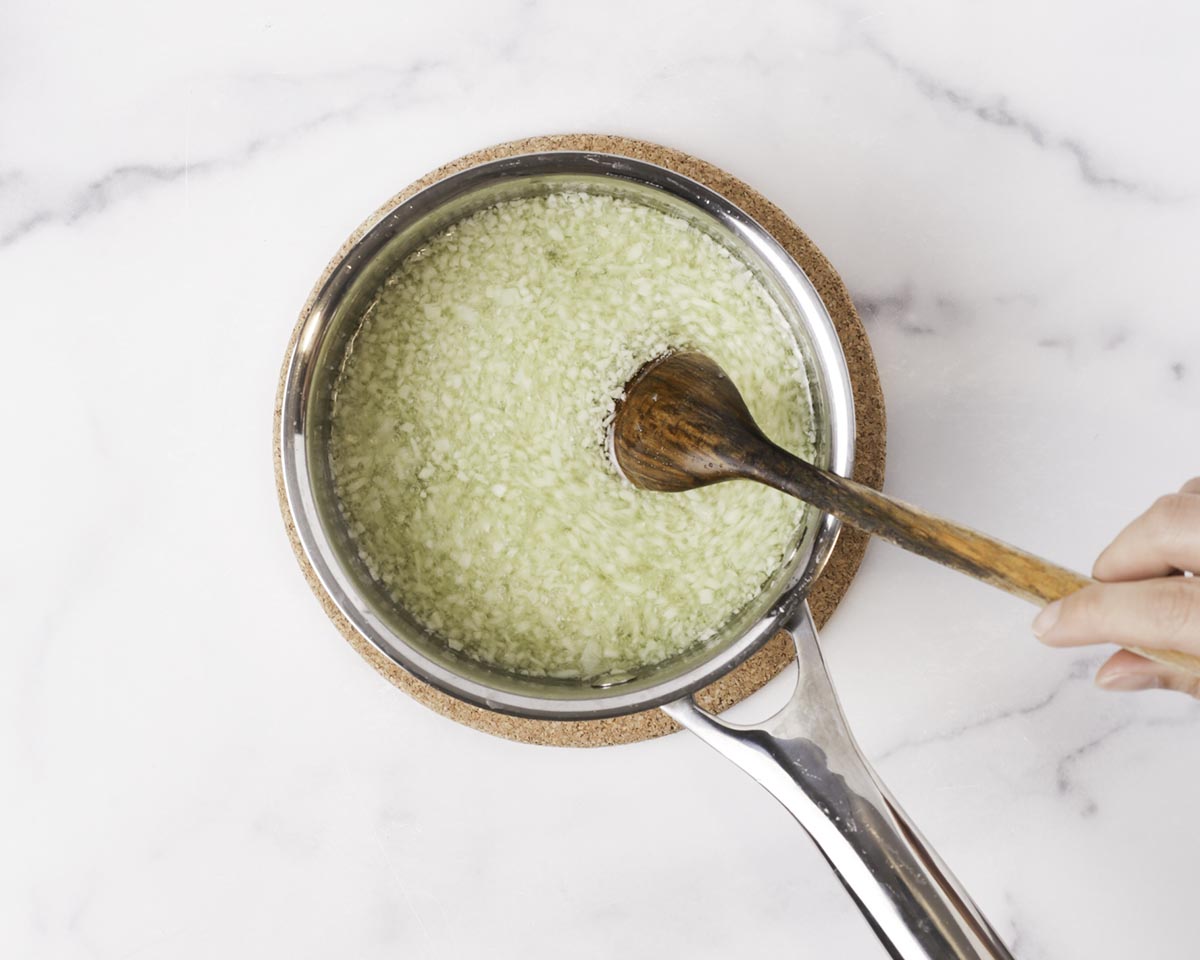
📝 Note: It is imperative that the garlic is cooked in 250°F oil for at least 3 minutes so that any botulinum bacterium can be killed. This bacteria is what causes botulism and grows in anaerobic environment (environments that lack air), such as oil. So make sure to cook the garlic long enough so that the garlic chili oil is safe to use for more than a couple of days.
2. Cook the pepper. Keeping the temperature at 250°F, add the pepper flakes and ground pepper powder. Stir to combine and cook for about 30 seconds.
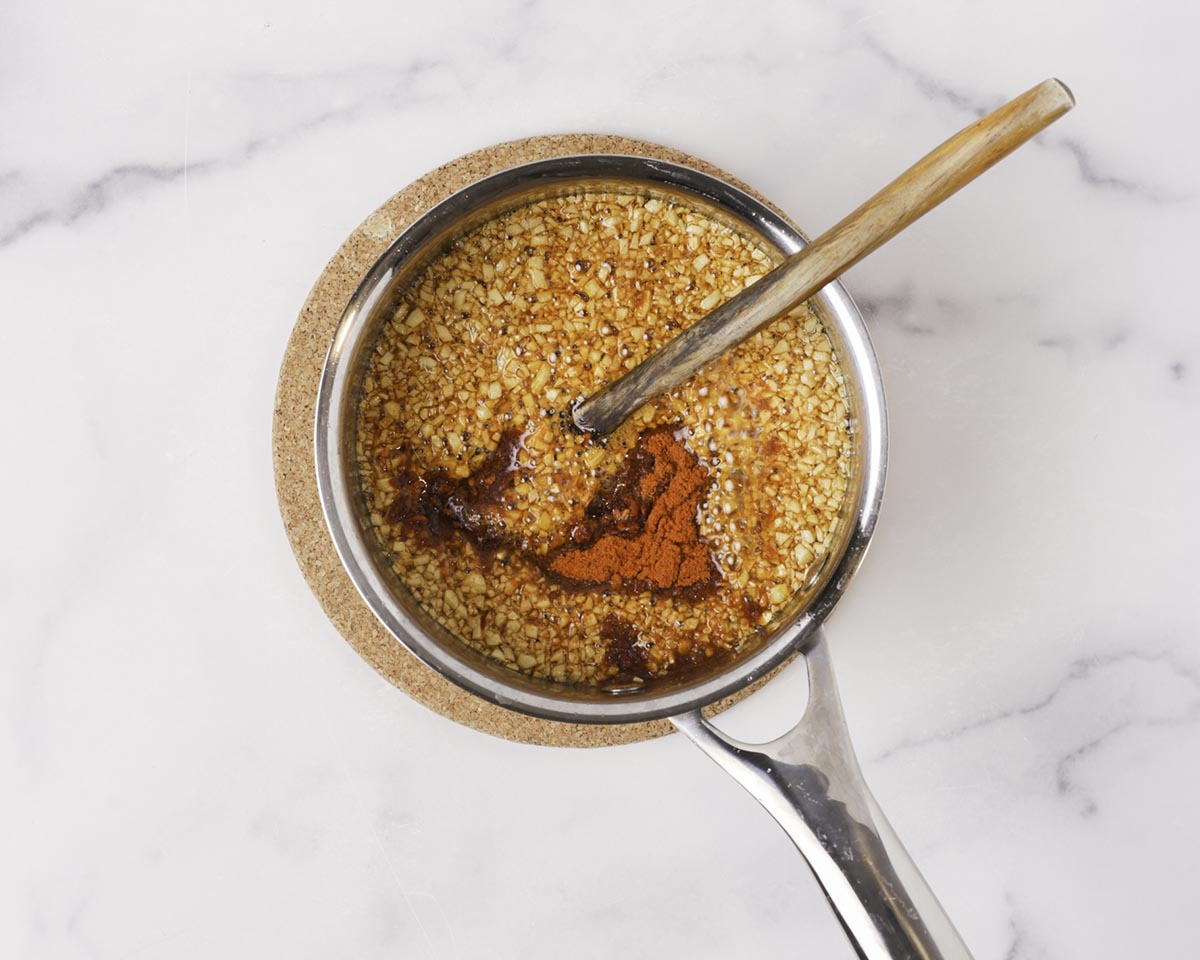
3. Add seasonings. Take the chili oil off the heat and add Chinese black vinegar, salt, and sugar. Stir to combine. Be careful when adding the vinegar! The oil will sizzle and bubble profusely.

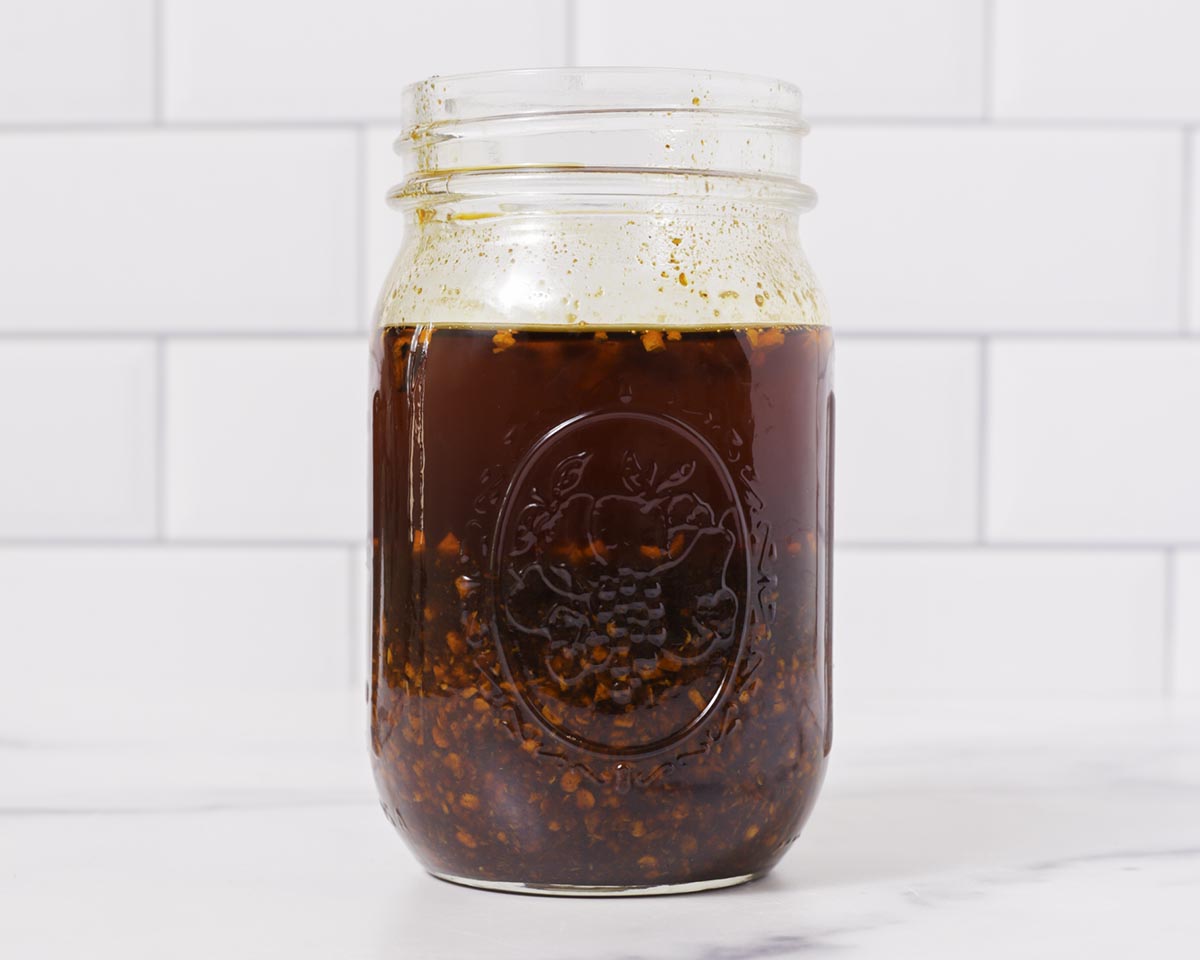
4. Store. Transfer the garlic chili oil to a sterilized glass jar and let cool completely before covering. The oil will be very hot, so be VERY careful! Or if you prefer, transfer the oil once it's cooled. Please refer to the topics "How to sterilize glass jar" and "Storage" for more info.
Recipe tips
- Maintain the oil temperature between 235°F and 250°F. It is important the temperature is kept within the range so that the garlic doesn't burn and have adequate time to kill off any botulinus bacteria. It'll also prevent the peppers from burning.
- The types of dry chili peppers you use will determine how spicy your chili oil will be. If you want your garlic chili oil to be extra spicy, you could chop up some fresh bird eye chilies and add it to the oil while the garlic are frying.
- Use an extra generous pinch of salt in place of the black vinegar if you prefer.
Storage
When your garlic chili oil is done, pour it into a sterilized jar. You can use glass jars like mason jars or ones with clamps. Make sure to let the chili oil cool completely before cover/ putting a lid on the jar.
Keep the chili oil in a cool, dry place and always use clean utensils! This will allow your chili oil to stay good for as long as possible, up to 5 to 6 months.
How to sterilize glass jar
The easiest way to sterilize your glass jars or canning jars for your homemade chili oil is by boiling them. Just bring a pot of water to a boil and gently submerge the jars into the water completely. Let them simmer for 10 minutes for altitudes of 1000 feet or less and add an additional minute per 1000 feet.
Once they are done boiling, carefully remove the jars and let them cool and dry completely before using.
FAQ
The "pour over method" is when hot oil is poured over ingredients, like in our 5 minute chili oil and our kimchi chili oil ramen recipe. This method is the quickest way to make chili oil, but is only recommend for chili oils made with shelf-stable ingredients or if you intend to finish all the chili oil within a few days. In the case of garlic chili oil, it is very important that the garlic is cooked at a temperature above boiling point for an adequate amount of time (usually at least 3 minutes) in order to kill botulinus bacterium.
To make the garlic chili oil spicier, you can either use spicer dry chilies or add chopped, spicy fresh peppers like bird eye chilies. If using fresh peppers, we recommend adding it to the oil during the same time as the garlic. For dry peppers, add them when adding the other dry pepper flakes and powders are added.
Garlic chili oil made with our method, stored properly in a sterilized jar, and kept clean (not contaminated with dirty utensils) can last up to 5 to 6 months.
No, garlic chili oil does not need to be refrigerated and can be kept outside, in a cool dry place. However, refrigerating will help to preserve the chili oil longer. If refrigerating, the oil may become solidified. That is perfectly okay. Just heat up as much as you need.
If you’ve made this recipe or any recipes from our blog, please tag us on Instagram using #twoplaidaprons! You can also tag us in your Instagram stories using @two_plaid_aprons. We would love to see your creations! It absolutely makes our day! 🥰
📖 Recipe
Garlic Chili Oil
Ingredients
- 1¼ cups oil (any neutral oil like grapeseed, canola, avocado, soybean, and peanut)
- ½ cup garlic minced (about 16 cloves)
- ¼ cup Chinese chili pepper flakes
- ¼ cup Chinese chili pepper powder or more pepper flakes
- 1 tablespoon Chinese black vinegar
- ½ teaspoon fine salt
- ¼ teaspoon granulated sugar
Instructions
- In a medium sauce pan, heat the oil to 250°F and maintain the heat between 240°F and 260°F.
- Once the oil is at the right temperature, add the minced garlic and let it cook for about 5 to 10 minutes, or until the most of the garlic becomes lightly browned. Stir frequently, especially the bottom of the saucepan.
- Keeping the oil around 250°F, add the pepper flakes and the ground pepper powder. Continuously stir and cook the pepper for about 30 seconds.
- Take the saucepan off of the heat and add the black vinegar, salt, and sugar. Stir to combine.*When the vinegar is added, the oil will sizzle and bubble profusely. Please be careful!*
- Carefully transfer the garlic chili oil into a sterilized jar and let it cool completely before covering. Store in a cool, dry place and use as needed.*If you prefer, let the chili oil cool before transferring.*
Notes
- Cooking the garlic - Unlike our original Chinese chili oil recipe where the aromatics (including garlic) were slowly fried in oil to infuse flavor, the minced garlic for garlic chili oil must be cooked for 3 minutes at 250°F in order to kill off botulinum bacterium (aka the spores that causes botulism). This is especially important for garlic chili oils that are intended for longer storage.

Comments
No Comments