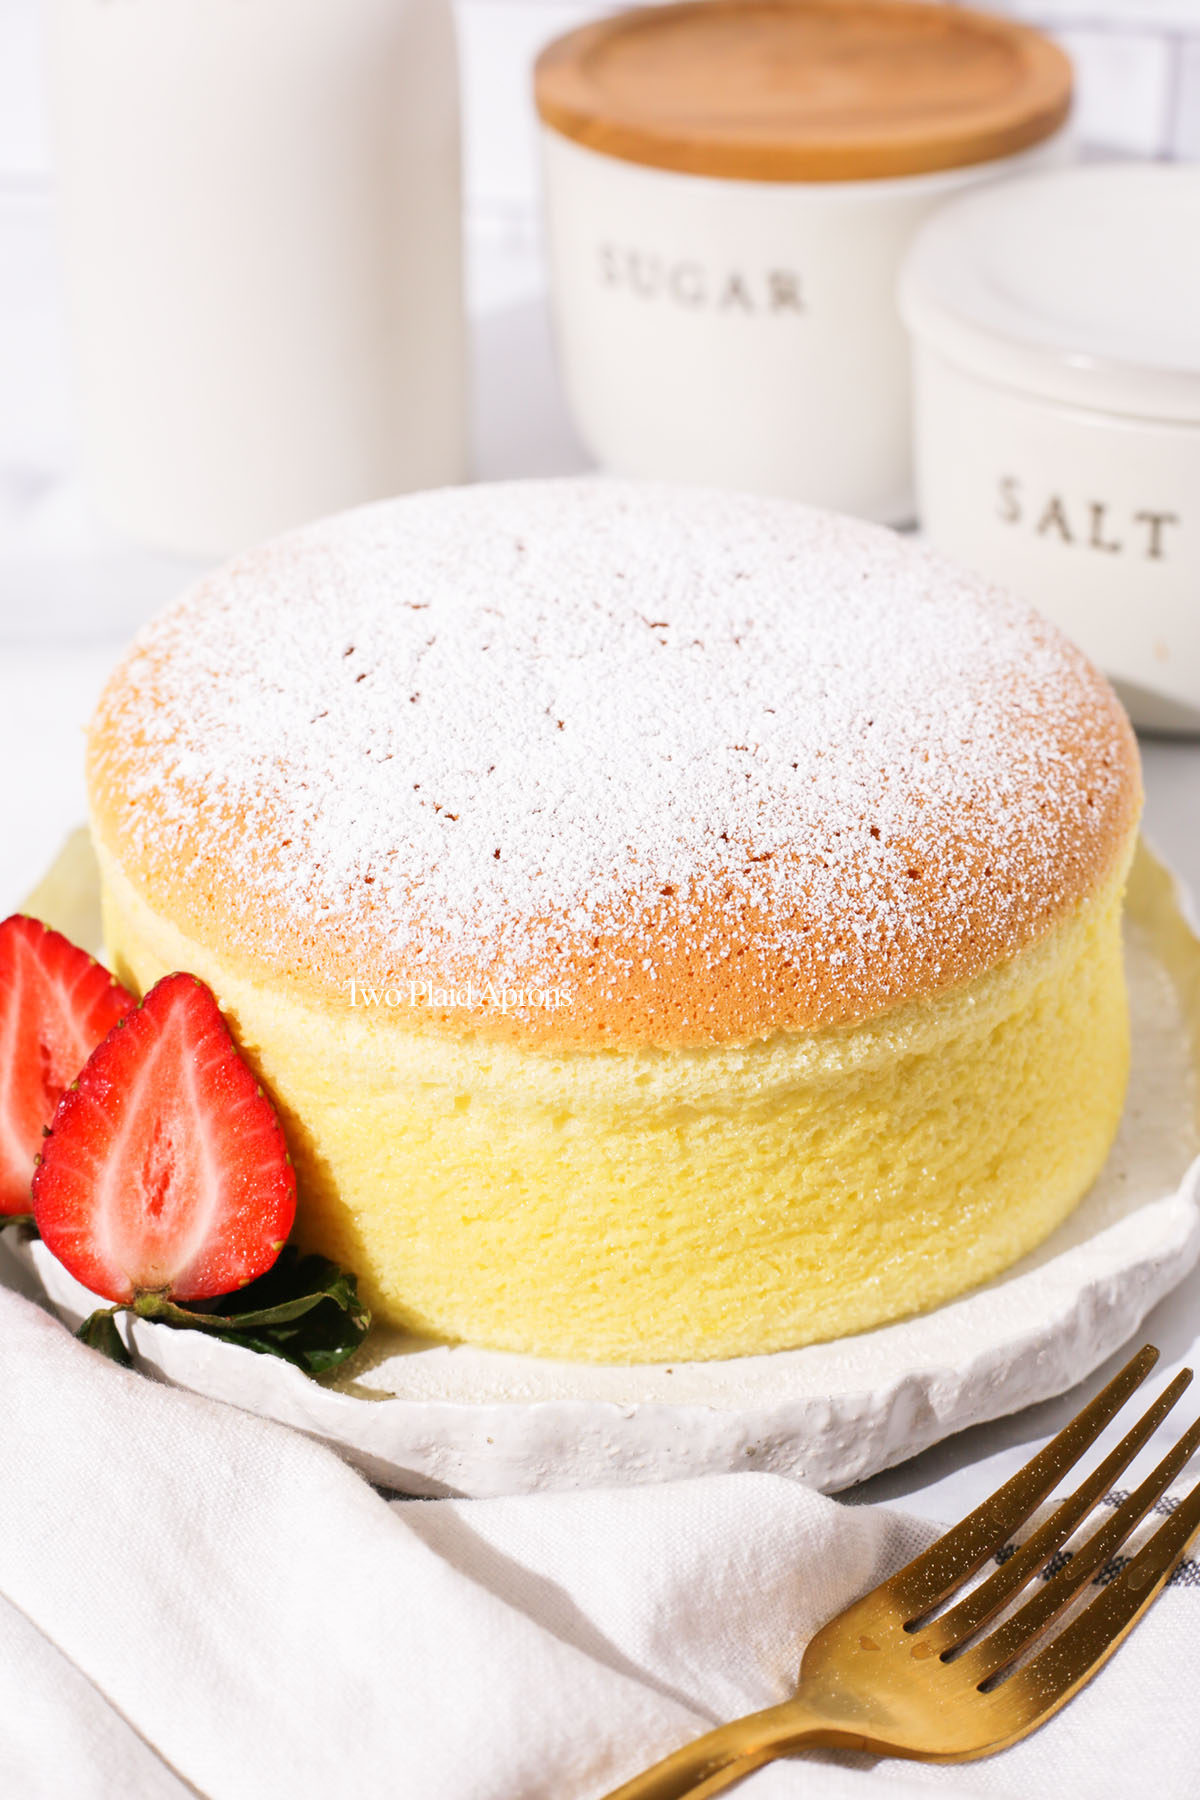
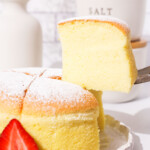
This jiggly Japanese cheesecake is also known as Japanese cotton cheesecake. It's the fluffier, lighter alternative to classic cheesecake that tastes mildly sweet, slightly tangy, but still rich and creamy. Follow our recipe with step by step photo reference, tips, and extensive troubleshoot help to make this cheesecake perfect! Also, check out our ube basque cheesecake for a super creamy and easy cheesecake recipe.
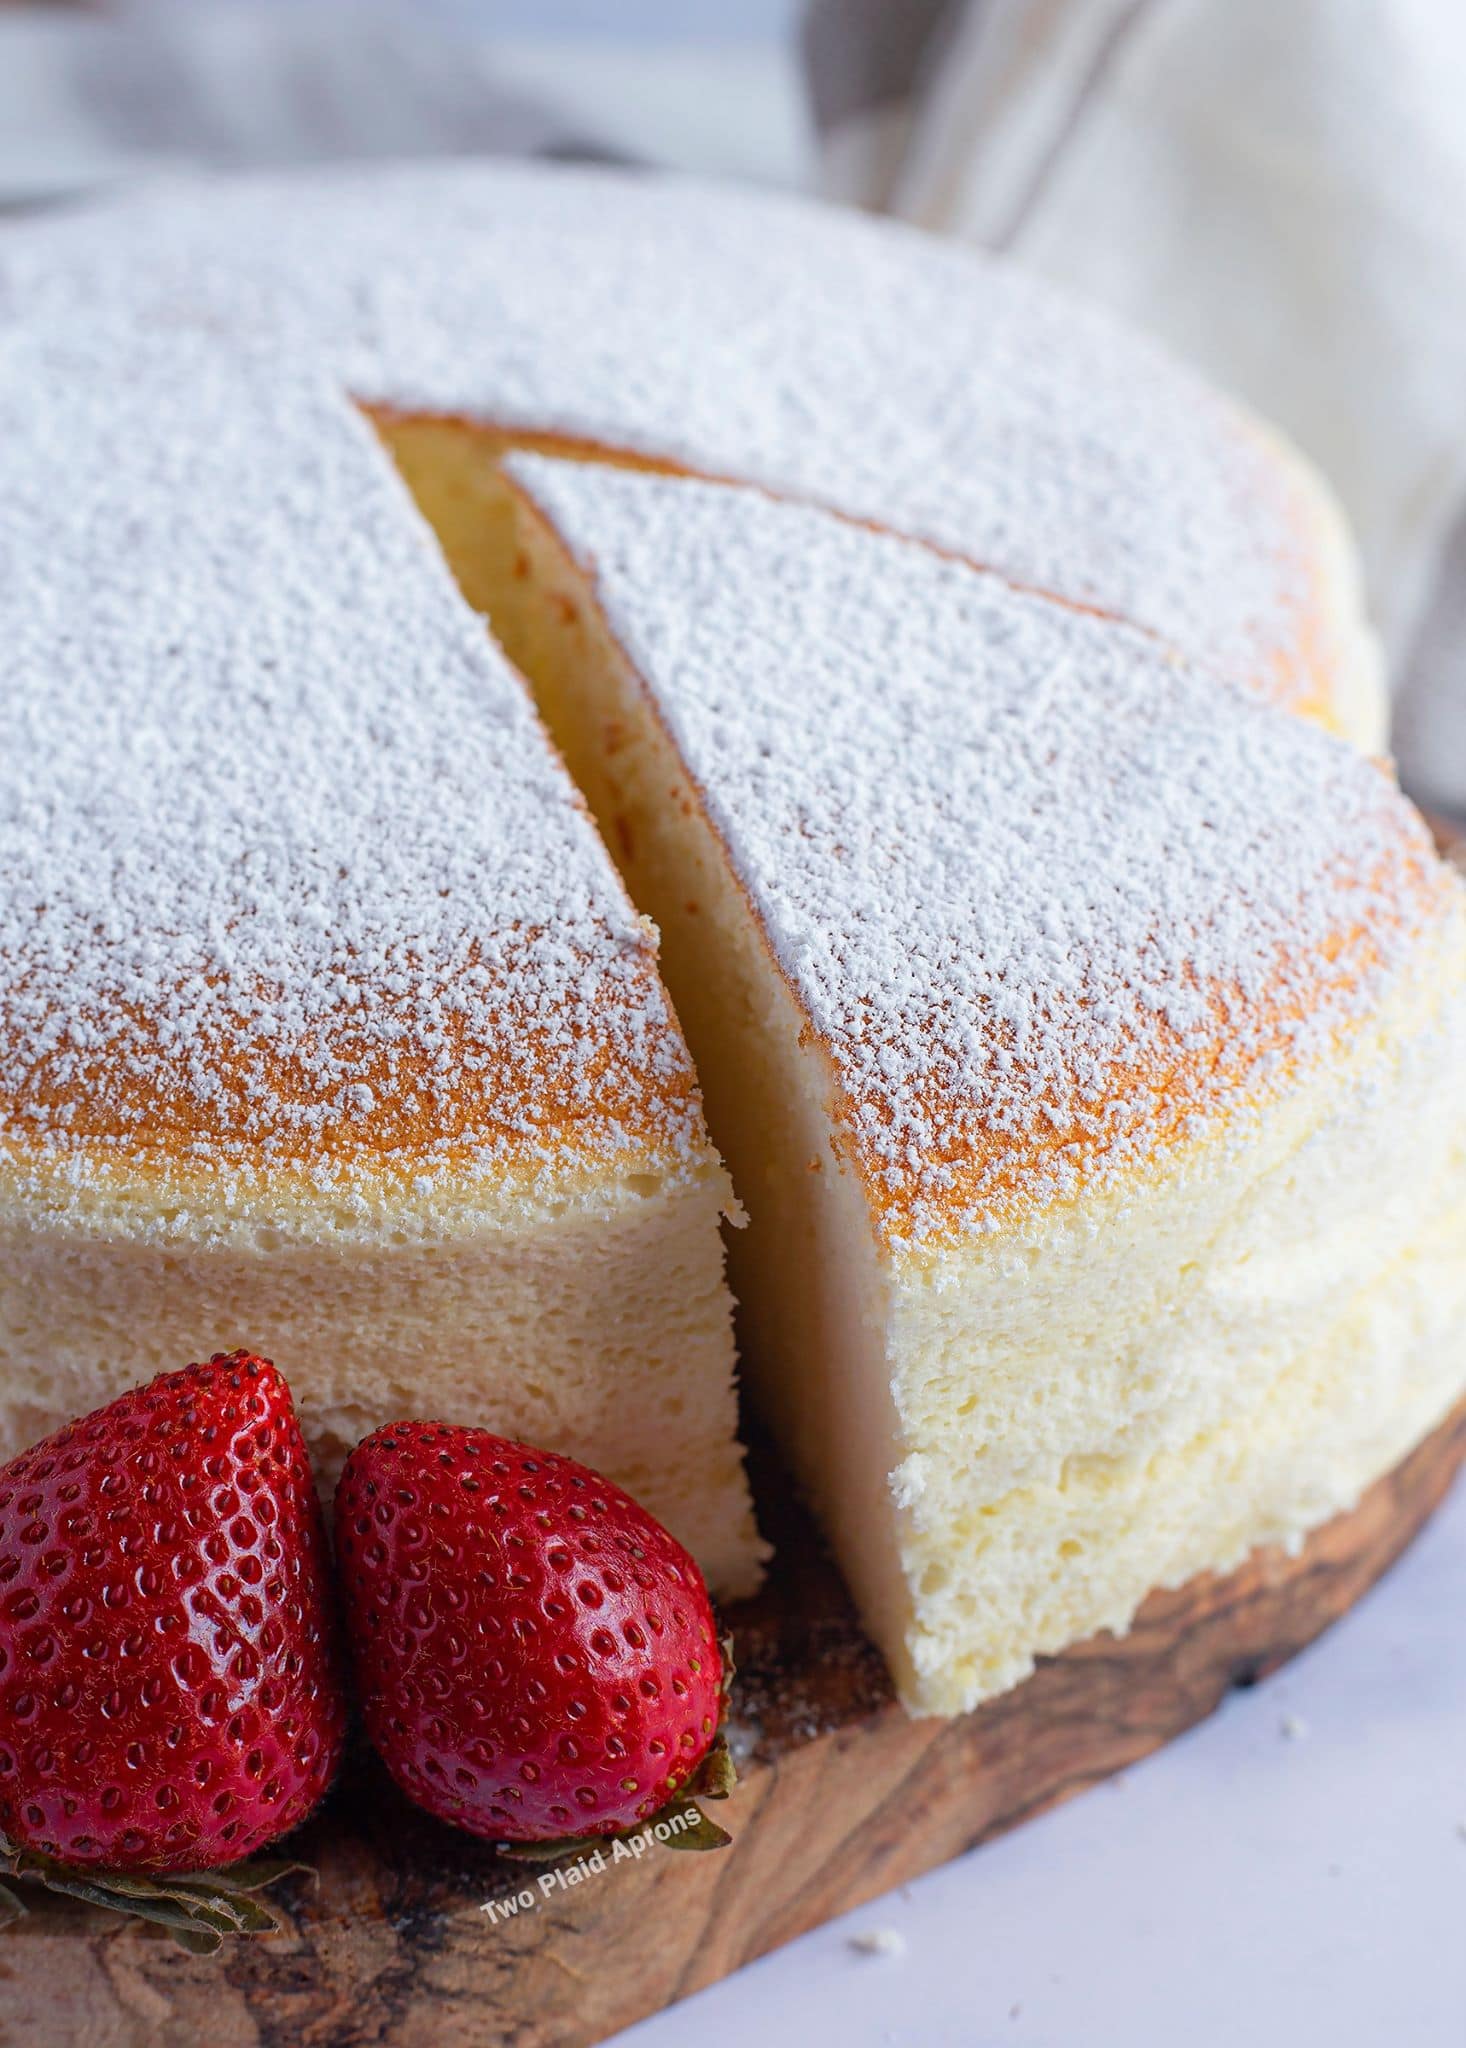
If you've ever had Japanese cheesecake, you know why it's so special. The moment the cheesecake comes out of the oven, the show starts! It jiggles while it's warm, then becomes the fluffiest, cheesecake that still taste rich and creamy after chilling. With the vanilla and lemon zest added, the cheesecake has the perfect amount of sweet vanilla and bright citrus to have us craving for another bite!
Jump to:
What is Japanese cheesecake?
Japanese cheesecake is also known as Japanese cotton cheesecake and soufflé style cheesecake. It's a meringue based cheesecake created by Japanese chef Tomotaro Kuzuno and made made popular by Uncle Tetsu's Cheesecake, the bakery.
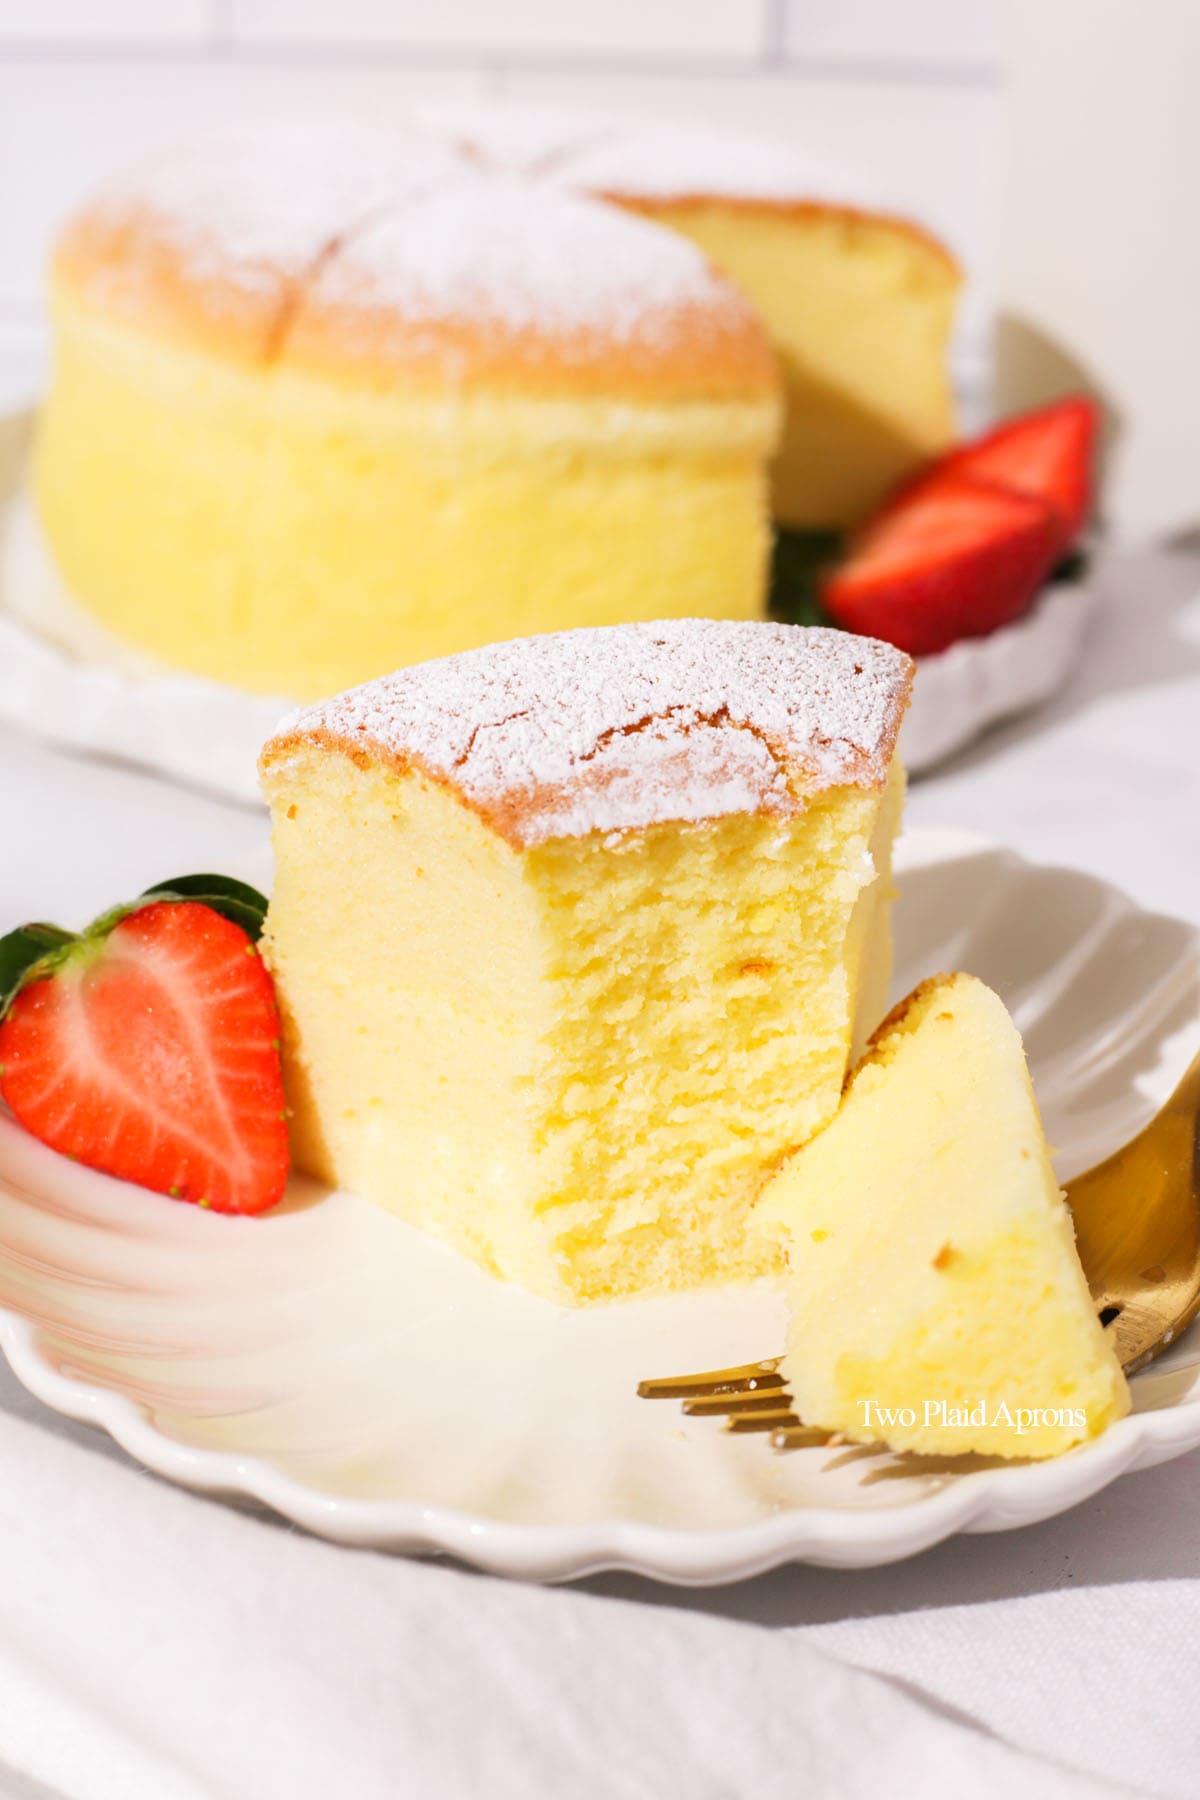
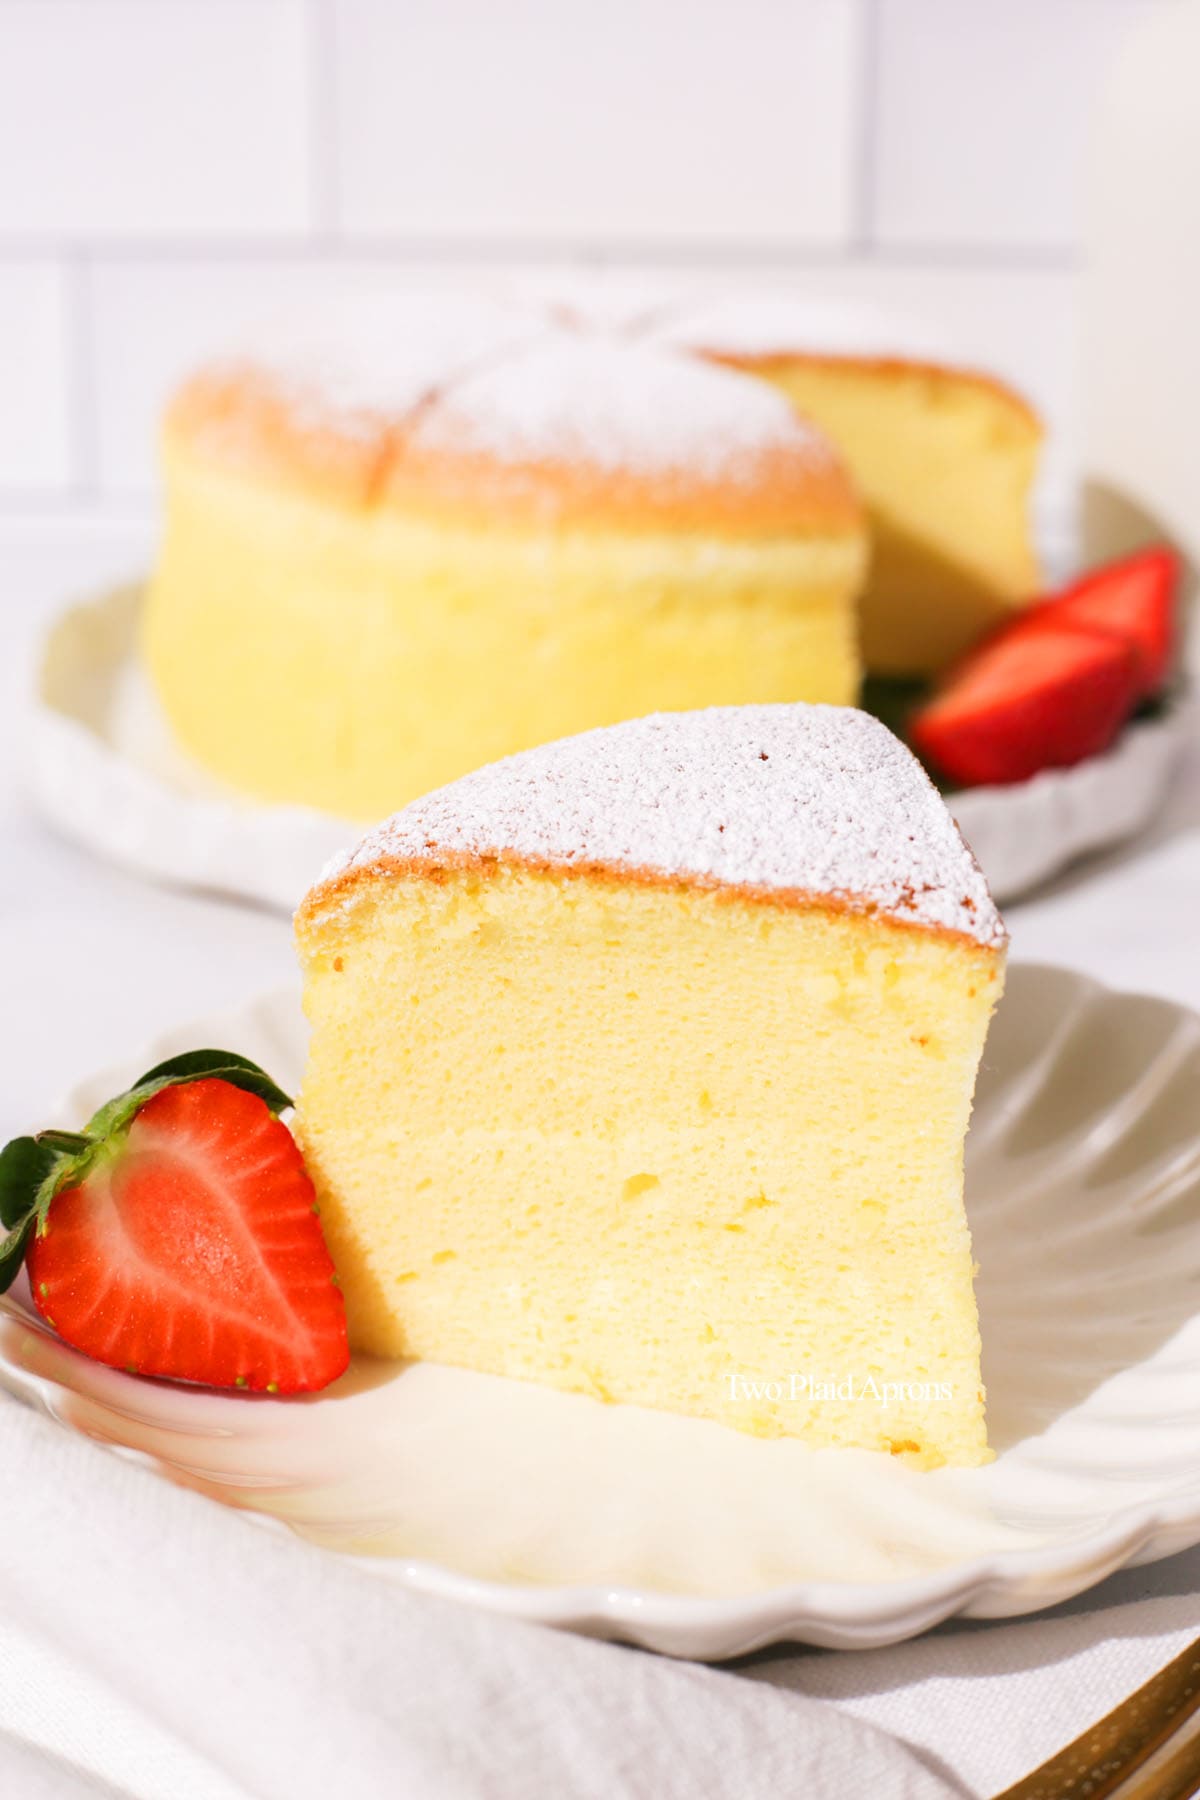
Japanese cheesecake is known for it's jiggly, sponge-like, fluffy texture when warm that becomes creamier and richer after chilling. It's lighter than New York cheesecake and our ube basque cheesecake since it's made with less cream cheese and sugar and aerated with meringue.
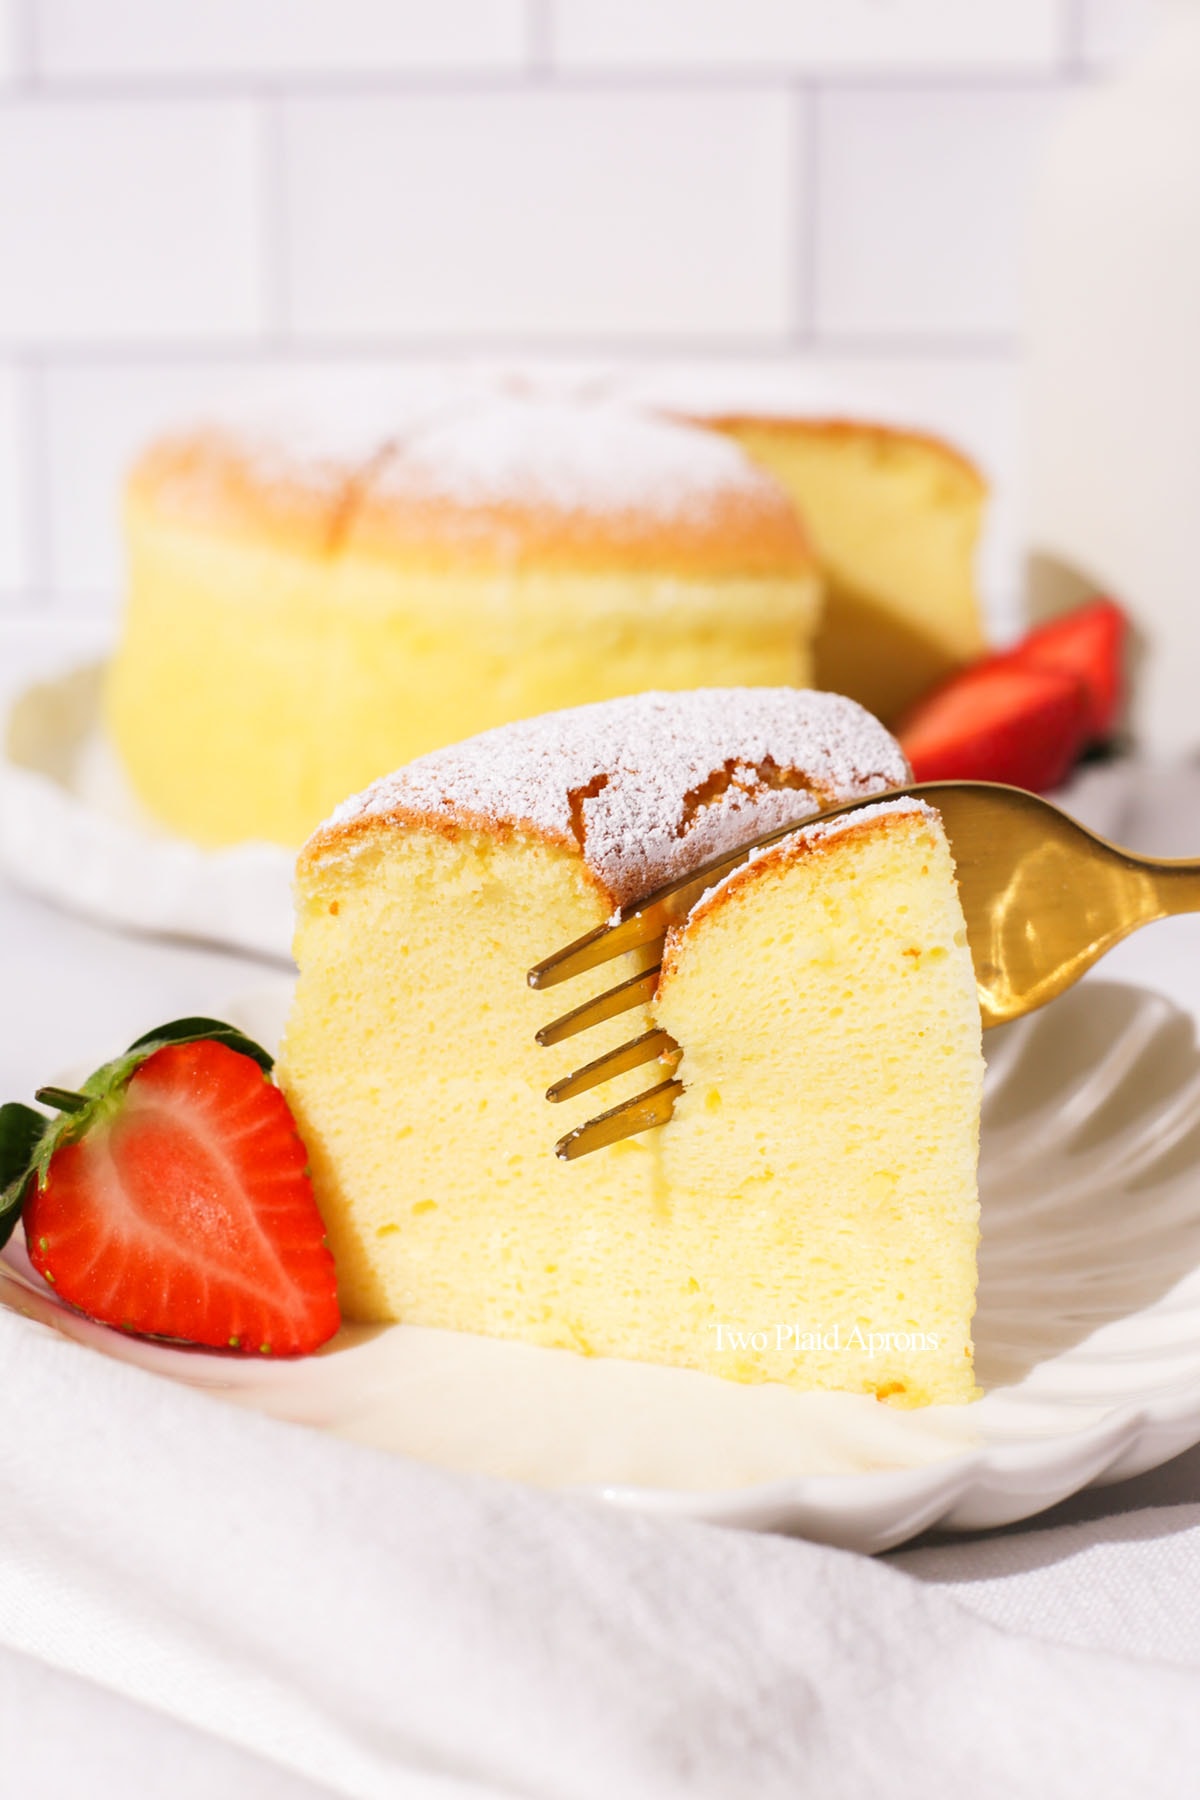
Ingredient notes
Please scroll down to the recipe card for the ingredient quantities!
- Eggs - Our recipe measurement is based on large eggs. So please make sure to use large eggs or the cheesecake batter may not be the right consistency.
- Cream cheese - Full-fat cream cheese is best because it'll give the cheesecake the best flavor. We also recommend to have the cream cheese softened. So take it out of the fridge earlier.
- Heavy cream - We recommend using heavy cream because it's richer, which will give the cheesecake more richness. However, full-fat milk is a great alternative as well.
- Butter - Make sure to use unsalted butter and cut the butter into smaller pieces for easier melting.
- Cake flour - This ensures that the Japanese cheesecake stays tender and fluffy because cake flour has the least amount of gluten.
- Lemon zest and vanilla - These are optional flavorings that we highly recommend for the cheesecake. Lemon zest adds brightness and both are great flavor pairings for cream cheese.
- Sugar - Granulated white sugar and caster sugar is best for this recipe because the sugar dissolves faster.
- Lemon juice - This is for stabilizing the egg white for making meringue. You could also use some plain white vinegar instead.
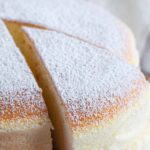
- Optional toppings - Enjoy the Japanese cheesecake with berries, fruits, and whipped cream. You can also top the cheesecake with a dusting of powdered sugar or glaze the top with some apricot jam.
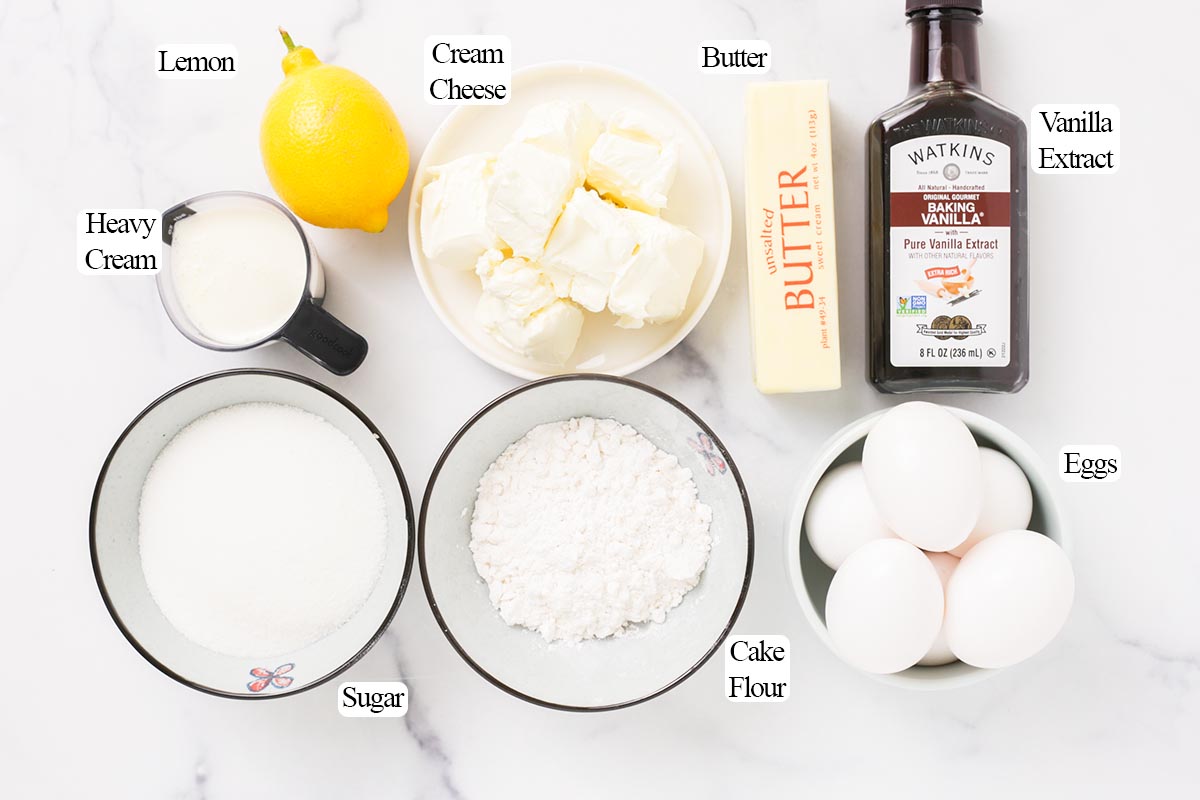
How to make Japanese cheesecake
Please scroll down to the recipe card for the full recipe and instructions!
1. Prepare equipments and ingredients. Japanese cheesecake is a meringue based dessert, so it's best to have the ingredients and equipment ready so that you can follow the recipe swiftly. So preheat the ovens, prepare the pans, and gather all the ingredients before starting.
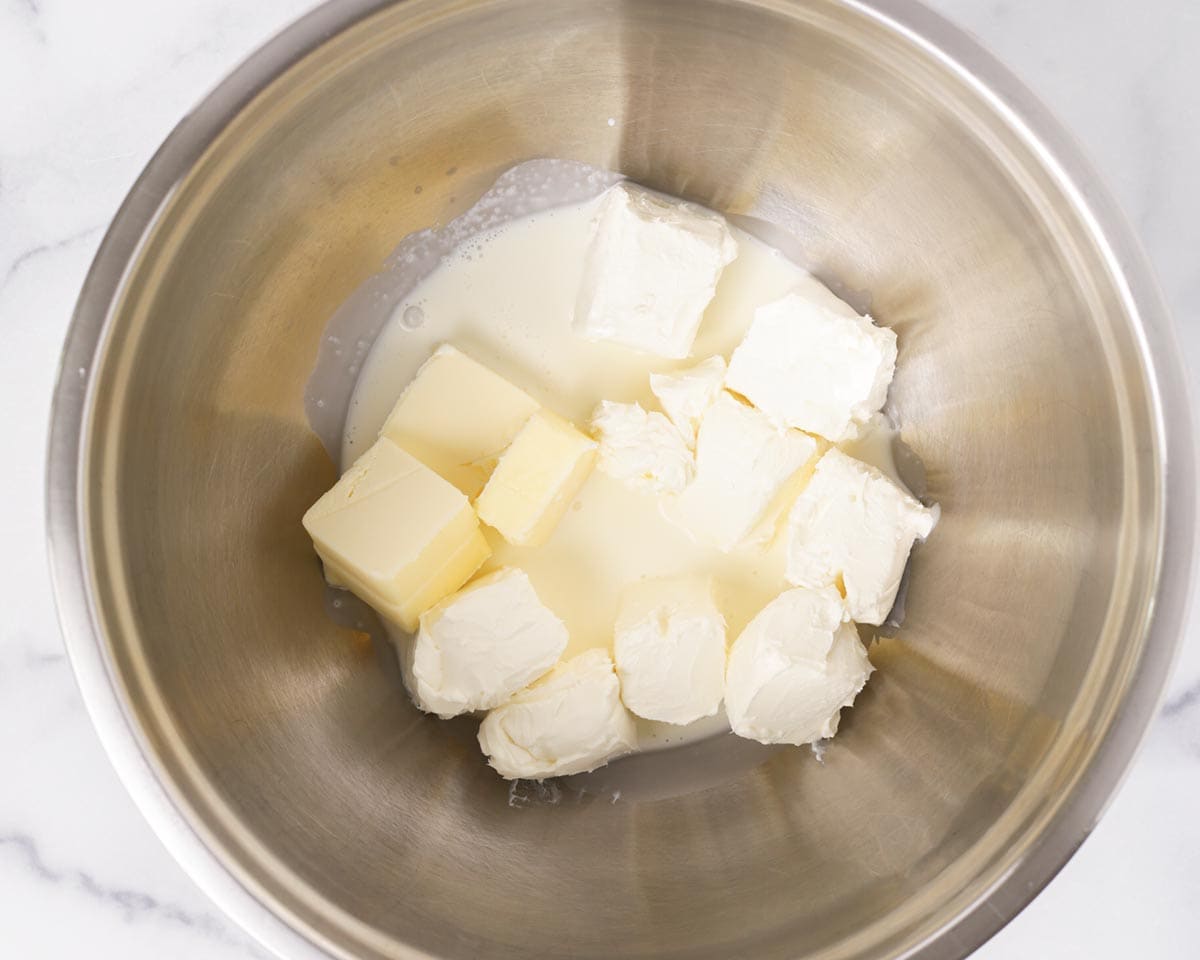
2. Heat over bain-marie. Combine the cream cheese, butter, and heavy cream in a heatproof bowl. Heat it over a bain-marie and whisk the mixture until combined and smooth.
📝 Term: [bain-marie] This simply refers to the method of cooking where a heatproof bowl, pot, saucepan or any vessel is placed on top of another vessel filled with hot water. This method ensures the content is gently heated up/cooked to prevent scrambling, curdling, and/or separating.
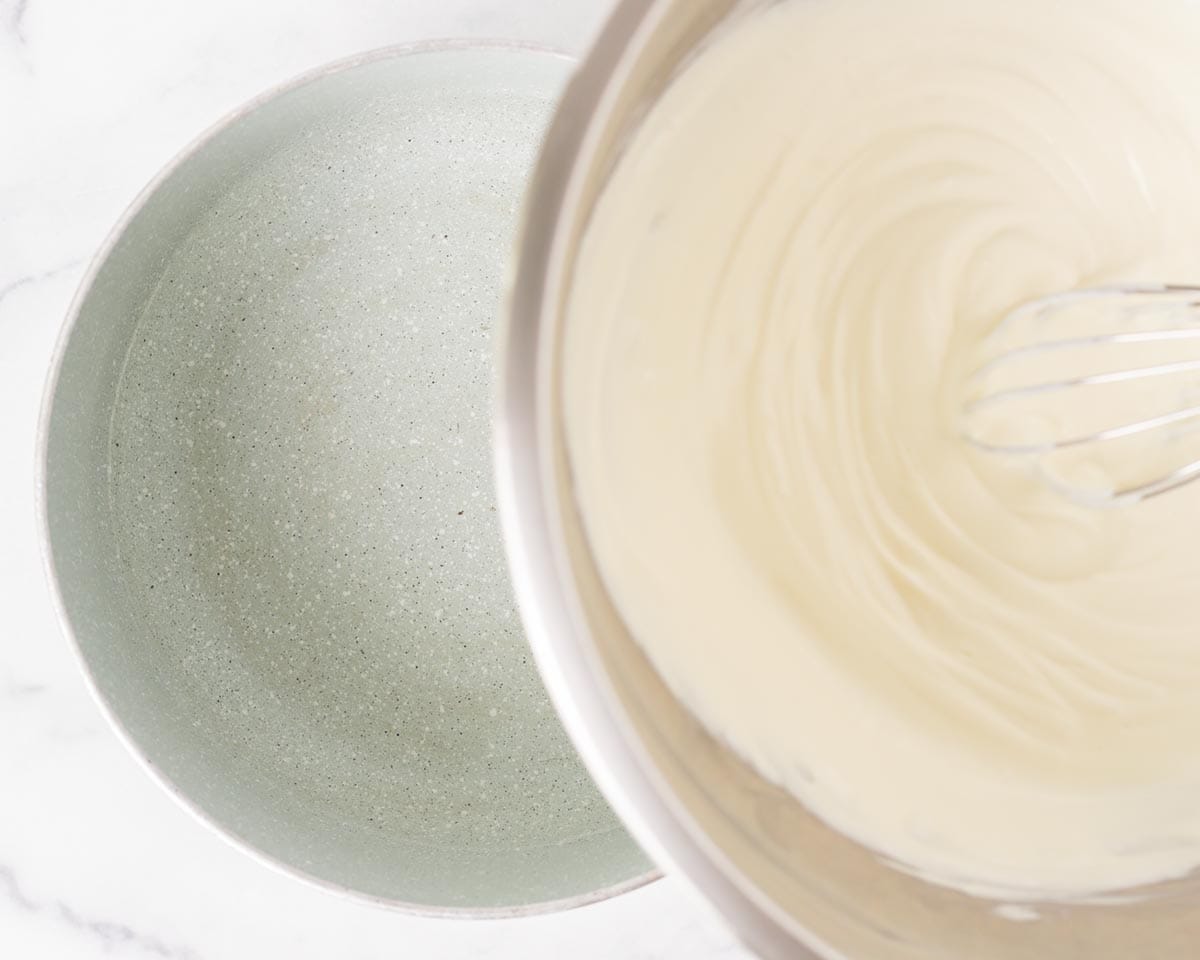
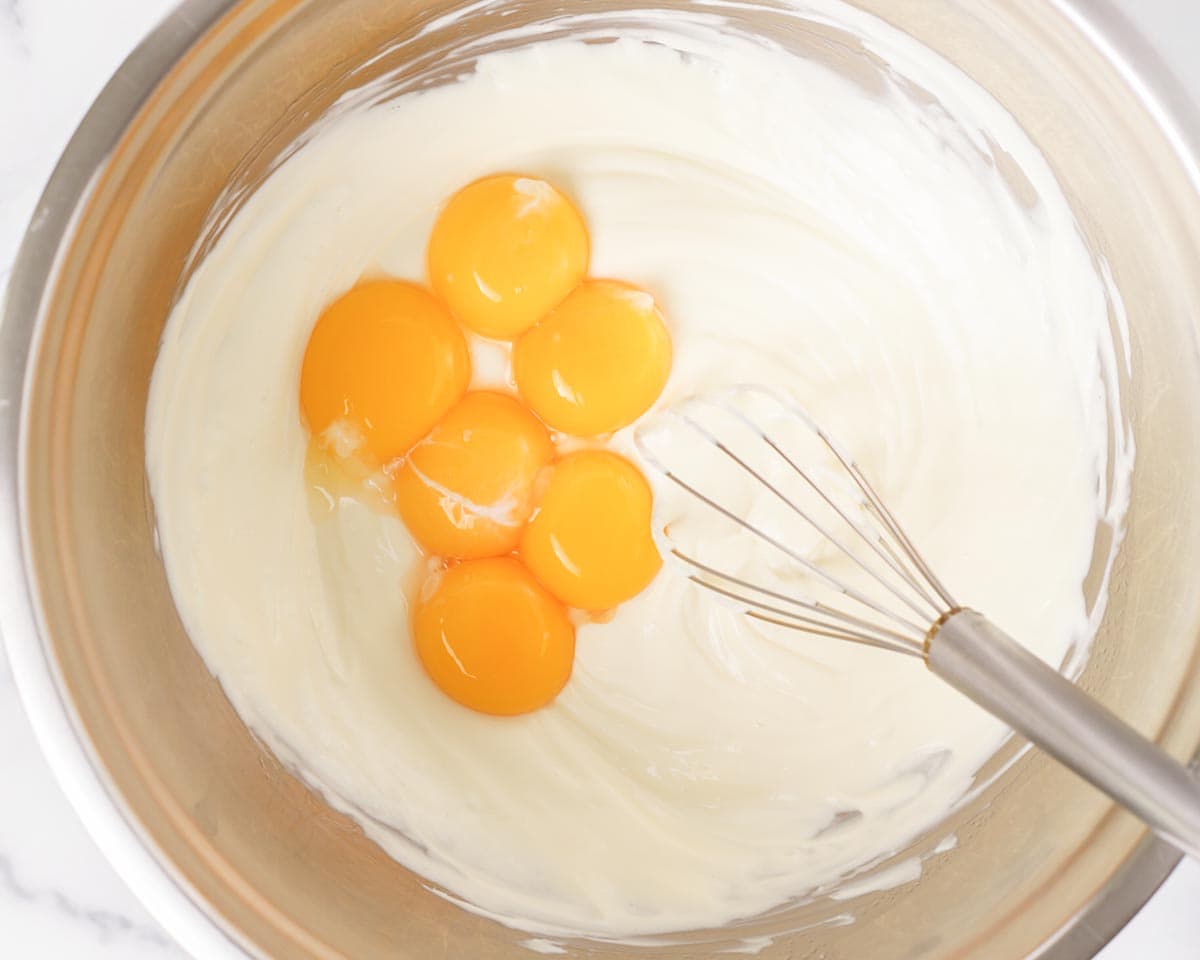
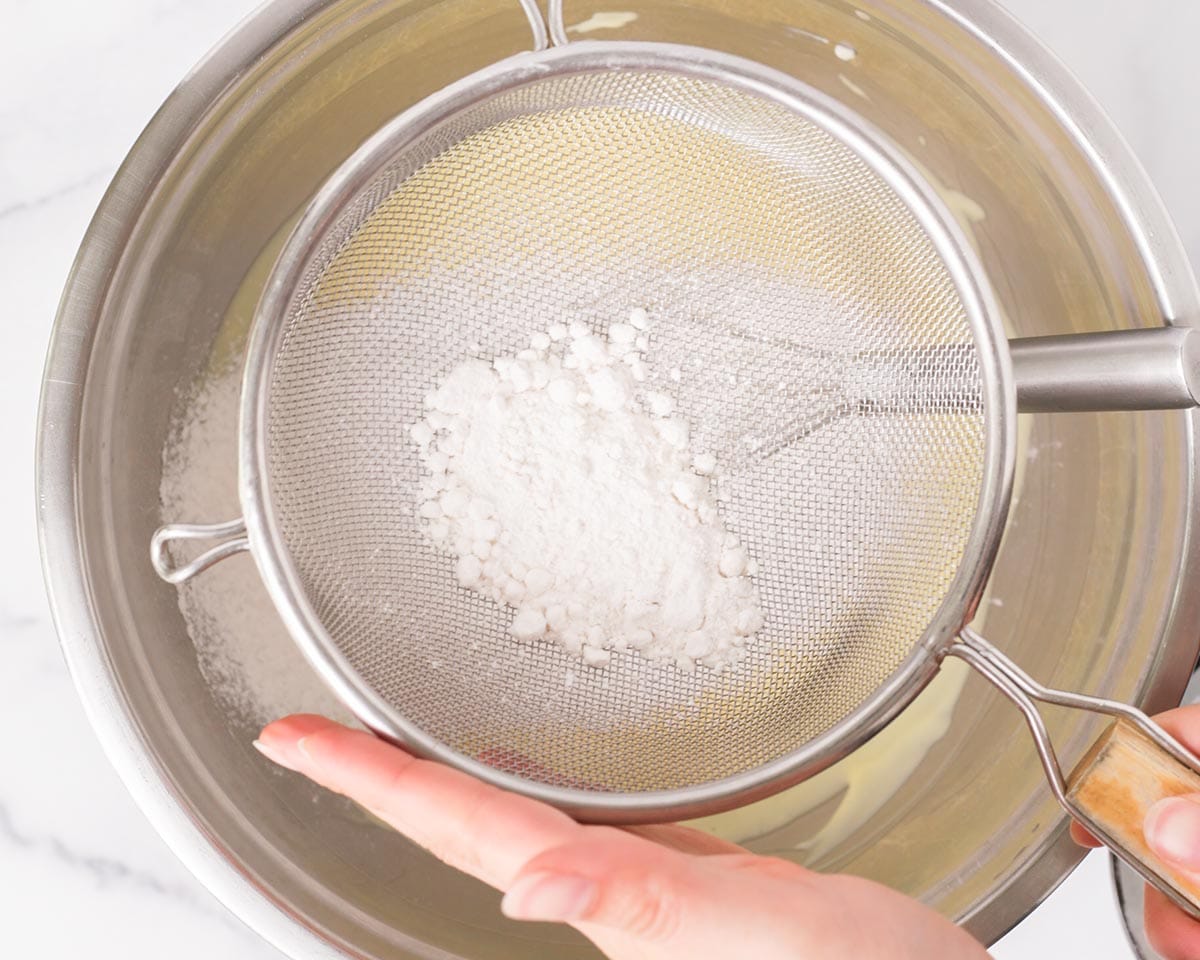
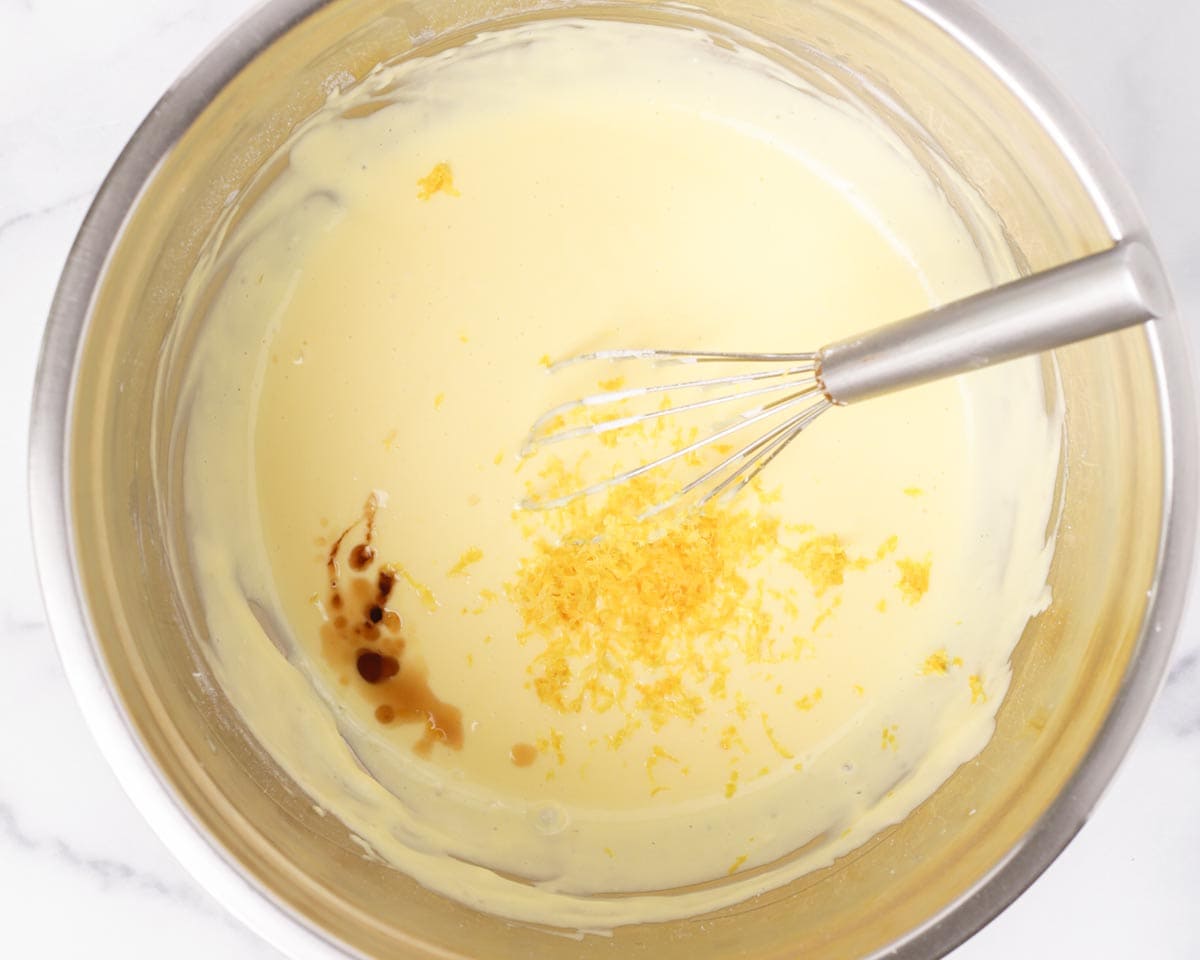
3. Finish the base batter. Add the egg yolks and mix to combine. Then, sift in the flour and whisk until no more dry flour is visible. Finish with the lemon zest and vanilla. Mix until combined. Set aside.
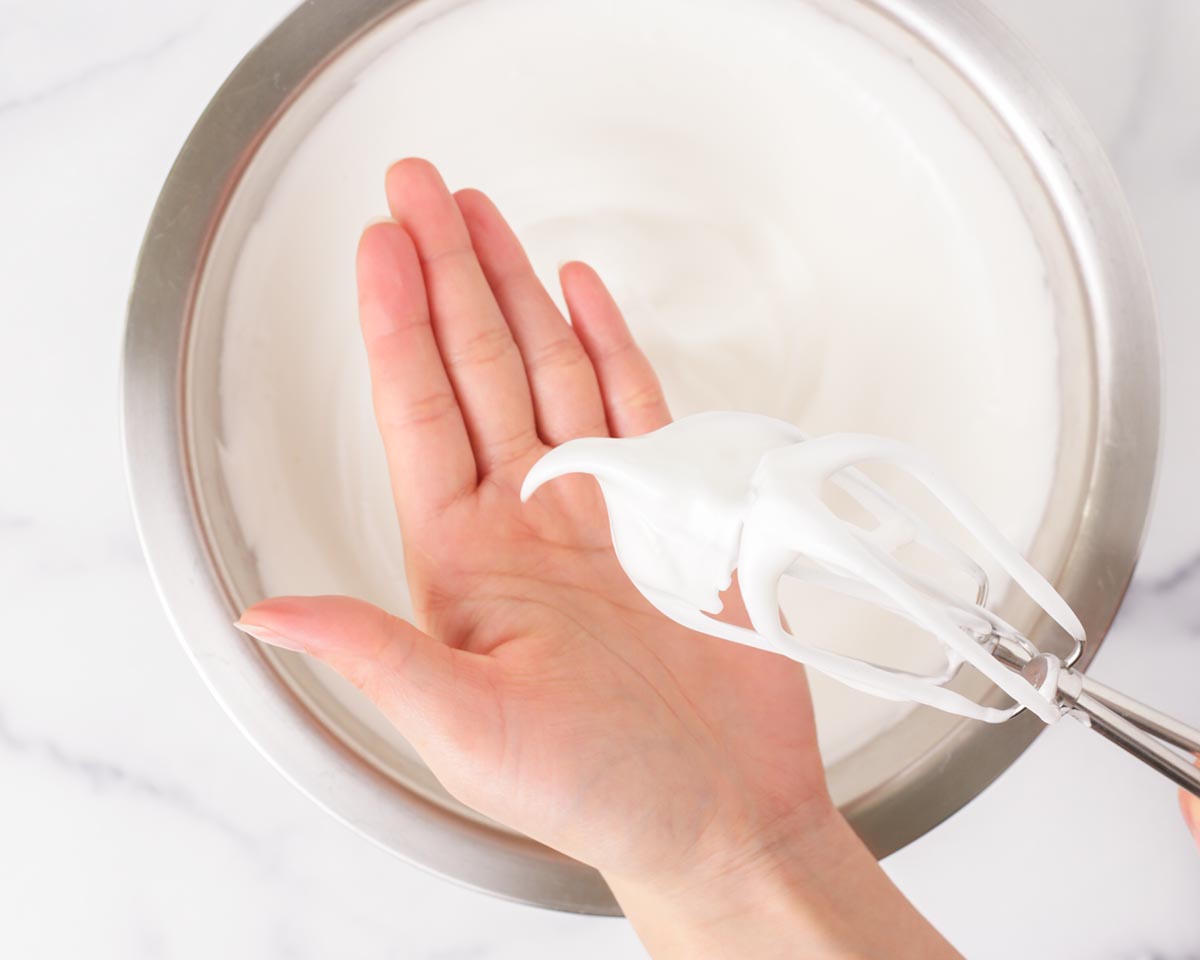
4. Make the meringue. Combine egg whites and lemon juice and whip on medium high speed until frothy. While whipping, add the sugar, ⅓ at a time, before the meringue reaches soft peak stage. Reduce the speed to medium and continue whipping until meringue reaches medium-soft peak.
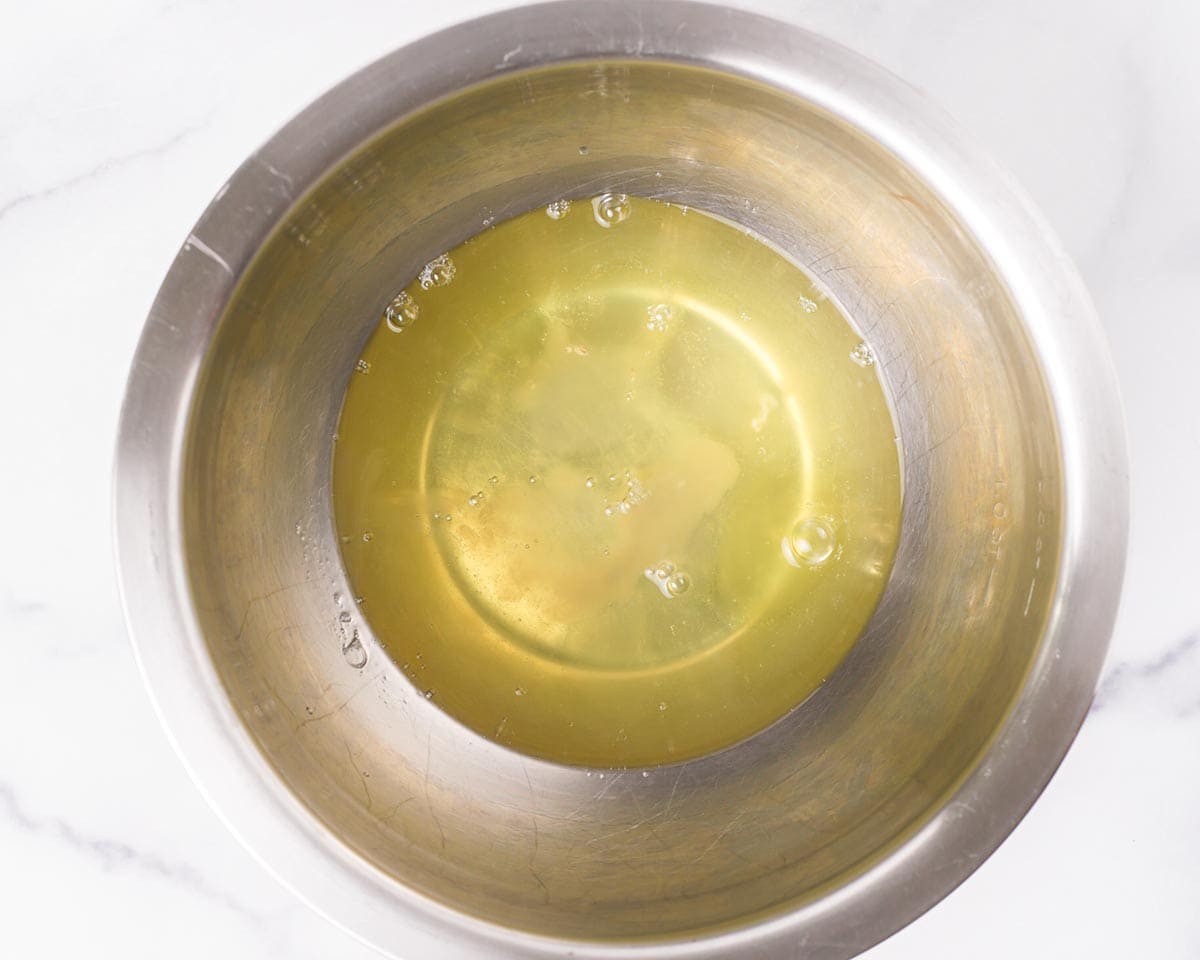
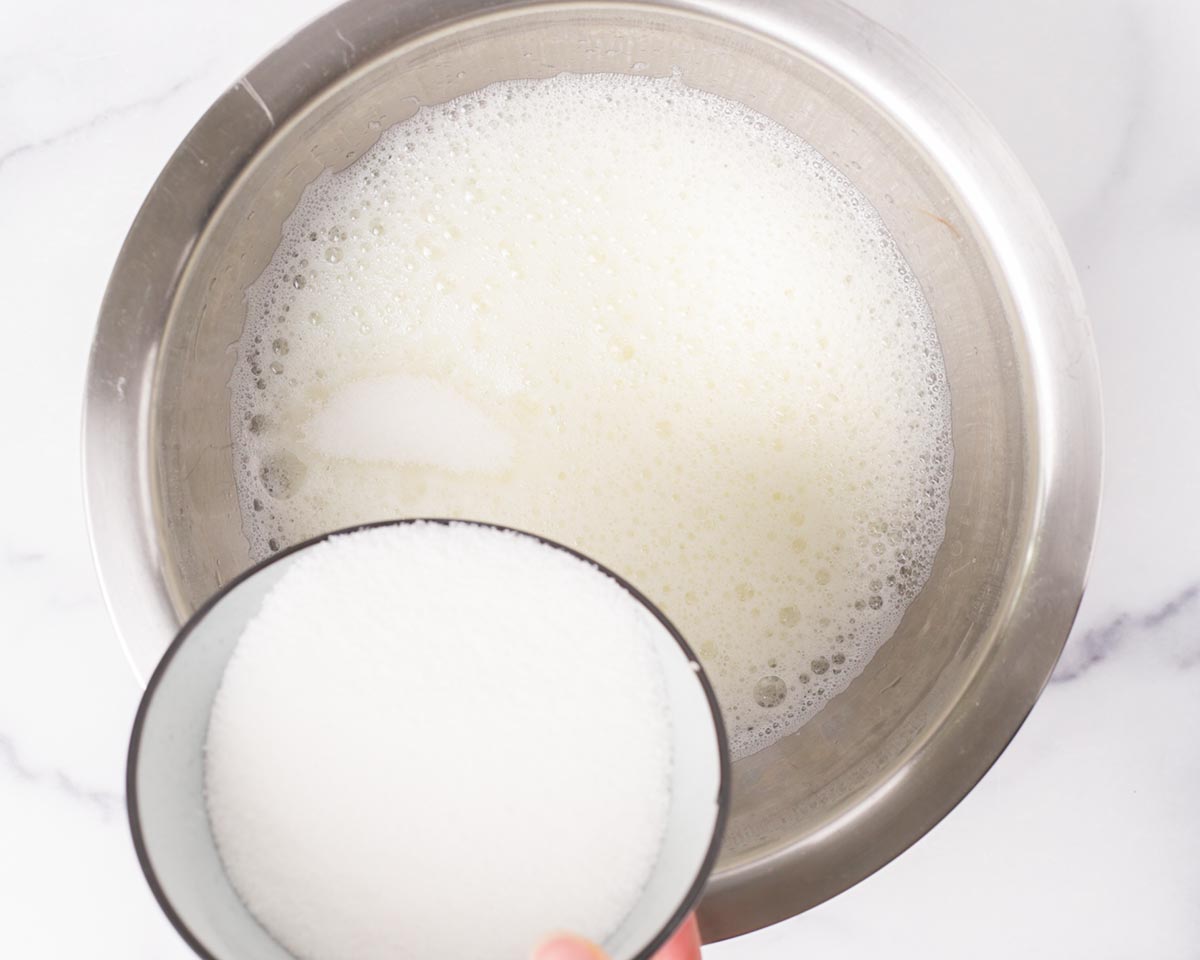
🌟Pro tip: The easiest way to determine the what peak the meringue is at is by picking up the whisk straight up, then turn it upside-down. The meringue should form a peak and at medium-soft, the peak should curl over like a hook or the letter "J".
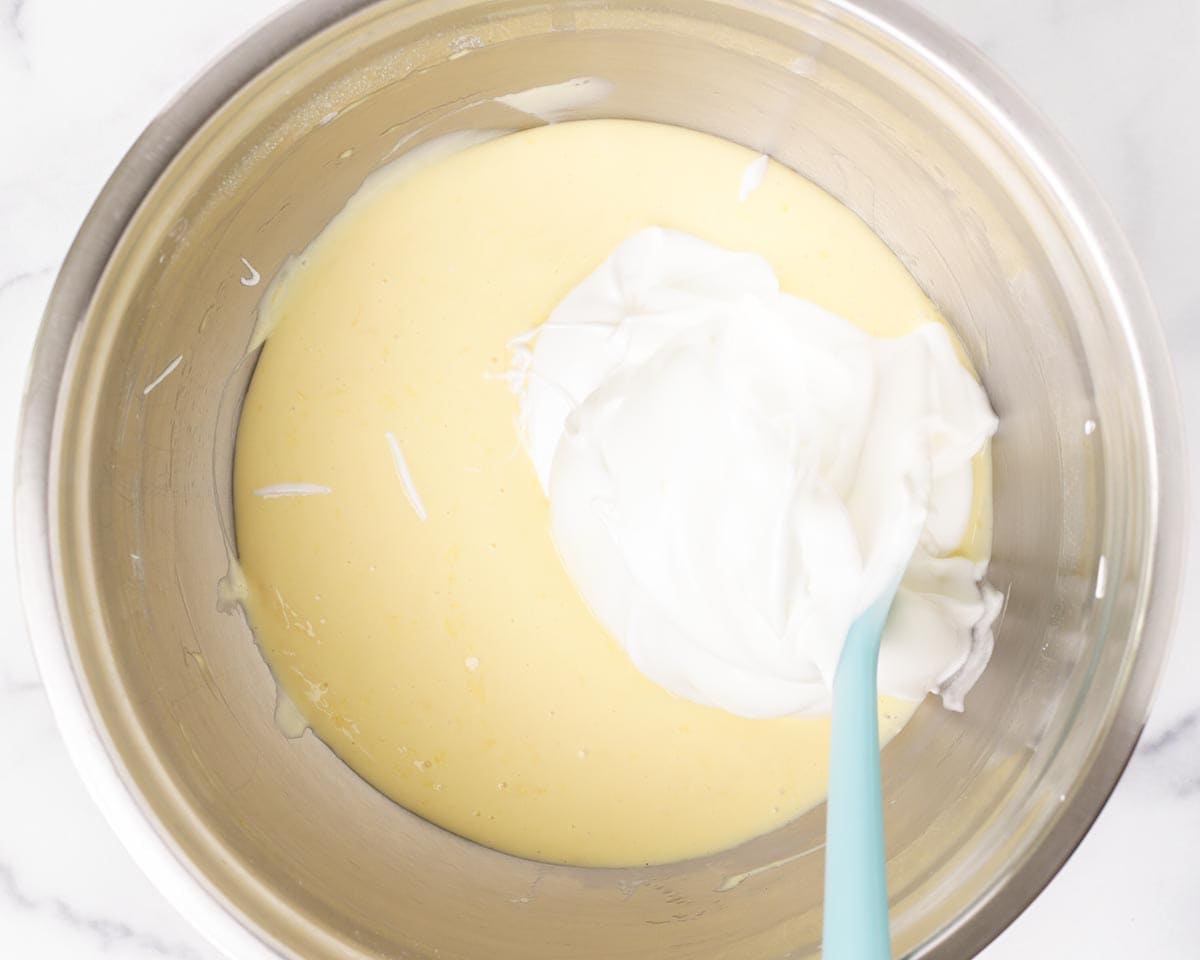
5. Combine the meringue and batter. Add ⅓ of the meringue into the base batter and gently fold until evenly combined. Repeat two more times to incorporate all of the meringue. Be gentle when folding to prevent deflating the meringue!
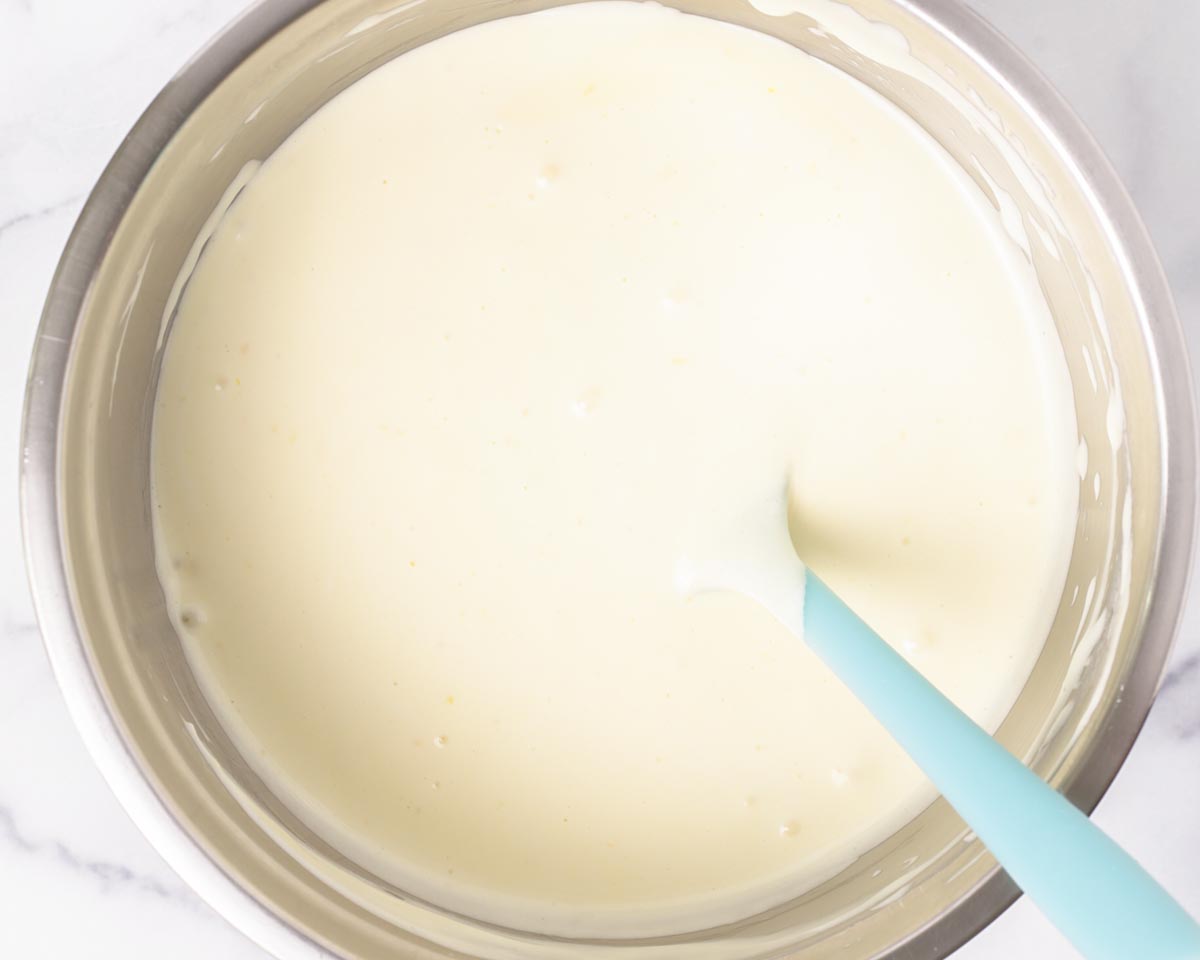
6. Bake the cheesecake. Pour the batter into the prepared cake pan and tap firmly to release large bubbles. Bake the cheesecake in a water bath for about 80 to 90 minutes or until the top is golden brown and a skewer inserted into the center comes out clean.
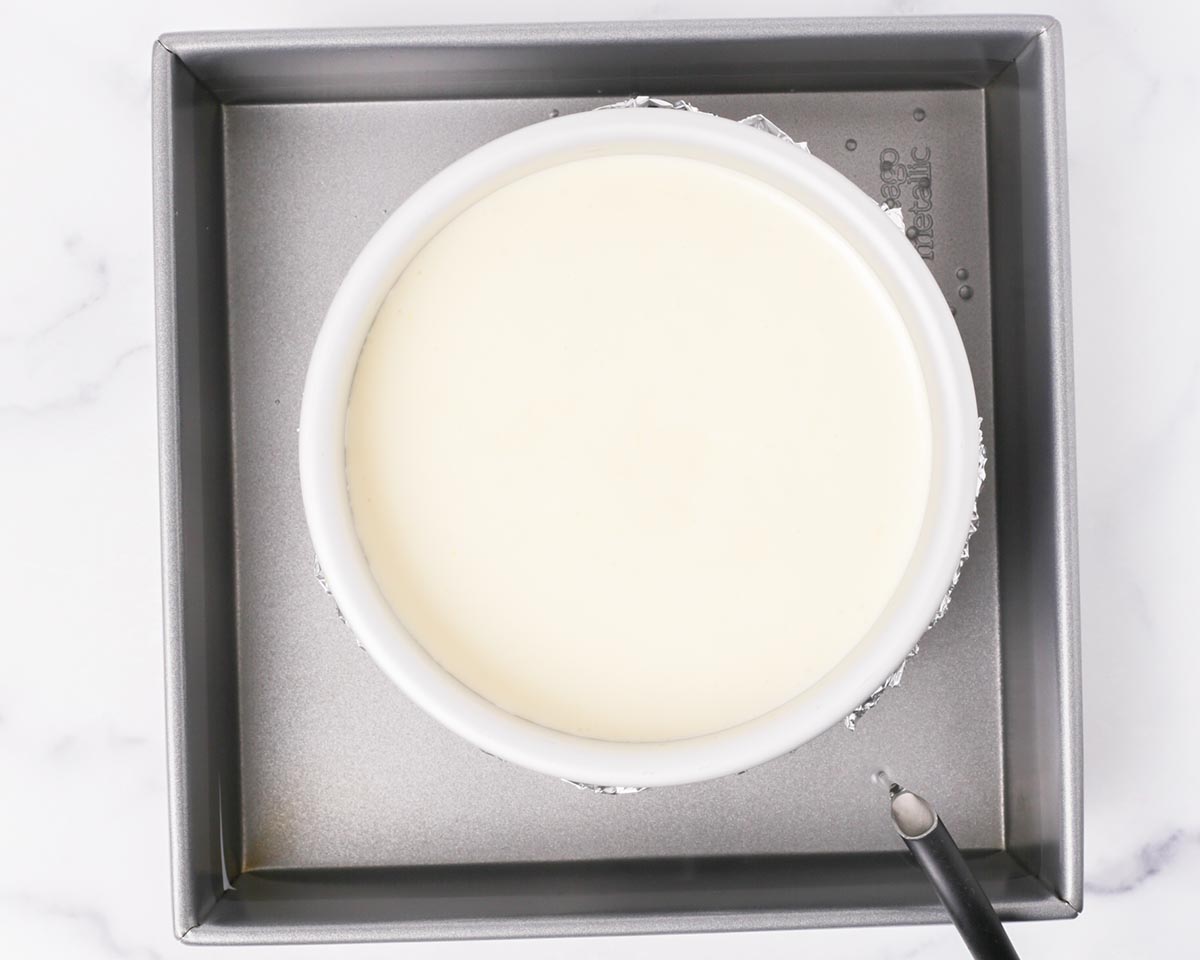
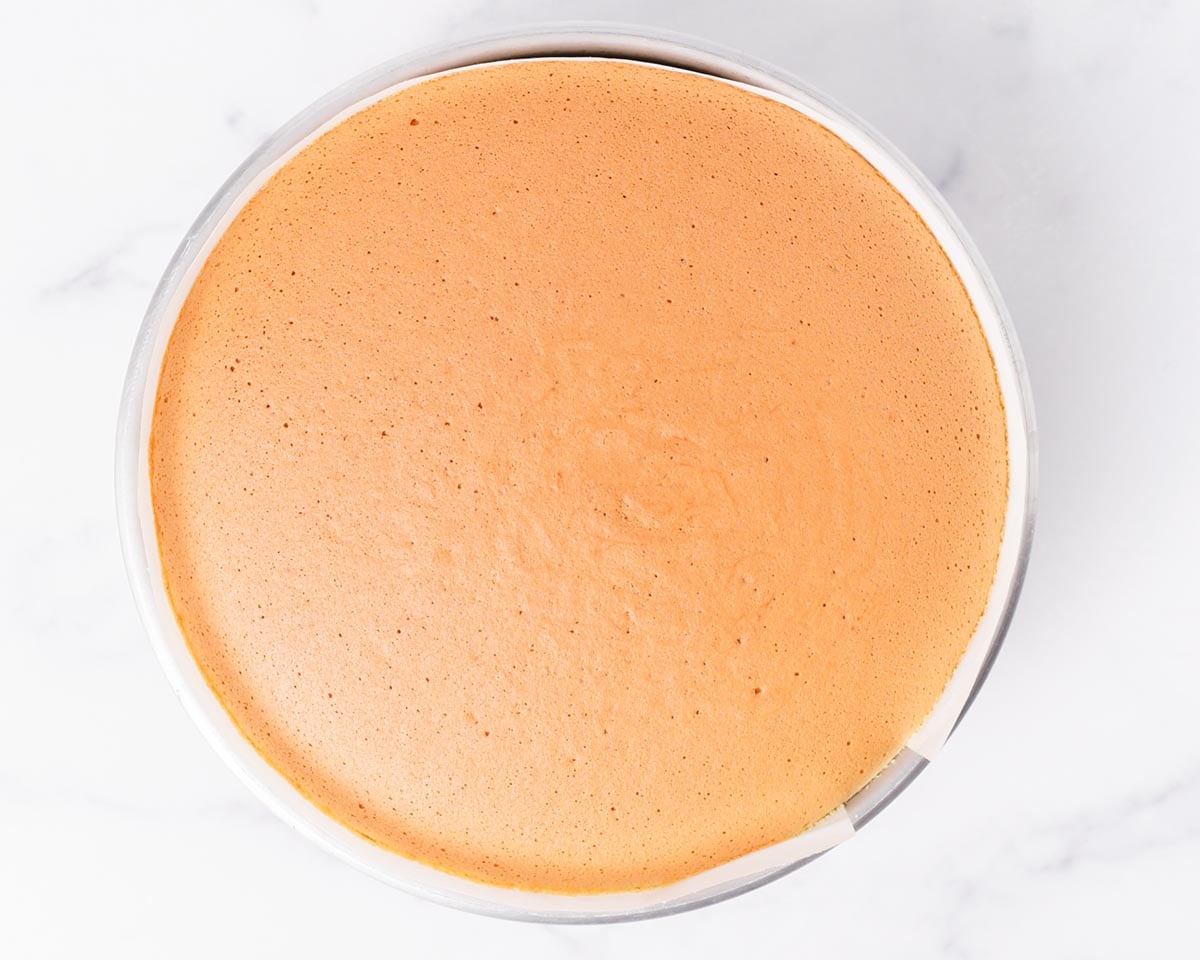
🌟Pro tip: The water-bath is essentially a bain-marie, but the content sits in the water so that it can be gently cooked. You can make a water-bath by either pouring a fresh batch of hot water into the larger pan when the cake batter is ready or use the bain-marie water (from step 2 and 3) and have it preheating in the oven. This way you can just place the cake pan into the oven instead of having to carry a pan full of water.
7. Remove the cheesecake. Dry the outside of the cake pan and place the cake pan onto its side, rotating it every 20 to 30 seconds, until the cheesecake completely pulls away from the pan. Flip the cheesecake out onto a plate and peel away the parchment paper on the bottom. Flip it upright onto another plate.
8. Enjoy. Let the cheesecake cool on the plate. Enjoy the Japanese while it's warm, completely cooled, or after chilling in the fridge for at least 1 hour.
Common troubleshoot
Here is a compilation of some of the most common issues we can across after many trials and errors of making Japanese cheesecake and the most likely reasons for these issues:
Deflated Cheesecake
Japanese cheesecakes have the tendency to shrink a bit after being removed from the oven and that's totally okay. It's because the cheesecake is a meringue based dessert, like our flourless chocolate soufflé and Taiwanese castella cake. However, the cheesecake should not deflate drastically.
- Under-whipped meringue - The softer the peak the meringue is, the jigglier the cheesecake will be, that is, if the meringue is at least whipped to soft peak. However, that also means that the cheesecake will deflate more. Besides appearance, the cheesecake will still taste good and have good texture.
- Over-whipped meringue - If your meringue is whipped past medium soft peaks, you'll likely see that the cheesecake will rise higher and that also means that it will deflate more.
- Undercooked cheesecake - If the cheesecake is undercooked, the interior structure will not be stable enough to hold the weight of the whole cheesecake. Make sure the oven temperature is at 300°F. Use an oven thermometer for best accuracy. To check if your cheesecake is cooked, insert a skewer into the center and it should come out clean or with only a couple of cake crumps.
- Parchment paper - If you lined the sides of the cheesecake with parchment paper, the sides of the cheesecake will likely be crinkled when the parchment paper is removed. This is due to the humidity and moisture. The imperfection on the sides of the cheesecake will not affect its tastes but will cause the cheesecake to deflate a bit more.
Cracked cheesecake
- Over-whipped meringue - If the meringue is whipped past medium soft peak, there's a higher tendency for the cheesecake to crack. This is especially common if the meringue is whipped to stiff peaks. Make sure to not whipped the meringue past medium soft peaks.
- Oven temperature is too high - If the oven temperature is too high, the exterior of the cake will set and brown before the interior has the chance to expand more. Use an oven thermometer to ensure that the oven's interior temperature is at 300°F.
- Oven rack is too close to heating element - We usually bake cakes in general on the middle rack in the oven. But when we moved, we noticed that that our Japanese cheesecake cracks no matter what we did and what temperature we baked it at. We experimented and found out that in some ovens, the top of the cheesecake cake is simply too close to the top heating element, which makes the cheesecake crack. If you have the same issue, move the baking rack from the middle to about 3 inches lower.
- Water bath not used - The purpose of the water bath is so that the cheesecake can bake gently and is an important factor in preventing cracks. Because water never heats above 212°F, that means the sides of the cheesecake will bake at a lower temperature. The moisture from the water bath also keeps the entire cheesecake from setting too early, which allows the cheesecake to rise to its highest potential. Make sure to have enough water in the water bath to reach at least ⅓ of the way up the side of the cake pan.
Cheesecake has dense layers
- Over-whipped meringue - Meringue whipped past medium soft peaks have the tendency cause separation in layers in the cheesecake. It's not because of the meringue itself, but because stiff peak meringue is harder to properly incorporate, leading to an over-mixed batter.
- Over mixed batter - With meringue based batter, it is crucial to not over-mix. Over-mixing the batter will deflate the meringue, creating a dense cake and separation in the Japanese cheesecake. That's when you see a super dense layer of rubbery cake, usually at the bottom.
- Oven temperature is too low - If the oven temperature is too low, the cheesecake will not bake properly. By the time the cheesecake is cooked, the air from the meringue will have escaped. This will make the cheesecake have separation in layers and dense layers.
Uneven crumbs (bubbles)
Having some larger bubbles in the Japanese cheesecake is totally fine. However, there should not be a lot of uneven size bubbles.
- Meringue has a lot of large bubbles - We recommend that the meringue be whipped on medium speed once the sugar has been all added. A lower speed helps to make finer meringue bubbles. It'll take a little longer, but the batter will look super glossy and smooth.
- Batter has a lot of large bubbles - Sometimes no matter how gently the meringue is folded into the batter, there will be large bubbles. To remove large bubbles, tap the cake pan on the table a couple of times or use a skewer to go in circles in the batter to pop some bubbles.
- Oven temperature is too low - If the oven temperature is too low, the air bubbles from the meringue will slowly escape and rise to the top of the cheesecake. If the temperature is significantly lower than 300°F, the cheesecake will have lots of huge air pockets at the top and denser layers on the bottom.
Cheesecake is undercooked or overcooked
This is essentially caused by not having the right oven temperature. We highly recommend getting an oven thermometer. Not all ovens are true to the temperature it's set to and usually preheating takes longer than when the oven says it's ready.
Top of cheesecake is not brown
If the top of your cheesecake is pale, it's most likely due to the oven temperature being too low or the oven rack is position too low from the heating element. But as long the Japanese cheesecake is cooked, you can simply turn on the oven broiling function to high to give the top of the cheesecake some color. You can do the same if the cheesecake is not as brown as you'd like. DO keep a careful eye on the cheesecake! The broiling function can turn the cheesecake from perfect to burnt in seconds!
Storage
Leftover Japanese cheesecake can be stored in the fridge for up to 3 to 4 days. Make sure to wrap it tightly or store it in an airtight container. Japanese cheesecakes also freeze really well. Store it in an airtight container and it will be good for up to 2 months. We recommend pre-cutting the cheesecake so that you can enjoy as many slices as you'd like.
Frozen Japanese cheesecake can be thawed in the fridge overnight or at room temperature. The cheesecakes are also pretty tasty frozen as well! They taste kind of like ice cream cheesecake.
FAQ
Japanese cotton cheesecakes have a melt in your mouth texture that's mildly sweet, slightly tangy, rich and creamy, while also light and fluffy, similar to the texture of spongecakes and airy soufflé.
A good, classic NY cheesecake is rich, silky, and smooth. It's also heavily flavored by cream cheese and has a buttery crust of some sort. On the other hand, Japanese cheesecake is fluffy with a melt-in-your-mouth texture. Imagine a fusion between a super tender cake and a soufflé. Japanese cheesecake is also lighter in flavor. It's mildly sweet and slightly tangy. It's also crustless.
Japanese cheesecake can be enjoyed hot or cold! While it's hot or warm, the cheesecake's fluffiness will be at its prime. You'll be able to see its iconic jiggle. It tastes good, but it'll be more egg-forward. In our opinion, Japanese cheesecake tastes best after it's completely cooled, or even after at least an hour of chilling. The cheesecake will taste creamier and richer, and you'll be able to taste the overall flavors better.
Because Japanese cheesecakes are made with so many eggs, it naturally will taste a bit eggier than a classic cheesecake. However, if you let the cheesecake cool completely or even after a couple hours of chilling, you will barely taste any egginess.
Japanese cheesecake is essentially made of eggs, cream cheese, butter, cream or milk, sugar, and a little flour. Lemon zest and vanilla are usually added as a flavoring, which we highly recommend.
If you’ve made this recipe or any recipes from our blog, please tag us on Instagram using #twoplaidaprons! You can also tag us in your Instagram stories using @two_plaid_aprons. We would love to see your creations! It absolutely makes our day! 🥰
📖 Recipe
Japanese Cheesecake
Ingredients
For the cheesecake:
- 6 large eggs separated (each egg is about 50g, shell-on)
- 8 ounces cream cheese preferably softened
- ¼ cup heavy cream or full fat milk
- 4 tablespoons unsalted butter cut into smaller pieces
- ½ cup cake flour fluffed, spooned, and leveled
- 1 tablespoon lemon zest about 1 lemon (optional)
- 1½ teaspoons vanilla extract (optional)
- ⅓ cup granulated sugar
- 2 teaspoons lemon juice about ⅓ of a lemon
Optional toppings:
- Powdered sugar (for dusting)
- Apricot jam for glazing (slightly warmed up)
- Berries
- Sweetened whipped cream
Instructions
Prepare equipments:
- Preheat the oven to 300°F. Also, line the bottom of an 8 by 3 inch cake pan with a circle parchment paper and prepare a 9 by 9 baking pan.*The 9 by 9 inch pan is for the water bath. So, as long the 8 inch round cake pan can sit in it, any larger size pan works too.*
- Bring a few inches of water to a simmer in a large saucepan or pot. Once the water is simmering, reduce the heat to low.
Make the base batter:
- Place the cream cheese, butter, and cream in a large heatproof bowl that can sit on the saucepan or pot and not touching the water. Slowly heat everything up and whisk until the mixture is well combined and smooth. Turn off the heat.
- Add the egg yolks and mix until well combined. Immediately, sift the cake flour into the mixture and whisk until no more dry flour or clumps remain. Take the bowl off the pot and add the lemon zest and vanilla. Whisk to combine. Set the mixture aside to cool until needed.*Make sure to work swiftly to prevent the egg yolks from getting scrambled!*
- Fill the 9 by 9 baking pan half way with the hot water and carefully place the baking pan into the oven to preheat. You can also use the hot water left from the ealier.
Prepare the meringue:
- In a clean mixing bowl, add the egg whites and the lemon juice. Using a hand mixer, whip the egg whites on medium high speed until completely frothy.
- While whipping, add the granulated sugar to the frothy egg white, a third at a time, before the egg whites reache soft-peak stage. Once all the sugar has been added, whip the egg whites for another 10 to 20 seconds. Then, reduce the speed to medium. Continue whipping the egg whites until medium-soft peak.*Please refer to the post above for photo references.*
- Add ⅓ of the meringue to the cream cheese mixture and gently fold the meringue until the mixture is well combined and no more streaks are visible. Incorporate the remaining meringue in two more sessions.
- Pour the cheesecake batter into the prepared 8 inch cake pan and firmly tap the cake pan on the table a couple of times to remove large air bubbles. You can also use a skewer if you prefer.
Bake the cheesecake:
- Carefully place the cake pan into the oven, in the pan of water, and bake for about 80 to 90 minutes, or until the Japanese cheesecake is golden brown on top and a skewer inserted in the middle comes out clean.
- Carefully remove the cheesecake from the oven and dry the bottom of the cake pan. Let the cheesecake cool for a few minutes on its side, rotating the cake pan every 20 to 30 seconds, until the cheesecake releases itself from the cake pan.
- Remove the cheesecake from the cake pan by carefully flipping it out onto a plate. Pull away the parchment paper on the bottom and flip the cake upright onto another plate. Let cool.
Serve:
- You can enjoy the Japanese cheesecake while it's warm, after it's completely cooled, or after chilling in the fridge for at least an hour.
- Either keep the cheesecake plain, dust the top of the cheesecake with powdered sugar, or brush the top of the cheesecake with some apricot jam to glaze it. Enjoy by itself or with fruits, berries, and/whipped cream.
Notes
- Springform pans and cake pans with removable bottoms - If using either of these pans, make sure to securely wrap the outside of the cake pan with foil. This will prevent water from leaking into the cheesecake, making it soggy.
- Smaller cheesecake - This recipe can be divided in half to make a 6 inch Japanese cheesecake. Use a 6 by 3 inch cake pan and decrease the baking time to 60 to 70 minutes.
- Troubleshoot - We've included an extensive list of troubleshooting tips in the post above from our years of making Japanese cheesecake. Please refer to it first if you have questions!






Atena says
My heated batter was silky smooth when I finished, but became lumpy after I set it aside, I out it in the oven anyway.
Mei says
Hi Atena!
Thank you so much for trying out our Japanese Cotton Cheesecake recipe! The only reason I can think of as to why your heated batter may have become lumpy could be because your batter was overheated (which can curdle the egg yolks). After taking the heated batter off the simmering water, I tend to give it a few more seconds of mixing to ensure that the retained heat on the bowl wouldn't overcook my batter. For already existing clumps, our rule of thumb is to always strain it. I hope the cheesecake still turned out well! Please let us know if we can help in any way!
Bake with love,
Mei ❤️
Atena says
It actually turned out good. I think it just continued warming on the warm stove and the bottom became cooked. It wasn't curdled. I did not think to strain it.
Mei says
Hi Atena!
Gotcha. We're so glad the cheesecake still turn out good! Thanks again for trying out our recipe!
Bake with love!
Mei ❤️
Atena says
Thanks, i love it. I'm making it again now.
Ta says
I've made this twice now, and it's so good! I have a springform pan, so water has accidentally seeped through to the batter, but even then it has been very good. If anything, it almost seemed to make it more moist. Thanks so much for this recipe!
Mei says
Hi Ta!
Thank you so much for trying out our recipe! So glad you enjoyed the Japanese cheesecake! To prevent springform pan water leakages, I usually double wrap the pan in foil. Thanks again for stopping by!
Bake with love!
Mei ❤️
Yvonne Finne says
How should this cake be stored? I want to ship to family.
Mei says
Hi Yvonne!
Thank you for checking out out recipe! This cake should be stored in the fridge, up to 7 days, after it's been cooled completely. I don't recommending shipping the cheesecake, as it's a very fragile cake. But if you are shipping it, I highly recommend overnight shipping, properly packed with cooling packs, etc.
Hope this helps!
Mei ❤️
Loren Gigi says
Hi Mei! I am going to bake this for an event soon, and I am trying to prepare all the ingredients/equipment for a 100% good outcome 🙂 I was wondering how much of an impact the water bath makes. I have a small oven, and I can't fit one but I do want the cheesecake to come out well. Is it necessary in this case?
Thanks!
Mei says
Hi Loren!
Sorry that I got back to you late, but seems like your Japanese cheesecake turned out well! Congrats! But to answer your question, a waterbath is highly recommended to help prevent cracks on the cheesecake, just like when making classic New York Cheesecakes. This method help maintain a constant temperature that cooks the entire cheesecake gently.
Hope this helps!
Bake with love!
Mei ❤️
Melissa says
Why my cheesecake top is not golden brown? I put the temperature to 350F.
Mei says
Hi Melissa! Sorry to hear that your cheesecake is not golden brown on top. Usually, if your oven is at the right temperature, the top will turn golden brown by the time the cheesecake is cooked through. If your oven doesn't have a top heating element, then your cheesecake may be a pale golden instead. If you want the color to be more golden brown, you can broil on high until desired color is reached. Just keep a watchful eye on the cheesecake! Broiling can turn the top from perfect to too dark in seconds. Hope this helps =)
Mei ❤️
Loren Gigi says
lovely!!! thank you so much. turned out great.
Carrid puddell says
Tasted amazing. Top was not smooth not sure what I did not quite right but will definitely make it again. The lemon made it!
Mei says
Hi Carrid!
So glad you enjoyed the Japanese cheesecake! The extra lemon is also our favorite part!
As for the bumpy top, it would be caused by large air bubbles in the cheesecake batter. To prevent large bubbles, gently fold the meringue to avoid incorporating a lot of air. You can also slowly pour the batter into the cake pan at a tall height to help pop any bubbles. Lastly, firmly tap the cake pan on your countertop a couple of times before baking. With those 3 steps, you shouldn't be seeing anymore large bubbles.
Hope this helps!
Mei
Kim says
Hi! Have you ever tried this with gluten free flour? It looks delicious!
Mei says
Hi Kim!
We have not tried this recipe with gluten free flour. So we can't say how it will turn out. But if you do give it a try, we would love to know how it turns out.
Best,
Mei ❤️
reba says
I found a way of not doing a hot water bath, instead use plastic bags used for slow cooker, works great. then put you cake in hot water bath and no water will seep in.
Mei says
Hi Reba!
That's a great idea! Thank you for sharing!
Mei❤️
Mary ann Galarosa says
Hi. Im planning to make this. I dont have an 8x3 tound pan. Can i use two 6x3 round pans for this recipe and bake it at together in the water bath? Thanks .
Mei says
Hi Mary!
Yes, you can use 6x3 cake pans instead. Please refer to the recipe notes for more details. If you're making two pans and baking them together in a waterbath, please make sure the pans are not touching and have some space in between =)
Mei ❤️
Theresa says
I only had half of a block of cream cheese on hand so I ended halving this recipe. It turned out successfully fluffy and spongy and the flavor was delicious, reminding me of those of the store bought chiffon cakes! The cheesecake also rose beautifully to a golden brown color with no cracks on the surface. The water from the water bath did leak into my cheesecake and made the outcome slightly soggy at the bottom, so I recommend anyone wanting to try this recipe to wrap your cake pan in aluminum foil beforehand to prevent this. I also wished that there was more cheesecake flavor, so maybe next time I might add more. Overall a great, foolproof recipe and I highly recommend!
Mei says
Hi Theresa!
Thank you for your feedback and tips! So glad the cheesecake turned out well and you enjoyed the it!
For Japanese cheesecakes, the cream cheese flavor is more subtle because less cream cheese is used. Also, because it is a meringue based cake, we do not recommend changing the amount of ingredients too much as it can be finicky. Did you get to try to the cheese cake chilled? The cream cheese flavor will be slightly more pronounced when the cake is cold.
And a great point you brought up! I'll have to had it into the recipe notes. If you are using a springform pan, it needs to be wrapped with foil to prevent water from leaking into the cake. If you are using a regular cake pan, the waterbath shouldn't cause any issues =)
Mei ❤️
Reba says
Help this is the second timei have made the cake and this time i forgot the lemon juice. Will it still be ok?
Mei says
Hi Reba!
Thanks for trying out our cheesecake recipe! The cheesecake will be fine without the lemon juice, but the flavor will not be the same. Hope you still enjoyed it!
Mei ❤️
Sue says
HI Mei,
I have a steam oven, could I bake this with the steam function on rather than a water bath?
Thanks
Mei says
Hi Sue!
To be honest, we have not tried making Japanese cheesecake in a steam oven before, but we still recommend using a water bath. The purpose of the water bath is to ensure that the cheesecake is baked gently while maintaining the moisture. The steam is helpful in terms of keeping the cheesecake moist but will not help regulate the baking temperature.
Hope this helps!
Mei ❤️
Marian says
Today was my first time ever making this cake! It tasted slightly sweet, delightful and had a little hint of lemon. Yum!! My cake didn’t turn out gold on the top, so I broiled it for an 2 minutes (this caused it have the perfect gold color, BUT also caused it to wrinkle a little)😅. I think I’ll be a little more patient next time during the baking process. I also accidentally added a little too much flour. It still came out great and I plan on making it again this weekend for my friends to try! Thank you for this recipe!!
Note: this is my first time baking a cake from scratch as well, so the directions you provided were easy to follow!
Mei says
Hi Marian!
Thank you for trying out our recipe! We are absolutely thrilled to hear that your Japanese cheesecake turn out well! And congratulations! It's a true feat to make a good Japanese cheesecake on the first try! Hope the next one turns out even better =) Happy baking!
Mei❤️
Tony says
You mentioned that hot water should be used for the bath. Just how hot should the water be; just hot to the touch or should it be a specific temperature range?
Mei says
Hi Tony!
Boiling hot water is most preferable. In the case of this recipe, you could even have the water preheating in the pan in the oven while you prepare the cheesecake batter. Hope this helps!
Mei ❤️
Evelyn Ivings says
I would like to make this cake for my family's new year day party can it be made a couple of days in advance also can it be frozen and how long can I keep it in the freezer.
Mei says
Hi Evelyn!
Yes and yes! You can make the Japanese cotton cheesecake a couple days ahead of time and keep it refrigerated for up to 4 days. It also freezes really well, about 2 months. Although, it never last that long is our fridge 😆. Happy baking and hope you and your family enjoy the cheesecake!
Mei ❤️
Leyanne says
Made this Cheesecake at least 10 times & always something went wrong, that is until I found your recipe and this is my 3 time using it and Perfect each time! Thank you so much, really appreciate it
Leyanne
Mei says
Thank you so much for you kind words, Leyanne! We're so happy to hear that our recipe was helpful =) It really makes our day to know that you enjoyed our recipe! We hope that we can continue to bring you more recipes you enjoy.
Mei❤️
M P says
Excellent recipe! My kids were overjoyed with this. We finished it immediately as they were begging for more after dinner. Super light & fluffy. My favorite part was that the ingredients are soo simple that I already had everything I needed in my pantry!
Mei says
Hi there! Thank you for trying out recipe and so glad everyone enjoyed it! Always a win when the kiddos approve! 😁
Mei ❤️
Matthew says
I was looking to divide the batter into multiple pans, if wanting to make smaller individual cakes the batter will fill 4-5 4” rounds. Has anyone tried making them in cupcake tins?
Mei says
Hi Matthew!
We have not tried dividing the recipe into four 5.4 inch pans. So I can't tell you if it'll be possible. However, one recipe can be divided into two 6 by 3 inch round pans. I do not recommend cupcake tins, as they do not have straight sides. This will cause the cheesecake to collapse once removed from the tin.
Mei ❤️
Tania says
Hi Mei!
Thanks you for all your recipes! Today is my first time ever making this cake, but, I know that with your recipe it will be a success.
I have a 24 by 7.5 cake pan, what adjustments should I make to the recipe to adapt it to this size?
Mei says
Hi Tania!
Thanks for your kind words! Is the cake pan 24 by 7.5 in cm or inches? And is this a rectangular pan? Usually, when the pan size is changed, the bake time will also be changed. Normally, I would recommend multiplying the recipe so that there's enough batter for the pan, but Japanese cheesecake is very finicky when it comes to changes. So if possible, I highly recommend using at least a pan with similar volume, but best if using the same pan.
Mei ❤️
Dee says
Oh my! I just finished baking it. It was so easy to make it. I followed the recipe as it is and turned out excellent. I was so excited to see how it jiggles as soon as I took it out of the cake pan. It's like eating clouds :)) So light, not very sweet and lemon zest smell and taste... Heaven! Cheers for sharing the recipe. Love!
Mei says
Hi Dee!
So glad you enjoy the Japanese cheesecake and thank you for leaving such a sweet comment!
Mei ❤️
Sam says
This was a fantastic recipe! My 4 y.o. scarfed it when it was still warm, my husband and I took a bite but are anxiously waiting for it to cool down to have more. The texture is so light and wonderful! I love the flavor. We live at high altitude so I added an extra spoonful of flour or so but wanted to see how the recipe did. My top did crack but it didn’t deflate so I’m super pleased! Very proud of making this and would absolutely make again. Thank you!
Mei says
Hi Sam!
We're so happy to hear that you and your family enjoyed the Japanese cheesecake! I wish I could give you tips on baking at high altitude, but unfortunately, we do not have much experience. Hopefully you can play around with the recipe and perfect it for where you live =)
Happy baking!
Mei ❤️
Amy says
Thank you for the great recipe! I have made this a few times and the last couple of times the cake has deflated by almost half, even after I follow your instructions for leaving it in the oven. (But it still tastes great!) Am I maybe under beating the eggs?
Mei says
Hi Amy!
Thank you for trying out our recipe! It is inevitable that Japanese cheesecakes will deflate about 1/4 to 1/3 after removing from the oven. However, it shouldn't deflate by half. There are a few things that could cause the cheesecake to deflate so much. Two of the most likely reasons are under-whipped meringue or underbaked cheesecake. Have you checked out our "Common Troubleshoot" topic? We listed all the issues that we came across while recipe testing. Hope this helps!
Mei ❤️