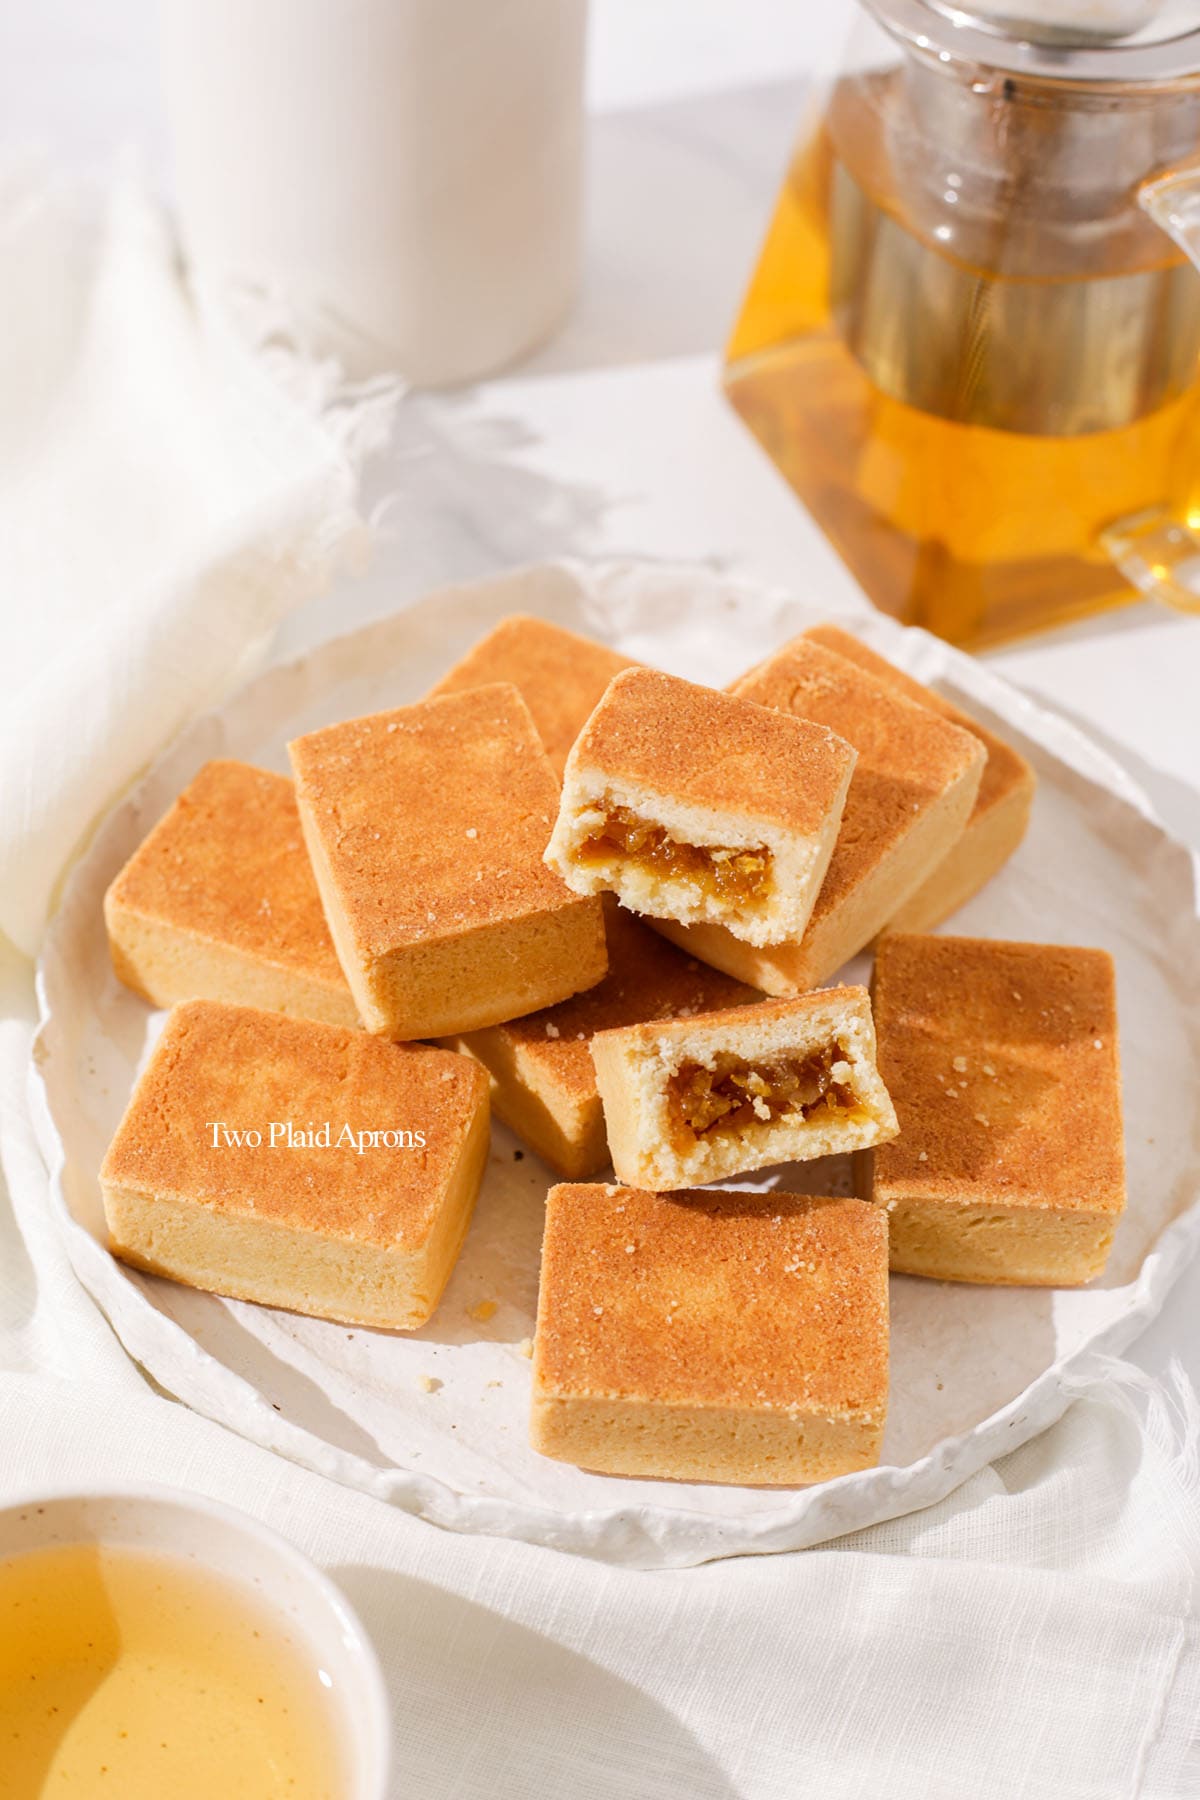
This Chinese pineapple tart recipe shows you step by step how to make those iconic pineapple tarts which are often gifted and enjoyed during Lunar New Year, Mid-Autumn Festival, and special occasions. Make your own melt in your mouth pineapple tarts with our easy to follow instructions with photos and tips!
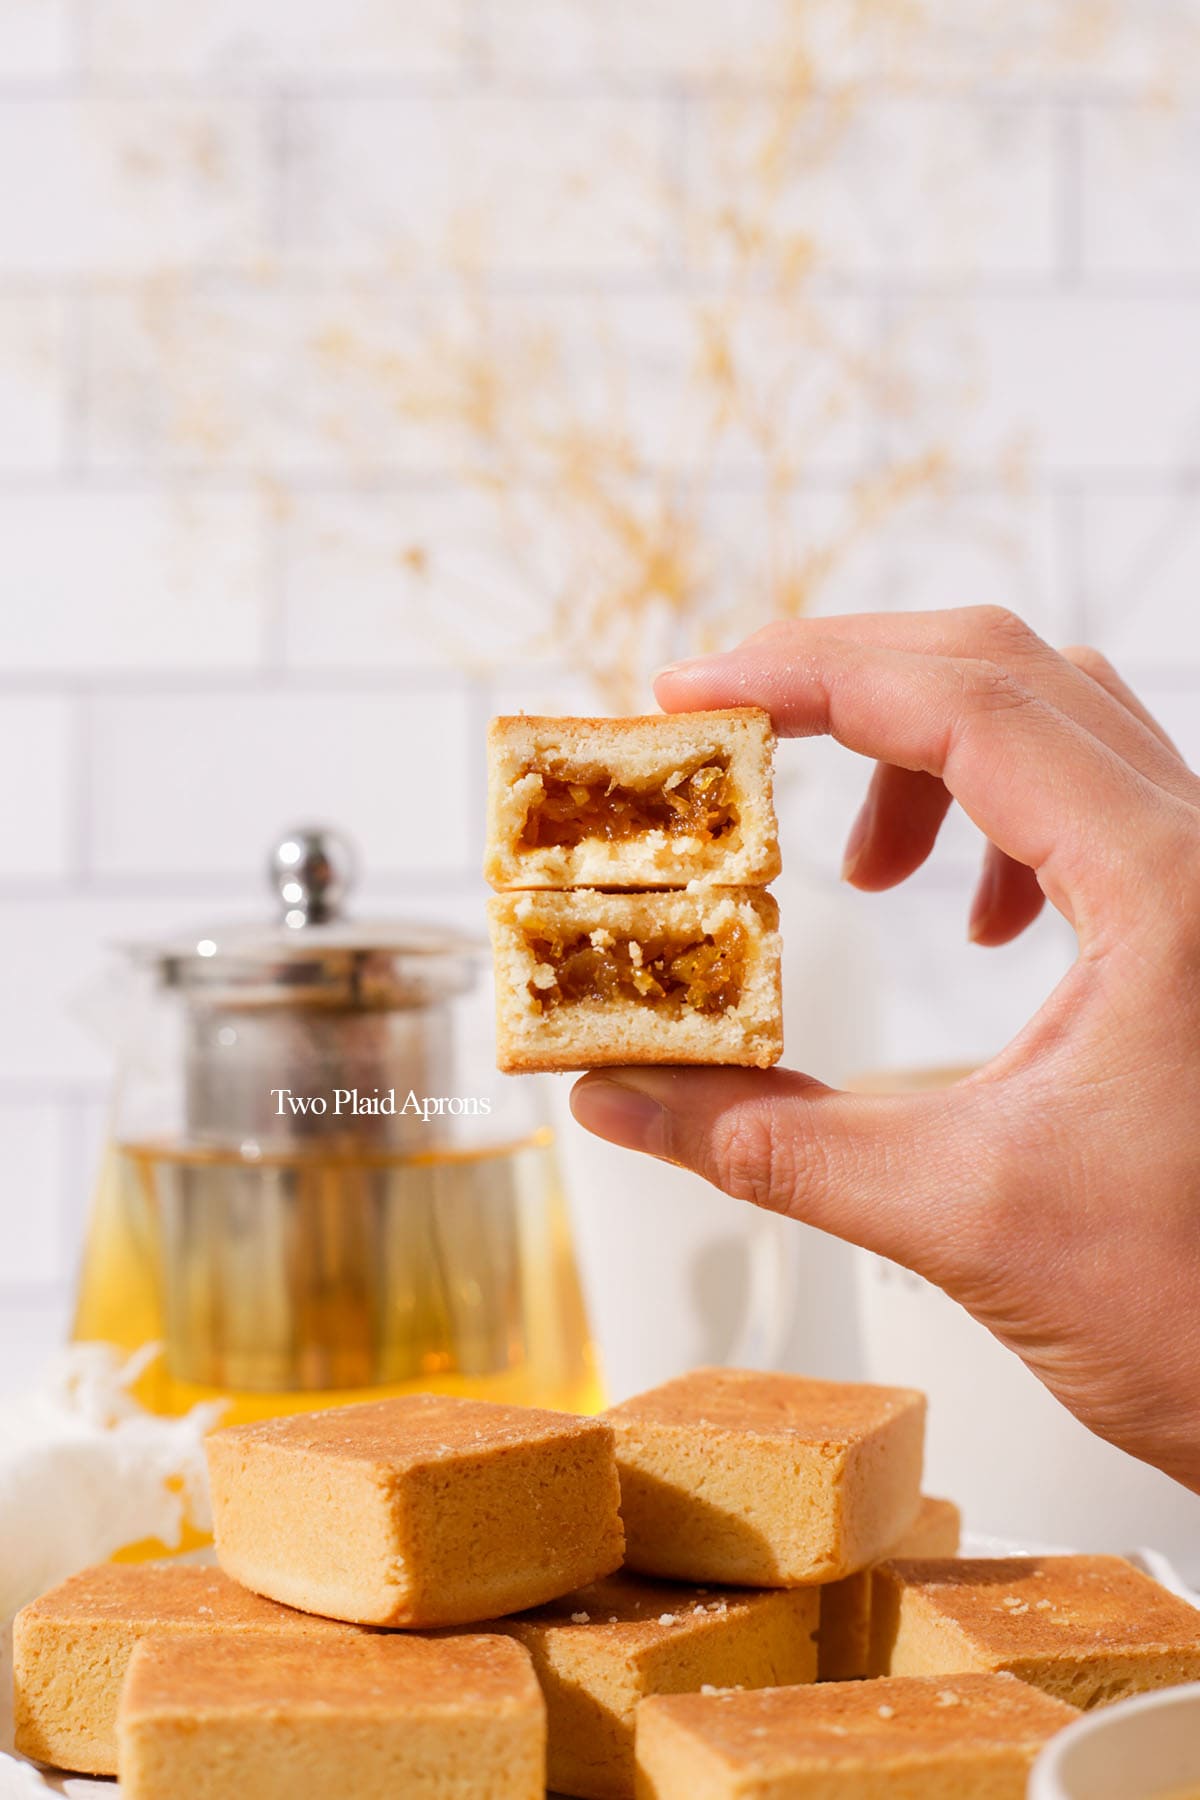
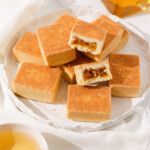
Pineapple tarts are classic Chinese and Taiwanese shortbread pastries filled with pineapple jam made with fresh pineapples. They are also known as fèng lí sū (凤梨酥).
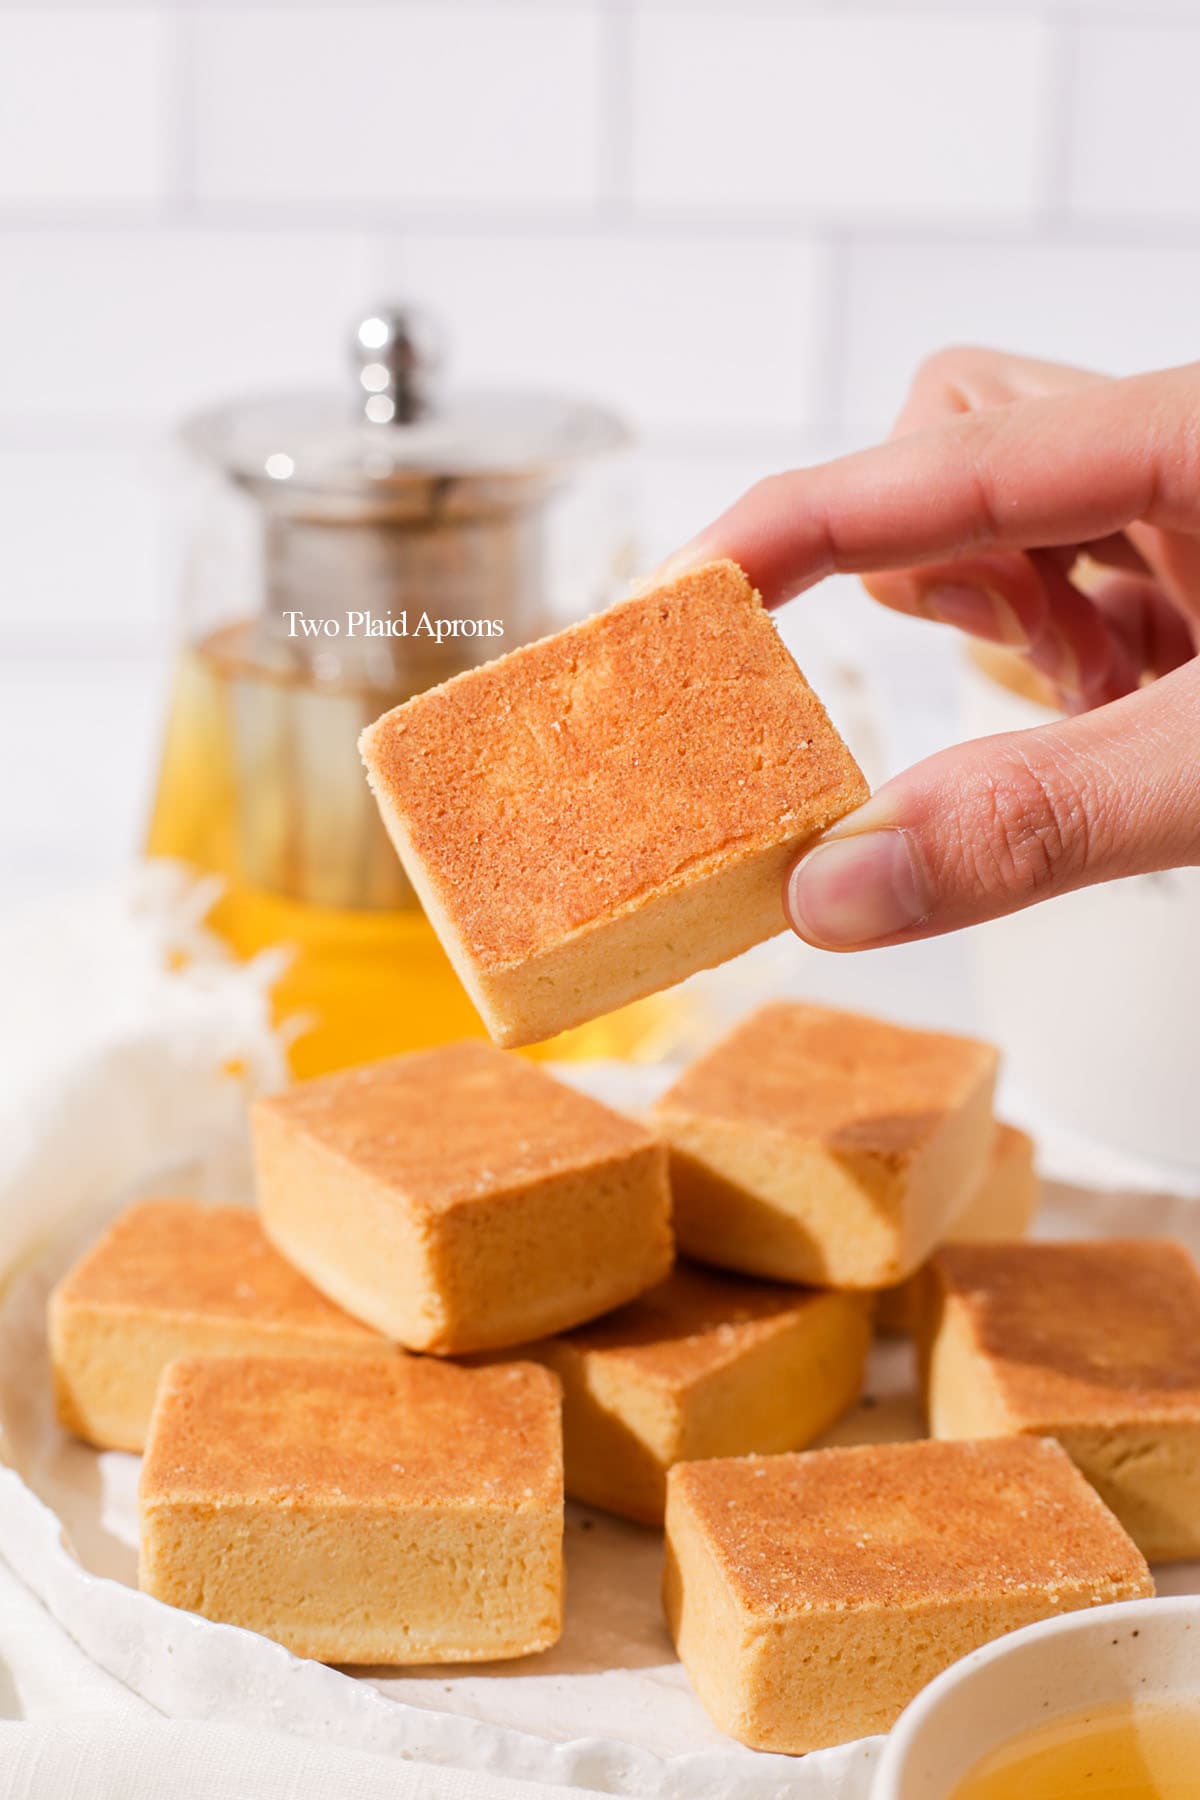
The shortbread crust on the outside is tender, buttery, and just perfectly melts in you mouth! Contrasted with the sweet and tang of homemade pineapple filling, these pineapple tarts are such an addictive tea snack.
This classic version of pineapple tart is great for beginners, but if you're looking to level it up, you have to try our pineapple-shaped pineapple pastry! They are so cute!
Also check out our classic Chinese mooncakes with red bean paste to make for Mid-Autumn Festival!
Jump to:
Ingredients
Please scroll down to the recipe card for the ingredient quantities!
Pineapple filling:
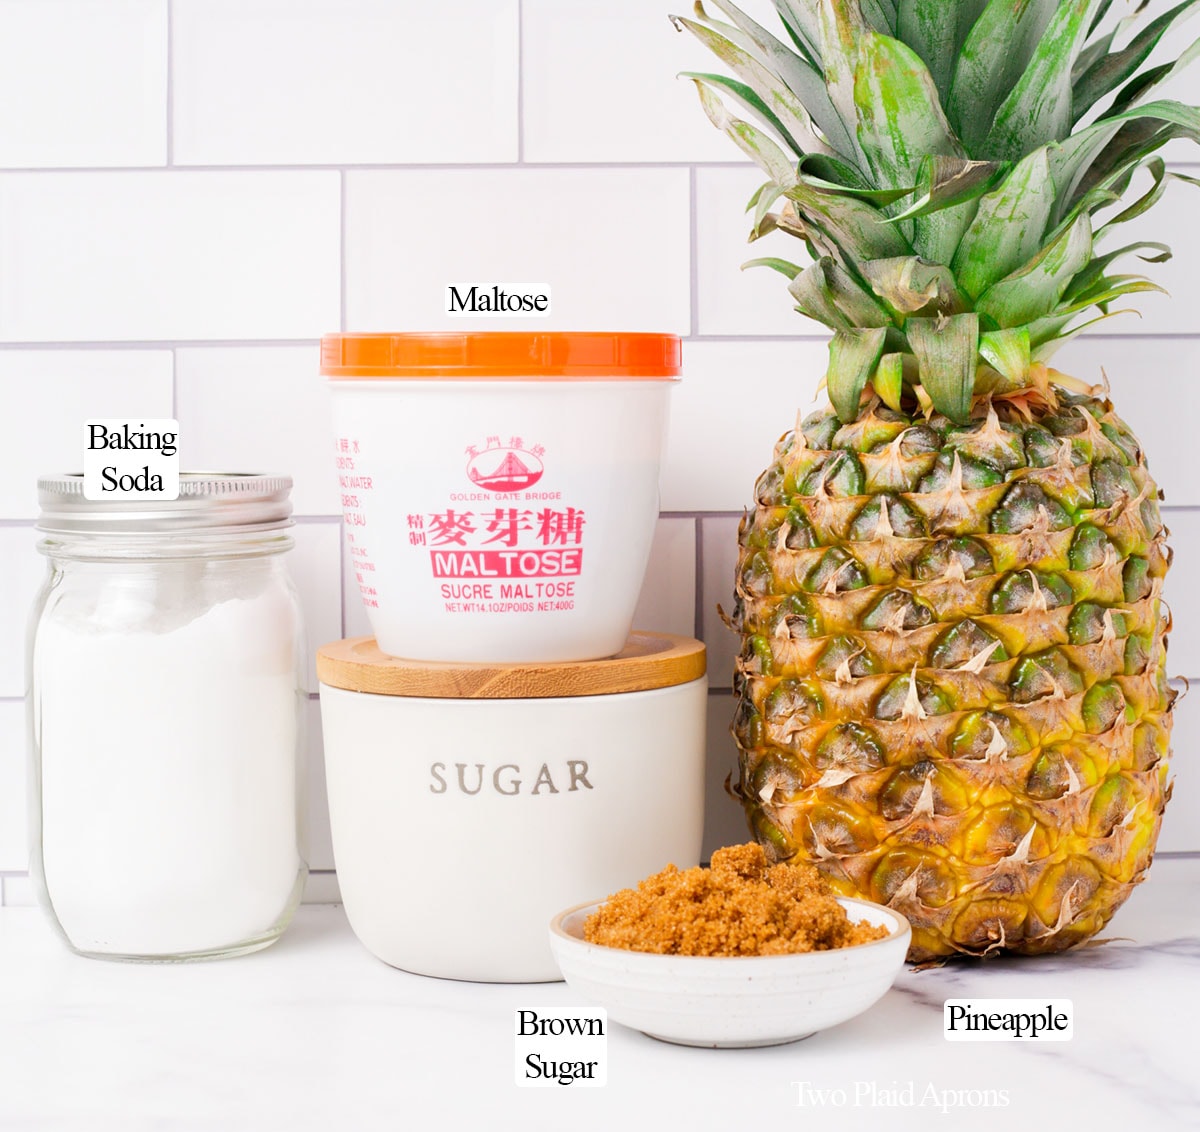
- Pineapple - The star of this pastry! We prefer to use pineapple that is just starting to ripen to get a balance of sweet, sour, and pineapple flavors.
- Sugar - Regular granulated white sugar sweetens the pineapple and keeps the flavor clean.
- Dark brown sugar - While the regular granulated sugar is for sweetening, dark brown sugar is to give the pineapple filling a depth of flavor and a richer color. You can also use Taiwanese black sugar. You may need to use a little less because the color is much darker.
- Maltose syrup - Also known as malt syrup. Maltose syrup is super sticky, especially when it's cool or cold. So you may need to warm it up slightly so that it's easier to pour and measure. It's often used in a lot of traditional Chinese cooking, sweets, candies, and pastries. Maltose helps to keep the sugars in the pineapple pastry from crystalizing, extend shelf life, and give the filing a firmer texture while keeping it moist.
- Baking soda - A little baking soda goes a long way. If your pineapple isn't ripe enough or you just want to get rid of some of that harsh tang, baking soda will cancel it out.
Dough:
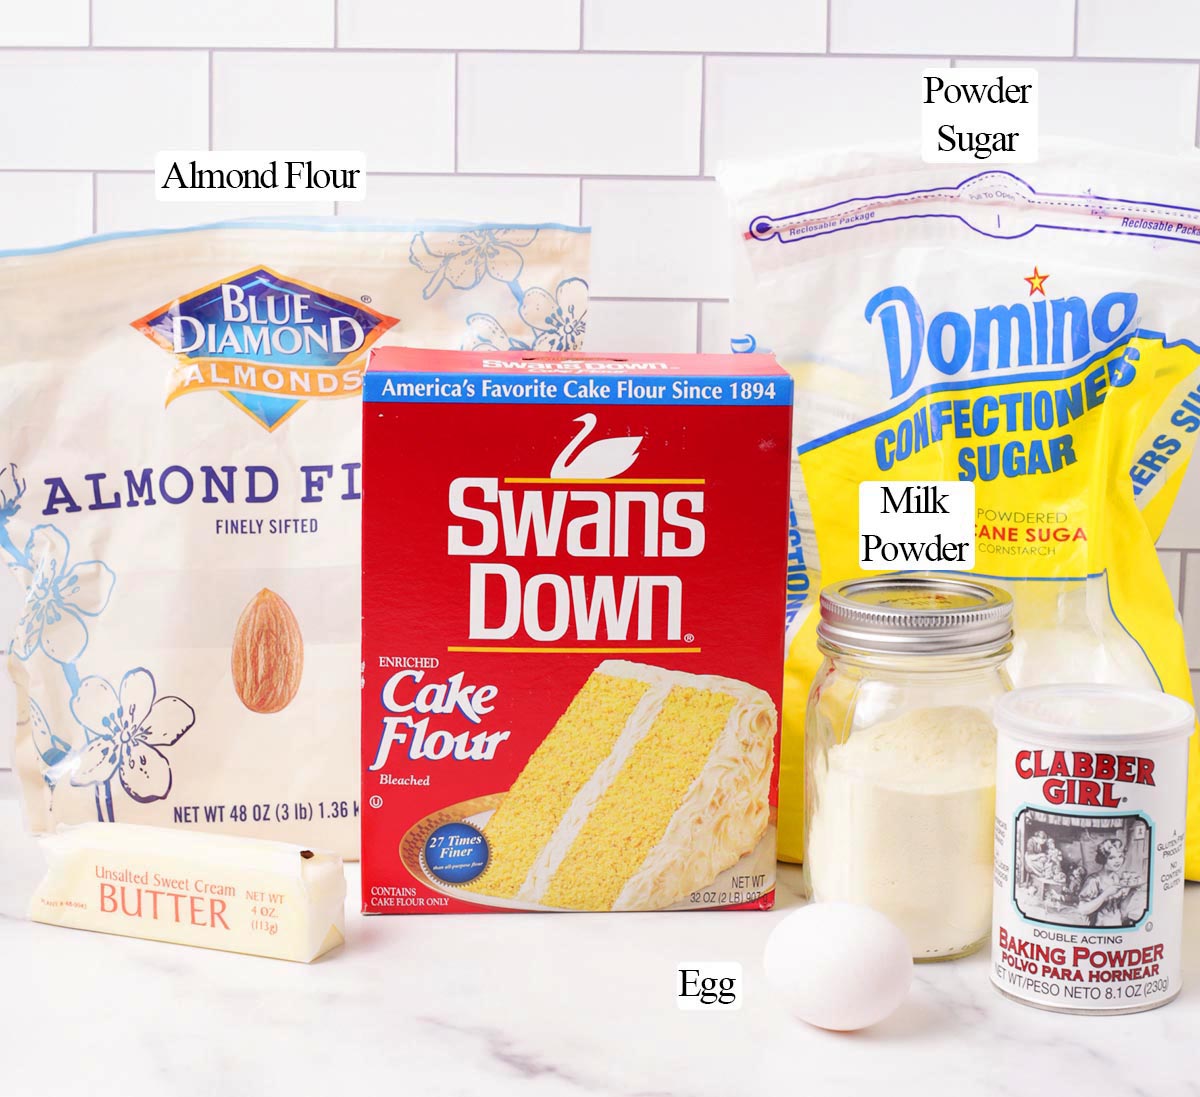
- Unsalted butter - Since the pastry is basically shortbread, butter is definitely an important ingredient! It's one of the only two wet ingredients used to bind the dough. Unsalted butter is highly recommended.
- Powdered sugar - Because we want the pineapple pastry to be soft and melt in your mouth, powdered sugar is absolute. Granulated white sugar will only make it crispy and crunchy, which is not the texture we want.
- Egg yolk - This is the second wet ingredient in dough. Egg yolk also adds a bit of natural color.
- Cake flour - We recommend cake flour because it has the least amount of gluten, which is very important in achieving the melt in your mouth texture.
- Almond flour - To prevent the dough from becoming dense and to ensure that we get the melt in your mouth texture. Almond flour also adds a subtle nuttiness that goes really nice with pineapple.
- Milk powder - Because we cannot add milk or any liquid to the dough, milk powder enriches the flavor and gives the shortbread pastry some rich, milky flavor.
- Baking powder - To help the pastry dough rise when baking, which ensures the shortbread is light.
- Matcha powder and turmeric powder (optional for coloring) - You can also use food coloring. We recommend gel food coloring.
How to make Chinese pineapple tart
For the pineapple filling:
1. Cut off the top and bottom of the pineapple and peel the pineapple. Using the tip of your knife or a pairing knife, cut along the "eyes" of the pineapple to remove them. This wastes the least amount of pineapple.
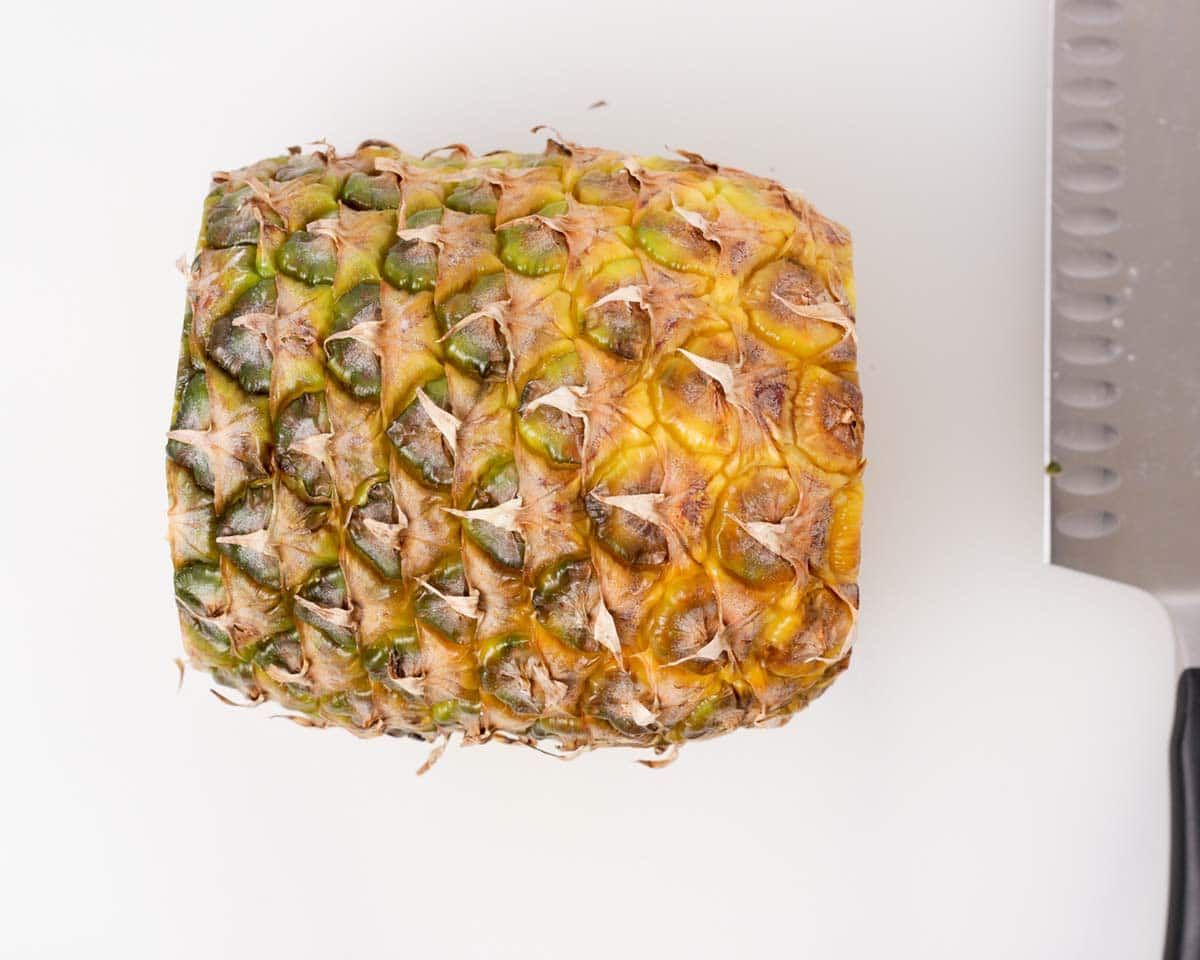
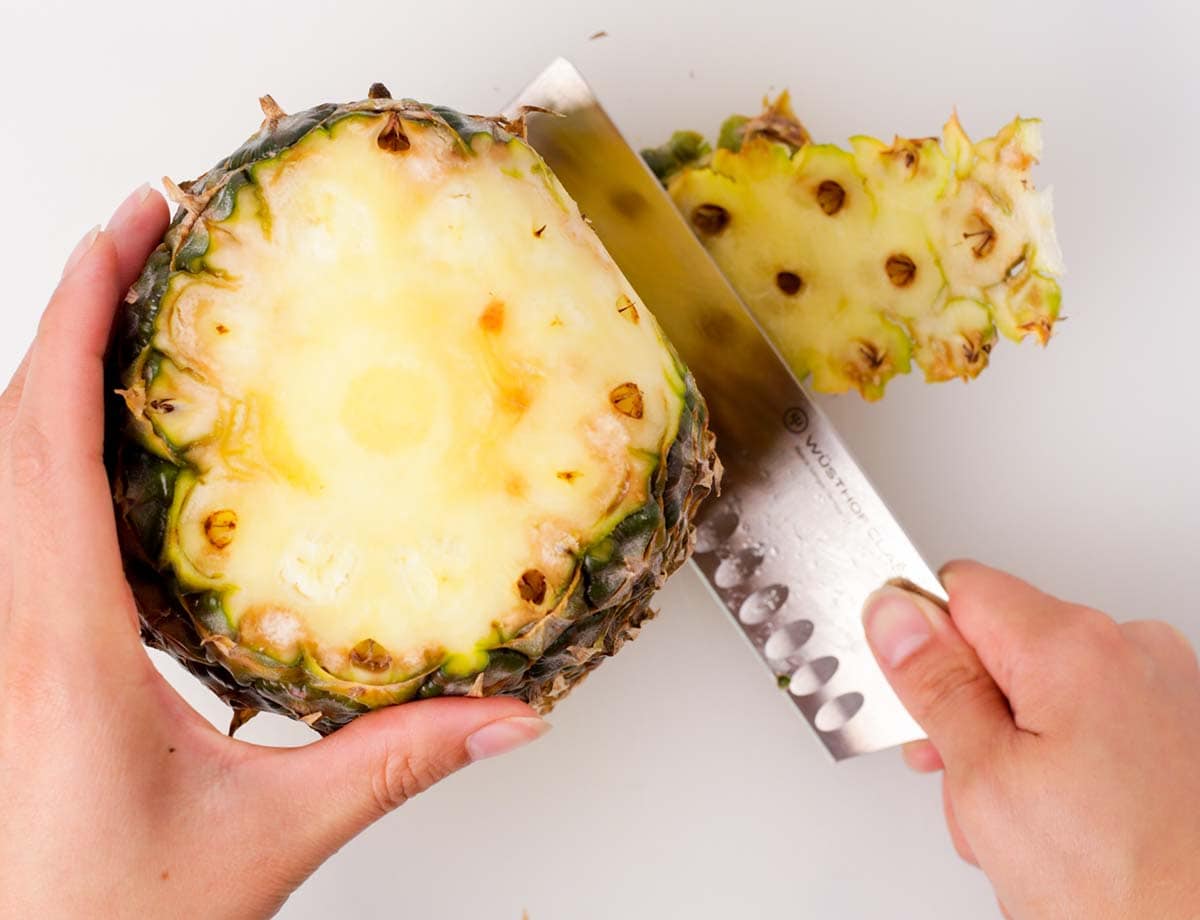
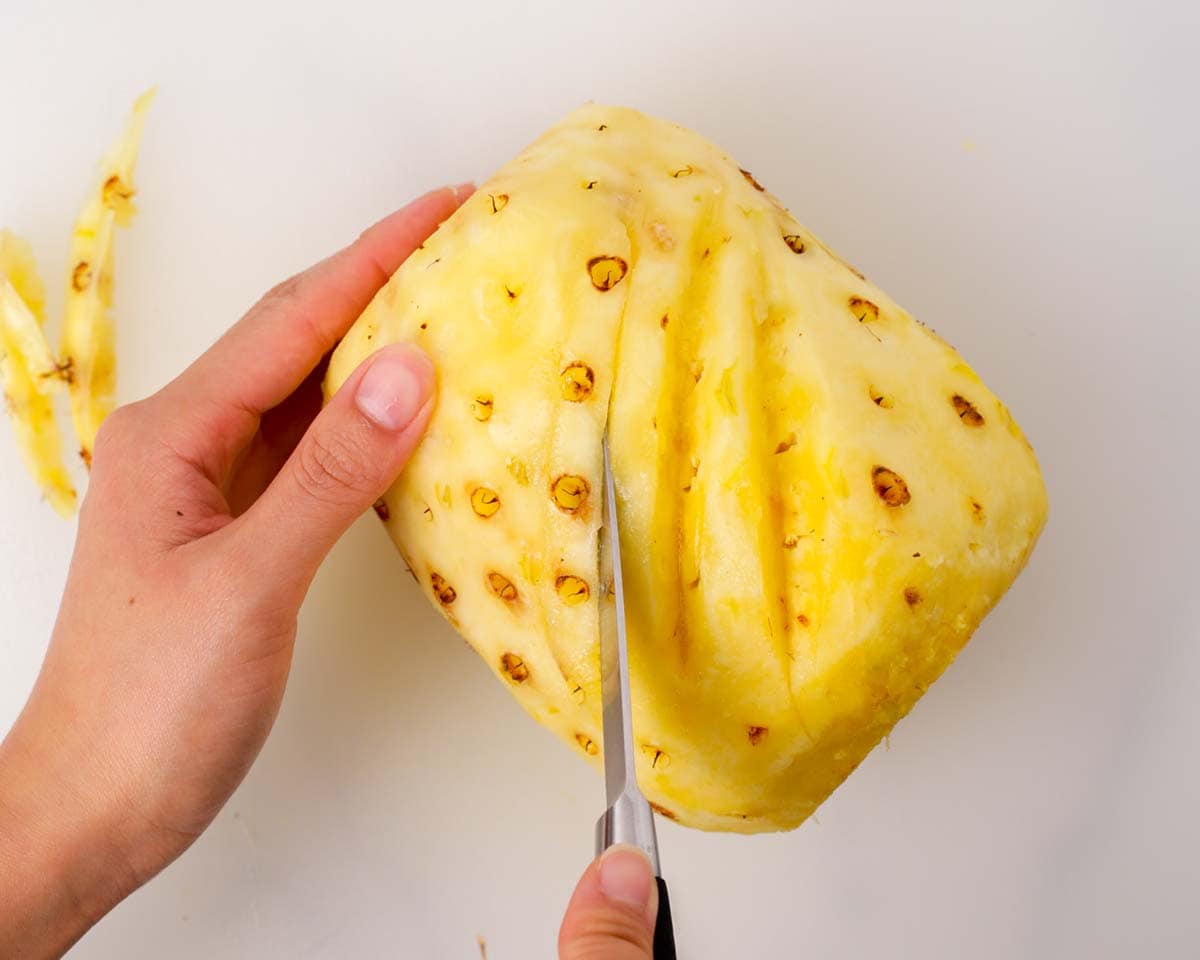
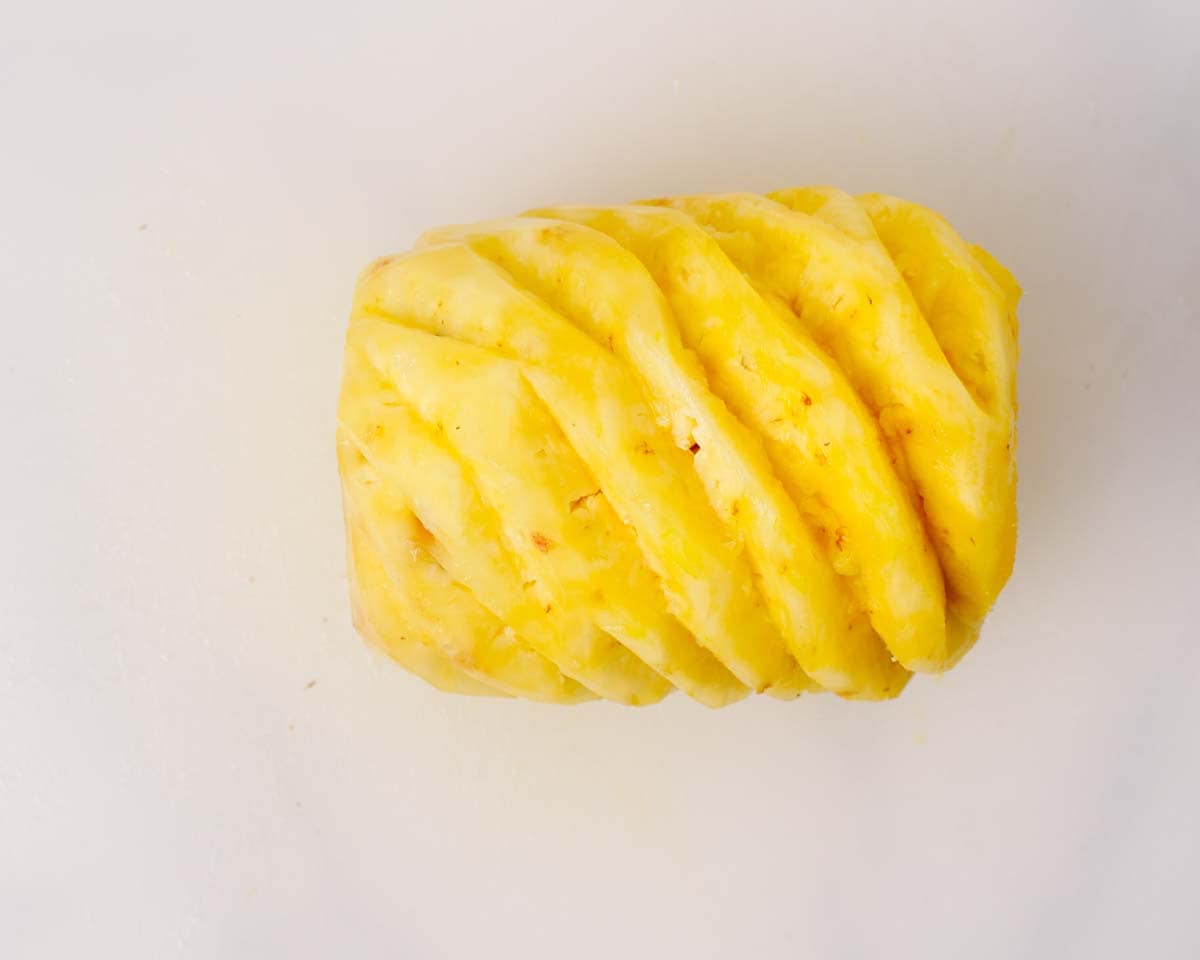
2. Cut pineapple in half lengthwise and cut out the woody, tough parts of the pineapple core at the top and bottom.
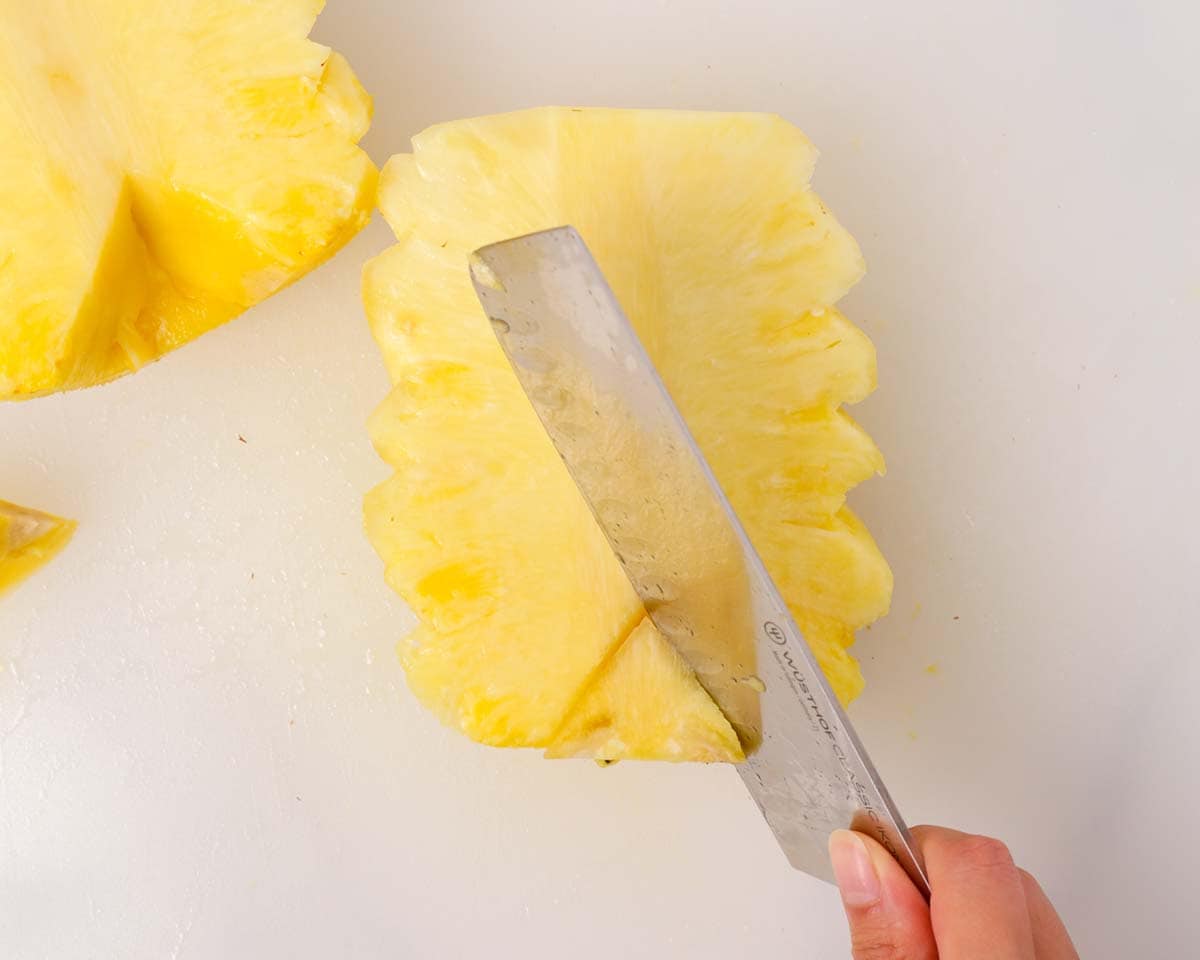
3. Thinly slice the pineapple then cut them into thin matchsticks. Go back and give the pineapple a few rough chops to cut them into smaller pieces.
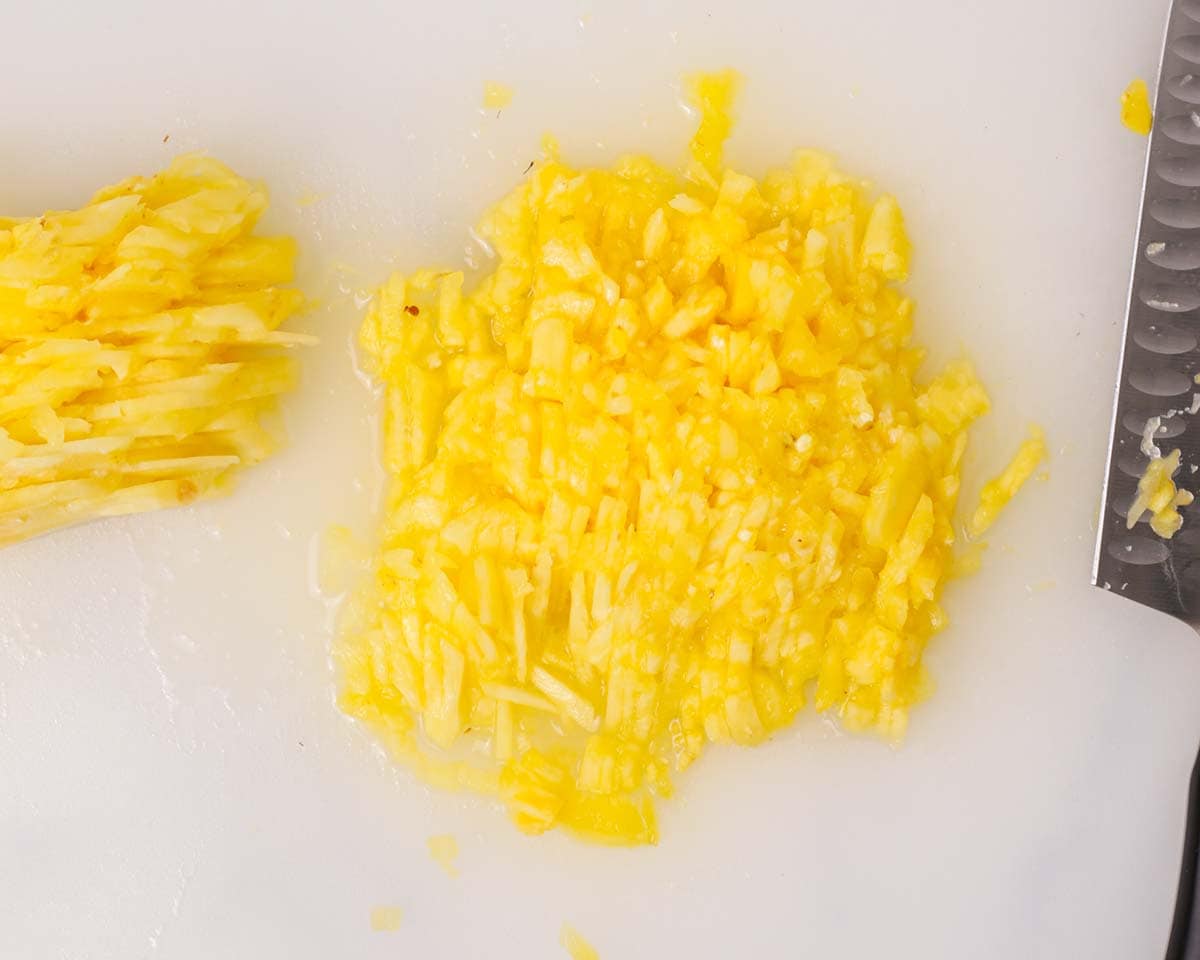
💡Tip: You can also chop the pineapple in a food process if you wish, although, we personally prefer the texture of the pineapple filling cut by hand. If you are using a food processor, cut the pineapple into quarters and cut out the core. Chop up the core before adding the rest of the pineapple.
4. Transfer all of the pineapple into a wide nonstick pan, along with all the juices. Sprinkle in some baking soda if your pineapple is not as ripe. Stir to activate the baking soda.
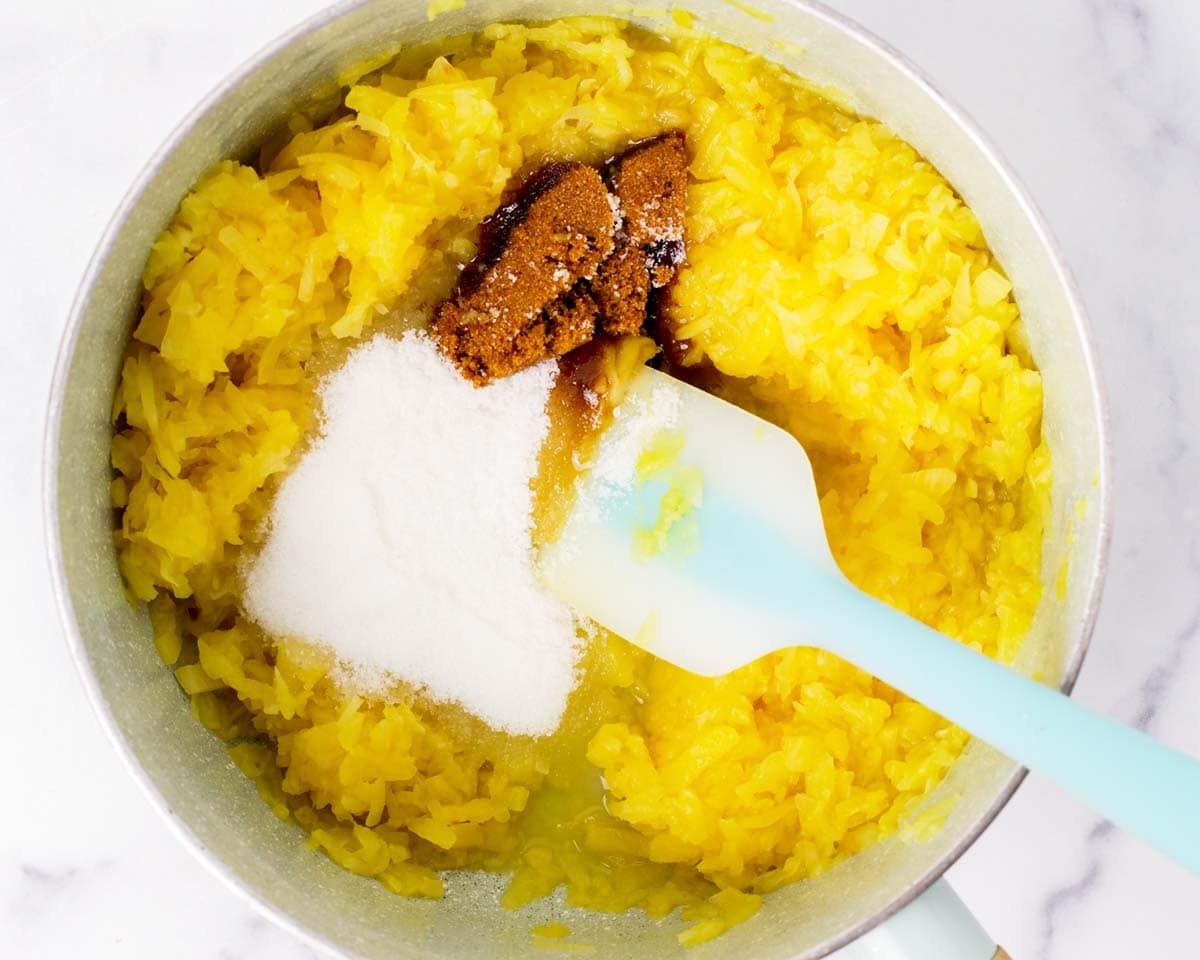
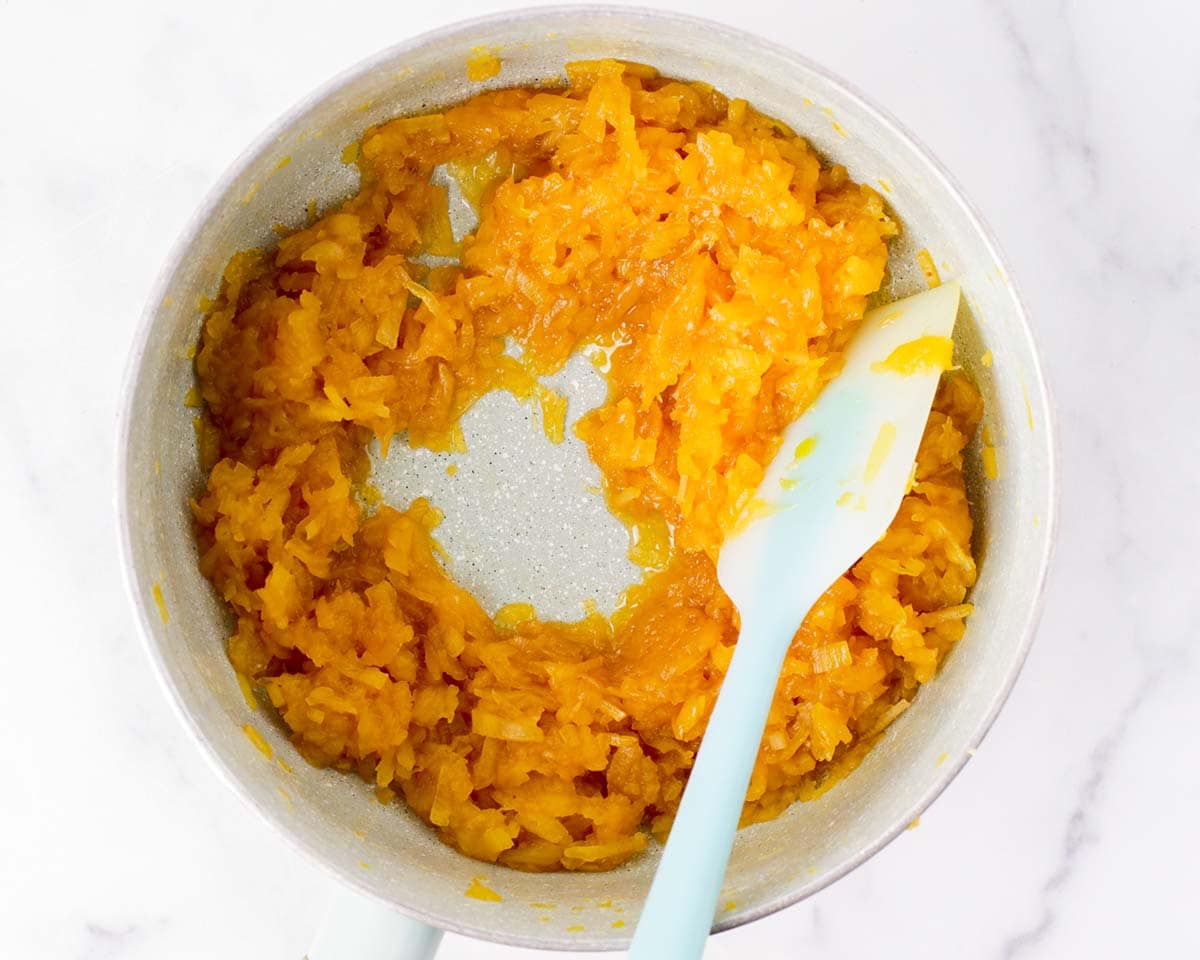
5. Cook the pineapple on medium high heat while stirring occasionally, until most of the pineapple juice has evaporated. Turn the heat to medium and add the sugar and brown sugar. Keep cooking while stirring constantly, until the pineapple juice is once again mostly evaporated. Reduce the heat to medium low and add the maltose syrup. Keep cooking and stir constantly until the pineapple filling is thick, kind of clumps together, and no more liquid remains.
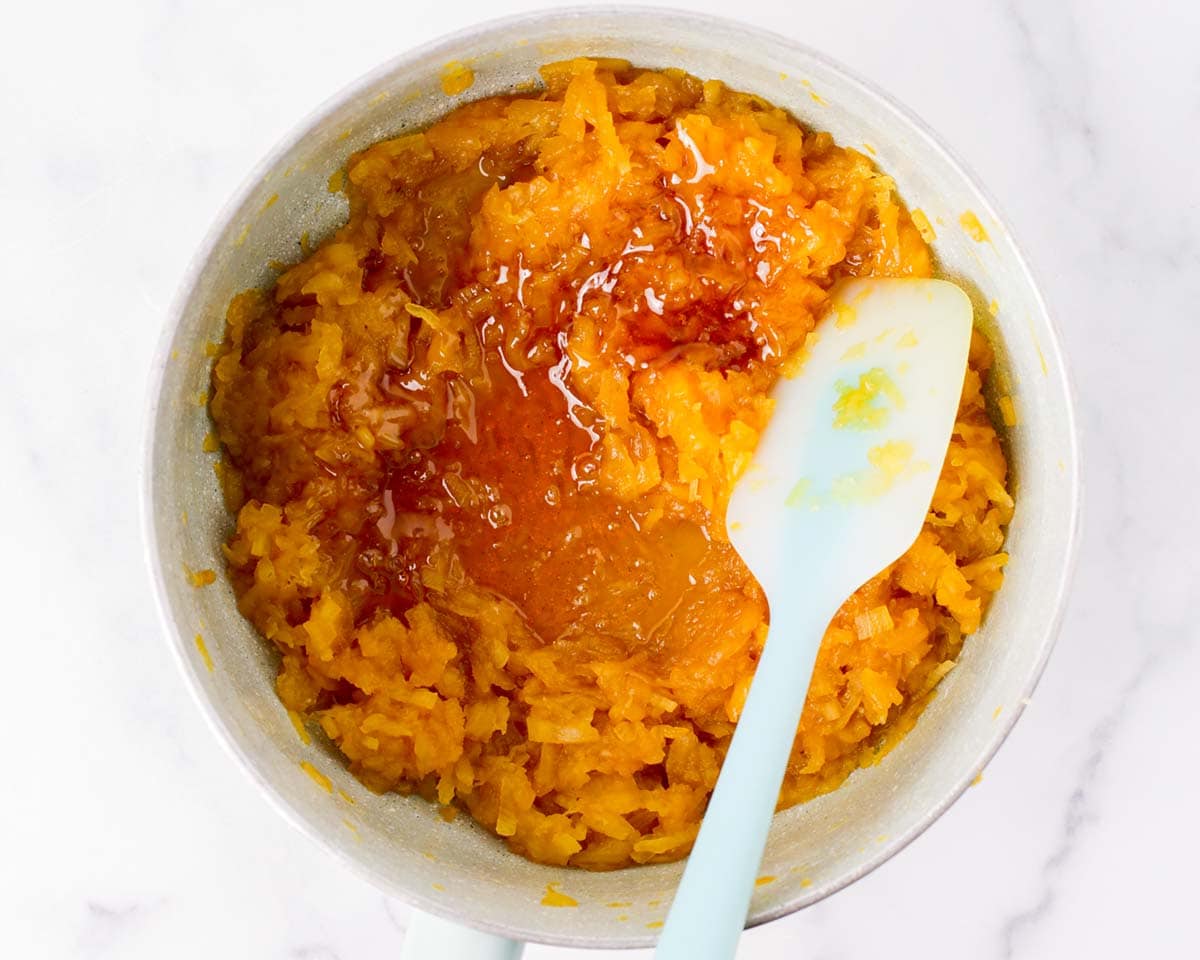
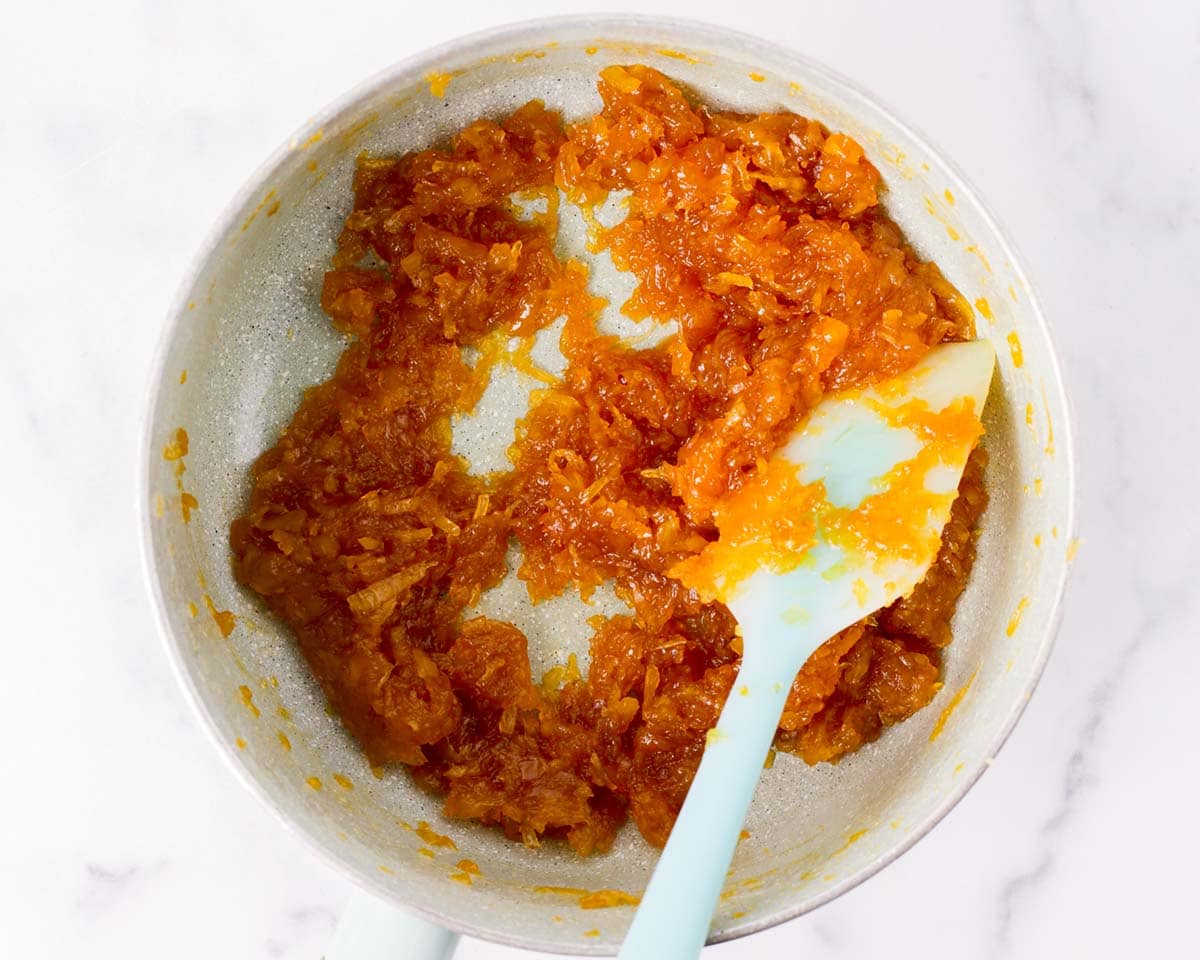
6. Transfer the pineapple filling to a plate and spread it out to cool at room temperature.
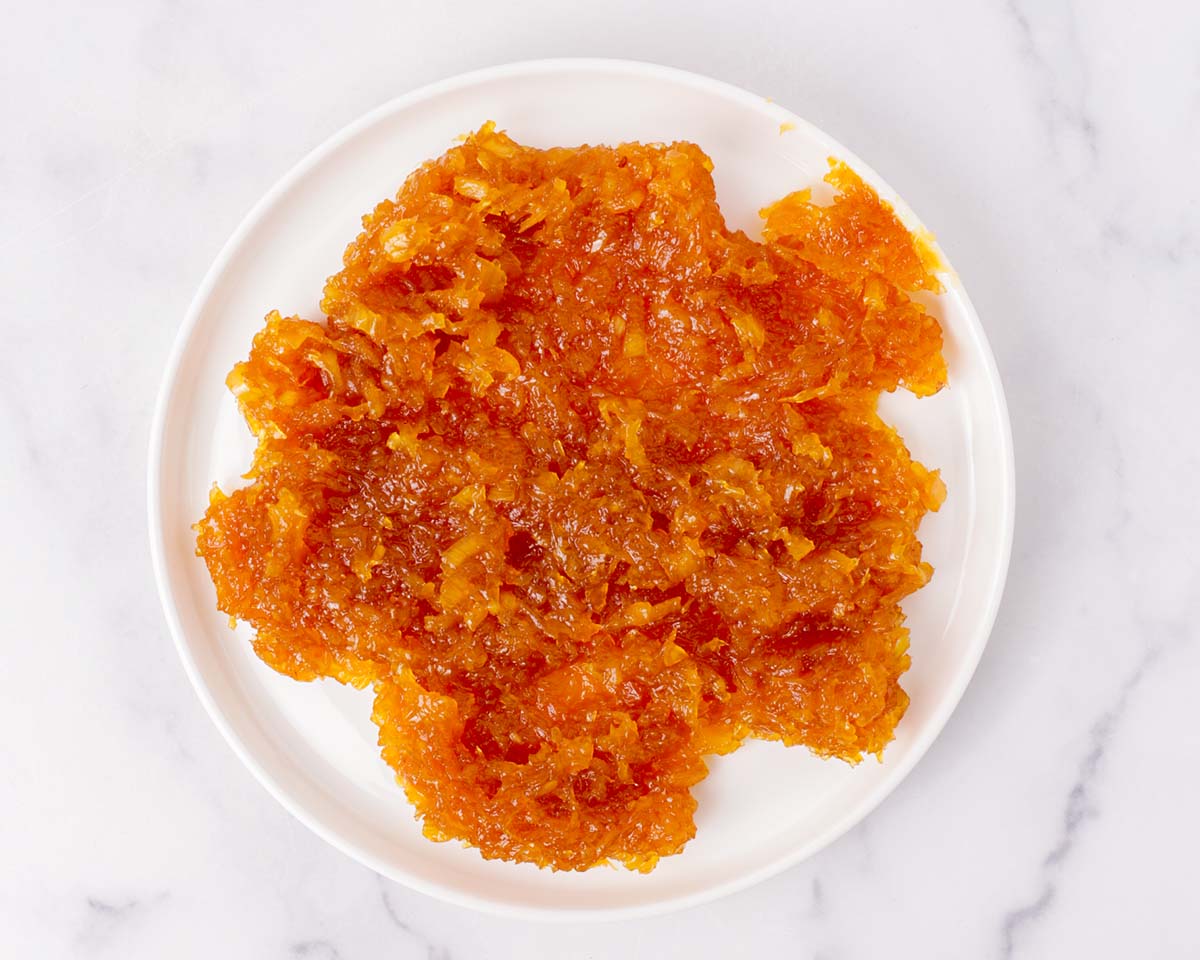
7. Once the pineapple filling is completely cool, divide the filling into 21 portions, each about 20 grams. Round each portion into a ball. You'll most likely have leftovers. Save it for tea, snacks, pineapple sodas, etc!
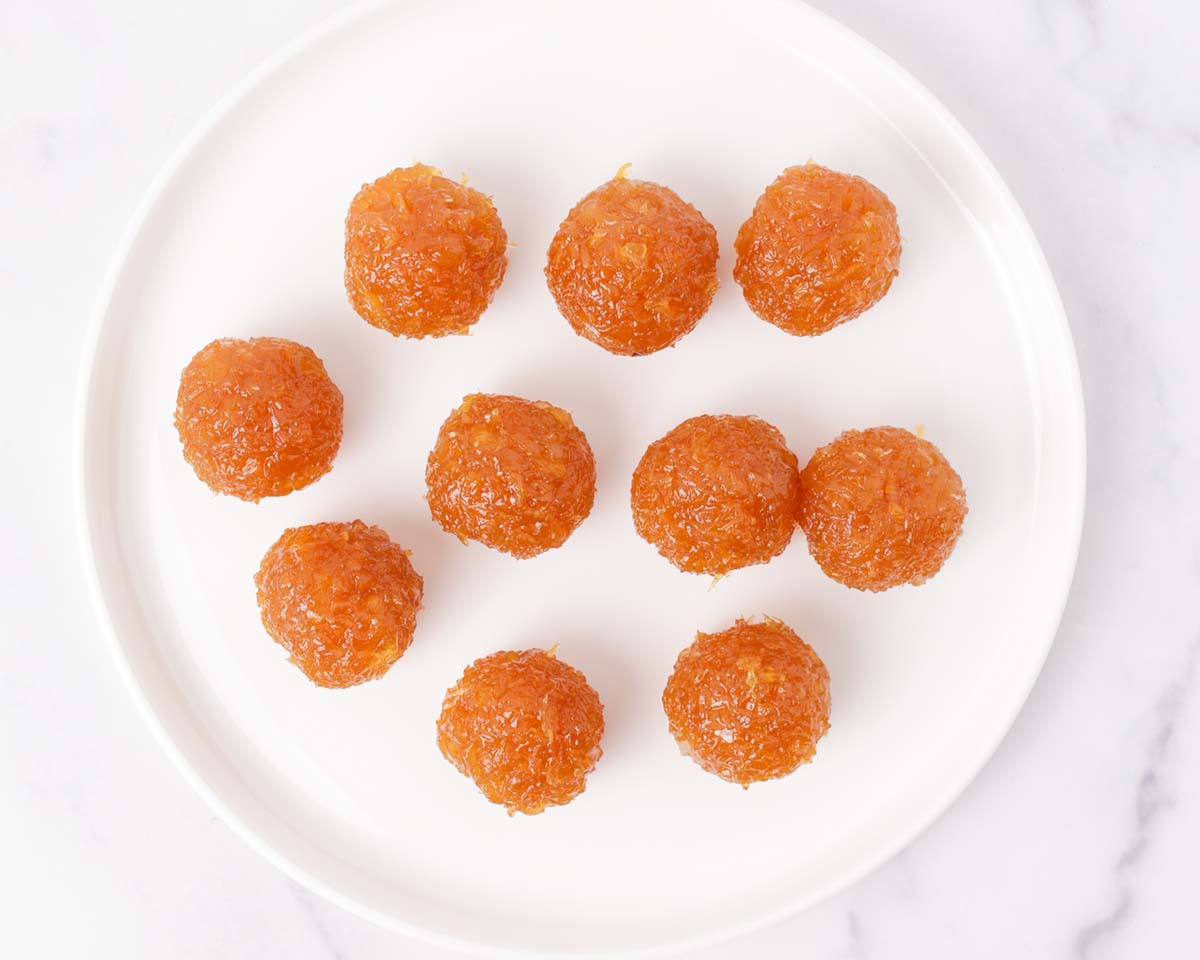
For the shortbread dough:
1. In a large mixing bowl, add the softened butter and mix on medium high speed with a hand mixer until the butter is light and fluffy. Then, add the powdered sugar and mix on on low speed until incorporated. Increase the speed to medium high and cream the butter until pale and fluffy. Scrape down the bowl as needed.
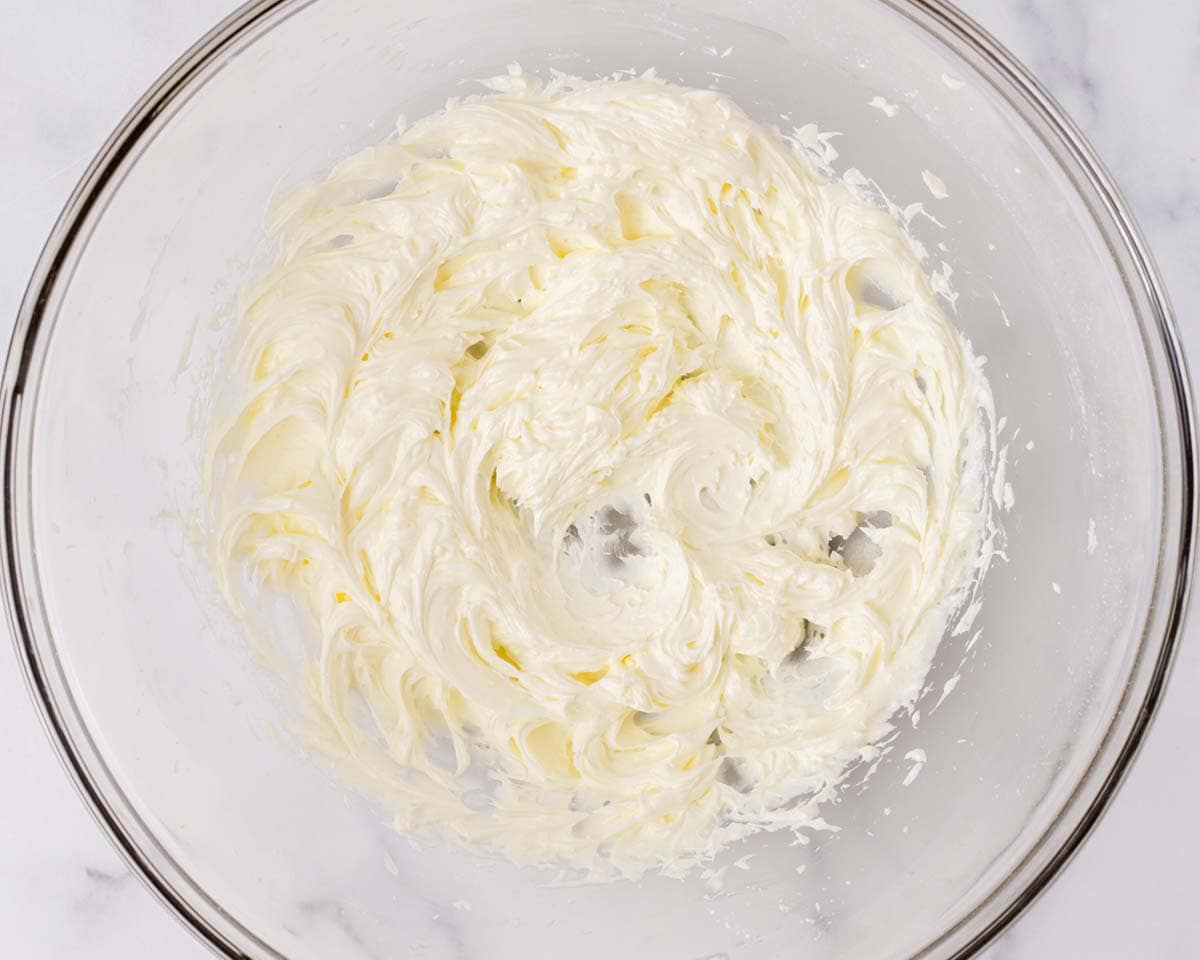
💡Stand mixer: You can also complete this step in a stand mixer with paddle attachment.
2. Add the egg yolk and mix until well incorporated.
3. Using a sieve, sift in the cake flour, almond flour, milk powder, and baking powder. Mix on low speed just until the dough starts to clump up. Knead the dough a couple of times until the dough comes together.
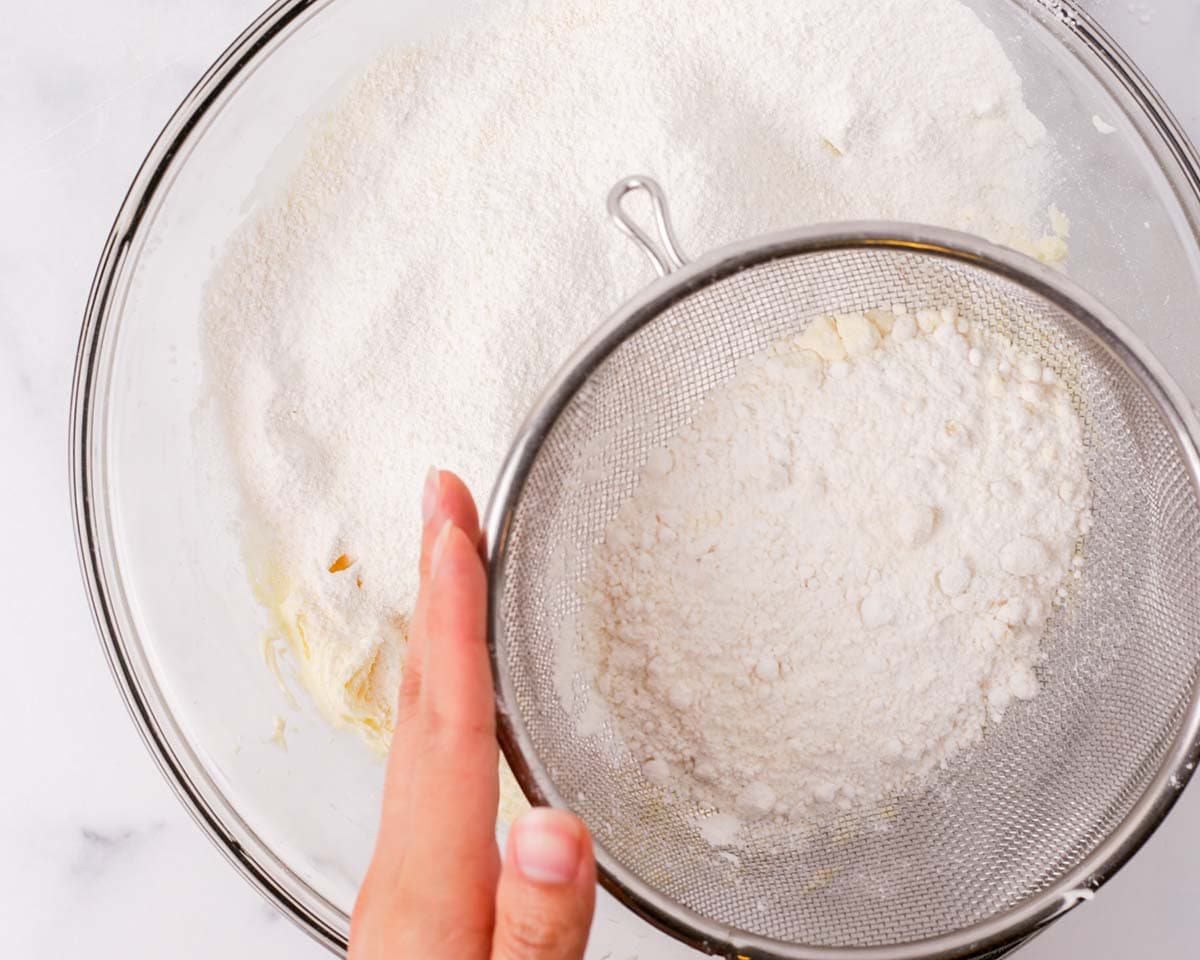
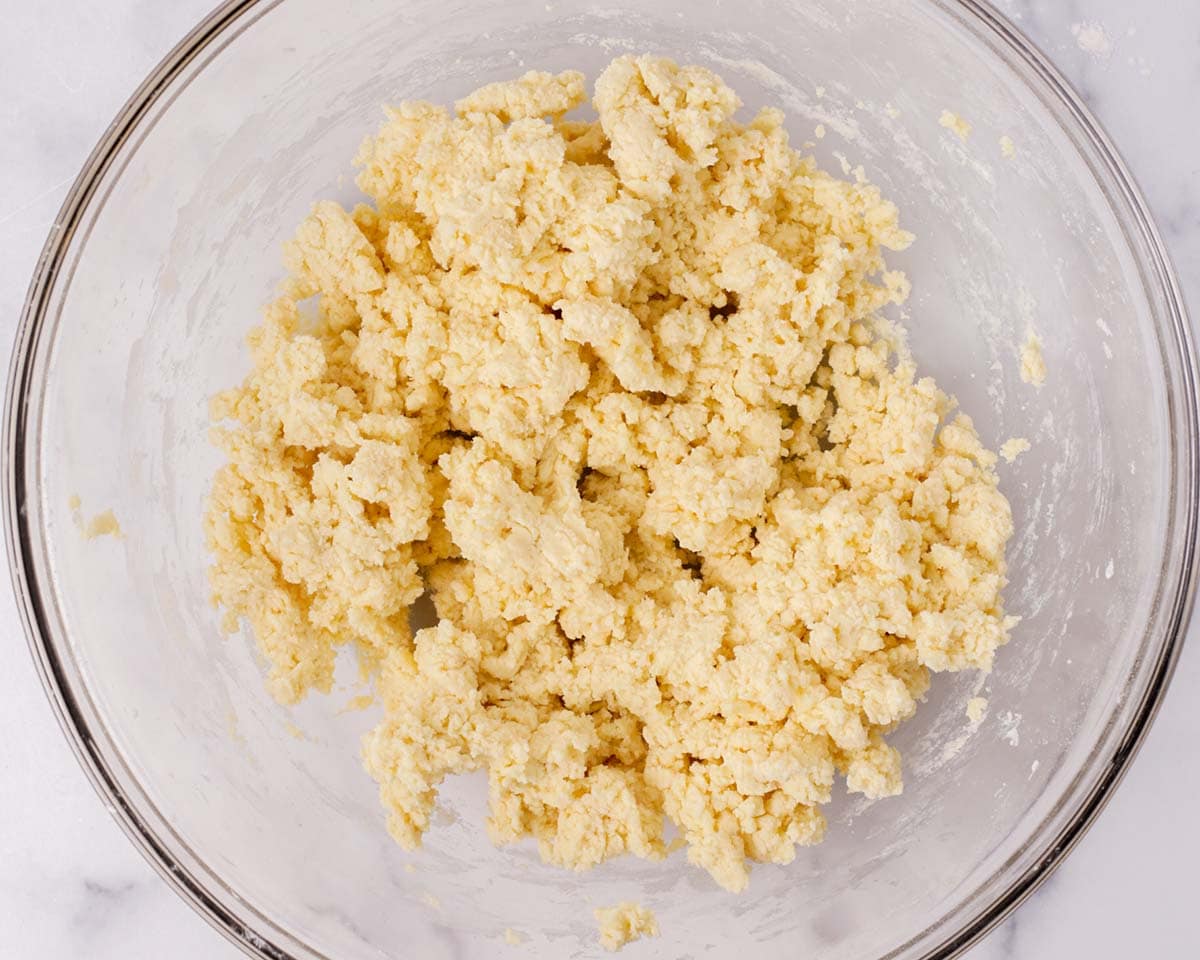
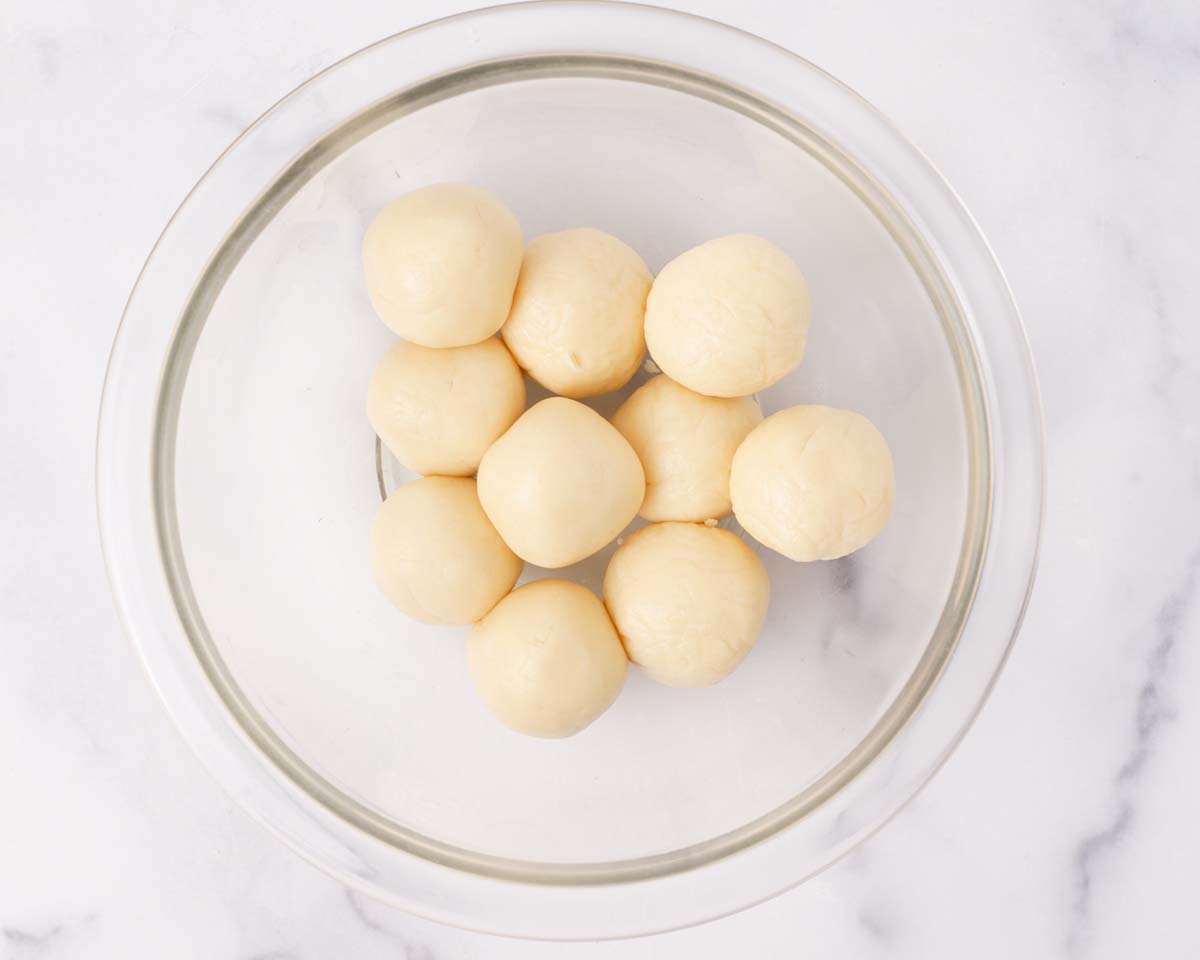
4. Divide the dough into 21 portions, about 20 grams each. Roll each portion into balls and keep it covered.
How to assemble and shape:
1. Prepare a sheet pan lined with parchment paper and have the rectangular pineapple tart molds ready.
2. Place a ball of dough in your hand and make a hole with your thumb. Using your thumb and forefinger, pinch the dough while rotating until the dough is thin and even in thickness all around.
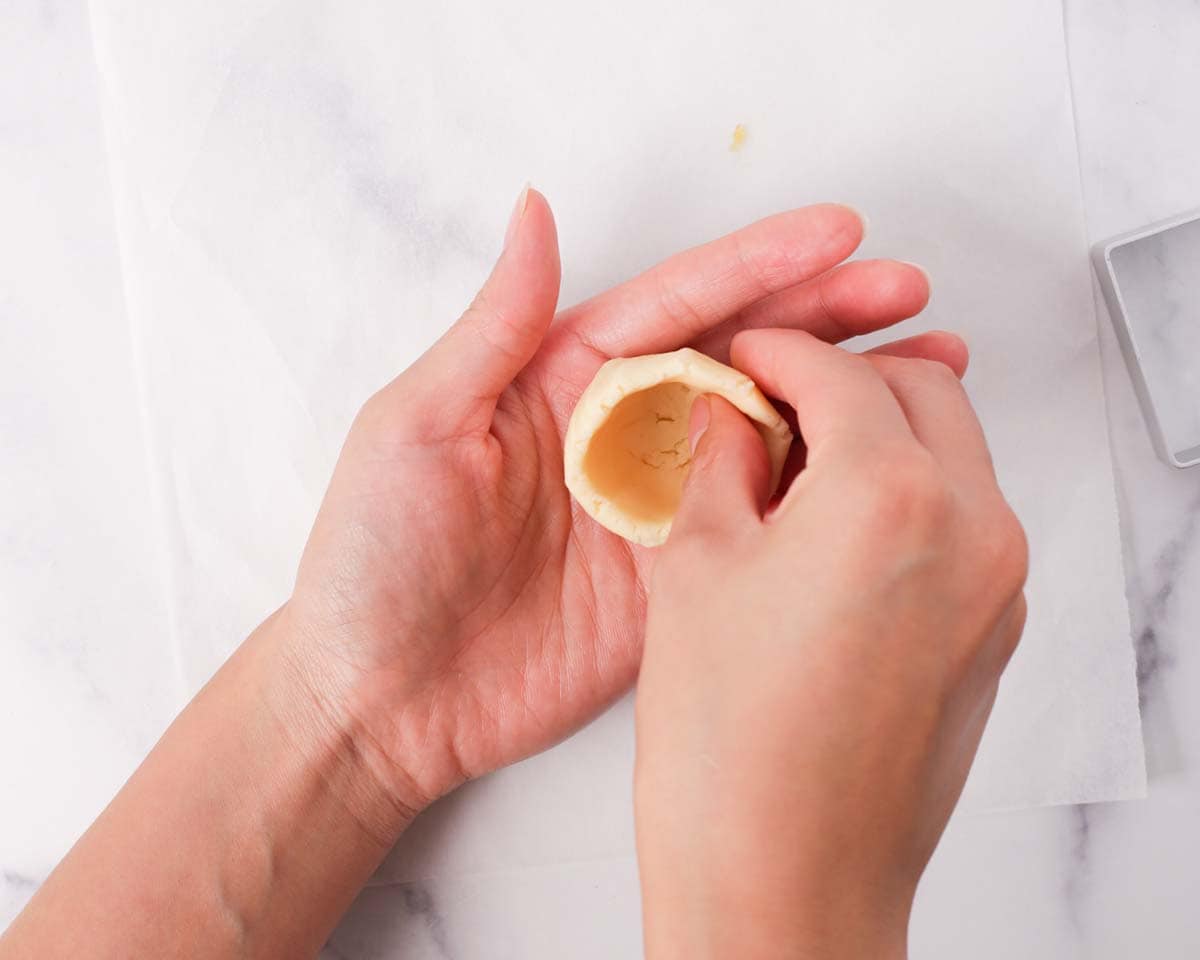
3. Place a ball of pineapple filling in the dough and slowly wrap the dough around the filling by rotating and and pinching around the opening. Seal the pastry by pressing together the edges.
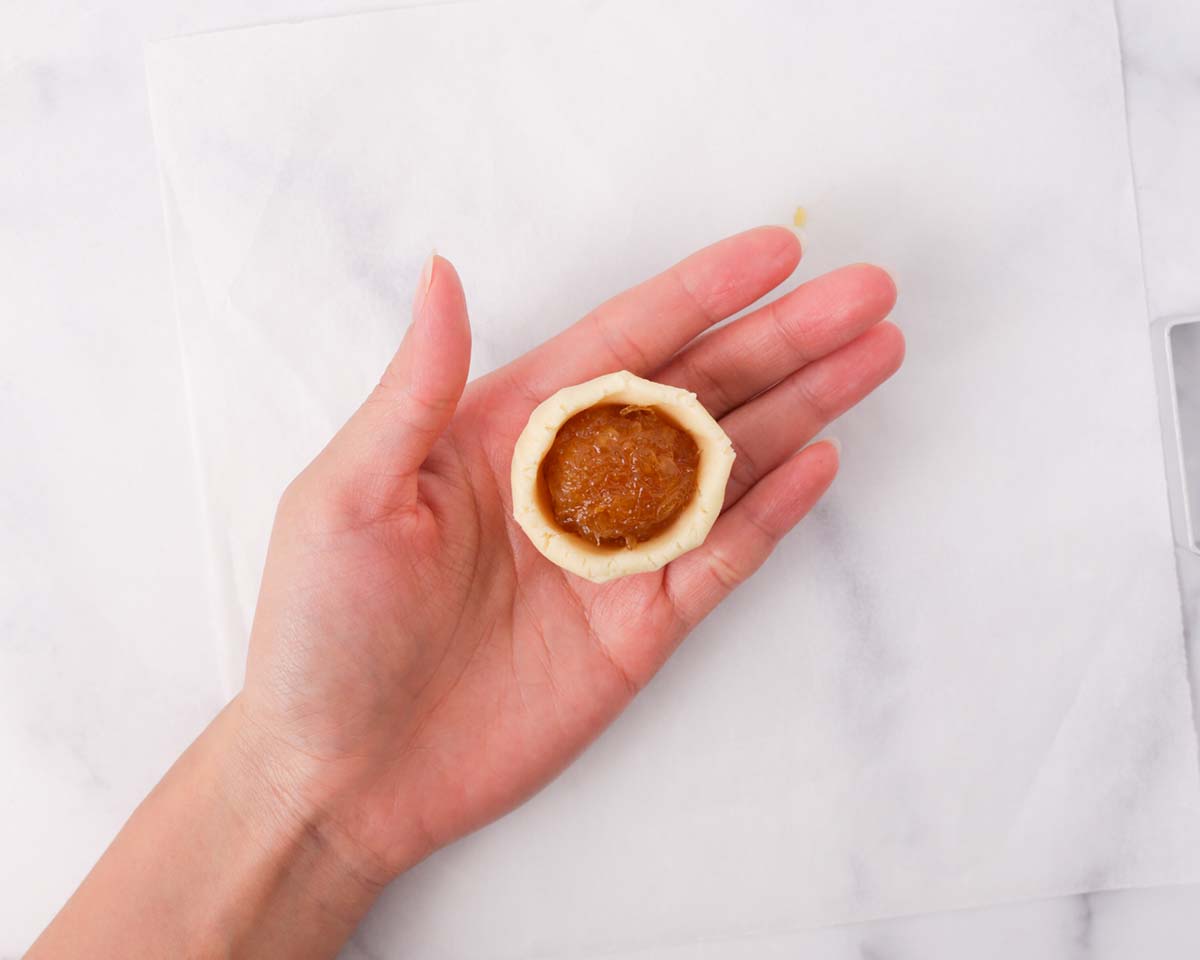
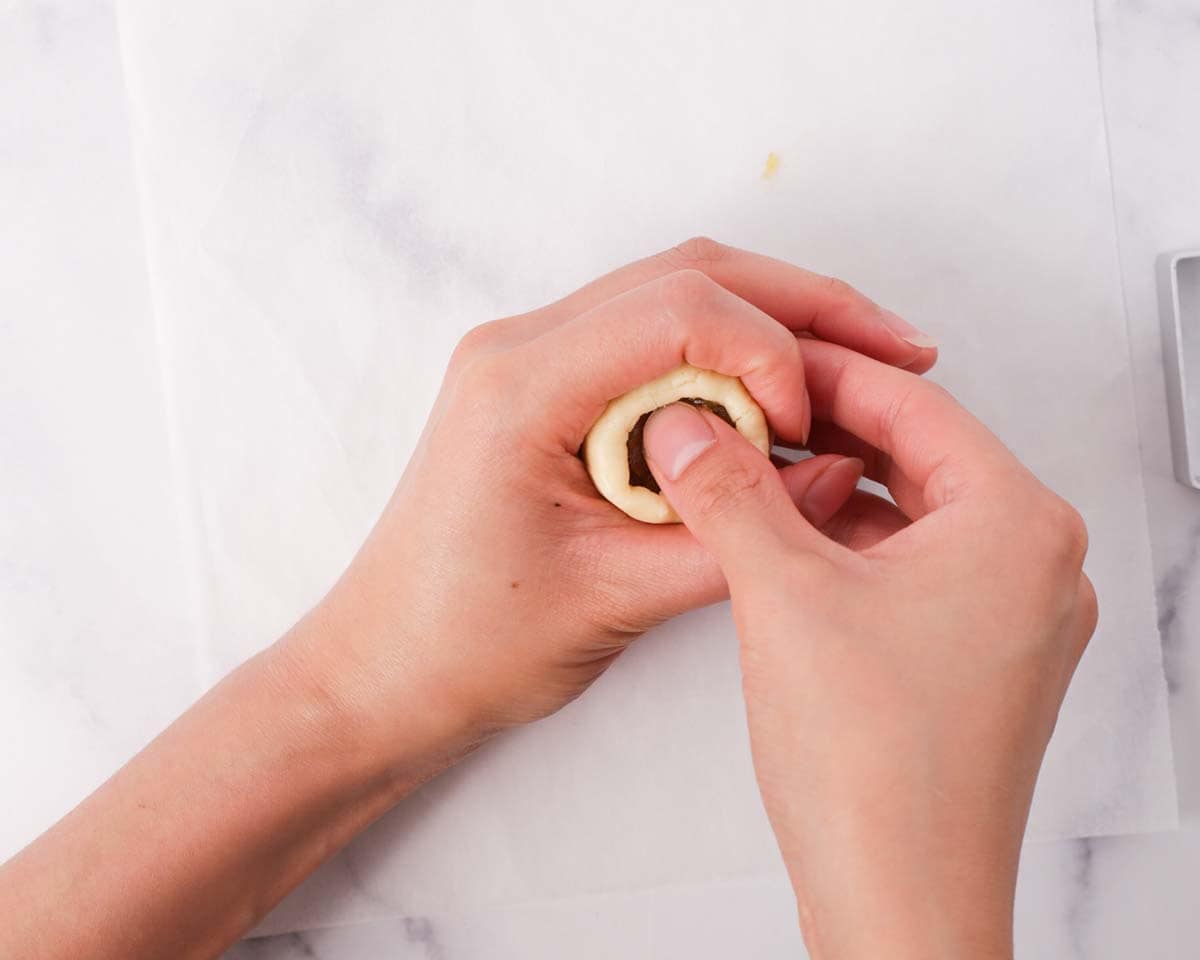
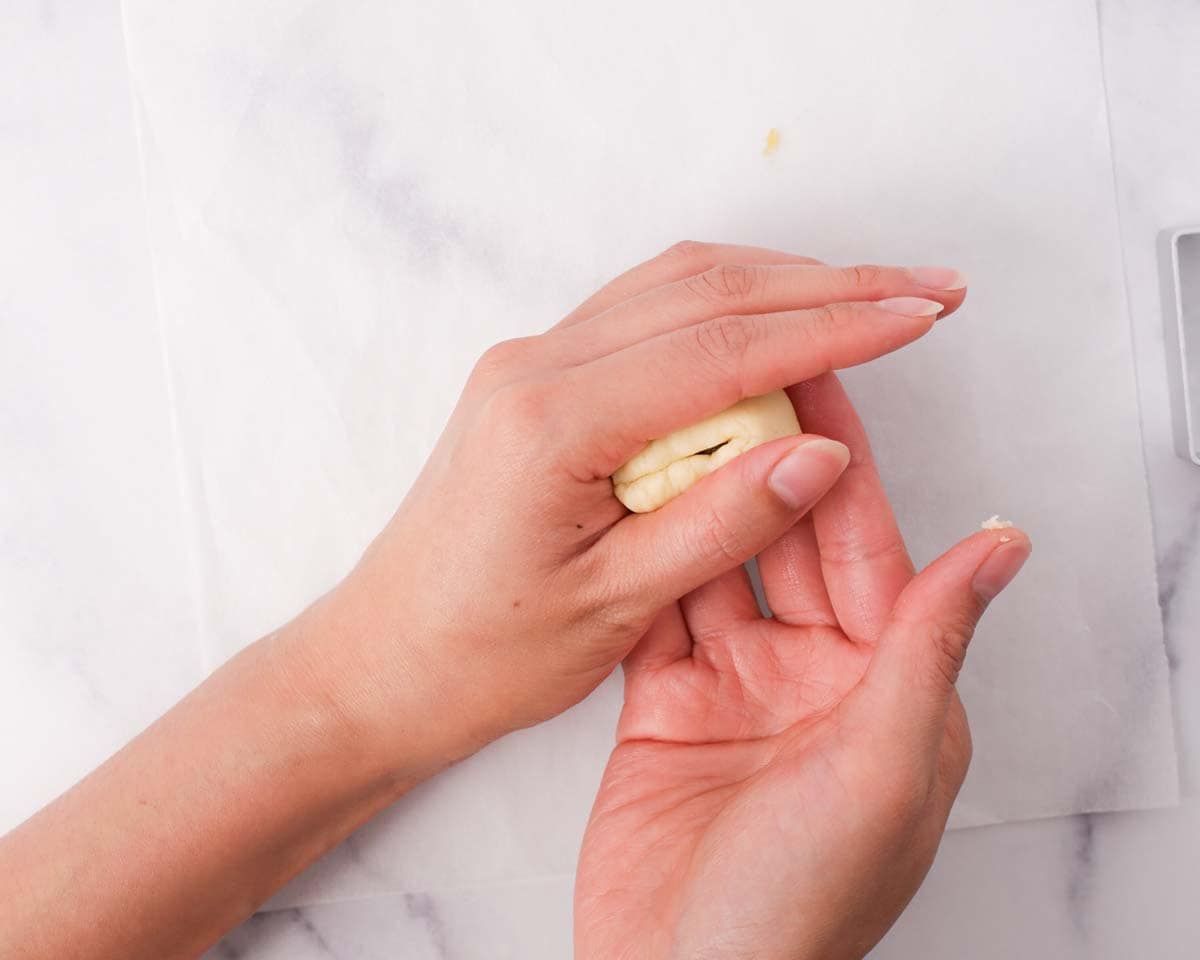
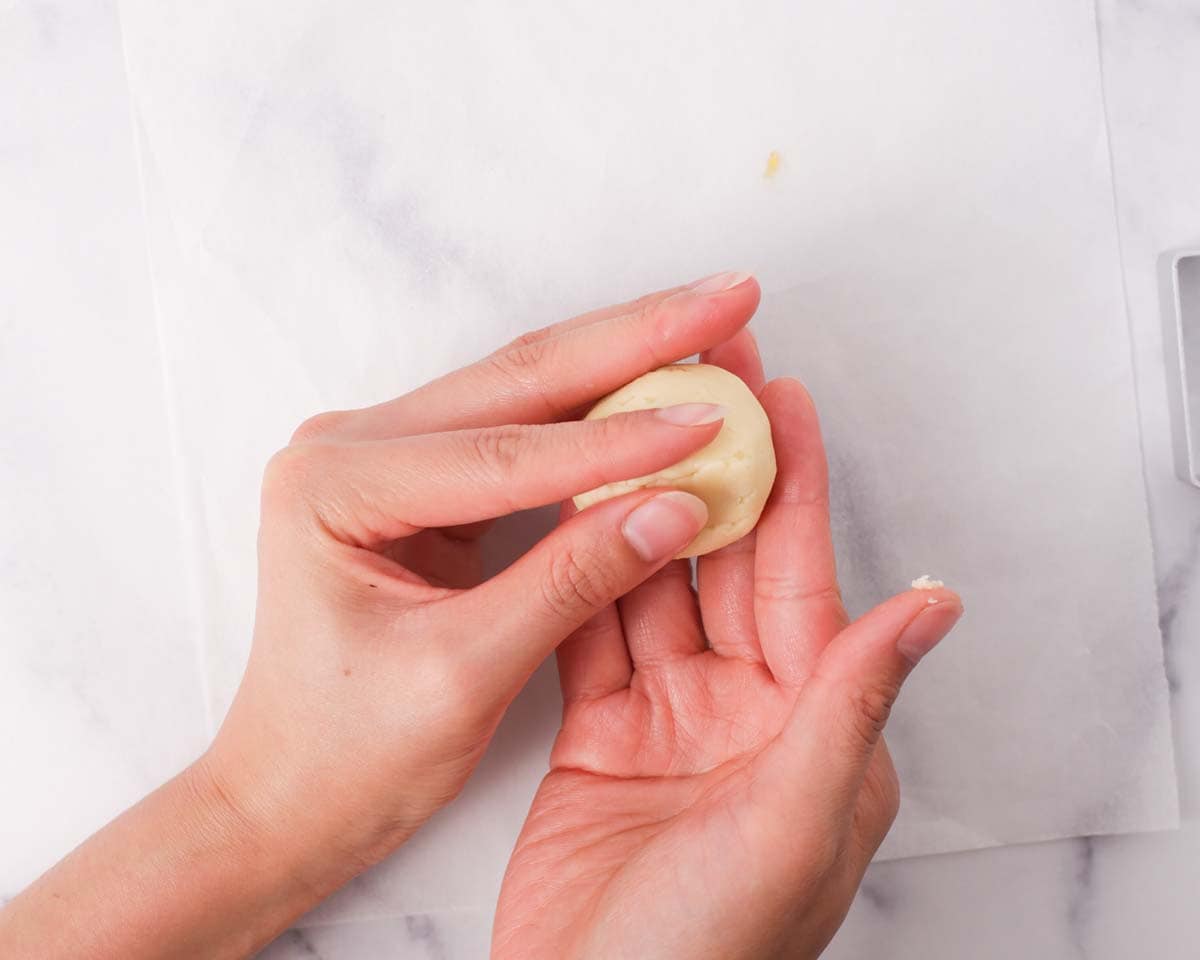
4. Round out the pastry to smooth it out and gently shape it into a cylinder around the same size as the mold.
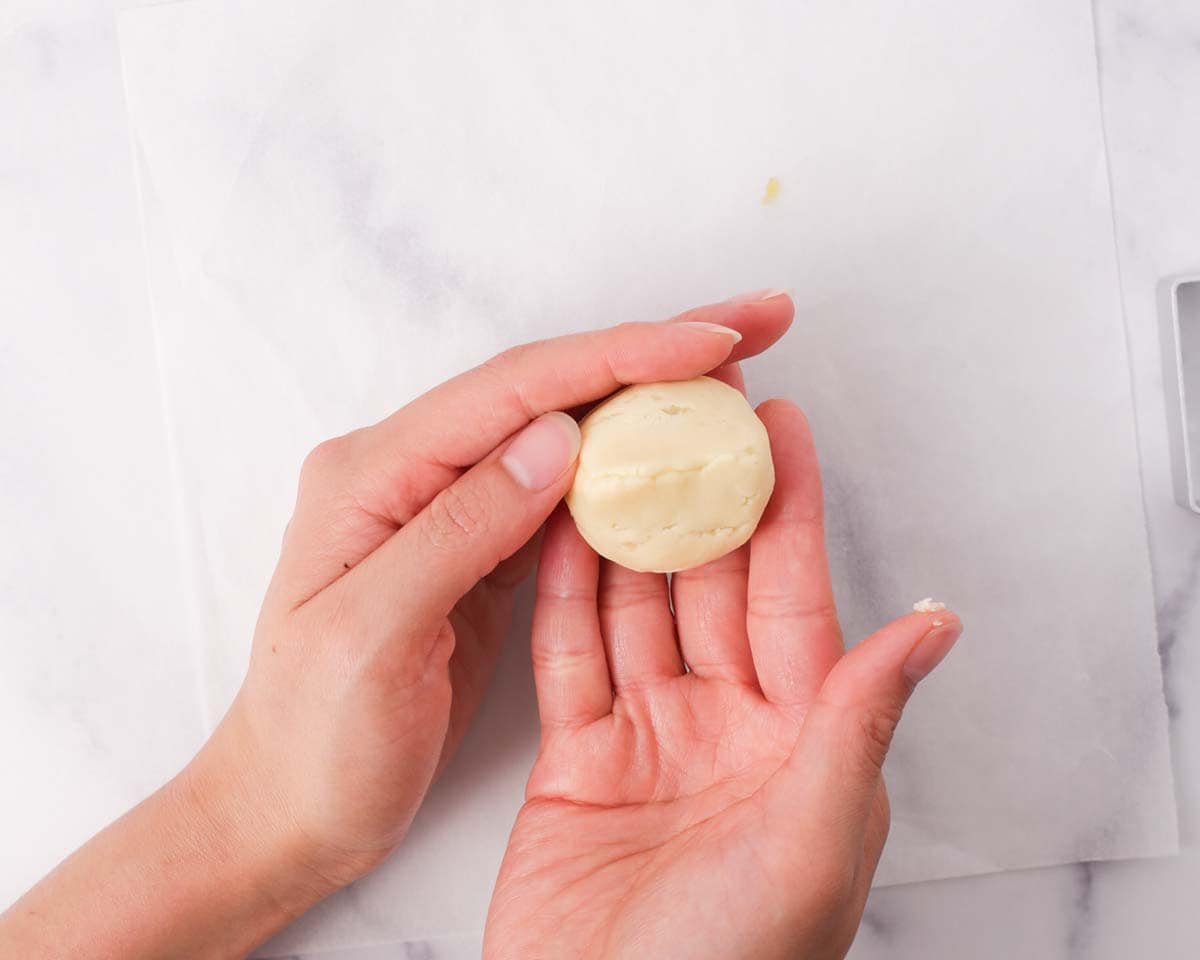
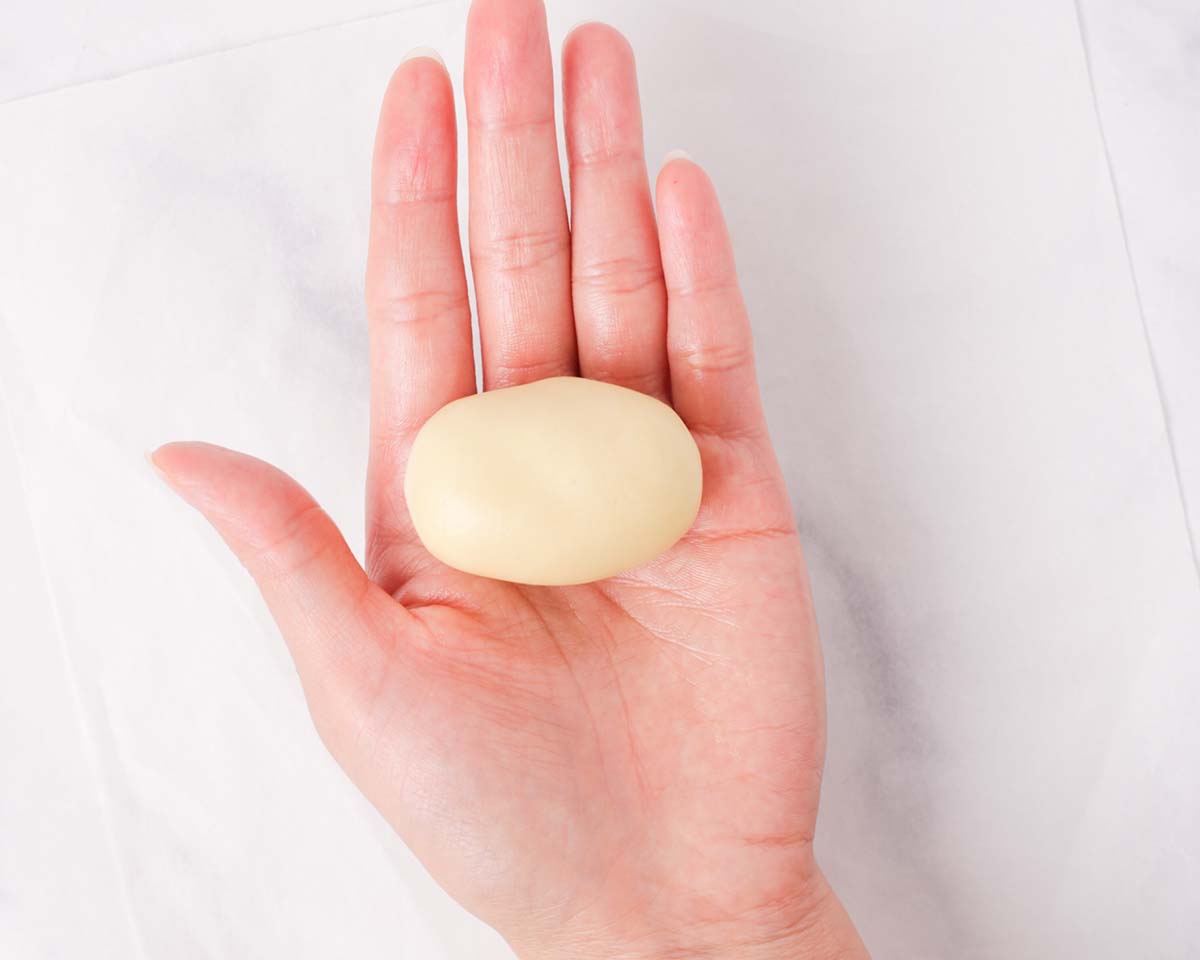
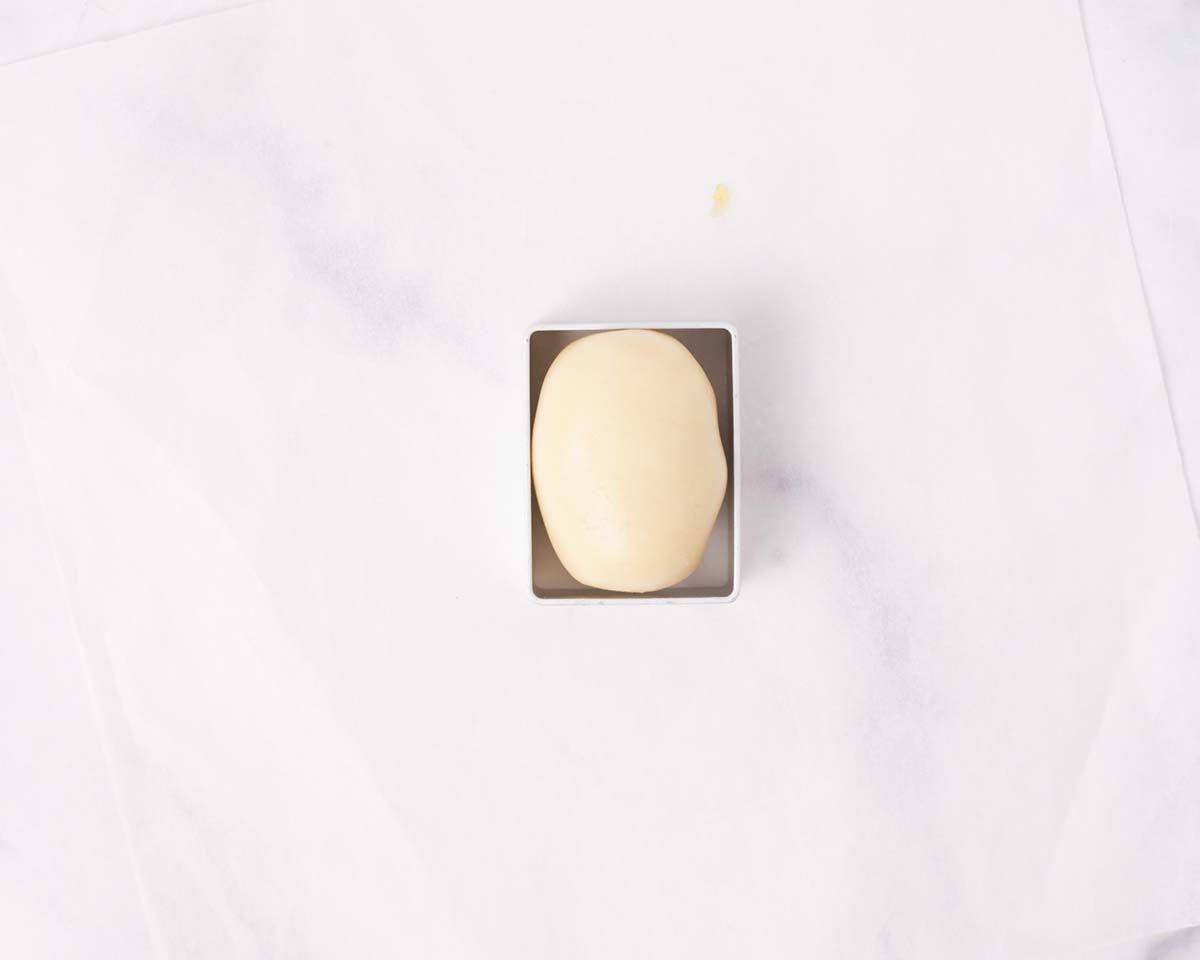
5. On a flat, clean work surface, place the pineapple pastry inside the rectangle mold. Using your palm, gently press the pastry to fill the mold. Give the pastry a couple of extra presses so that the corners are also filled. Optionally, you can also use the press tool that comes with the mold to help you level out the pastry.
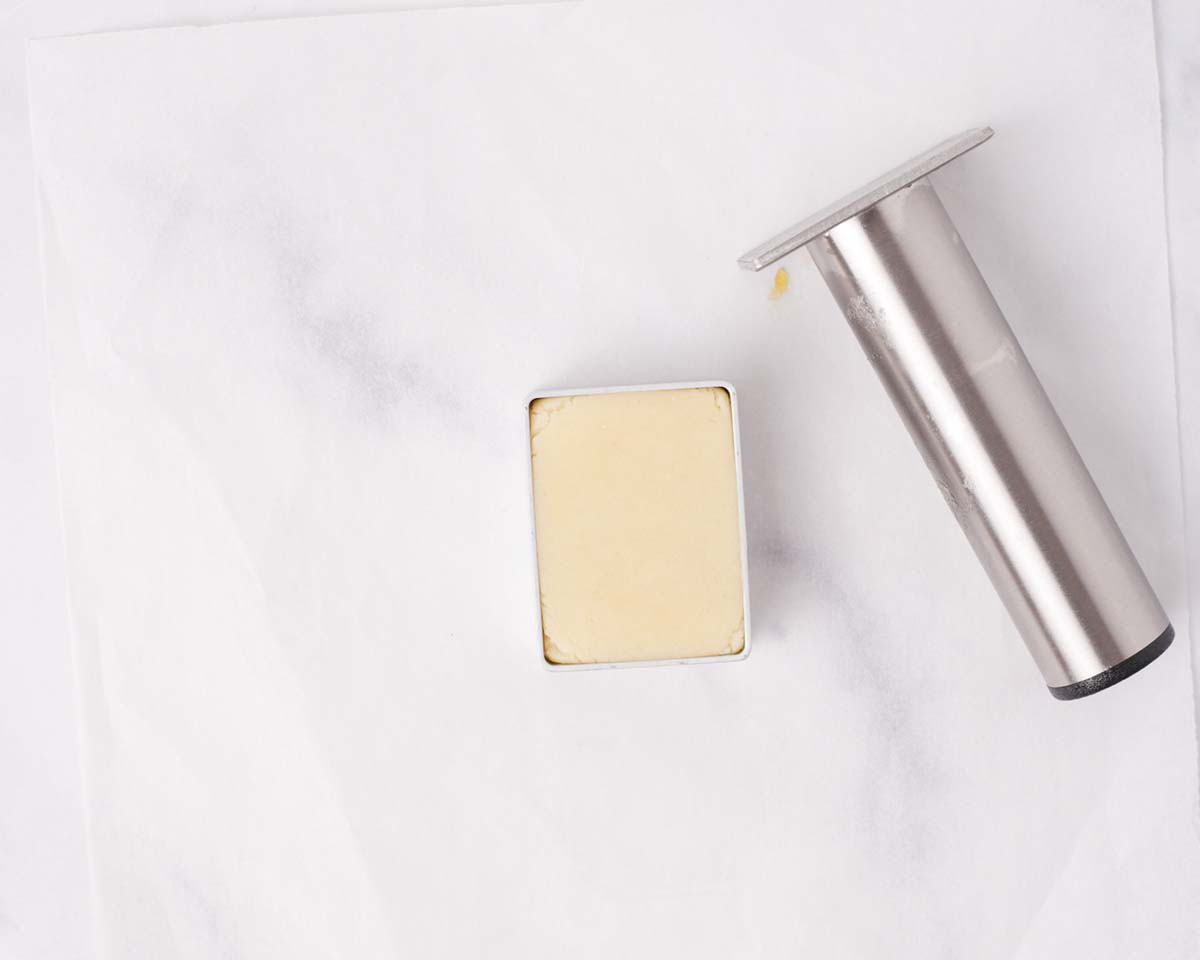
5. Arrange the finished pineapple tart on the prepared sheet pan and repeat with remaining dough and filling.
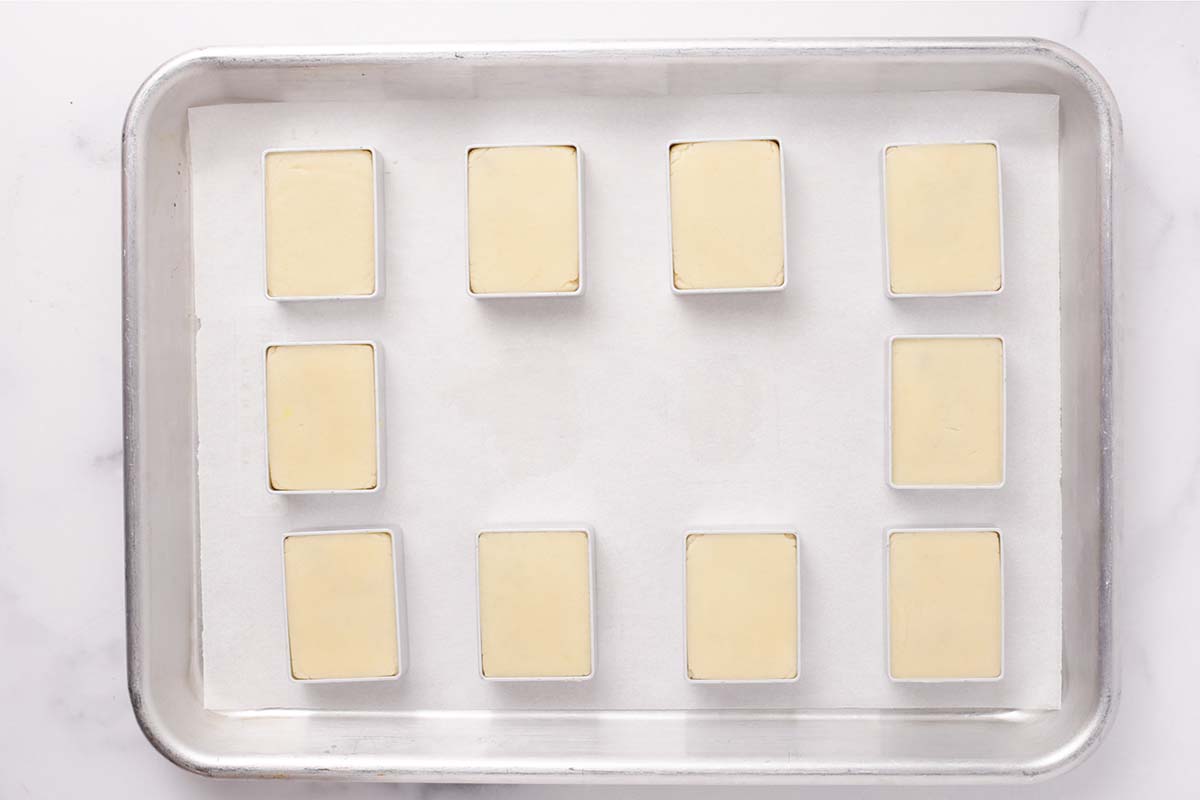
Baking the pineapple tart:
1. Preheat the oven to 375°F. You can
2. Once you're finished with all of the pineapple tarts, bake them for about 14 to 15 minutes, or until the top edges of the tart starts to turn golden.
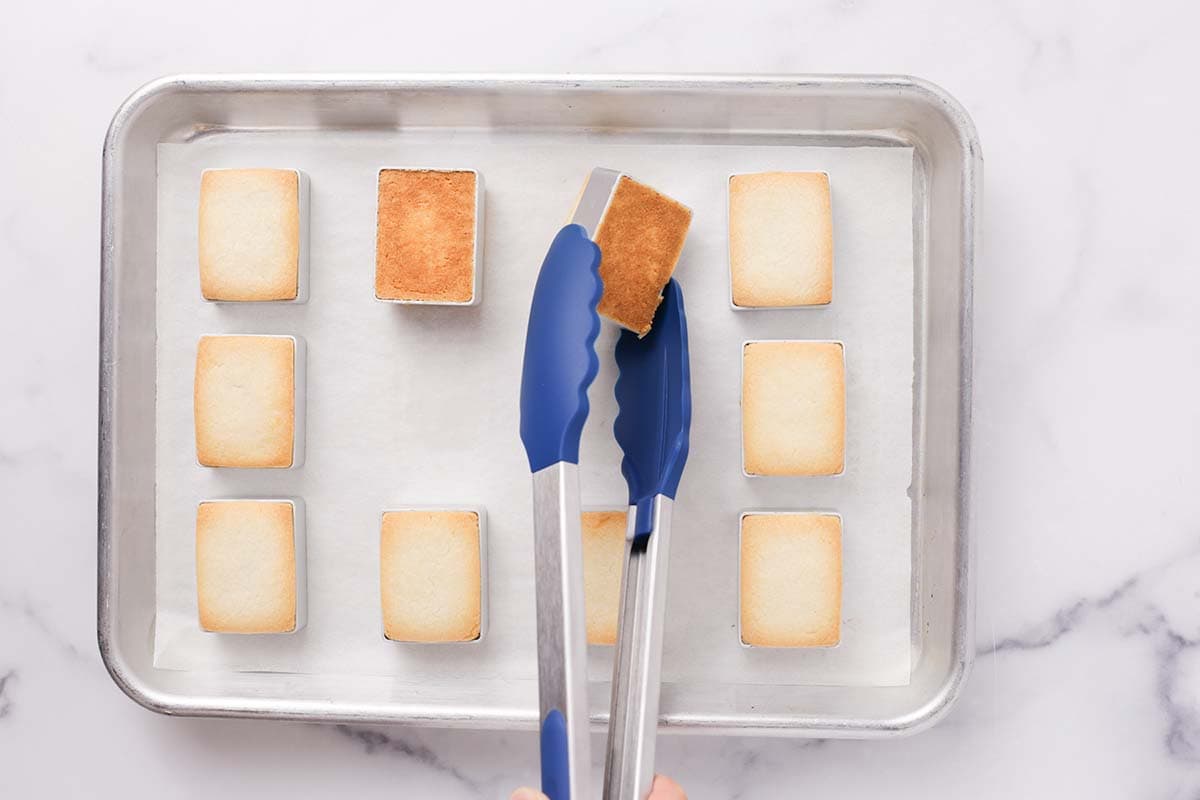
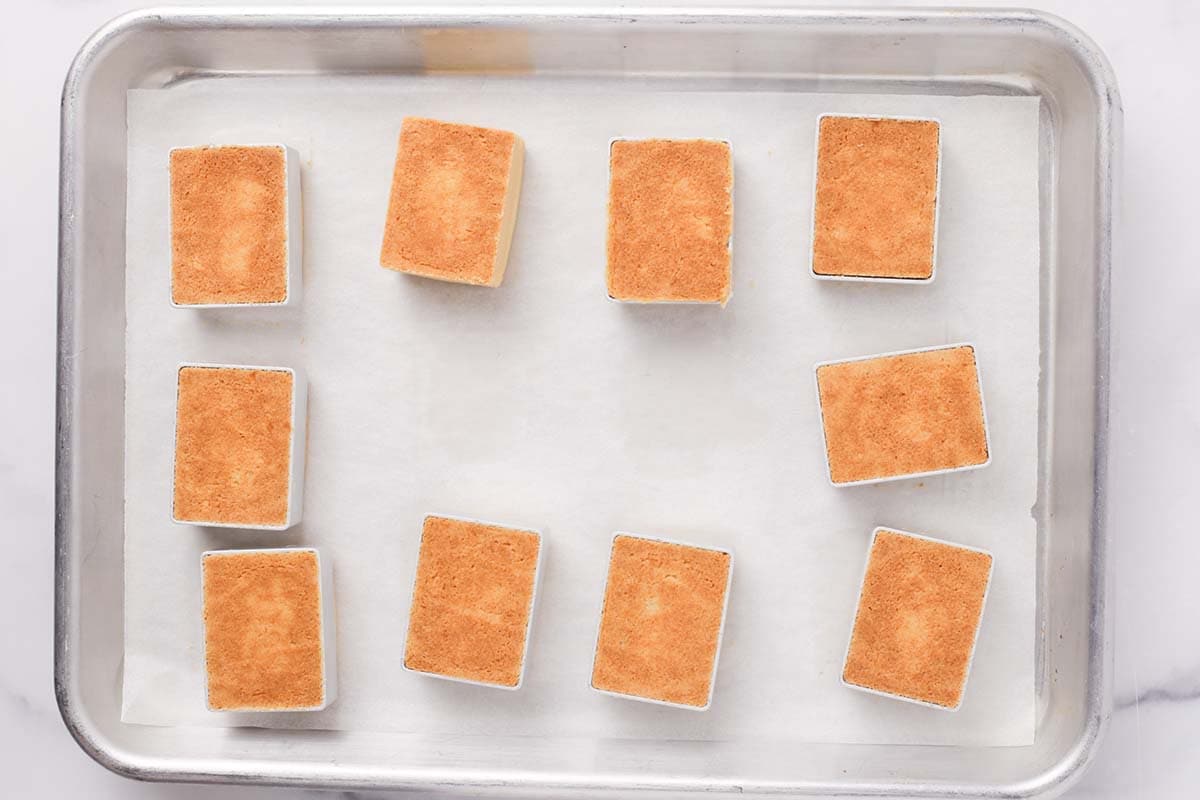
💡 Tip: If you want both sides of your pineapple tarts to be more even and golden brown in color, you can flip the tarts around the last 4 minutes of baking and bake for an extra 2 to 3 minutes.
3. Remove the tarts from the oven and let cool for a few moments before remove the molds.
4. Let the tarts cool completely or until lukewarm and enjoy! They are great on their own or with some hot tea.
Alternative to using molds
If you don't have these handy Chinese pineapple tart molds, you can also make these tarts without any molds!
You can use a similar size round, square, or rectangle cookie cutter and press the pastry into the cutter as you would the tart molds. Then, carefully push the pastry out and arrange it on the sheet pan.
If you don't have cookie cutters around, you can similar assemble the pineapple tart, round it out, and gently press down to kind of flatten it. And there you have a round pineapple tart.
Recipe tips
- Don't use any liquids! In order for as little gluten to develop as possible so that our pastry stays tender, all liquid must be avoided. If the dough feels dry and crumbly, you can use a bit more egg yolks or softened butter.
- Make sure the oven temperature is preheated and at the correct temperature before baking the pineapple pastries.
- Keep your dough covered whenever they are not being used.
- If you prefer your pineapple tarts to have a lighter color bottom, you can double stack the sheet pan to give the tarts some buffer/gentle heat. This is especially helpful if your oven have a bottom heating element.
Storage
Although you can enjoy these Chinese pineapple tarts the same day, after they have cooled, they actually taste even better the next day!
Once the pineapple tarts have cooled to only warm to the touch, store the tarts in an airtight container with paper towels layered between each layer. This will prevent any excess moistures from making the shortbread crust soggy, while ensuring that they become tender and taste moist.
These pineapple tarts will stay good for up to 1 week. Keep them stored in the airtight containers, with the paper towels, at room temperature.
FAQ
You could technically replace maltose with honey or do without, however, it will not work as well and the texture and flavor of the pineapple filling will not be the same.
Yes! You can make These Chinese pineapple tarts without a mold. Read more about it under our "Alternative to using molds" topic.
Yes, you can make the dough without almond flour, however, the texture and flavor will not be as good. Just substitute the almond flour for cake flour by weight.
If you’ve made this recipe or any recipes from our blog, please tag us on Instagram using #twoplaidaprons! You can also tag us in your Instagram stories using @two_plaid_aprons. We would love to see your creations! It absolutely makes our day! 🥰
📖 Recipe
Chinese Pineapple Tart Recipe
Ingredients
For the pineapple filling:
- 3 pounds pineapple peeled (usually 1 large head)
- ¾ cup granulated sugar
- 2 tablespoons dark brown sugar
- ¼ cup maltose syrup
- ⅛ teaspoon baking soda (optional)
For the shortbread dough:
- 9 tablespoons unsalted butter softened
- ⅓ cup powdered sugar packed
- 1 large egg yolk
- 1¾ cup cake flour
- ¼ cup almond flour packed
- 3 tablespoons dry milk powder
- 1 teaspoon baking powder
Instructions
For the pineapple filling:
- Cut the peeled pineapple in half lengthwise and cut out the woody, tough parts of the pineapple core at the top and bottom.
- Thinly slice the pineapple then cut them into thin matchsticks. Go back and give the pineapple a few rough chops to cut them into smaller pieces.
- Transfer all of the pineapple into a wide nonstick pan, along with all the juices. Sprinkle in some baking soda if your pineapple is not as ripe. Stir to activate the baking soda.
- Cook the pineapple on medium high heat while stirring occasionally, until most of the pineapple juice has evaporated. Turn the heat to medium and add the sugar and brown sugar. Keep cooking while stirring constantly, until the pineapple juice is once again mostly evaporated. Reduce the heat to medium low and add the maltose syrup. Keep cooking and stir constantly until the pineapple filling is thick, kind of clumps together, and no more liquid remains.
- Transfer the pineapple filling to a plate and spread it out to cool at room temperature.
- Once the pineapple filling is completely cool, divide the filling into 21 portions, each about 20 grams. Round each portion into a ball. You'll most likely have leftovers. Save it for tea, snacks, etc!
For the dough:
- In a large mixing bowl, add the softened butter and mix on medium high speed with a hand mixer until the butter is light and fluffy. Then, add the powdered sugar and mix on on low speed until incorporated. Increase the speed to medium high and cream the butter until pale and fluffy. Scrape down the bowl as needed.*You can also complete this step in a stand mixer with paddle attachment.*
- Add the egg yolk and mix until well incorporated.
- Using a sieve, sift in the cake flour, almond flour, milk powder, and baking powder. Mix on low speed just until the dough starts to clump up. Knead the dough a couple of times until the dough comes together.
- Divide the dough into 21 portions, about 20 grams each. Roll each portion into balls and keep it covered.
Shaping and assembling:
- Prepare a sheet pan lined with parchment paper and have the rectangular pineapple tart molds ready.
- Place a ball of dough in your hand and make a hole with your thumb. Using your thumb and forefinger, pinch the dough while rotating until the dough is thin and even in thickness all around.
- Place a ball pineapple filling in the dough and slowly wrap the dough around the filling by rotating and and pinching around the opening. Seal the pastry by pressing together the edges. Round out the pastry to smooth it out and gently shape it into a cylinder around the same size as the mold.
- On a flat, clean work surface, place the pineapple pastry inside the rectangle mold. Using your palm, gently press the pastry to fill the mold. Give the pastry a couple of extra presses so that the corners are also filled. Optionally, you can also use the press tool that comes with the mold to help you level out the pastry.
- Arrange the finished pineapple tart on the prepared sheet pan and repeat with remaining dough and filling.
Baking:
- Preheat the oven to 375°F.
- Once you're finished with all of the pineapple tarts, bake them for about 14 to 15 minutes, or until the top edges of the tart starts to turn golden.
- Remove the tarts from the oven and let cool for a few moments before remove the molds.
- Let the tarts cool completely or until lukewarm and enjoy! They are great on their own or with some hot tea.
Notes
- Sweet pineapple - If your pineapple is ripe and sweet, you can omit the baking soda and use a little less sugar. You can taste the filling after cooking the second time to determine if you need to add more sugar. The maltose isn't that sweet, so you won't have to worry too much about it.
- Better the next day - You can enjoy the same day, and they will be melt your mouth, a little crisper, and yummy. Or store them in airtight containers layered with kitchen paper towels to enjoy the next day. This allows the pastry to become softer, more moist, and melt in your mouth!
- You can use a food processor if you want to cut down on prep time. However, we find that we prefer the texture of the pineapple filling that was hand cut vs chopped in a food process. If you are using a food processor, make sure to cut out the core and chop it up first before chopping up the rest of the pineapple.






Comments
No Comments