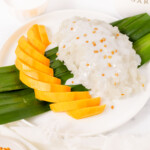
Mango sticky rice is a traditional Southeast Asian dessert made with coconut sticky rice and served with fresh, sweet mangoes, salted coconut sauce, and garnished with crispy mung beans or sesame seeds. Just like mango sago, this is a great year-round dessert, but especially perfect for the summer!
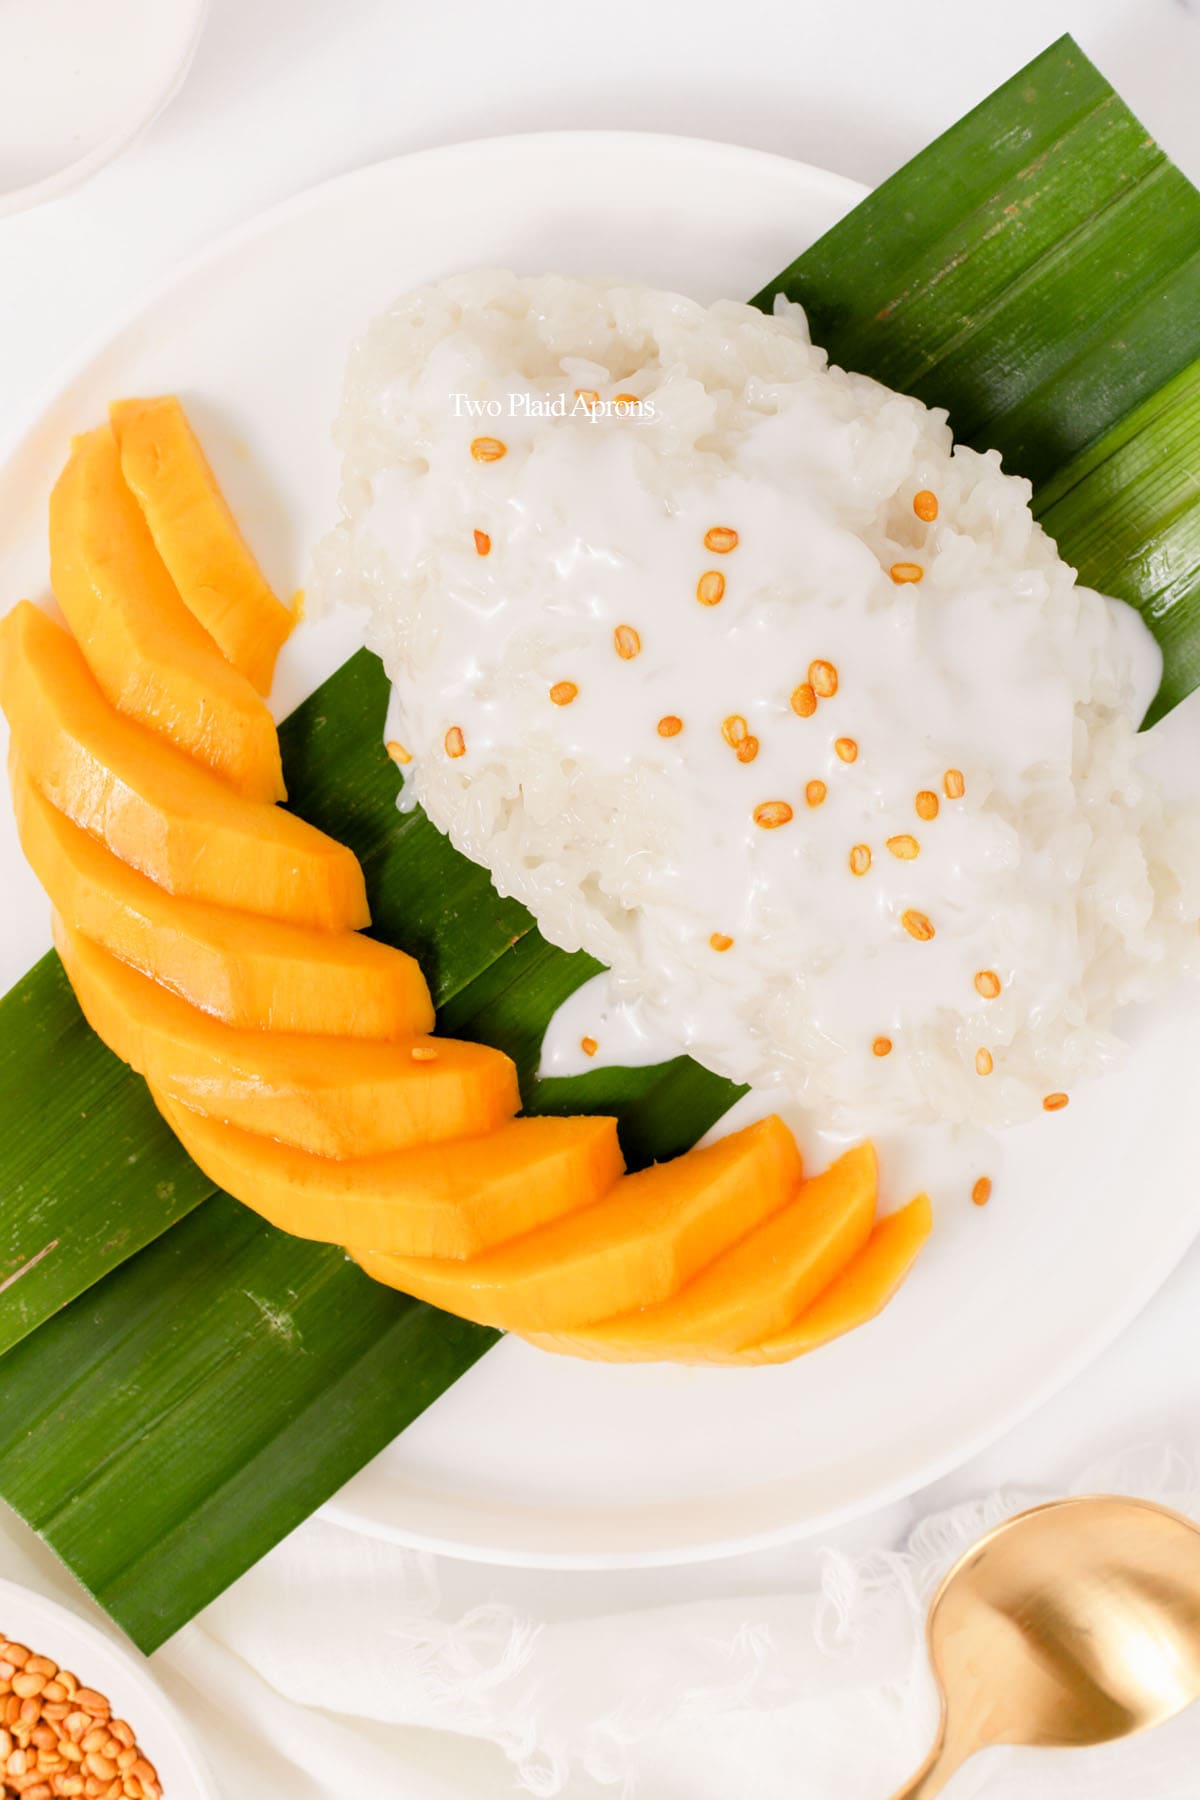
Even though Kyong is allergic to mangoes, he loves his mango desserts. This mango sticky rice has always been his favorite. Now that this recipe is up, we'll definitely be adding it to our mango recipe rotations!
Here are some of our favorite mango recipes if you need some recommendations:
- Mango sago
- Hong Kong style mango pancakes
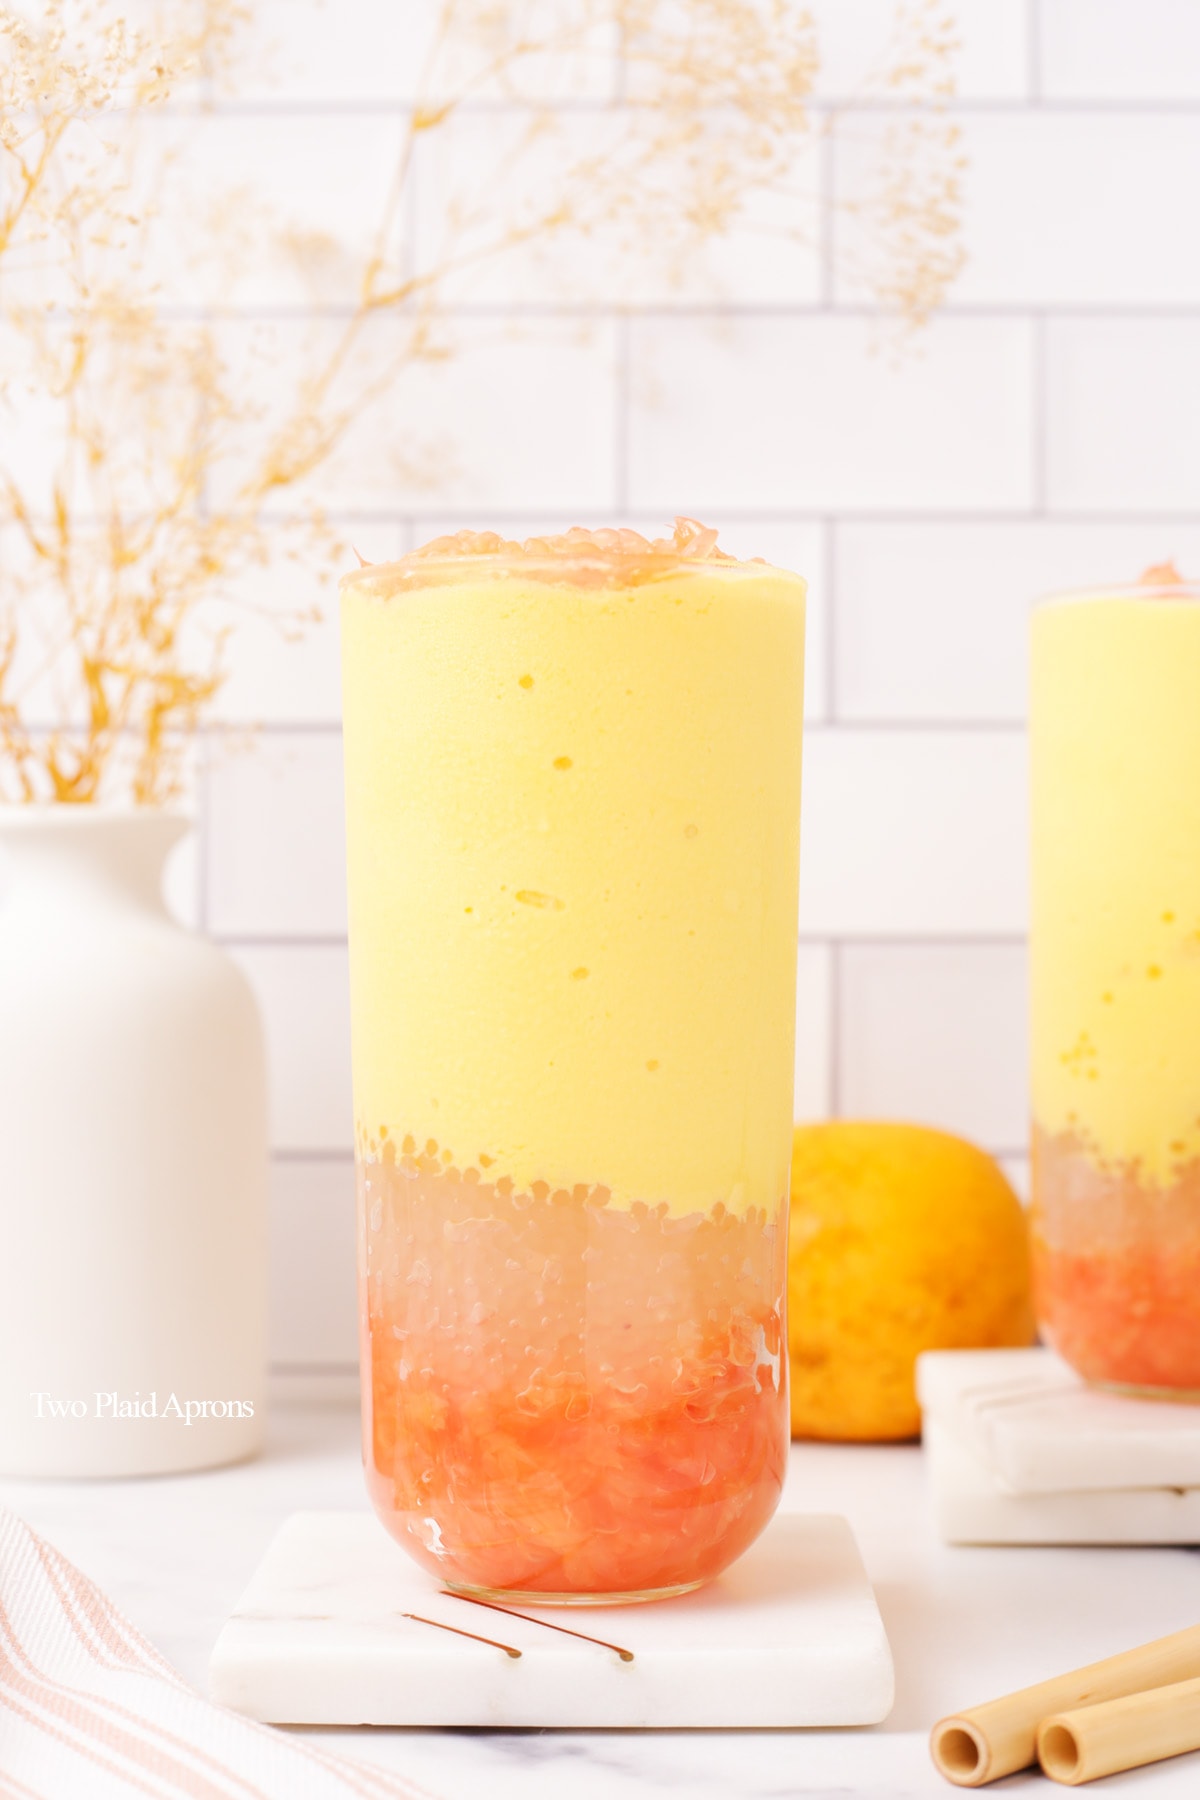
- Mango pomelo sago ( inspired by Yi Fang fruit tea)
Jump to:
What is mango sticky rice?
Mango sticky rice is a classic Southeast Asian dessert made with sweetened sticky rice (glutinous rice), coconut milk, and served salted coconut sauce and fresh mangoes. Sometimes it's also garnished with crispy mung beans or sesame seeds.
In Thailand, this dessert is called "khao niao mamuang," which literally translates to mango sticky rice. You'd often find mango sticky rice as a common Thai street food item and it's especially popular during the peak season for mangoes.
Ingredient notes
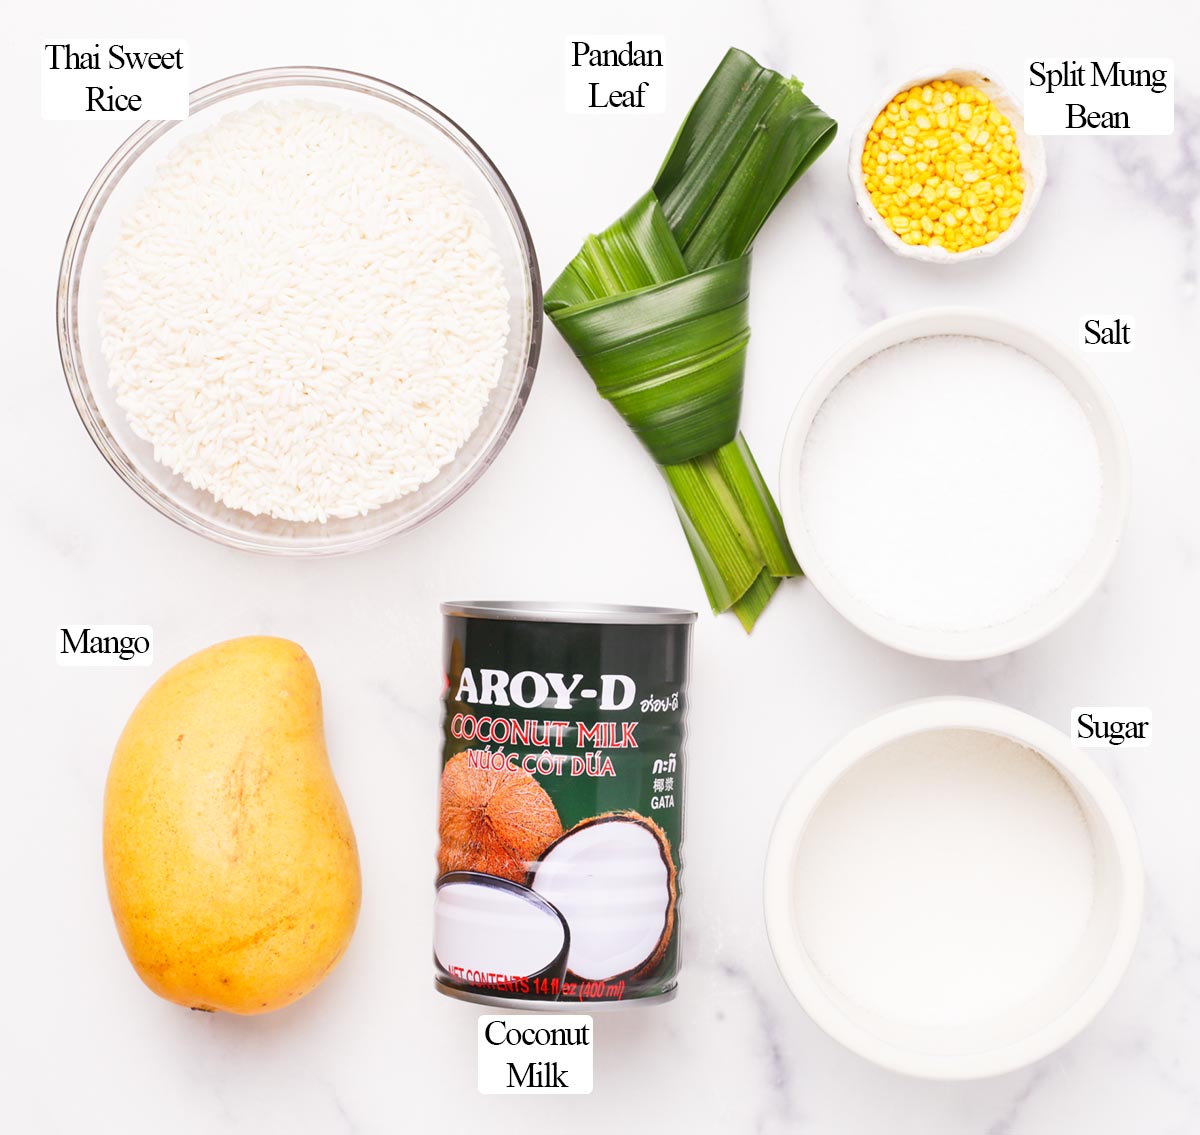
Please scroll down to the recipe card for the ingredient quantities!
- Mango - We recommend yellow/champagne mangoes for mango sticky rice because they are sweeter, juicier, and less fibery.
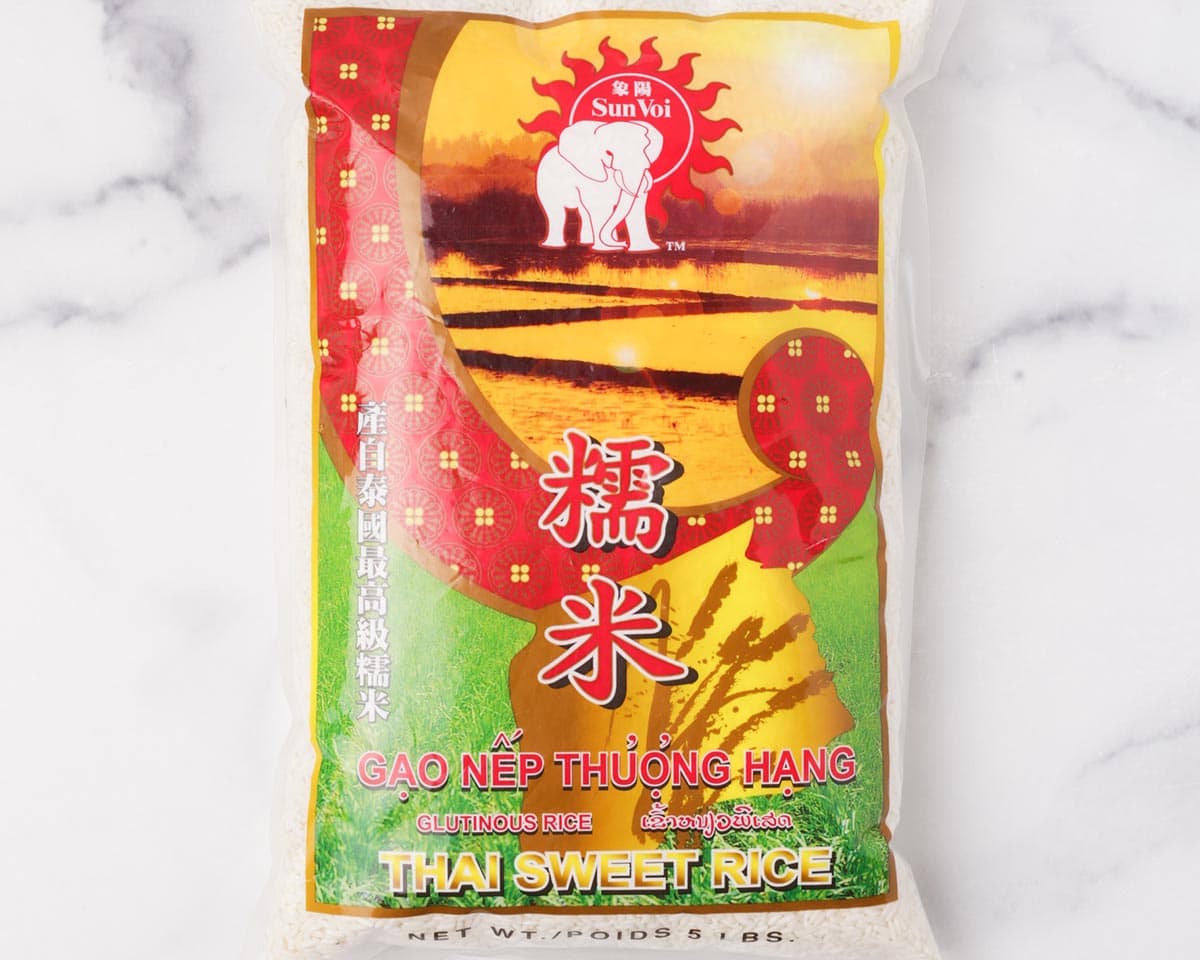
- Thai sweet rice - This is also known as Thai glutinous rice and sometimes as Thai sticky rice. But don't be deceived by it's name! Sweet rice/ glutinous rice does not contain gluten. "Glutinous" refers to it's chewy texture.
- Coconut milk - We recommend using full fat coconut milk for the best flavor. It makes the coconut sticky rice rich and creamy. Do note that it is not the same as sweetened coconut drinks.
- Sugar - Granulated sugar works best because it dissolves the easiest and quickest.
- Salt - A little bit of salt helps to balance out the sweetness and also enhances the flavor of the mango sticky rice.
- Pandan leaf - Flavoring the coconut milk with a leaf of pandan is totally optional. It add a touch of faint toasted vanilla flavor. You can usually find fresh pandan leaves at Vietnamese markets and some Asian markets.
- Cornstarch - A small amount of cornstarch is needed to thicken the salted coconut salt. If you prefer, you can use tapioca starch instead.
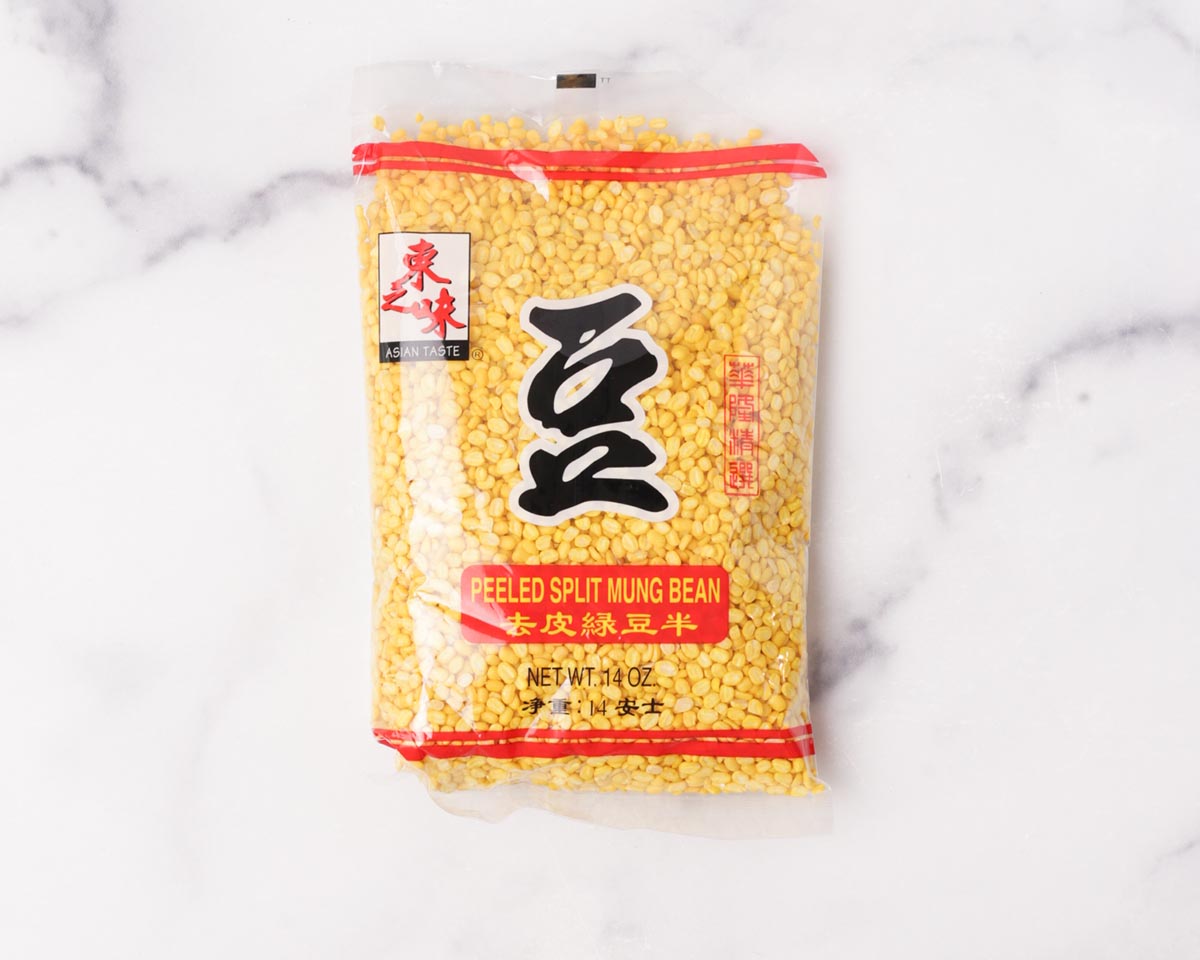
- Toasted sesame seeds or split mung beans - These two are optional garnishes for mango sticky rice. If using split mung beans, please refer to the topic "How to prepare split mung bean" below.
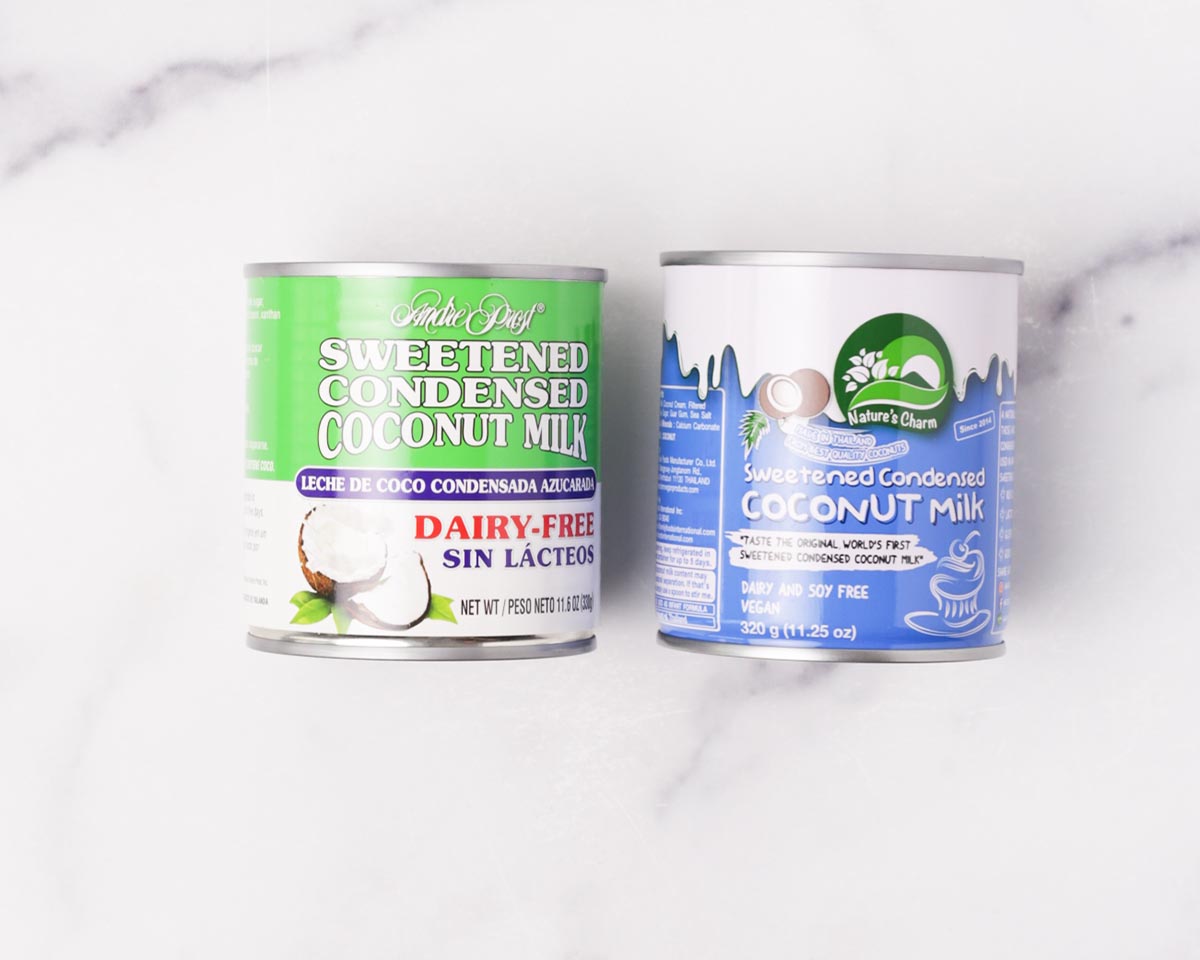
- Condensed milk - If you do not want to make the salted coconut sauce, you can use condensed milk instead. There's also this coconut condensed milk if you want a dairy free alternative.
How to make mango sticky rice
Please scroll down to the recipe card for the full recipe and instructions!
Make the coconut sticky rice:
1. Cook the sticky rice. Wash and rinse the Thai sweet rice and cook using your favorite method. (See "2 ways to cook sticky rice" below for more details)
2. Prepare sweetened coconut milk. Combine the coconut milk, sugar, salt, and pandan leaf in a saucepan. Mix over medium heat until the sugar has dissolved. The mixture doesn't have to boil, but it's okay if it does.
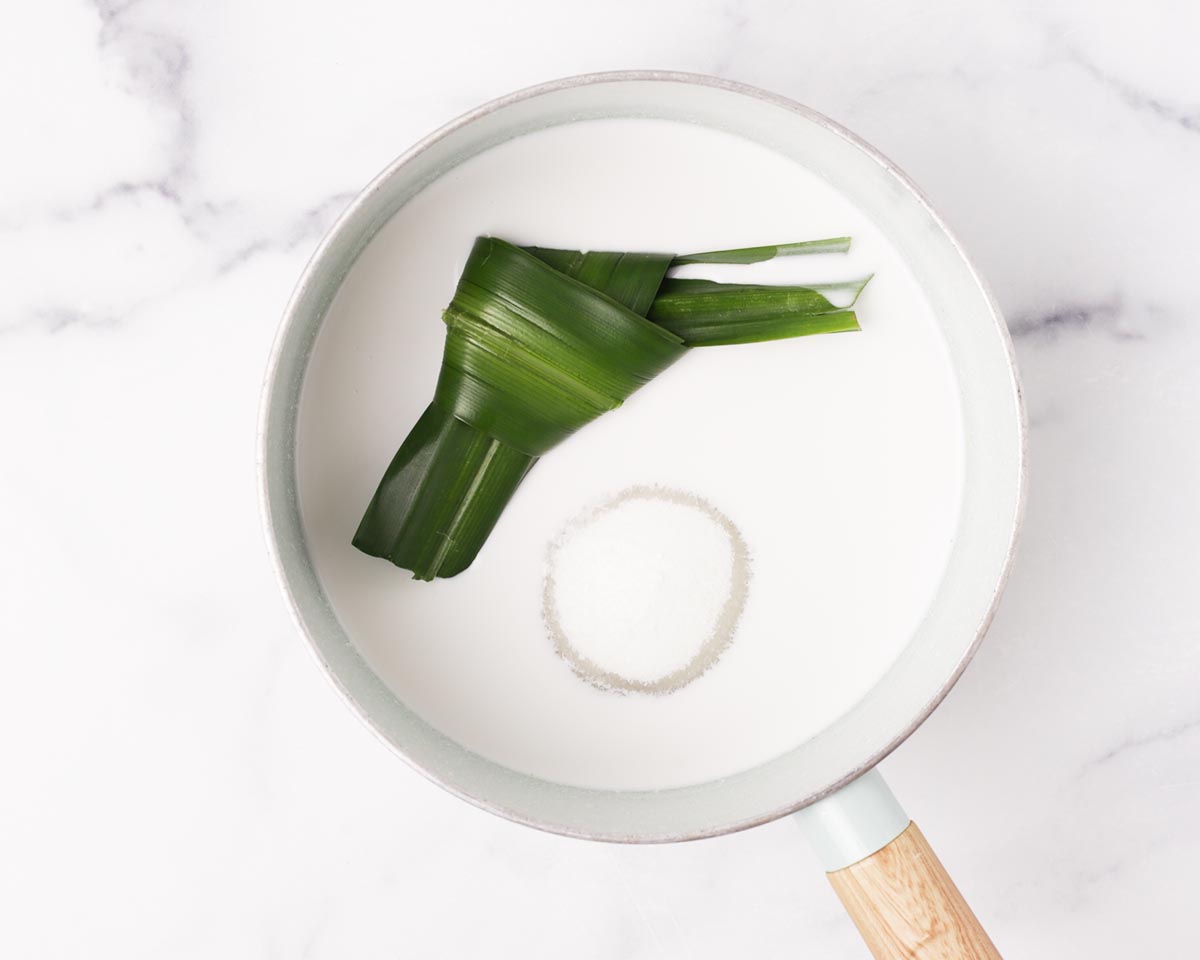
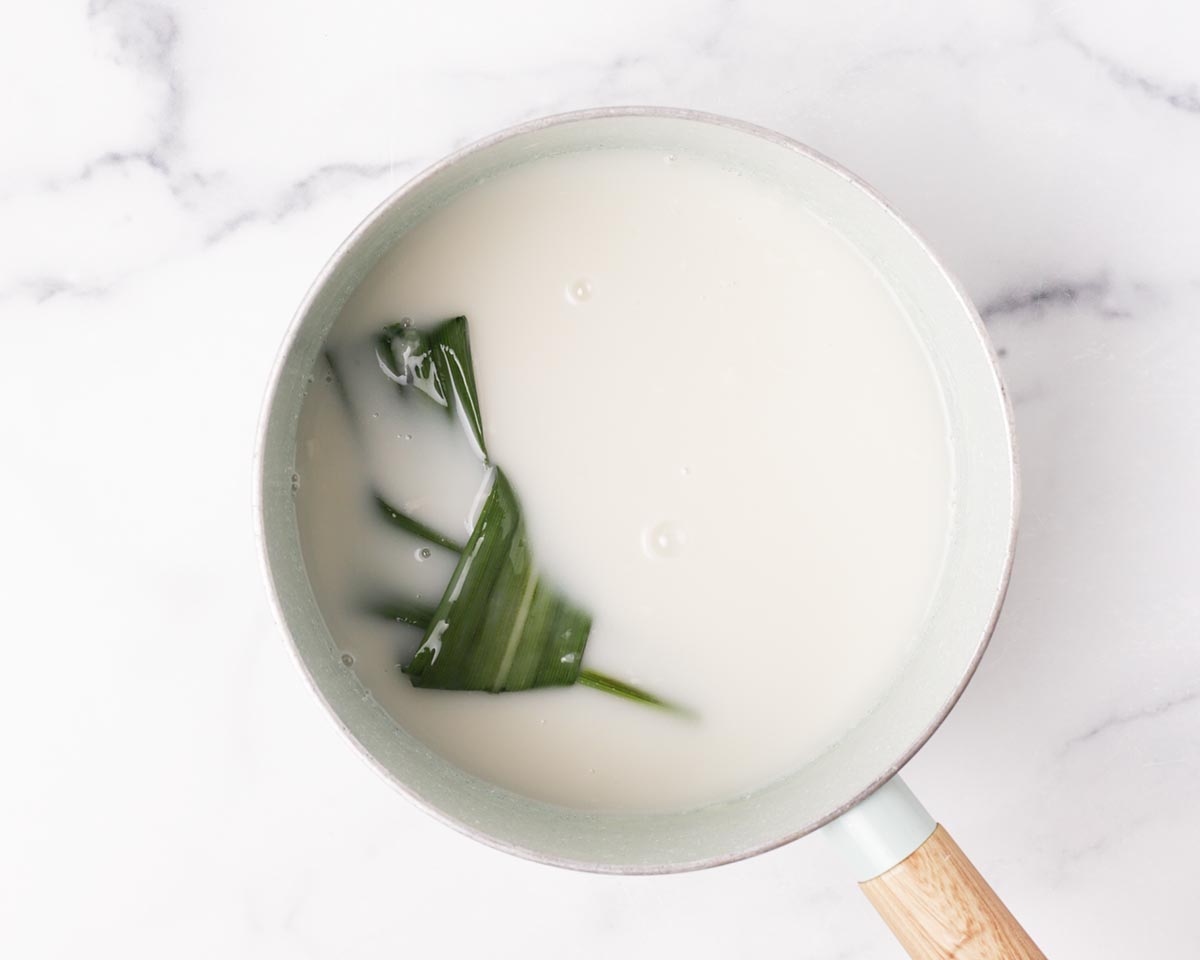
3. Make the coconut sticky rice. Once the sticky rice is cooked, transfer it to a heatproof mixing bowl, along with the sweetened coconut milk. Discard the pandan leaf.
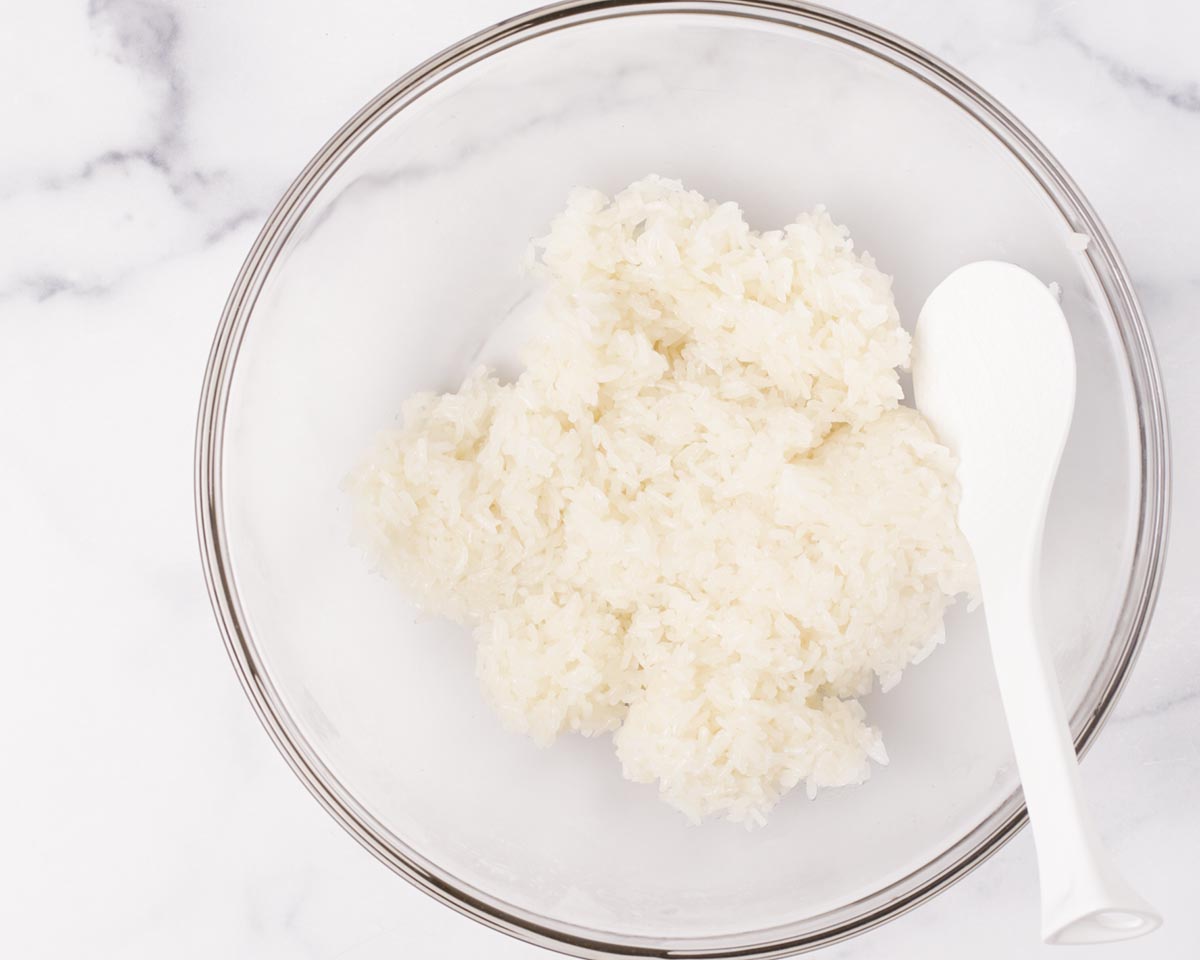
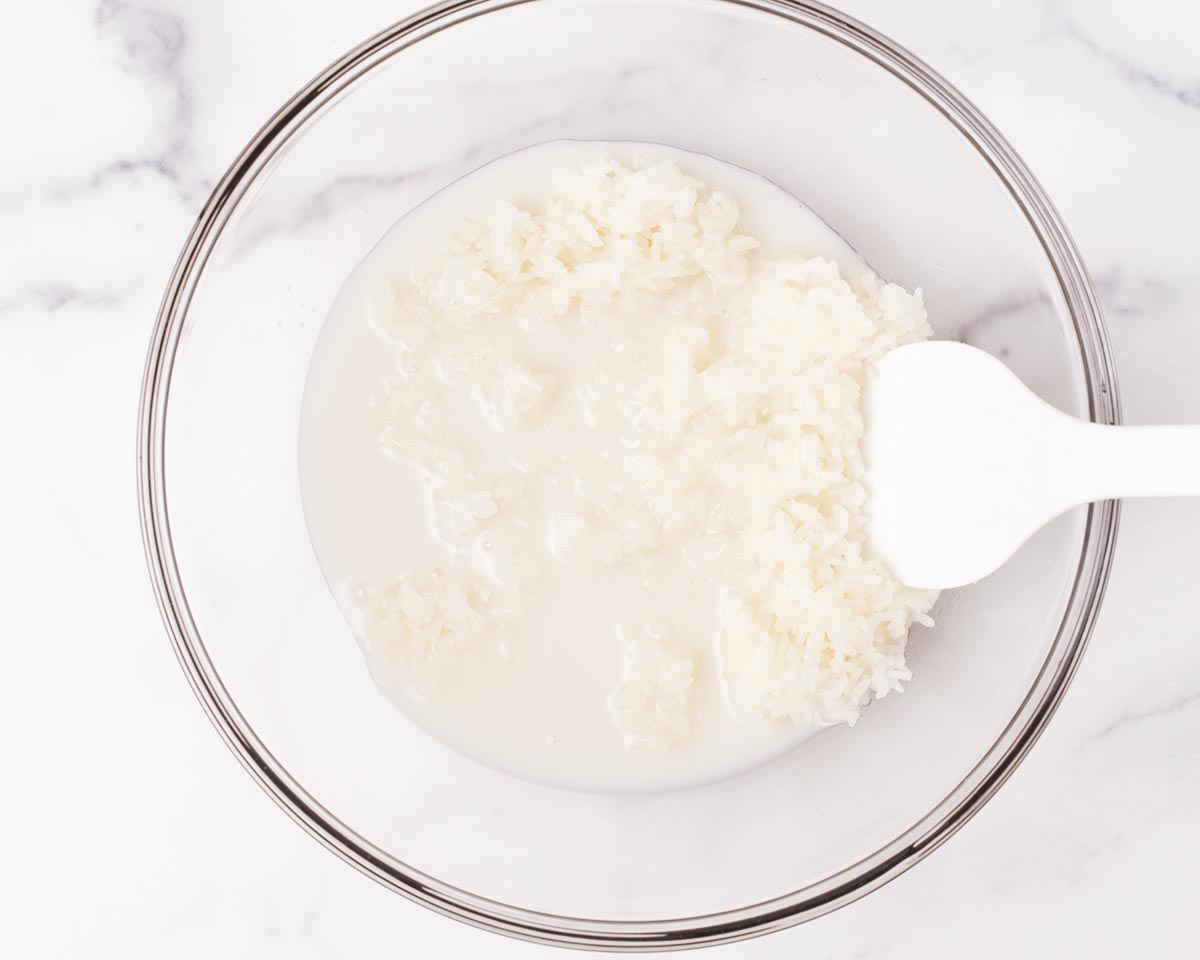
🌟 Pro tip: It is best to combine the rice and coconut milk mixture while both are hot for the best result. The rice tends to absorb liquid better while hot. So if possible, time the coconut mixture to for when the sticky rice is almost done.
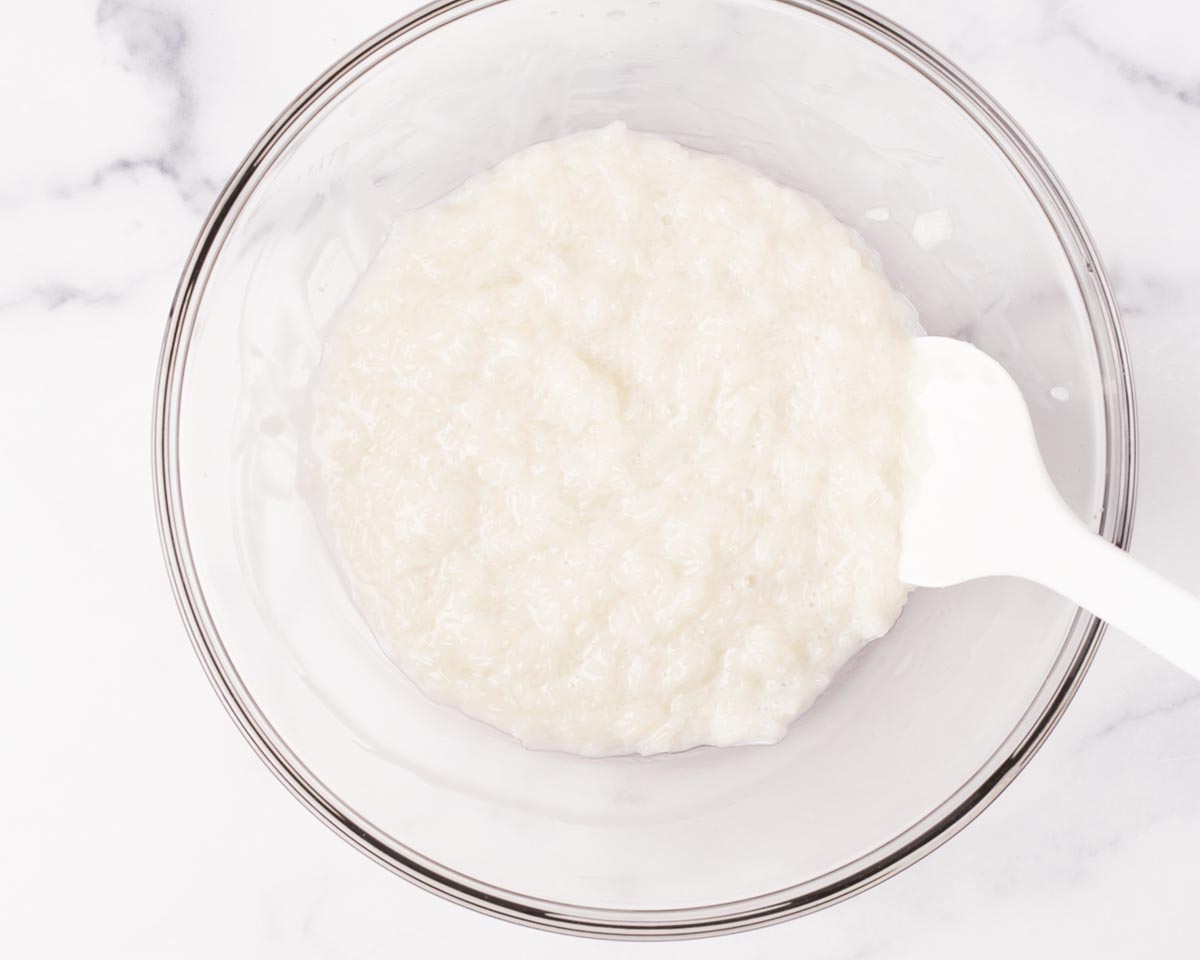
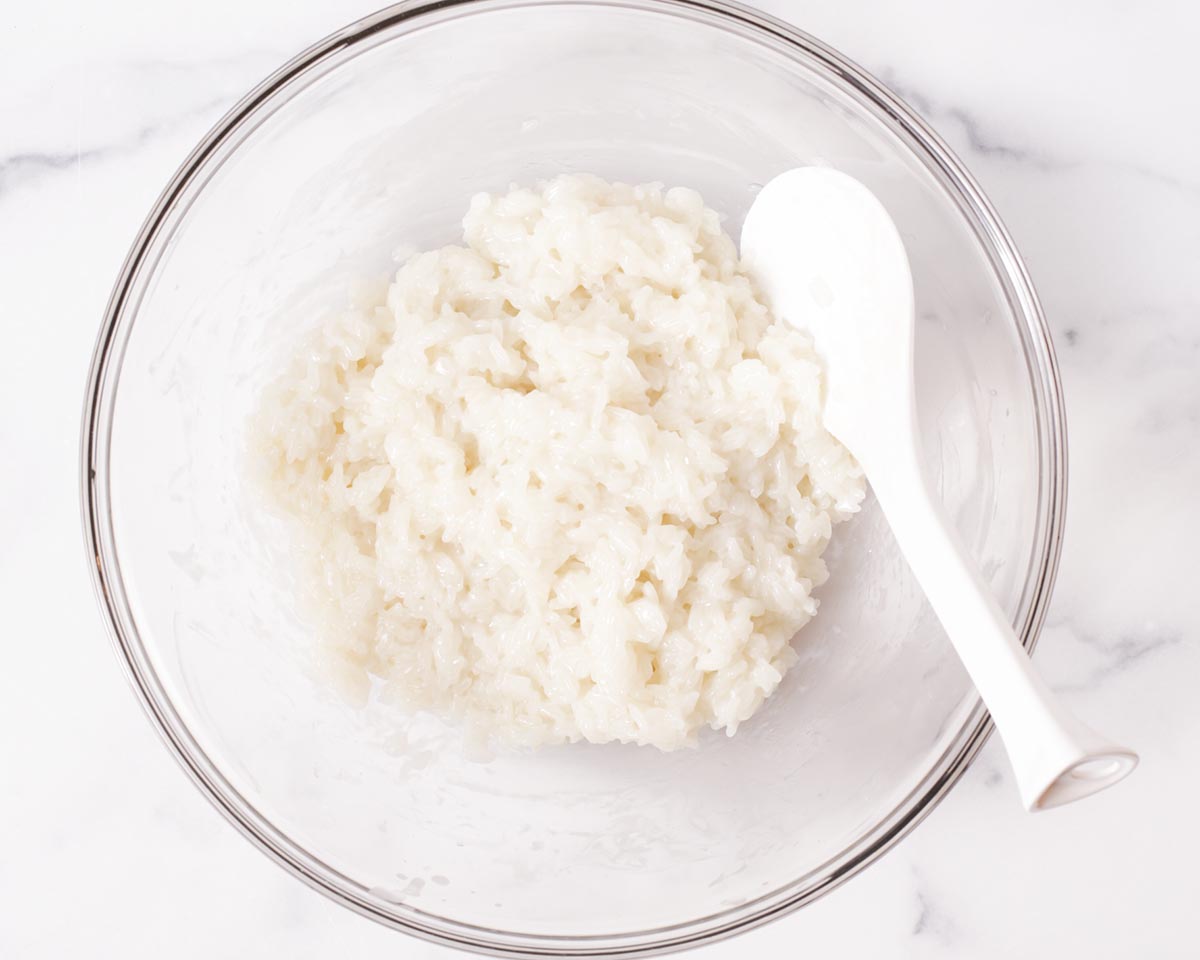
4. Rest the rice. After mixing the rice with coconut milk, it will look very loose, almost soupy. Cover and let it rest for about 15 minutes, then mix again. At this point, the rice should be drier and thicker. Cover and rest another 15 to 30 minutes, until the coconut milk is mostly absorbed and the rice is thick.
For the salted coconut sauce:
In a small saucepan, mix together coconut milk, sugar, salt, and cornstarch until well combined and no more dry clumps of cornstarch are left.
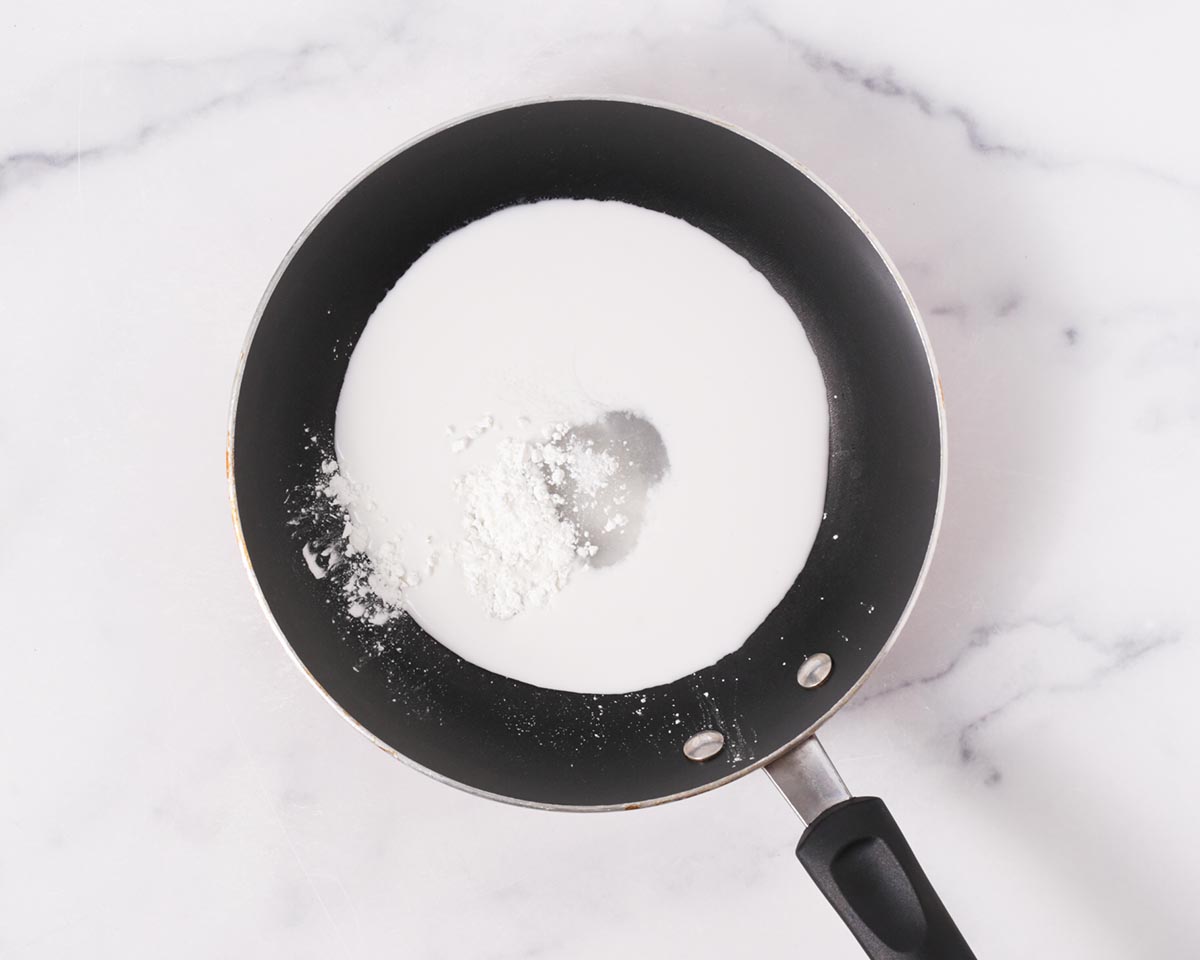
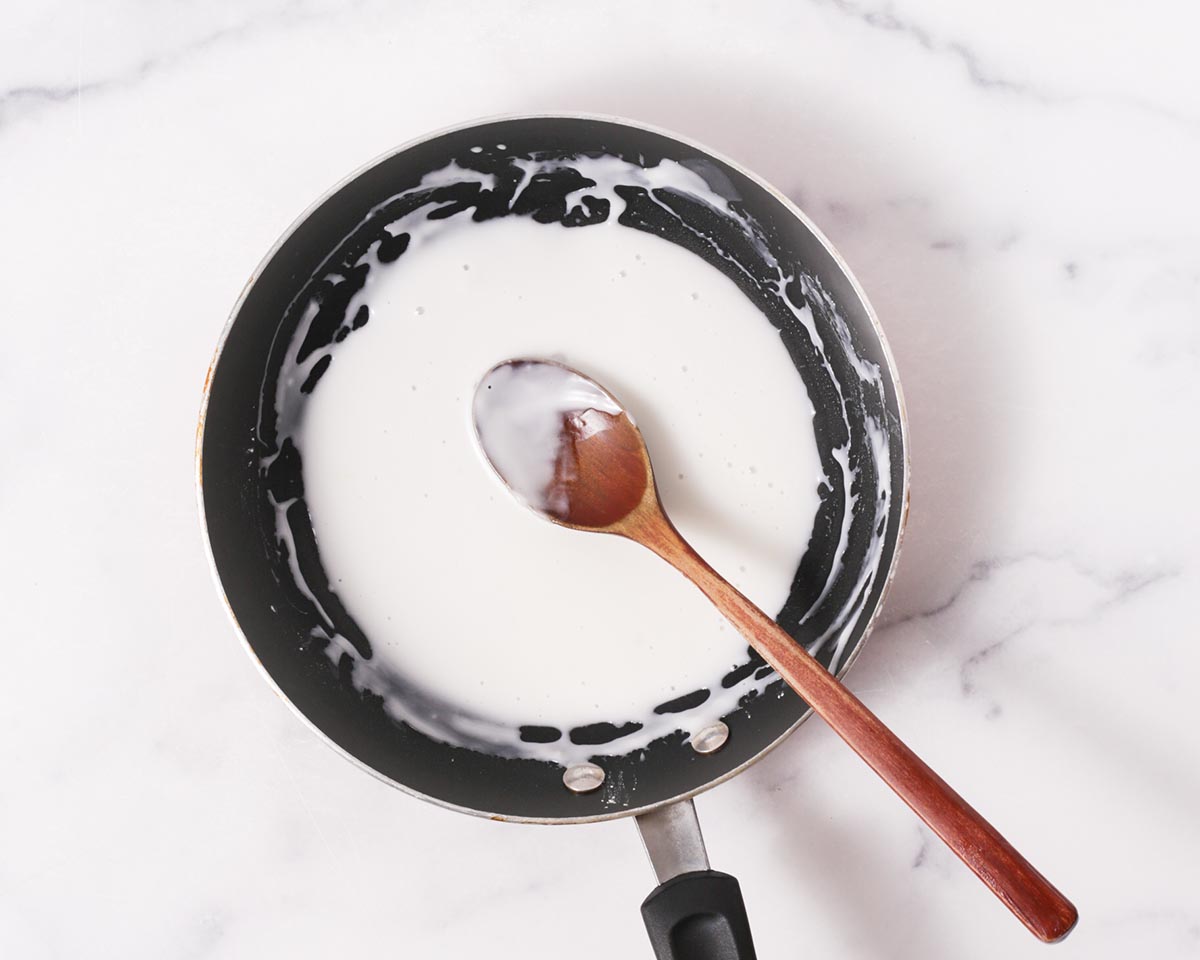
Cook over medium heat until the mixture becomes thick and bubbly. Make sure to stir frequently! Transfer to serving bowl and set aside.
Optional - split mung bean garnish:
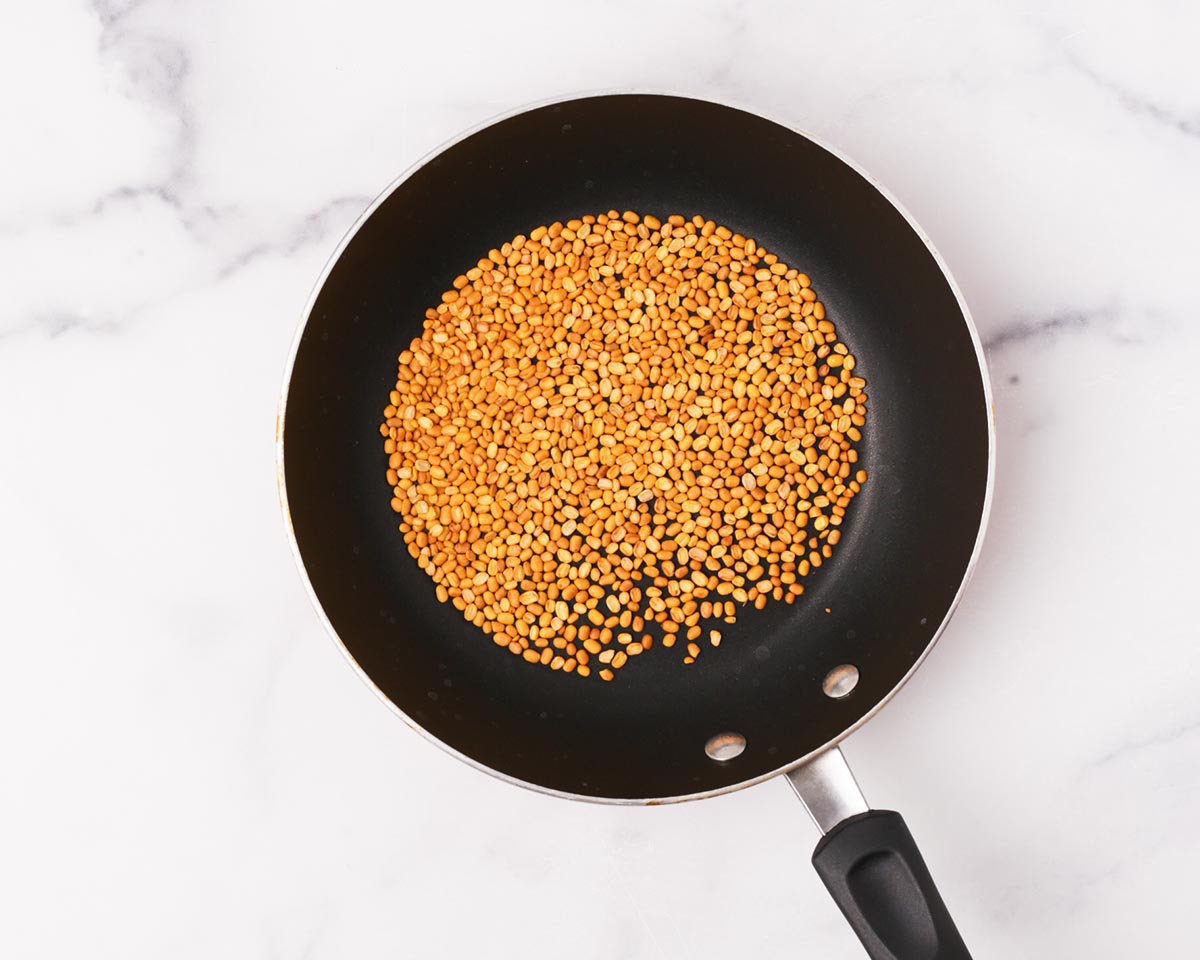
Place the about ¼ cup of split mung beans into a saucepan with a couple cups of water. Bring to a boil and cook for 1 to 2 minutes. Drain the mung beans well and transfer to a dry nonstick pan. Toast over medium heat until the mung beans are dry, crispy, and slightly golden brown.
Assemble:
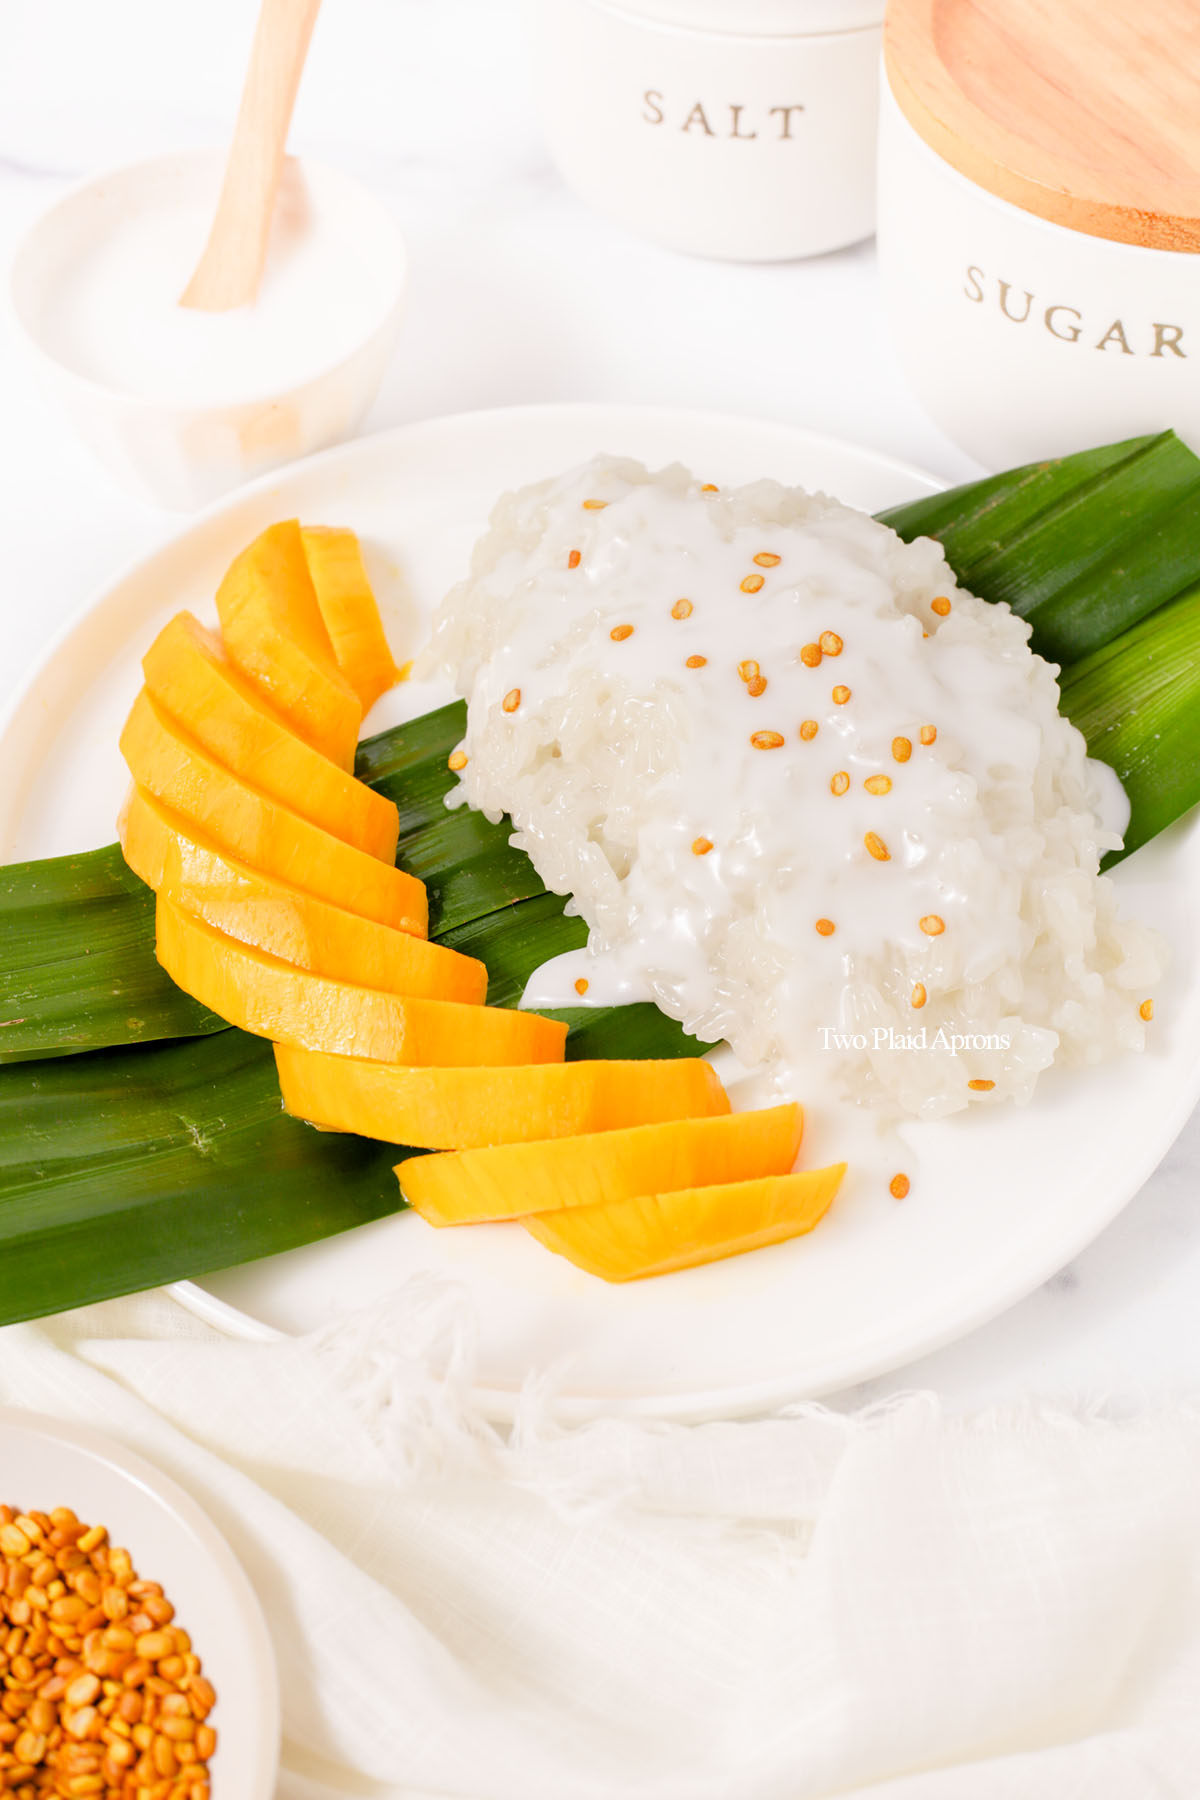
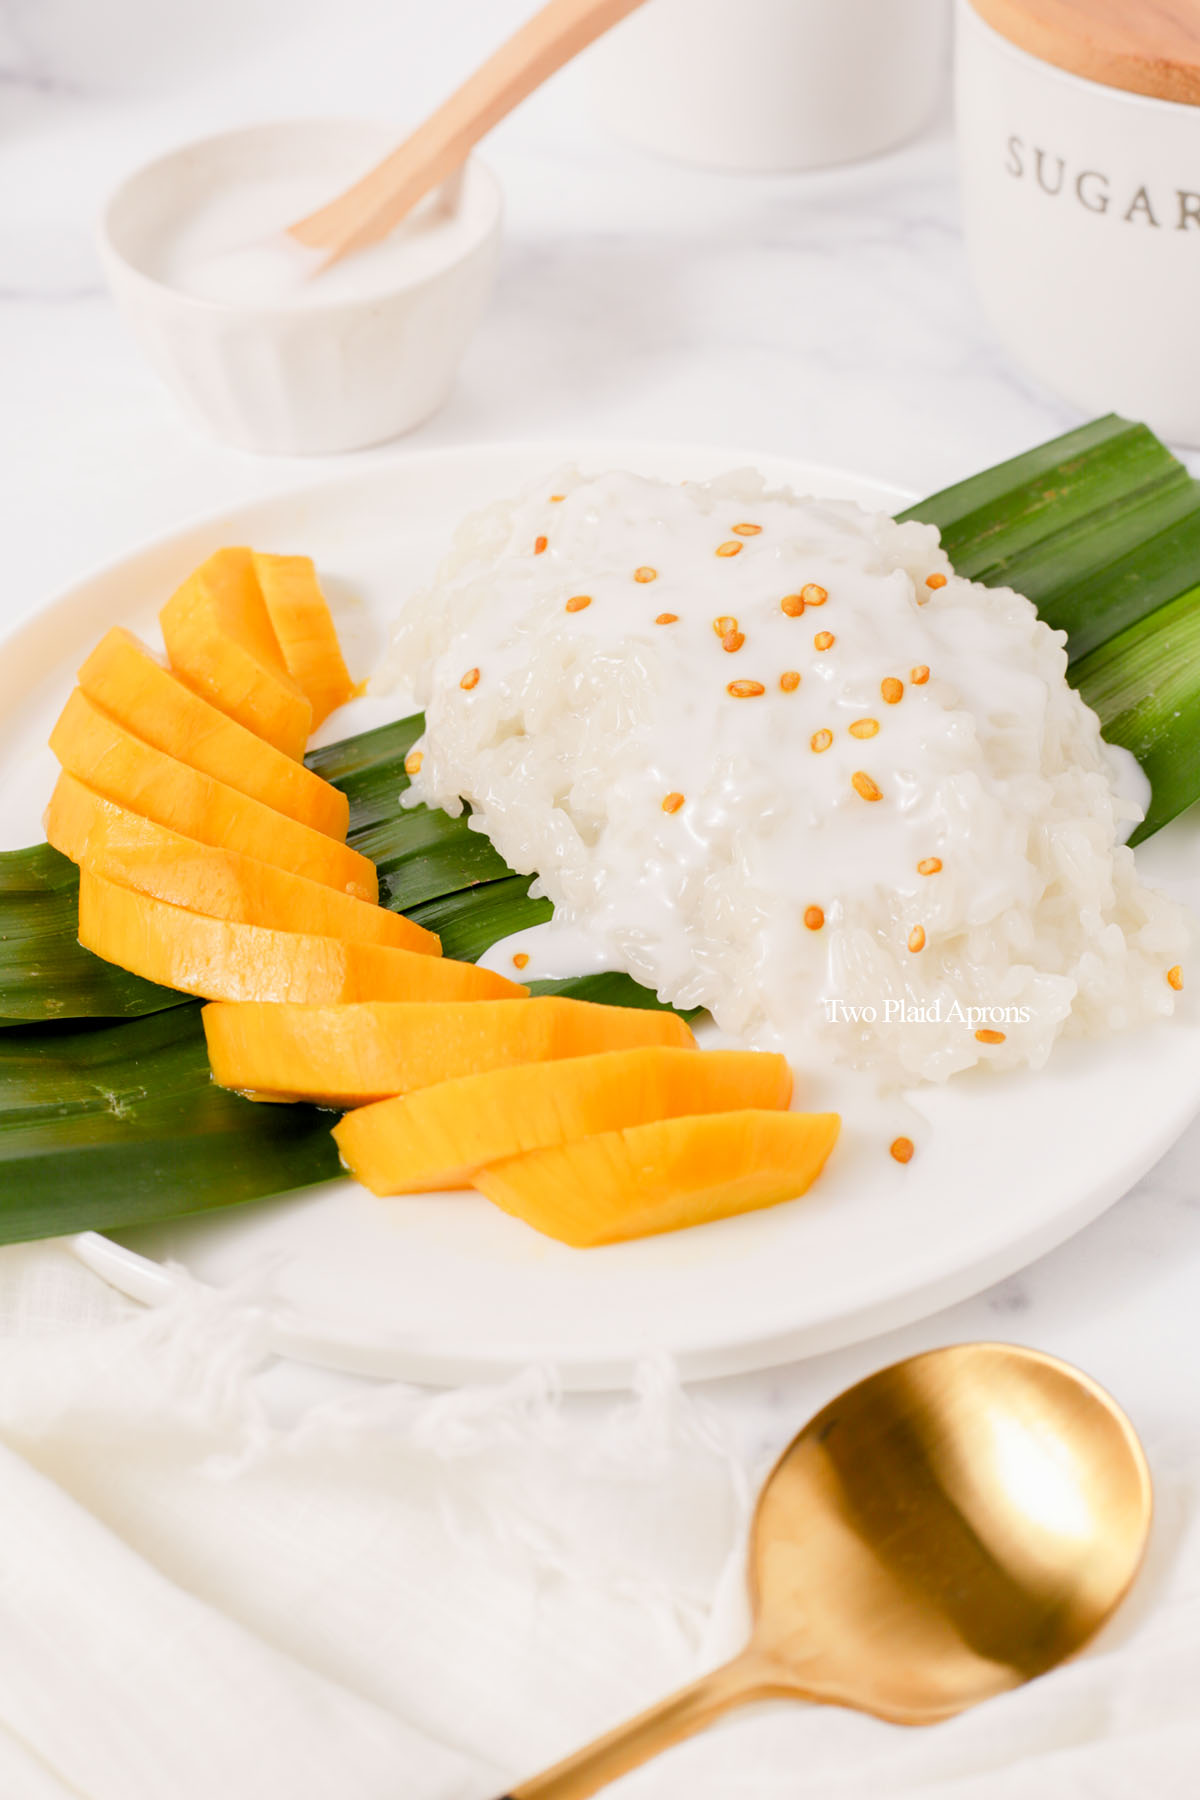
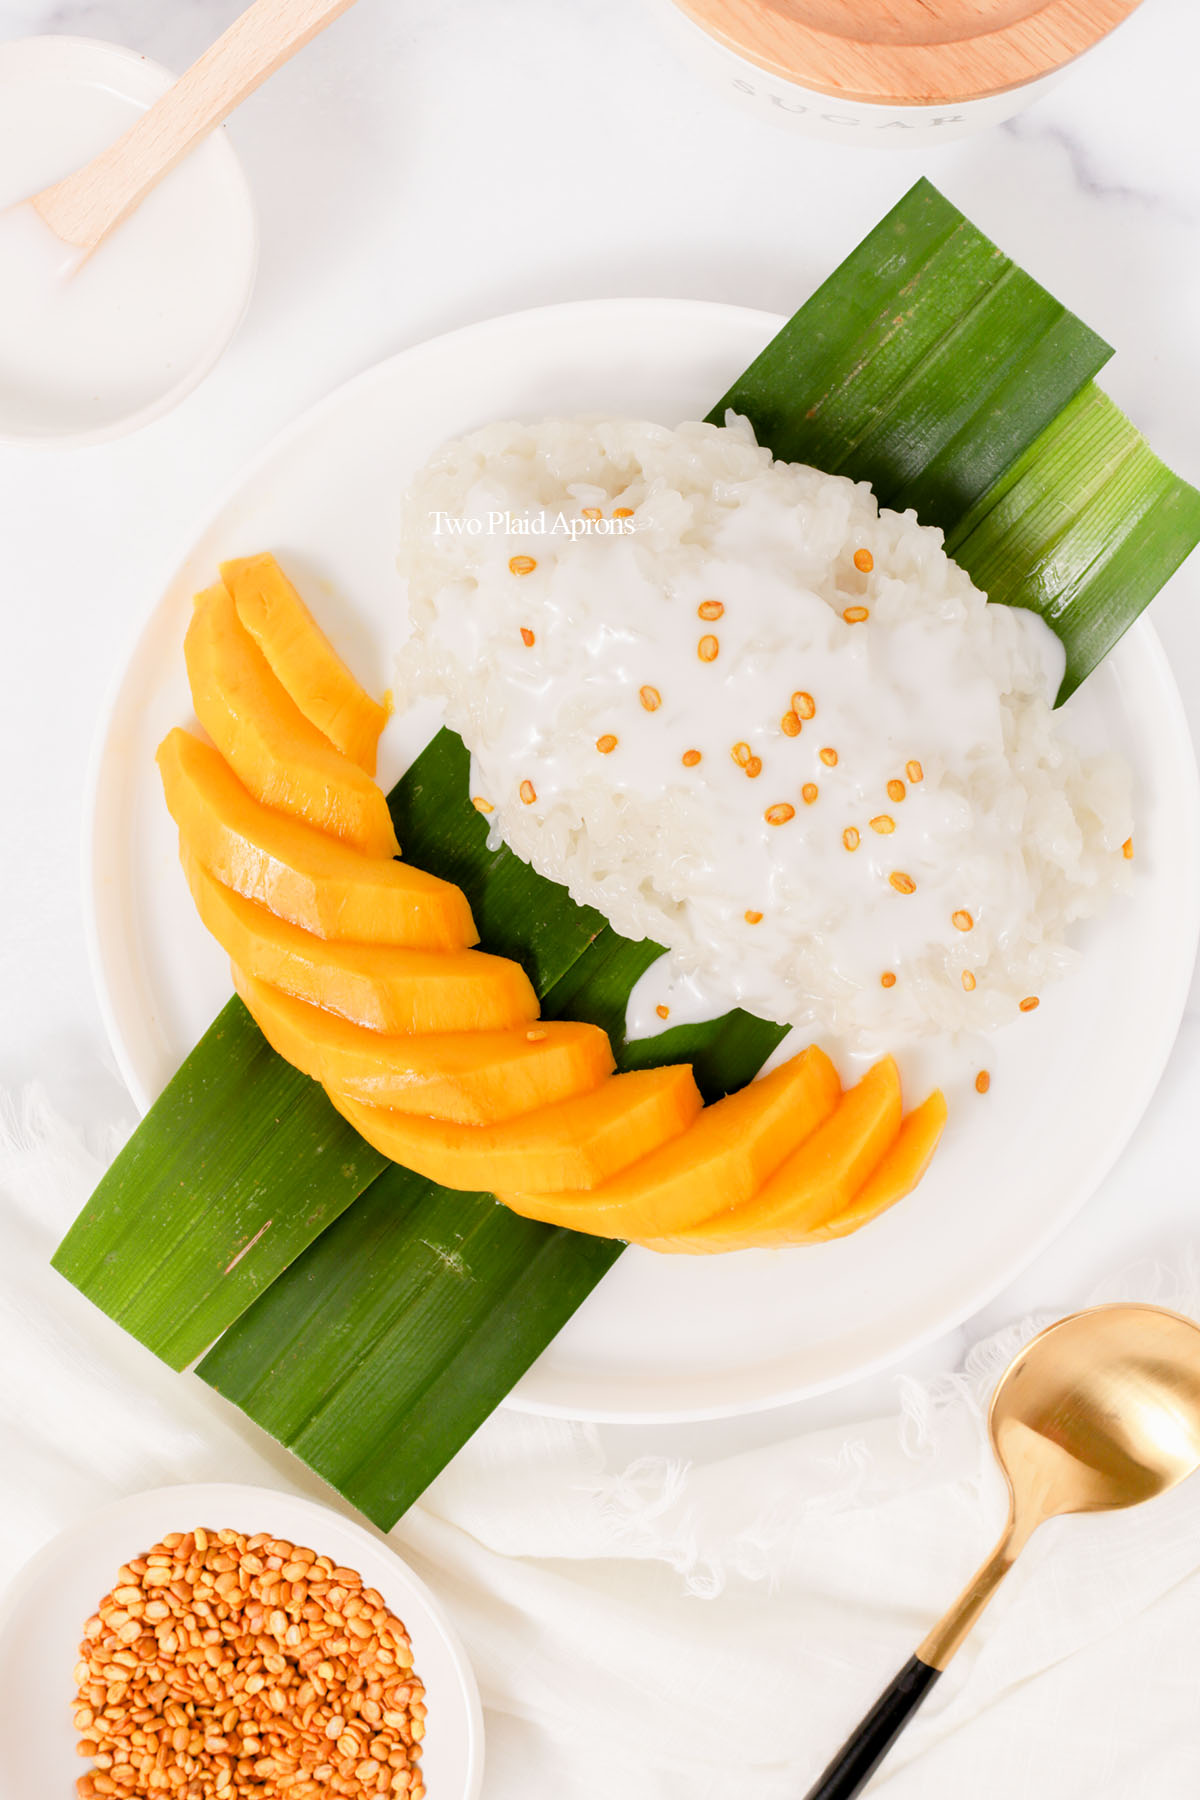
Place a mound of coconut sticky rice on a plate or banana leaf. Feel free to equally divide the rice or serve your desired portion amount. Serve with rice slices or chunks of ripe mango and top the coconut sticky rice with some salted coconut salt and some toasted split mung beans or sesame seeds.
2 ways to cook sticky rice
Option 1 - steamer method:
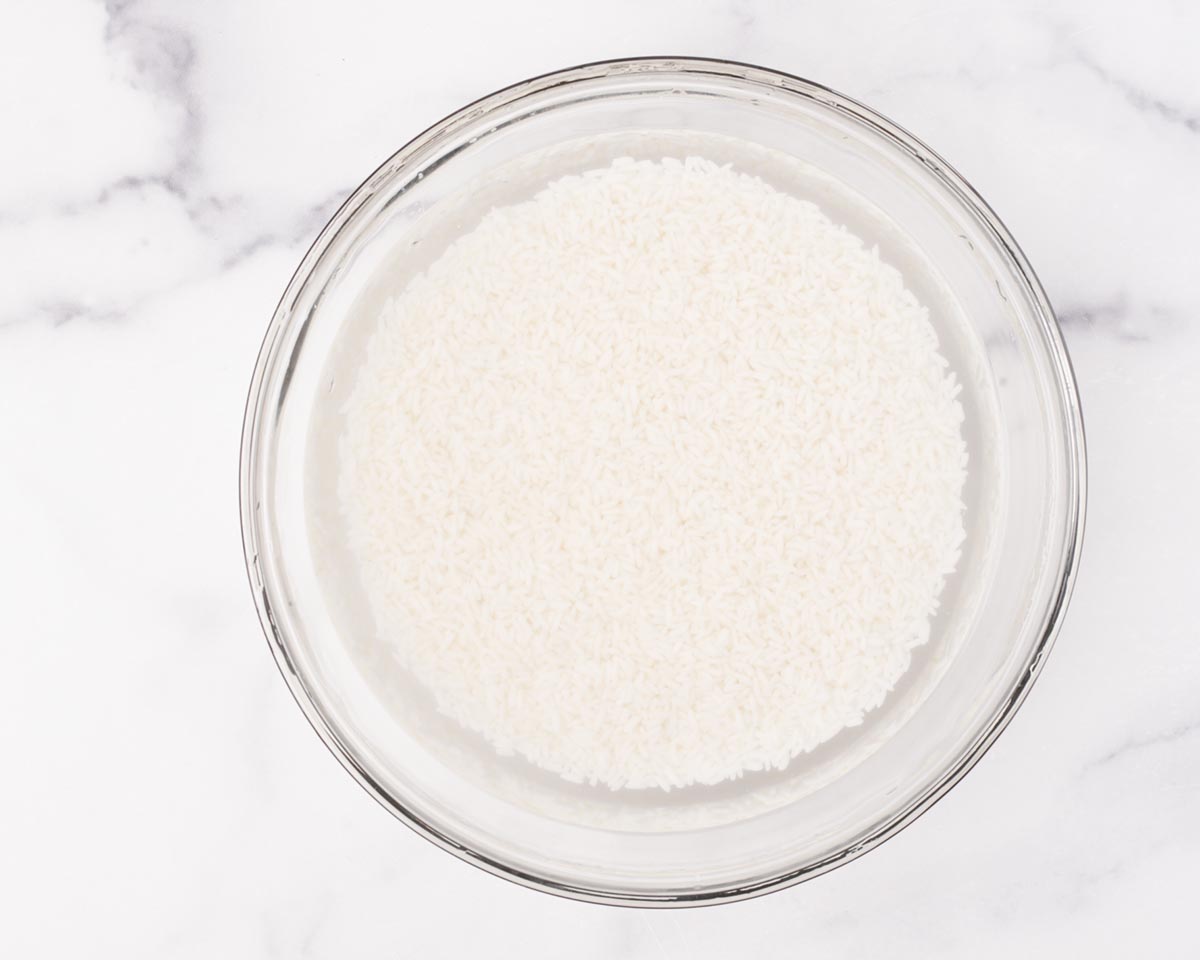
1. Soak rice. Wash the sweet rice a few times until the water runs clear. You'll want to gently rub the rice between your hands to help remove excess starch. Then soak the rice with a couple inches of water for 4 hours or overnight in the fridge.
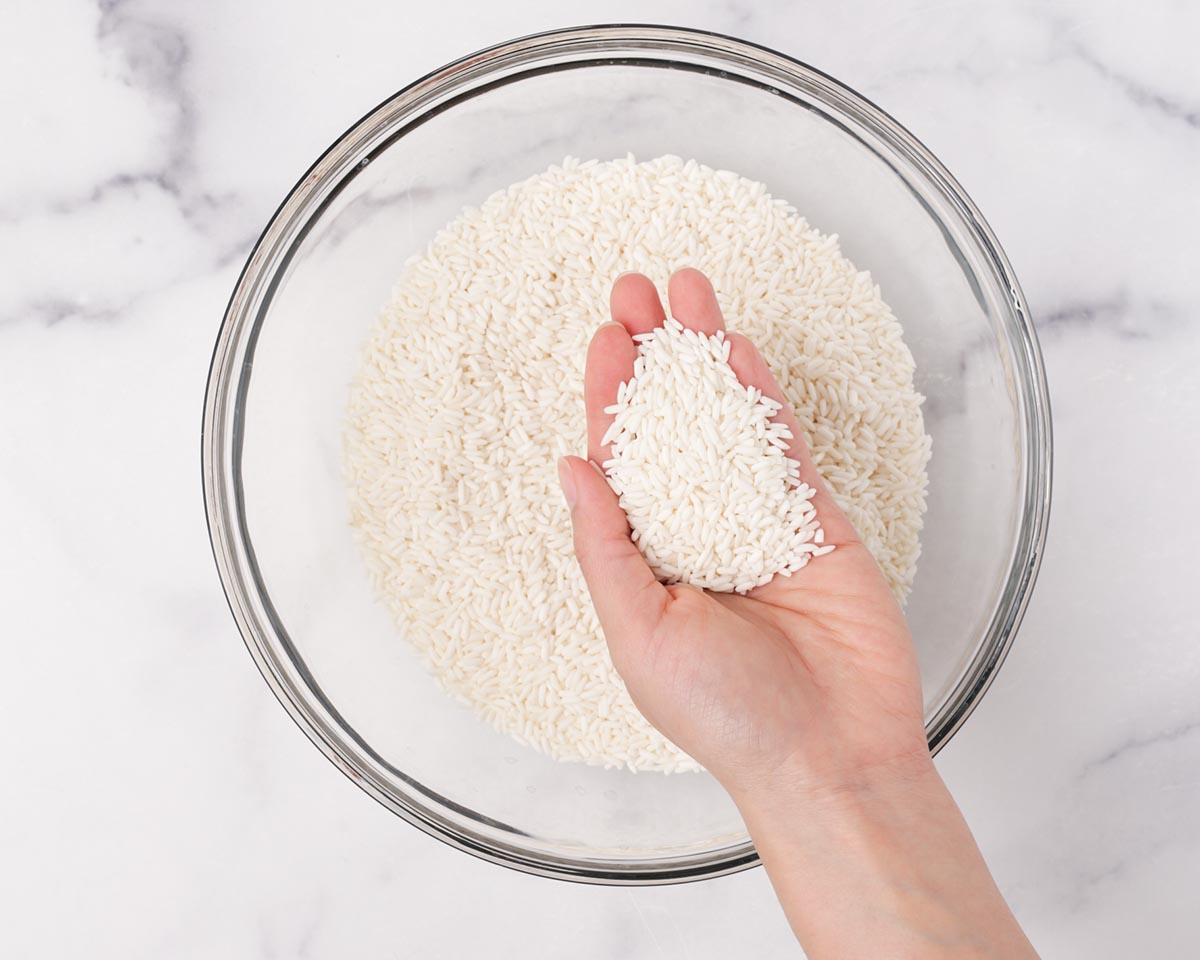
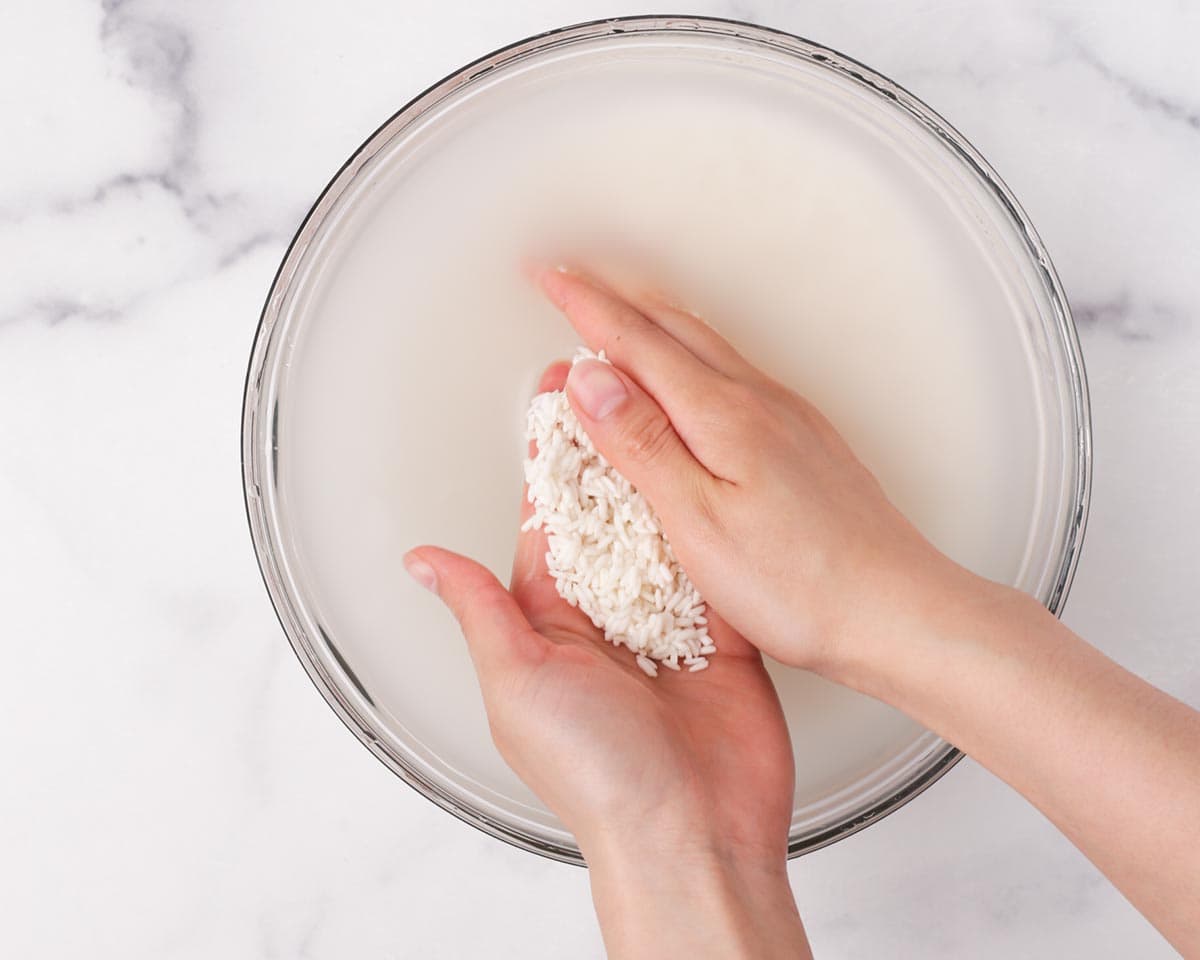
Soaking is absolutely necessary if you are steaming the sticky rice. It helps to dramatically reduce the cook time and makes the rice tender.
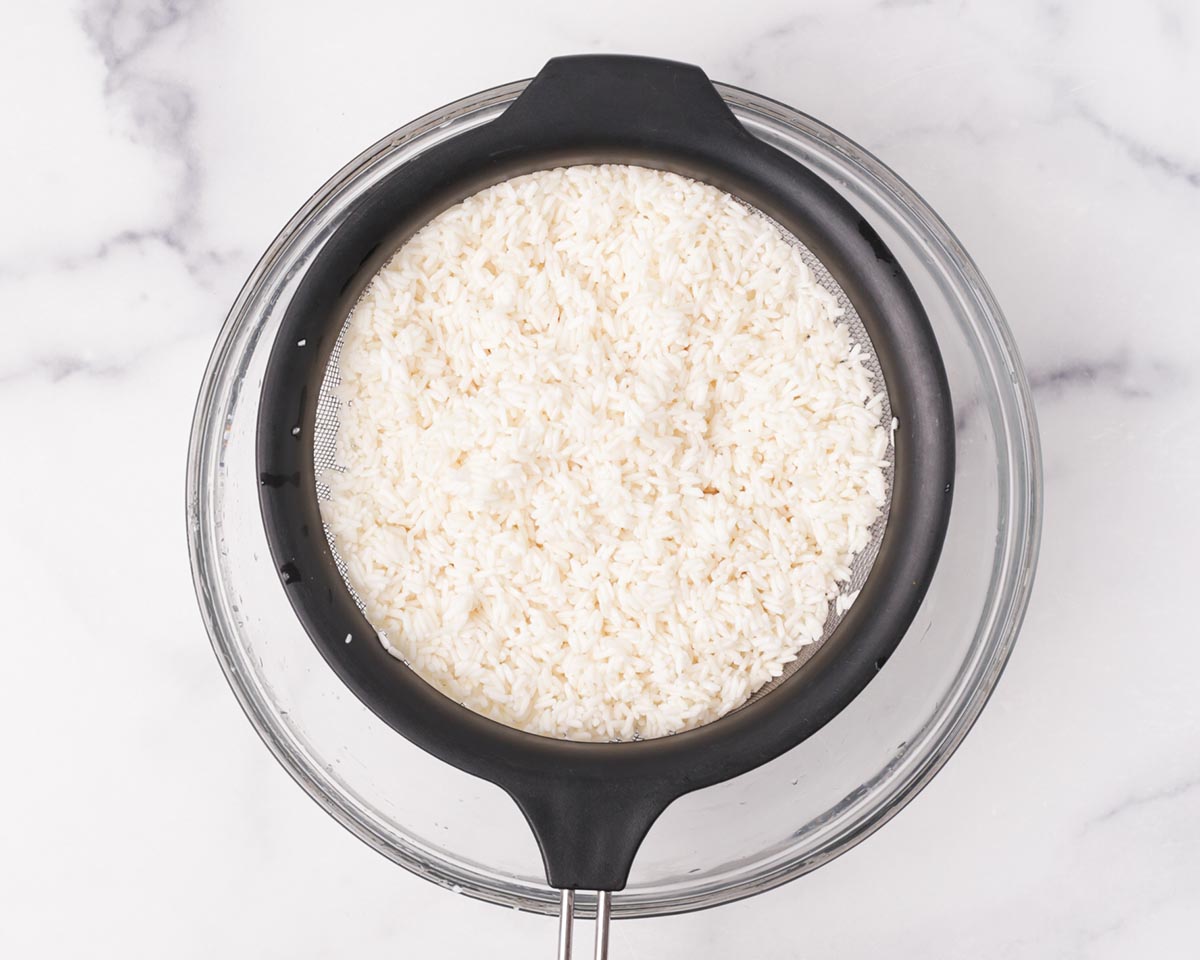
2. Prepare in steam basket. Line the inside of the steam basket with cheesecloth and transfer the soaked rice onto the cheesecake.
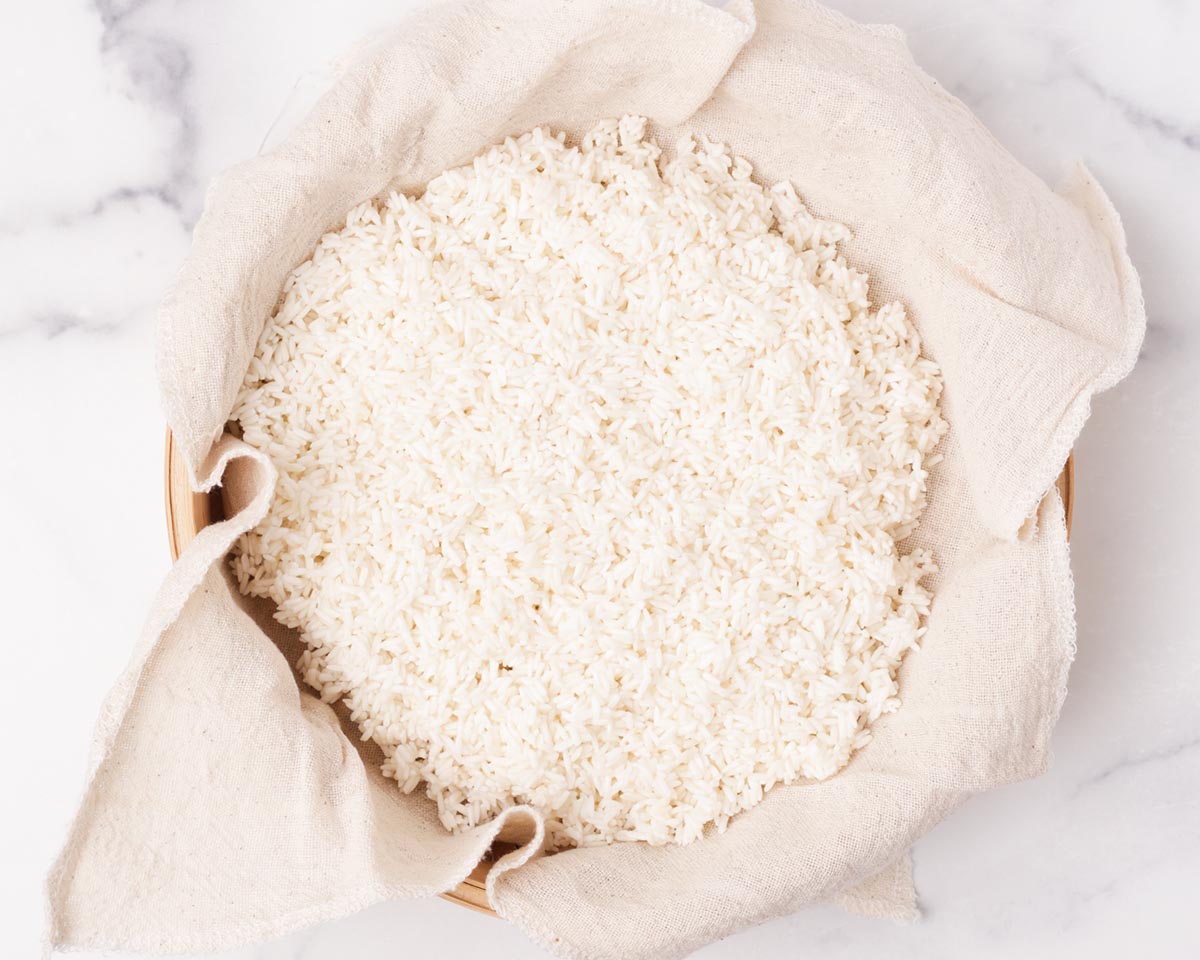
Roughly even out the rice and drape the excess corner of the cheesecloth over the rice.
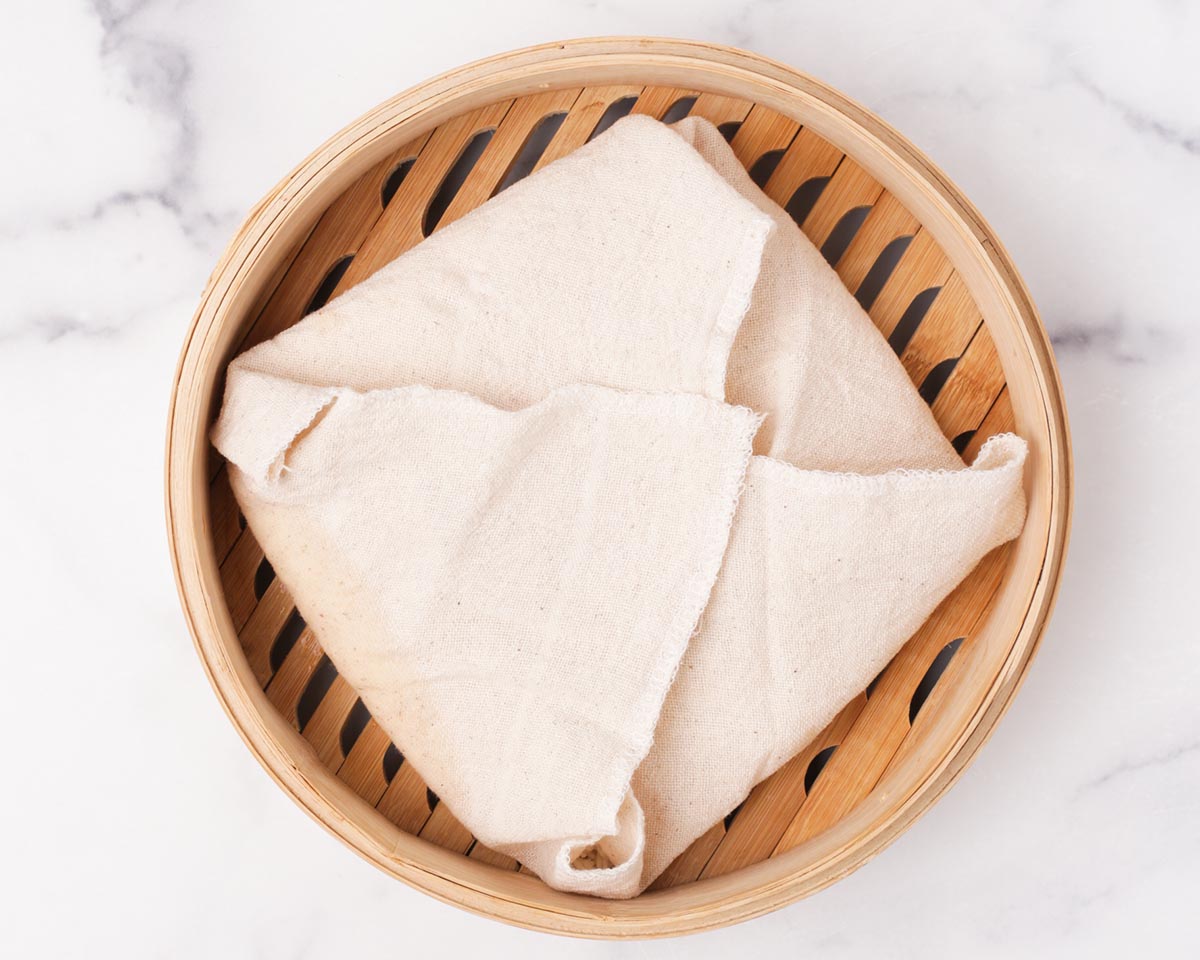
3. Steam. Place the steam basket over a wok or pan of water that's on a high simmer. Cover and steam for about 15 to 20 minutes, until the rice turns translucent and becomes chewy. You can taste test the rice, but be very careful! The steam is super HOT!
🌟 Pro tip: If using a bamboo steamer, make sure to sit the basket straight in the water. So a shallow, wide pan or a wok is good. Always make sure the water is above the bottom rim of the bamboo basket but low enough that the bubbling water doesn't touch the bottom bed of the basket. Refill with hot water as needed. This will prevent the bamboo from burning.
Option 2 - rice cooker method:
1. Wash rice. Wash the sweet rice a few times until the water is clear. Then drain well with a sieve and transfer the rice to the rice cooker insert pot along with the appropriate amount of rice. We recommend 2 cups of rice (regular dry measuring cup) to 2 cups water (regular liquid measuring cup).


2. Cook in rice cooker. Select the regular white rice setting or the normal setting and let your rice cooker do the work!
📝 Note: We did notice that sticky rice made in the rice cooker is a bit wetter and softer than steamed sticky rice.

Variations
Mango sticky rice is a classic Southeast Asia dessert. These days you'll also find many variations. Below are a few:
- Purple rice - Instead of white rice, black glutinous rice is used to give the rice a purple color. You can use all black glutinous rice for a dark purple color or substitute a few tablespoons of Thai sweet rice for black glutinous rice to get a lighter purple color.
- Condensed milk - Instead of making the salted coconut sauce, you can use condensed milk for convenience. There's also coconut condensed milk if you're looking for a dairy free, convenient alternative.
- Butterfly pea flower rice - Add some butterfly pea flower to the coconut milk instead of pandan to give the coconut sticky rice a pastel blue color.
- Varied garnishes - Besides toasted sesame seeds and split mung beans, toasted coconut flakes and crushed peanuts are also a popular topping option.
Storage and reheating
Mango sticky rice is best eaten within a few hours of making because that's when the coconut sticky rice has the best texture. However, if you have leftover or wanted to make extra, it will also store well in an airtight container, in the fridge, for up to 3 days.
Of course, if you can help it, cut the mangos when ready to serve. Also, do note that the longer the coconut sticky rice is refrigerated for, the harder and less chewy the rice will become.
If you like your mango sticky rice warm, heat the coconut sticky rice briefly in the microwave, about 15 seconds.
FAQ
Mango sticky rice can be served either warm, at room temperature, or chilled. Do note that refrigerated sticky rice will become less chewy and become harder as it sits. So if you like your mango sticky rice chilled, we recommend enjoying it the day of or by the second day.
No. Mango sticky rice has to be made with sweet rice (aka glutinous rice), and best Thai sweet rice. Regular rice will not be sticky enough nor will it provide that nice, chewy texture.
Right after mixing the sticky rice with the sweetened coconut milk, the sticky rice will appear very loose, also like pudding consistency. That is totally normal. The rice will need some time to absorb the coconut milk, about 30 to 45 minutes.
Yes! Mango sticky rice is naturally gluten free. It is also dairy free if regular condensed milk is not used.
The main difference between the two is that Thai sweet rice is long grain, whereas regular sweet rice, like for mochi, is short grain rice.
If you’ve made this recipe or any recipes from our blog, please tag us on Instagram using #twoplaidaprons! You can also tag us in your Instagram stories using @two_plaid_aprons. We would love to see your creations! It absolutely makes our day! 🥰
📖 Recipe
Mango Sticky Rice
Ingredients
For the coconut sticky rice:
- 2 cups long grain glutinous rice (also known as Thai sweet rice or Thai sticky rice)
- 13.5 fluid ounces coconut milk full fat and unsweetened (usually 1 can)
- ¾ cup granulated sugar
- ½ teaspoon salt
- 1 pandan leaf tied into a knot (optional)
Optional - salted coconut sauce:
- 1 cup coconut milk full fat and unsweetened
- 2 tablespoons granulated sugar
- ½ teaspoon salt
- 1 teaspoon cornstarch
For the rest of the dish:
- 3 ripe mangoes peeled and cut
- sweetened condensed milk or coconut condensed milk (optional alternative for salted coconut sauce)
- Toasted sesame seed (optional for garnish)
- Toasted peeled and split mung bean (optional for garnish)
- Banana leaf or pandan leaves (optional for plating)
Instructions
Option 1 - Steamed sticky rice (bamboo steam basket)
- Wash the rice 2 to 3 times or until the water looks clear. Then cover the rice with about 2 to 3 inches of water and allow the rice to soak for 4 hours or overnight in the fridge.
- Once the rice is soaked, line the steam basket with cheesecloth. Drain and transfer the rice into the prepare cheesecloth lined steam basket and roughly level out the rice. Drape the excess corner of the cheesecloth over the rice and cover the basket.
- Steam the rice over high simmering water for about 15 to 20 minutes, or until the rice is cooked and looks translucent. Remove the steam basket off of the heat.*You can check the doneness of the rice by taste testing. The rice should no longer be crunchy at all and will be chewy instead. Do be VERY careful! The steam will be very hot!*
Option 2 - Rice cooker method
- Wash the rice 2 to 3 times until the water looks clean. Drain the rice well using a sieve and transfer the washed rice into the rice cooker inner pot insert.
- Add 2 cups of water (for every 2 cups of rice) and level out the rice. Cook the sticky rice with the normal or white rice setting.
Make the coconut sticky rice:
- About 5 minutes before the sticky rice is done, prepare the sweetened coconut milk. Combine the coconut milk, sugar, salt, and pandan leaf in a saucepan. Heat the mixture over medium heat and stir constantly until the sugar has dissolved. No need to boil. Remove from heat.
- Once the sticky rice is cooked and hot, transfer it to a large, heatproof mixing bowl. Add the prepared sweetened coconut milk mixture and discard the pandan leaf. Mix until well combined. At this point, the rice will look quite loose and wet. Cover and set aside for 15 minutes.
- After 15 minutes, mix the rice again. Now the rice should have absorb some of the coconut milk mixture and look a bit thicker. Cover and set aside for another 15 to 30 minutes.
Assemble:
- Divide the coconut sticky rice into 6 even portions or to your desired portion size. Transfer the rice onto serving plates or banana leaves. You can also mold the rice by packing it into a bowl and flipping it upside down onto the serving plate.
- Top the coconut sticky rice with your desired amount of salted coconut sauce and serve with sliced or diced mango. Garnish with some toasted sesame seeds or toasted split mung beans. Enjoy!
Salted coconut sauce (optional):
- Combine the coconut milk, sugar, salt, and cornstarch in a saucepan. Mix until well combined.
- Cook the mixture over medium heat, stirring frequently until the mixture becomes thick and and bubbly. Transfer to a a bowl and set aide.
Toasted split mung bean garnish (optional):
- Add ¼ cup of split mung beans into a saucepan along with a couple cups of water. Bring the water to a boil and cook the mung beans for about a minute.
- Drain the mung beans well and transfer them to a dry, nonstick pan. Toast the mung beans over medium heat until dry and the beans start to turn golden brown.
Notes
- Different methods of cooking sticky rice yields slightly different texture.
- Steamer method - This yields slightly drier, chewier sticky rice that can absorb more coconut milk.
- Rice cooker sticky rice - This method will make slightly softer, wetter sticky rice. If you prefer it drier, you can use a little less water.
- If you need an overview of how to use a steam basket for steaming sticky rice, please refer to the post above - "2 ways to cook sticky rice".
- Salted coconut sauce - This is the classic sauce served with mango sticky rice. The saltiness adds a nice contrast to the sweetness of the dish. If you prefer, you can use condensed milk instead of making this sauce. If you are lactose intolerant or want a dairy free option, there's coconut condensed milk as well.







Xenia says
Hi, thank you for the recipe! While I don't necesseraly have all the ingredients I really appreciate having a strong base and adapt it more to my taste as I get better. As someone who doesn't have access to fresh mangos I like to change fruits depending on what is in season in my area. I found that using fruits of similar textures such as peaches, nectarines, apricots or even cherries works for me as they are also quite juicy whithout completely disintegrating when put on the plate.
Mei says
Hi Xenia!
Thank you for trying our recipe and so glad it can be used as a good base for you =). We love that you're adapting it to what's best for you! As long you enjoy it, it's all that matters.
Mei ❤️